Are you a fan of chocolate ice cream? Well, if you are, this homemade chocolate ice cream recipe is perfect for you!
The title here reads 2 methods, and that is exactly what I am going to cover in this post – 2 different methods of making your own homemade chocolate ice cream that yields perfectly smooth and creamy ice cream.
Both use the same homemade chocolate ice cream recipe, however, they differ in the way the ice cream is frozen and churned.
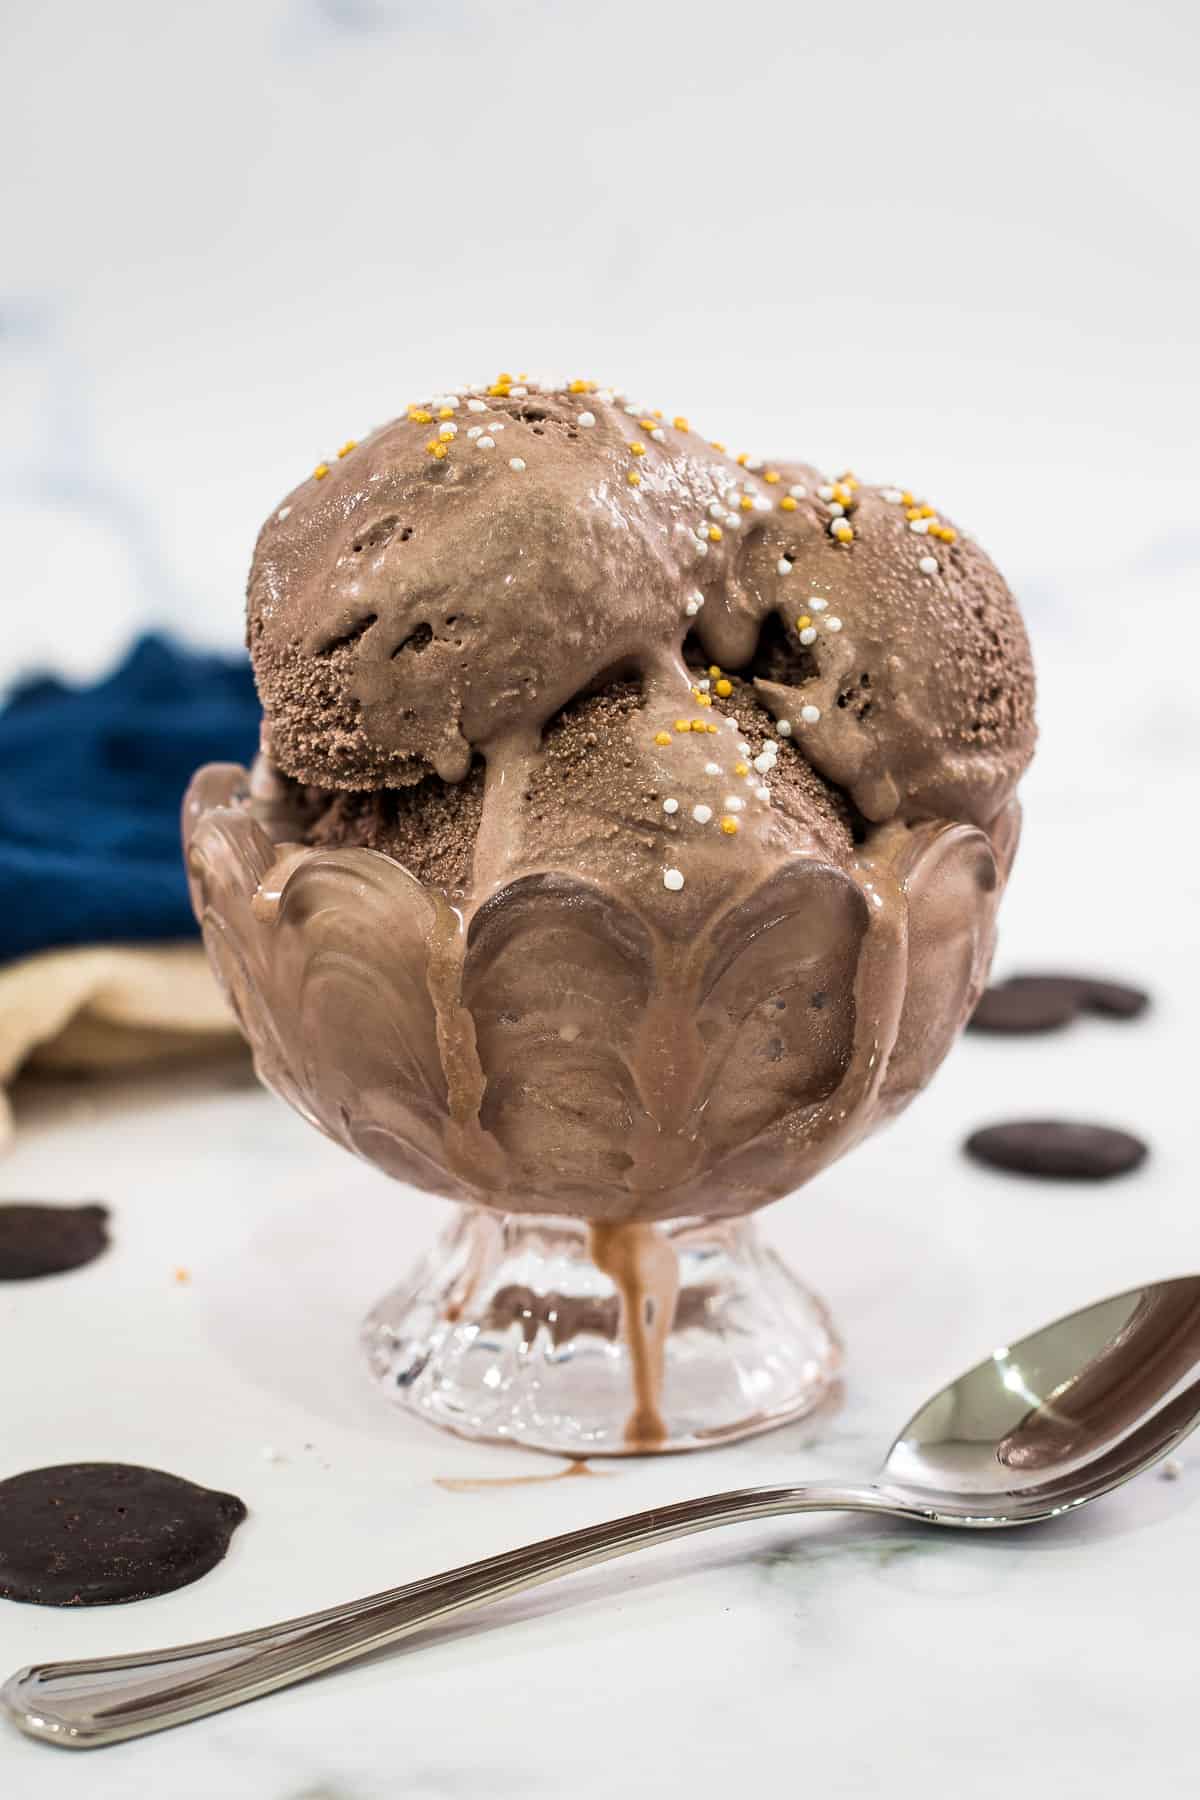
Table of contents
- The First Method - The Ice Cream Maker
- The Second Method - The Blender/Food Processor
- How to Make
- Notes
- Why is it necessary to melt the chocolate with cream rather than on its own?
- Can you use milk chocolate instead of dark chocolate?
- Can you substitute the dark chocolate with cocoa powder?
- Adjusting the amount of dark chocolate in the ice cream
- Can the ice cream be frozen in ice cube trays for easy blending (for the blender method)?
- Like this ice cream recipe? Here are my other posts you might want to check out
- Recipe (Printable)
The First Method - The Ice Cream Maker
The first method is the churned homemade ice cream made using an ice cream maker. The main ingredients used are milk, heavy whipping cream, dark chocolate, sugar, salt and vanilla essence.
The Second Method - The Blender/Food Processor
The second method also uses the same set of ingredients as the first one. In fact, this is very much similar to the churned method that I would still call a churned ice cream, but instead of slow churning in an ice cream maker, the homemade chocolate ice cream is frozen first and then given an express churning in a blender (or food processor) until it becomes smooth.
This is perfect for those that do not have an ice cream maker and do not favor the sweetened condensed milk based ice cream (which is another easy way of making ice cream without an ice cream maker).
How to Make
Ingredients
- Whole milk
- Heavy whipping cream
- Granulated sugar
- Dark Chocolate
- Vanilla Extract
- Salt
Making the ice cream
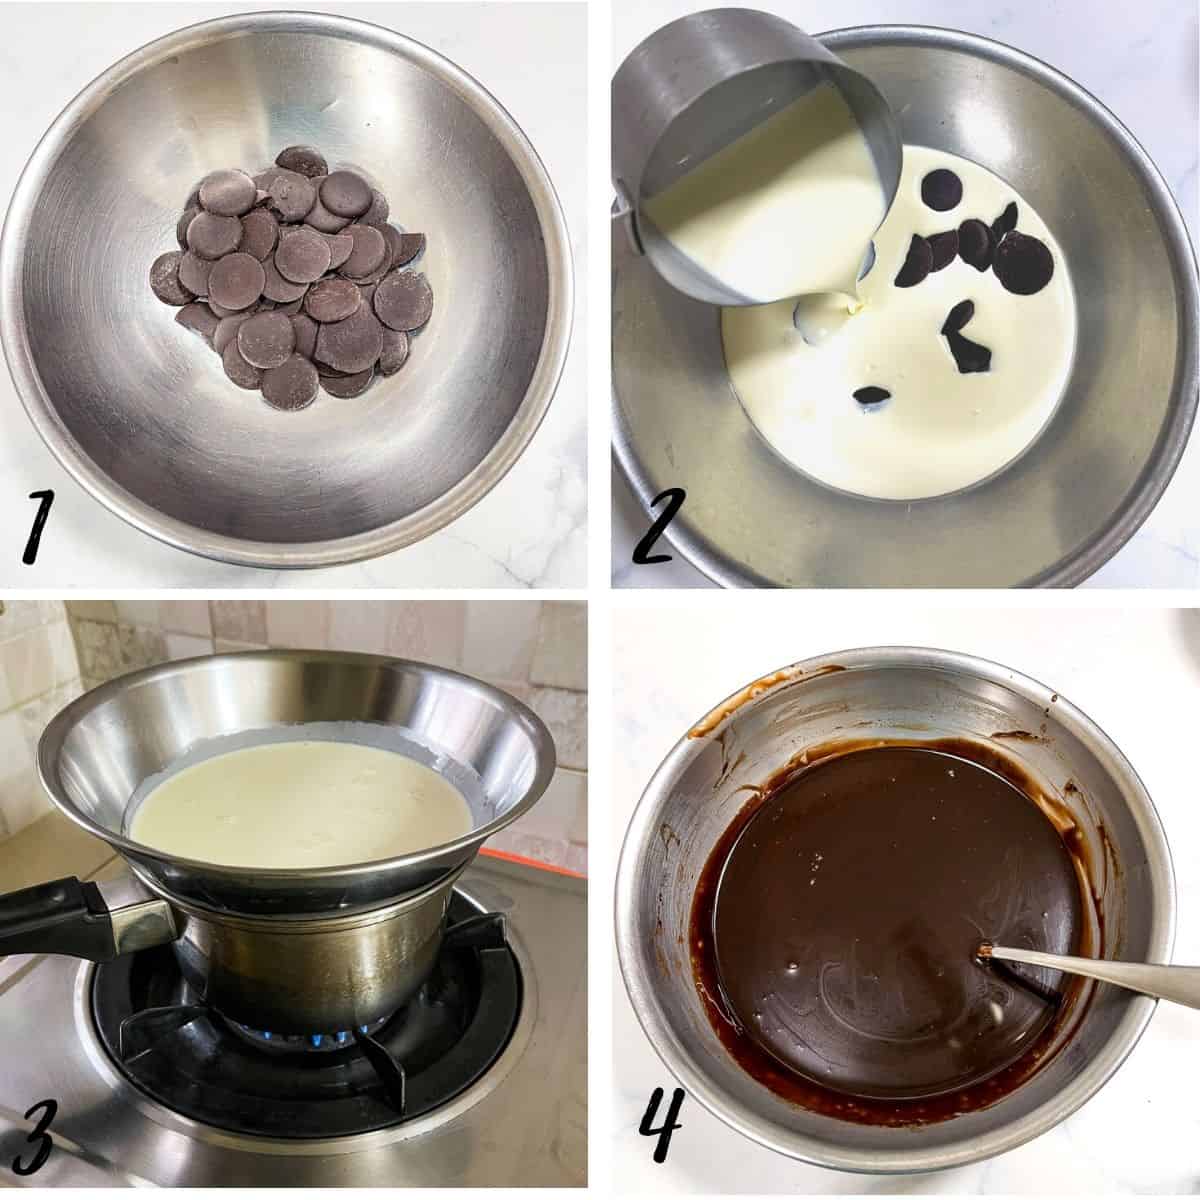
- The first step is to melt the chocolate. For best results, the chocolate should be chopped into small pieces. If you are using chocolate chips or buttons, there is no need to chop them further. Place the chocolate in a medium bowl (heat proof).
- Add the heavy cream into the chocolate.
- Melt the chocolate and cream in a microwave or in a double boiler. Don’t have both? Here’s how you can double boil your chocolate with the pots you have at home. If you are using the microwave, make sure the bowl you are using is microwave safe and heat the chocolate in 10 to 20 seconds intervals. Mix the chocolate to see if it has fully melted. If you are using the double boiling method, use a heat-proof bowl. Stir the chocolate and cream to expedite the melting.
- Once the chocolate is completely melted, remove it from heat (or the microwave). Set aside to cool it slightly.
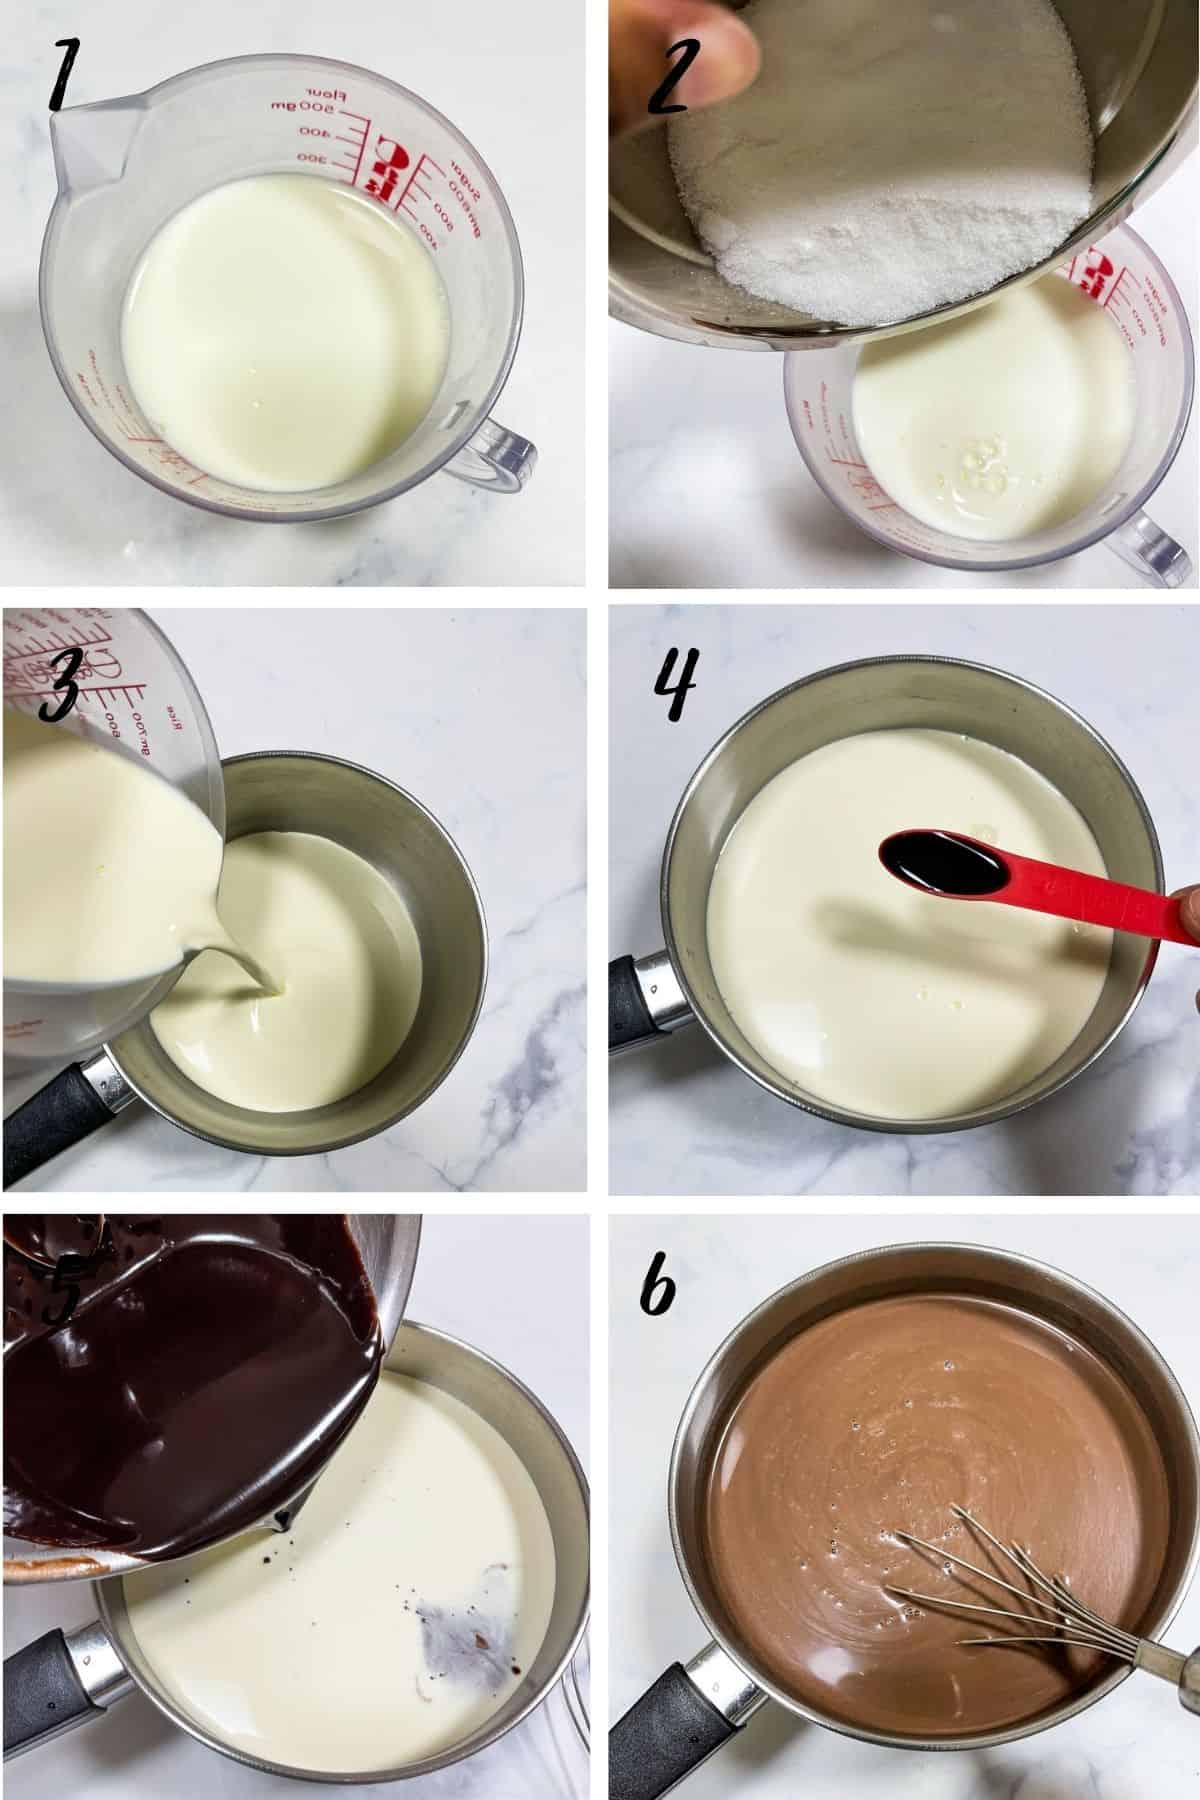
- In a separate large bowl or measuring jug, measure the milk.
- Add the sugar and salt and stir until salt and sugar dissolves. If you do not feel anything grainy at the bottom of your bowl or jug as you stir, that is an indication that the sugar and salt are dissolved.
- Transfer the milk into a larger pot or container for easy mixing.
- Add the vanilla extract and mix well.
- Next, pour the melted chocolate mixture into the milk.
- Stir thoroughly until the chocolate is all well combined.
Method 1 – Ice cream maker
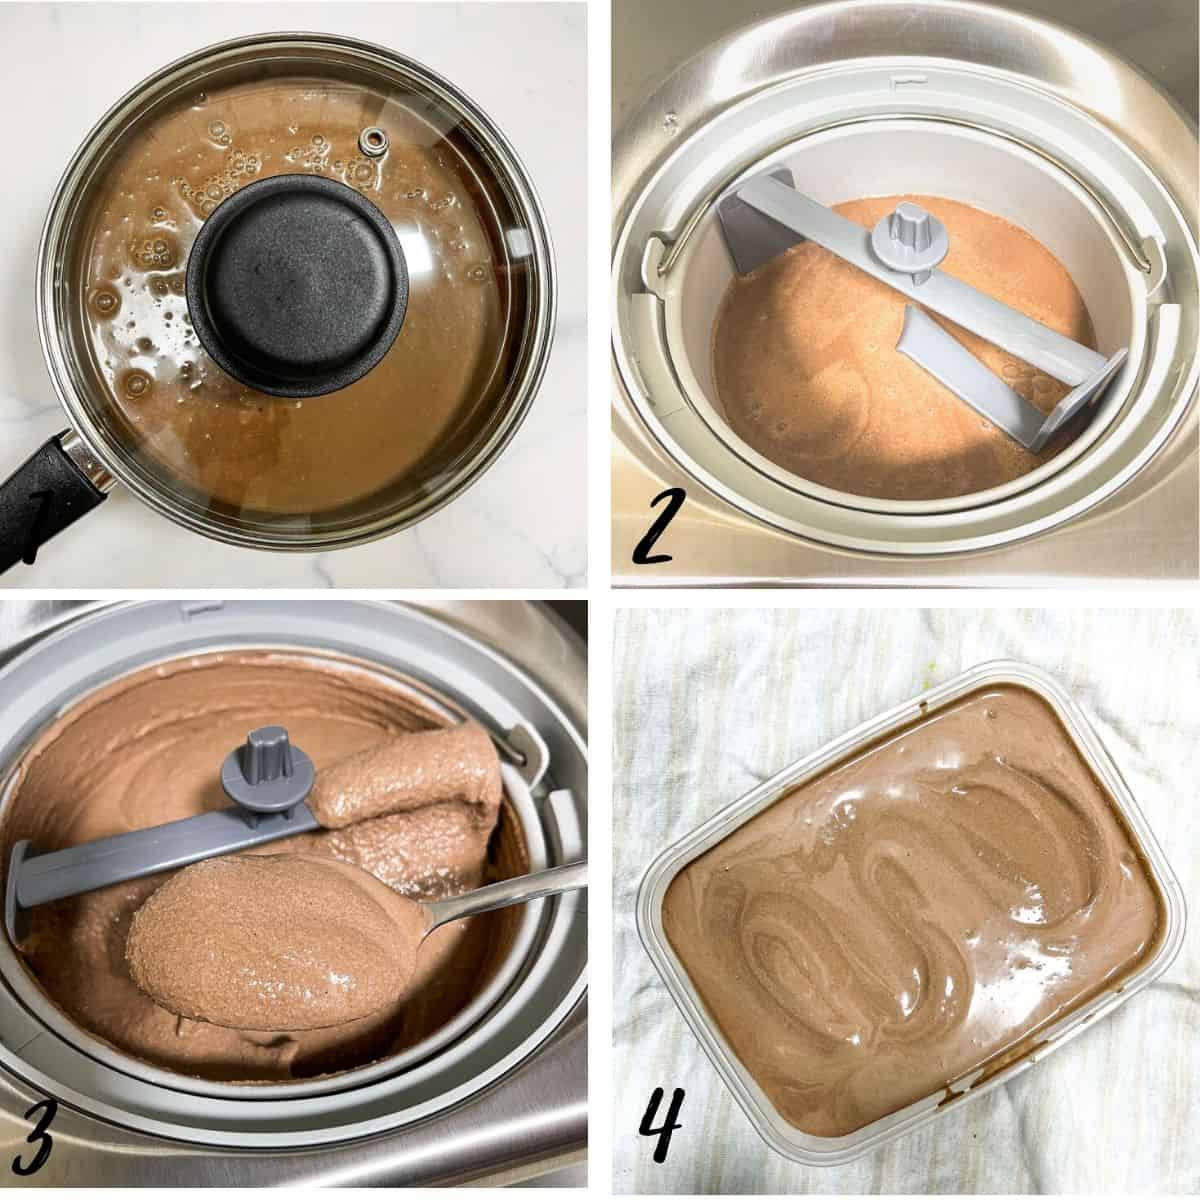
- Prepare the homemade ice cream base as above. Cover and place it in the fridge (not the freezer) to chill it completely. You can even leave it overnight.
- When completely chilled, pour the ice cream mixture into the bowl of your ice cream maker and churn it as per your ice cream machine manufacturer's instructions. If you wish to add any nuts or chocolate chips to your ice cream, do it at the end of the churning process (ie. In the last 3 or 4 minutes of the churning time, following your ice cream machine instructions).
- At the end of the churning process, your homemade ice cream should be well-formed, smooth and creamy. It may be a little too soft to serve immediately (consistency of soft-serve ice cream), so it is best to let the churned ice cream freeze further.
- Pour the churned ice cream into a container and freeze until it is set (about 4 hours).
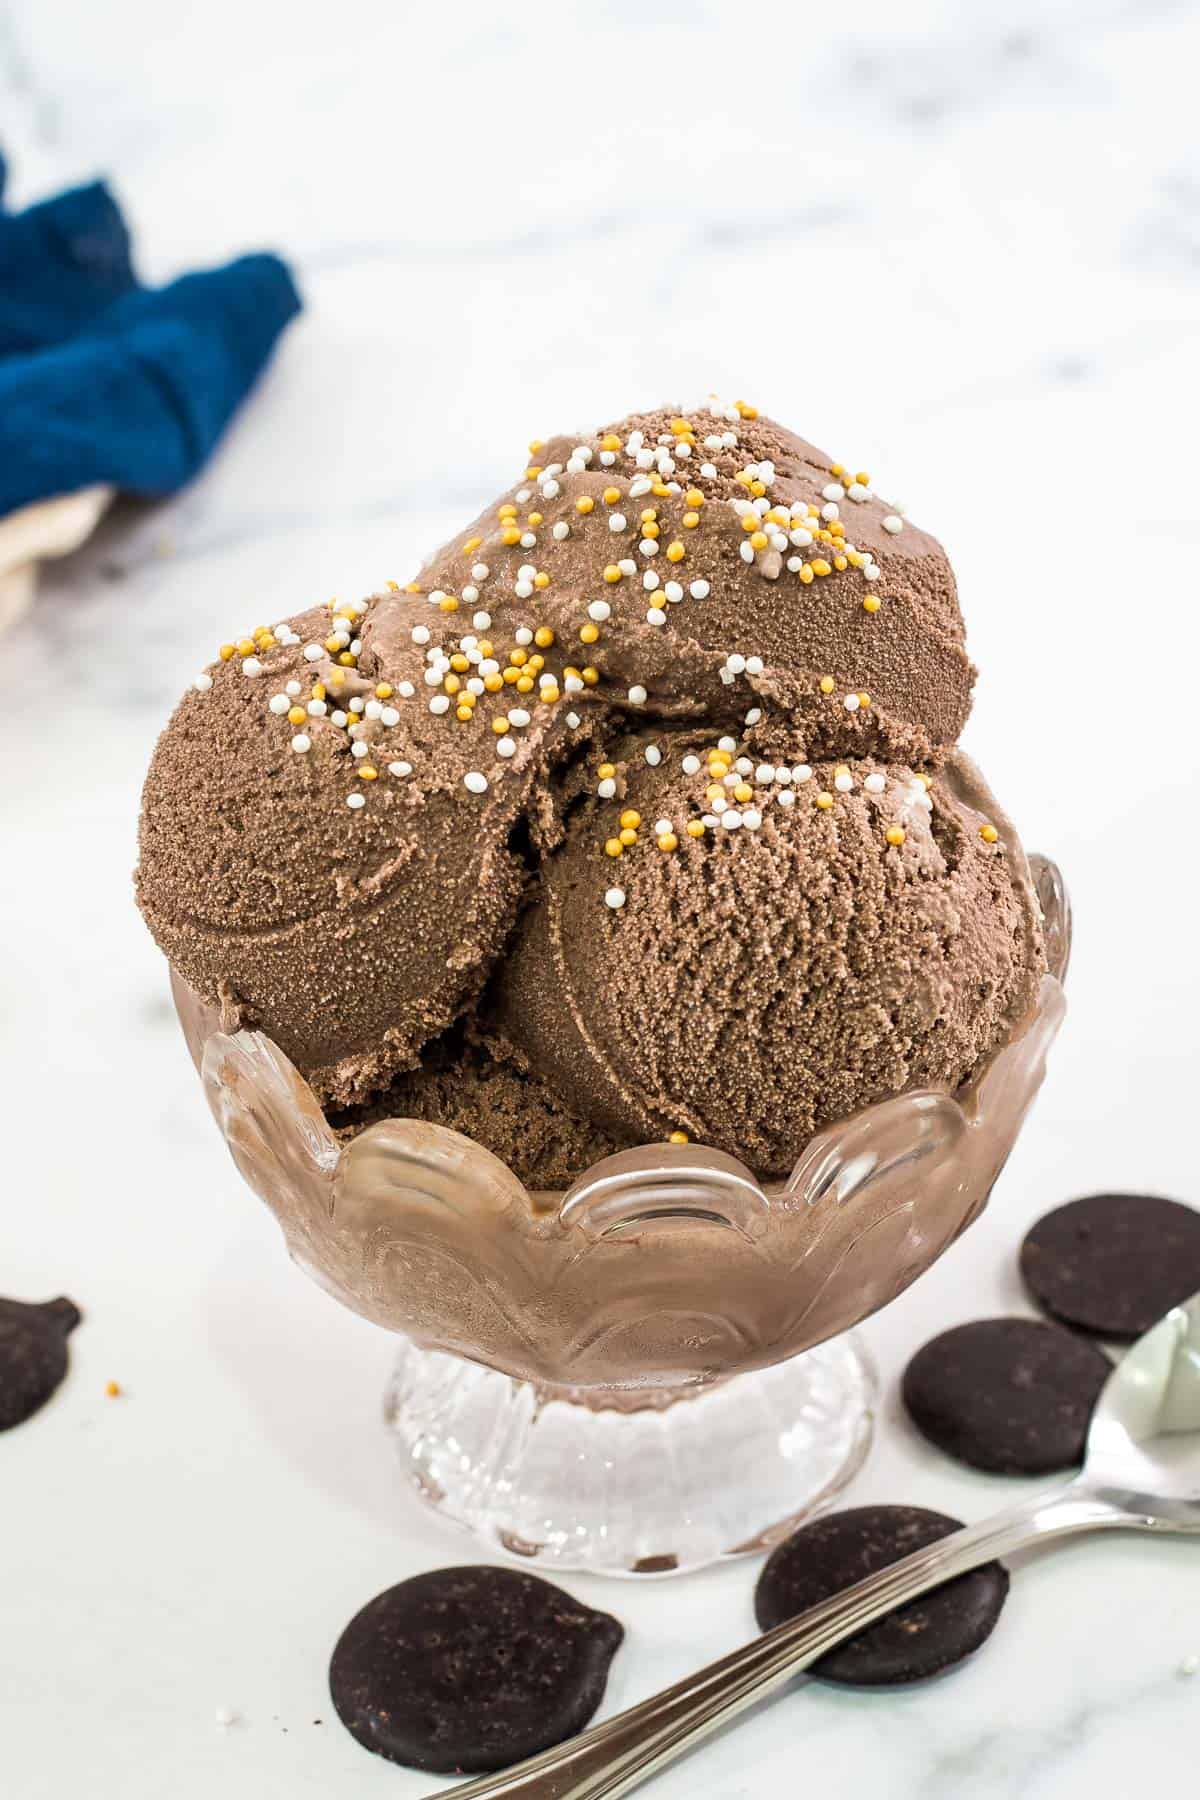
To serve, remove the ice cream from freezer and use an ice cream scoop to scoop the ice cream. If the ice cream is too hard to scoop, let it sit at room temperature for a minute or two and then trying again. Top the ice cream with sprinkles before serving. Alternatively, add some chopped chocolate, or whipped cream and chocolate syrup for a truly delicious chocolate ice cream.
Method 2 – Blender
- Prepare the homemade ice cream solution as above. Pour it into a freezer-safe container and freeze until it is completely set. This can take any time between 4 to 5 hours or more. You can even freeze it overnight.
- Next, remove the frozen ice cream from the fridge and break it into chunks with a spoon. If the ice cream is too hard, leave it out for a few minutes, but make sure it does not become too soft.
- Transfer the homemade frozen ice cream chunks into a blender.
- Blend them until smooth. If you find it hard to blend, break the chunks further by poking them with a spoon (make sure the blender is turned off while you are doing this!)
- Continue to blend until the ice cream reaches a smoothie consistency. Do not take too long with this process to avoid the ice cream from melting.
- Turn off the blender and pour the ice cream back into its container. If you wish to add any nuts or chocolate chips or other additional stuff into your homemade chocolate ice cream, do it at this stage. If the blended ice cream appears too soft, freeze it for an hour and mix in the additional ingredients. Return the blender churned ice cream to the freeze for another 3 to 4 hours or until it is completely set before serving.
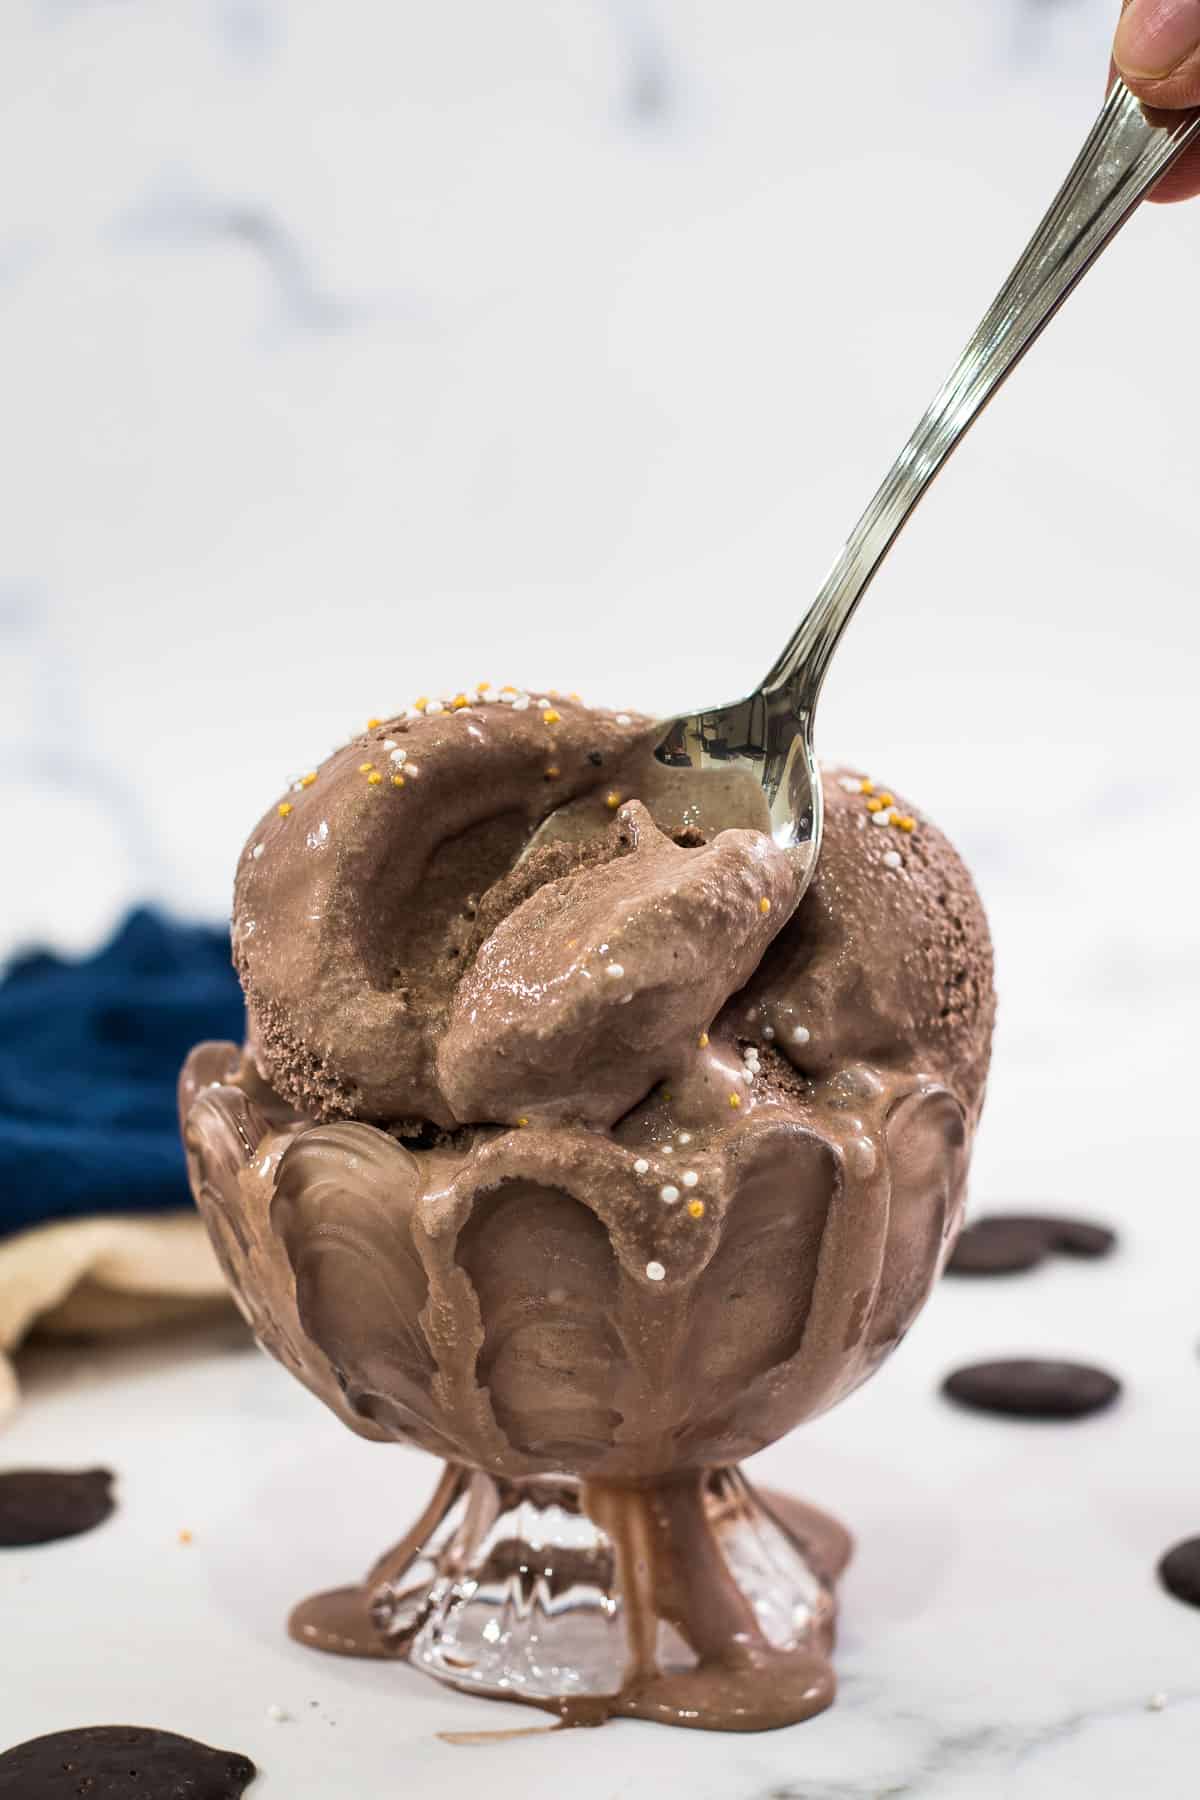
If the ice cream is too hard to scoop, leave it at room temperature for a minute or two and trying scooping again.
Notes
Why is it necessary to melt the chocolate with cream rather than on its own?
- Melting the chocolate on its own is not a problem. However, this melted chocolate is added to the cold milk and cream mixture, it will start to solidify very quickly. Your ice cream will end up with tiny specks of chocolate pieces instead of a smooth chocolate ice cream. The taste will still be very good, but if you are looking into making a completely smooth homemade chocolate ice cream (without any visible chocolate specks in it), melting it in cream first is the best way.
Can you use milk chocolate instead of dark chocolate?
- Yes, you can. Milk chocolate tends to be sweeter than dark chocolate, so do take note that it might make your ice cream sweeter.
Can you substitute the dark chocolate with cocoa powder?
- Yes, you can. Substitute the dark chocolate with 45g of cocoa powder. Sift the cocoa powder and mix it with the sugar before adding it to the milk. Sifting and mixing with sugar help the cocoa powder from clumping when added to the liquids
- However, the ice cream will taste a lot better with dark chocolate than cocoa powder.
Adjusting the amount of dark chocolate in the ice cream
- If you wish to make a really dark chocolate ice cream, the best way would be to add some cocoa powder to your ice cream. That way, your ice cream will not become overly sweet with the addition of extra dark chocolate.
Can the ice cream be frozen in ice cube trays for easy blending (for the blender method)?
- For the blender method, instead of freezing the homemade chocolate ice cream solution in an ice cream container, you can also pour it into ice cube trays to freeze. Once frozen, put the ice cream cubes into your blender and blend until smooth.
Like this ice cream recipe? Here are my other posts you might want to check out
- Churned Ice Cream Recipe (Ice Cream Maker/Blender Method)
- Homemade No-Churn Ice Cream - The Easiest!
- No-Churn Chocolate Ice Cream
- Chocolate Chocolate Chip Ice Cream - A Simple Homemade Recipe
- Mint Oreo Ice Cream - An Easy Homemade Recipe
- Lychee Ice Cream Recipe - Creamy and Luscious (How to Make)
- Matcha Ice Cream (Green Tea Ice Cream)
Recipe (Printable)
Here is the full printable version of my homemade chocolate ice cream recipe.
📖Recipe
Homemade Chocolate Ice Cream (Easy Recipe)
For best results, use the metrics measurements. US customary measurements have not been tested and are only meant for guide.
Ingredients
Ice Cream Base
- 310 ml full fat milk
- 520 ml heavy whipping cream (at least 35% fat)
- 100 g granulated sugar
- 165 g dark chocolate
- ⅛ teaspoon salt
- 1½ teaspoon vanilla extract
Instructions
Making the ice cream base
- Chop the dark chocolate into small pieces. If using chocolate chips or chocolate buttons, no need to chop further.
- Add the chocolate into a heat-proof bowl. Add the heavy whipping cream.
- Double boil the chocolate and cream until the chocolate is all melted. The chocolate and cream can also be melted in a microwave. Leave aside to cool slightly.
- Measure the milk in a measuring jug. Add the sugar and salt and stir to dissolve.
- Transfer the milk into a pot or bowl. Add vanilla extract and mix well.
- Pour the melted chocolate and cream solution into the milk. Stir thoroughly until the chocolate is well combined with the milk.
Method 1: Ice Cream Maker
- Prepare the ice cream base as above. Chill the solution for at least 2 hours or more until it is completely chilled. Churn the ice cream according to your ice cream maker's instructions.
- If you wish to add extra flavors or ingredients to your ice cream, do it in the last 3 or 4 minutes of the churning time. Alternatively, these can be added after the ice cream is transfered to a container for freezing.
- Transfer the churned ice cream into a container and freeze until it sets further.
Method 2: Blender/Food Processor
- Prepare the ice cream base as above. Pour it into an ice cream container and chill for at least 4 to 5 hours or until completely frozen.
- Once frozen, remove the ice cream from the freezer and use a spoon to break it into chunks.
- Add the ice cream chunks into a blender and blend until smooth, for approximately 1 to 2 minutes. Do not blend too long to avoid the ice cream from melting too much.
- Pour the blended ice cream back into its container If you wish to add extra flavors or ingredients to your ice cream, do it at this stage. If the blended ice cream appears too soft, freeze it for an hour and then mix in the additional ingredients. Freeze the ice cream again for at least 2 to 3 hours before serving.
Chilling and serving the ice cream
- To serve, scoop the ice cream into serving bowls or ice cream cones.
- If the ice cream is too hard to scoop, leave it out at room temperature for a minute or two. It will be much easier to scoop.
- This recipe makes 1.5 quarts ice cream.
Notes
- When using the blender method, if the frozen ice cream (before blending) is too hard to break with a spoon, leave it out for a minute or two to soften it slightly before trying again.
Nutrition
And that's that! My super easy homemade chocolate ice cream recipe for you!
Enjoy!


Leave a Reply