

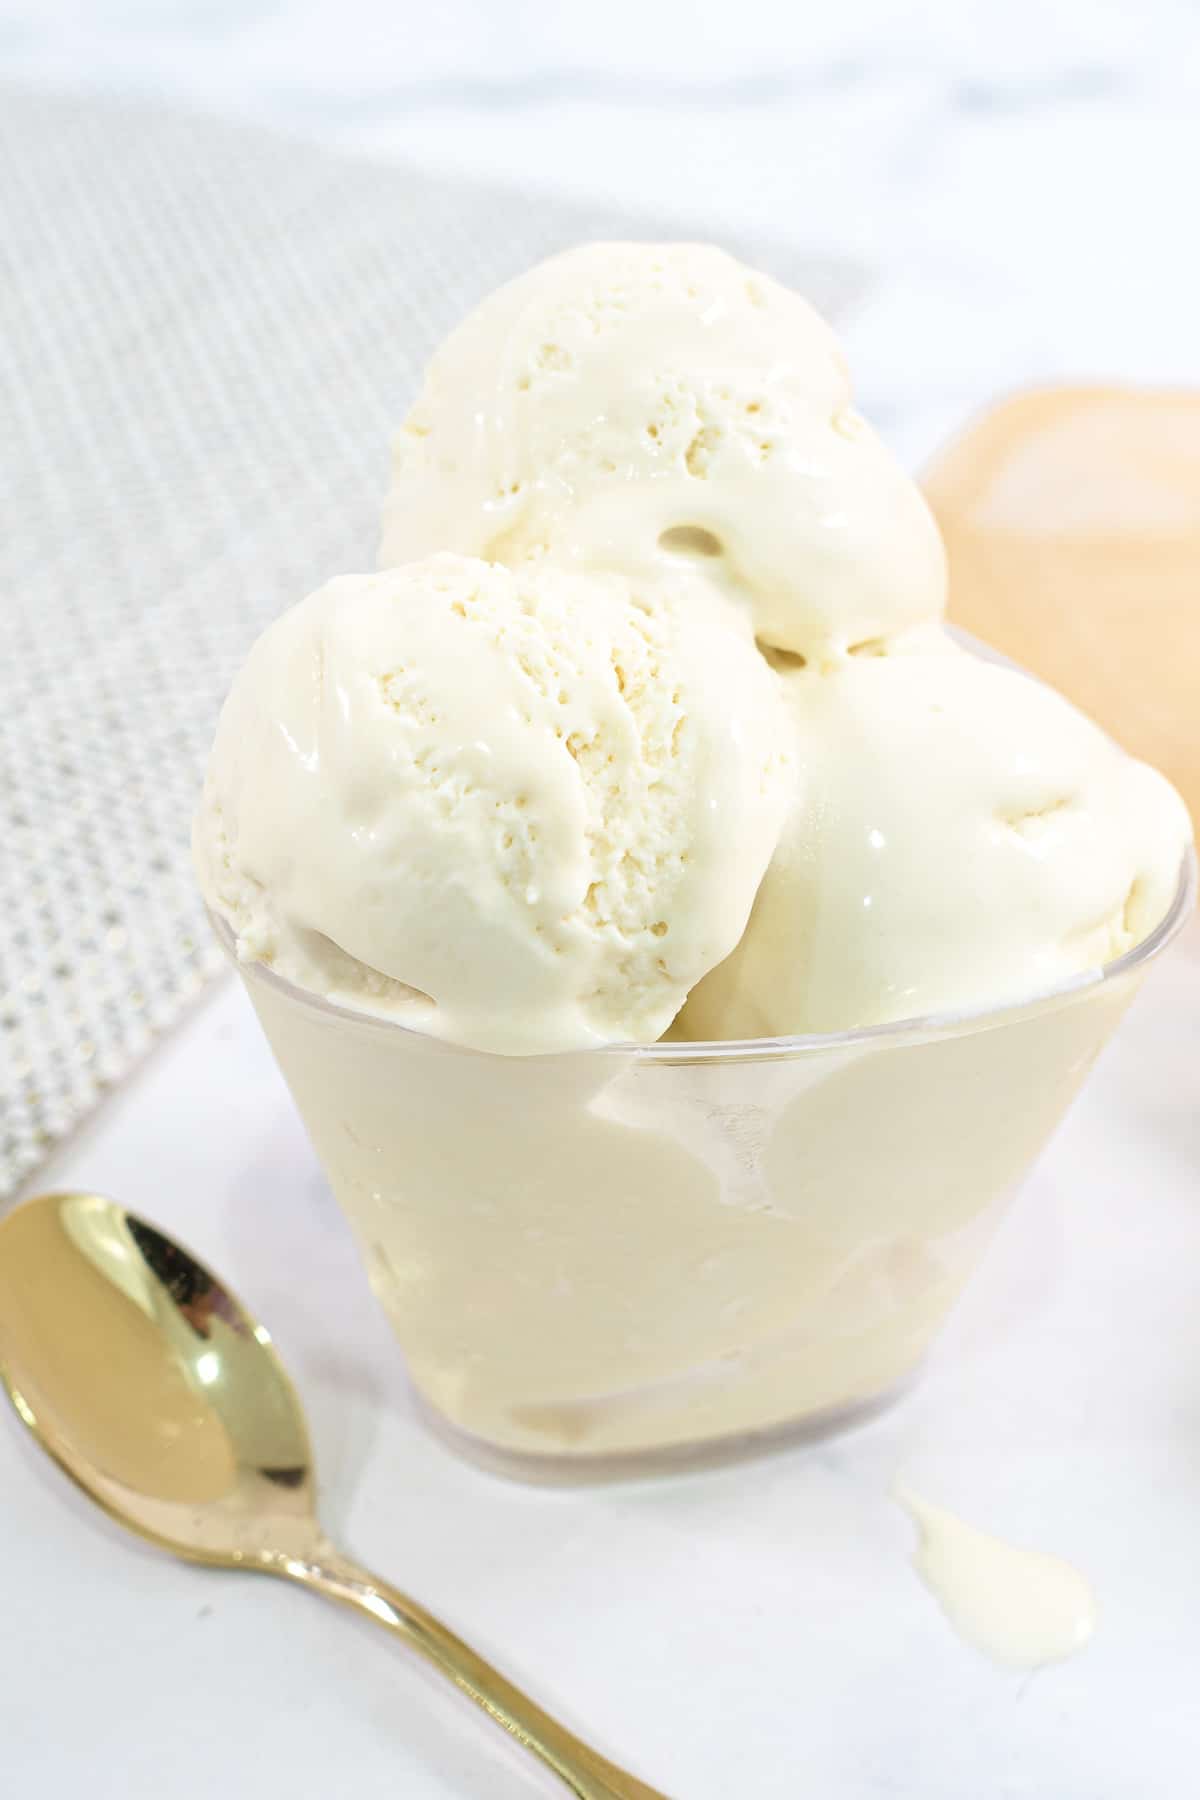
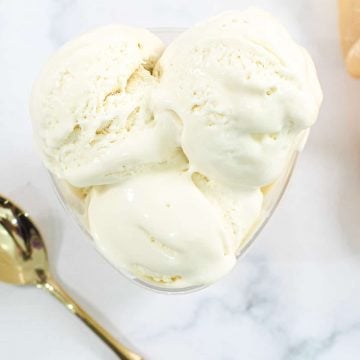
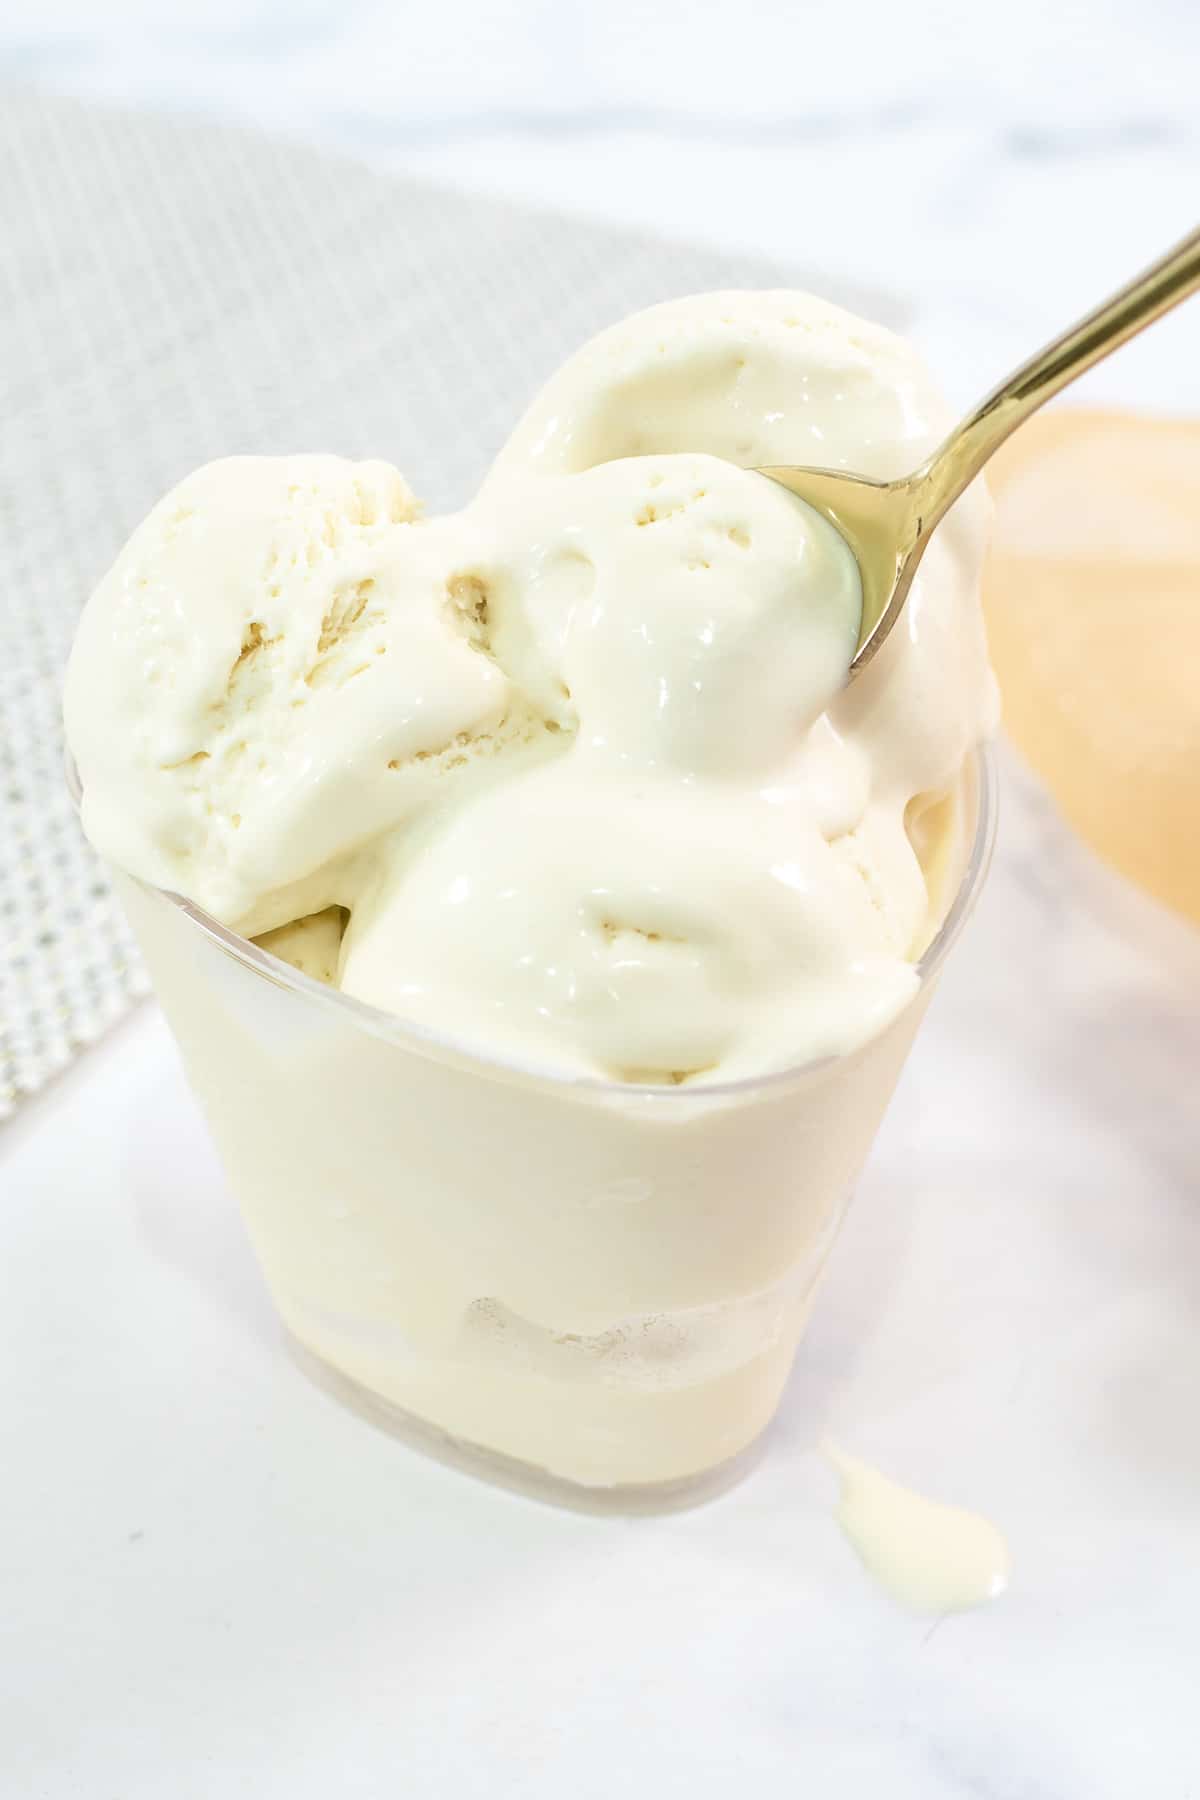
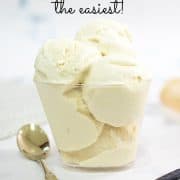
This no-churn ice cream is the best recipe to start with if you want to make homemade ice cream. With only 3 very simple ingredients, you get to make the smoothest and creamiest ice cream ever! And the best part, no ice cream maker required!
Ice cream is one of my favorite topics when it comes to desserts. And in this homemade no-churn ice cream post, I am going to share with you, yet another one of my ice cream making methods - homemade no-churn ice cream! I have 2 other methods of making ice cream in my churned ice cream post, but I must say, the no-churn method on this page is the easiest of all!
Jump to:
❤️Why You Will Love This Recipe
- Only requires 3 simple ingredients - cream, condensed milk and vanilla extract. There are no eggs in the recipe, making it perfect for vegetarians.
- It is very easy to make. You whip the cream, mix with condensed milk and vanilla and freeze. There is no need for ice cream machine.
- It has the smoothest and creamiest texture, just like how ice creams should be.
- And of course, when it comes to homemade ice creams, the simplicity of the method in making the ice creams play a role too.
- You can use this homemade base to make the creamiest, smoothest no-churn ice cream in any flavor you like by simply changing the vanilla extract to your choice of flavor.
If you prefer chocolate flavored ice cream, try this easy, no churn chocolate ice cream. And if want to learn to make churned ice cream recipe, this easy churned ice cream recipe.
How to Make
Ingredients
- Heavy whipping cream (with at least 35% fat content)
- Sweetened condensed milk
- Vanilla essence
Making the ice cream
- The first step is to make sure both the cream and the condensed milk are chilled. Be sure to keep the condensed milk in the refrigerator for at least 4 to 6 hours before making this homemade ice cream.
- Also, make sure the mixing bowl and your whisk beaters are not warm.
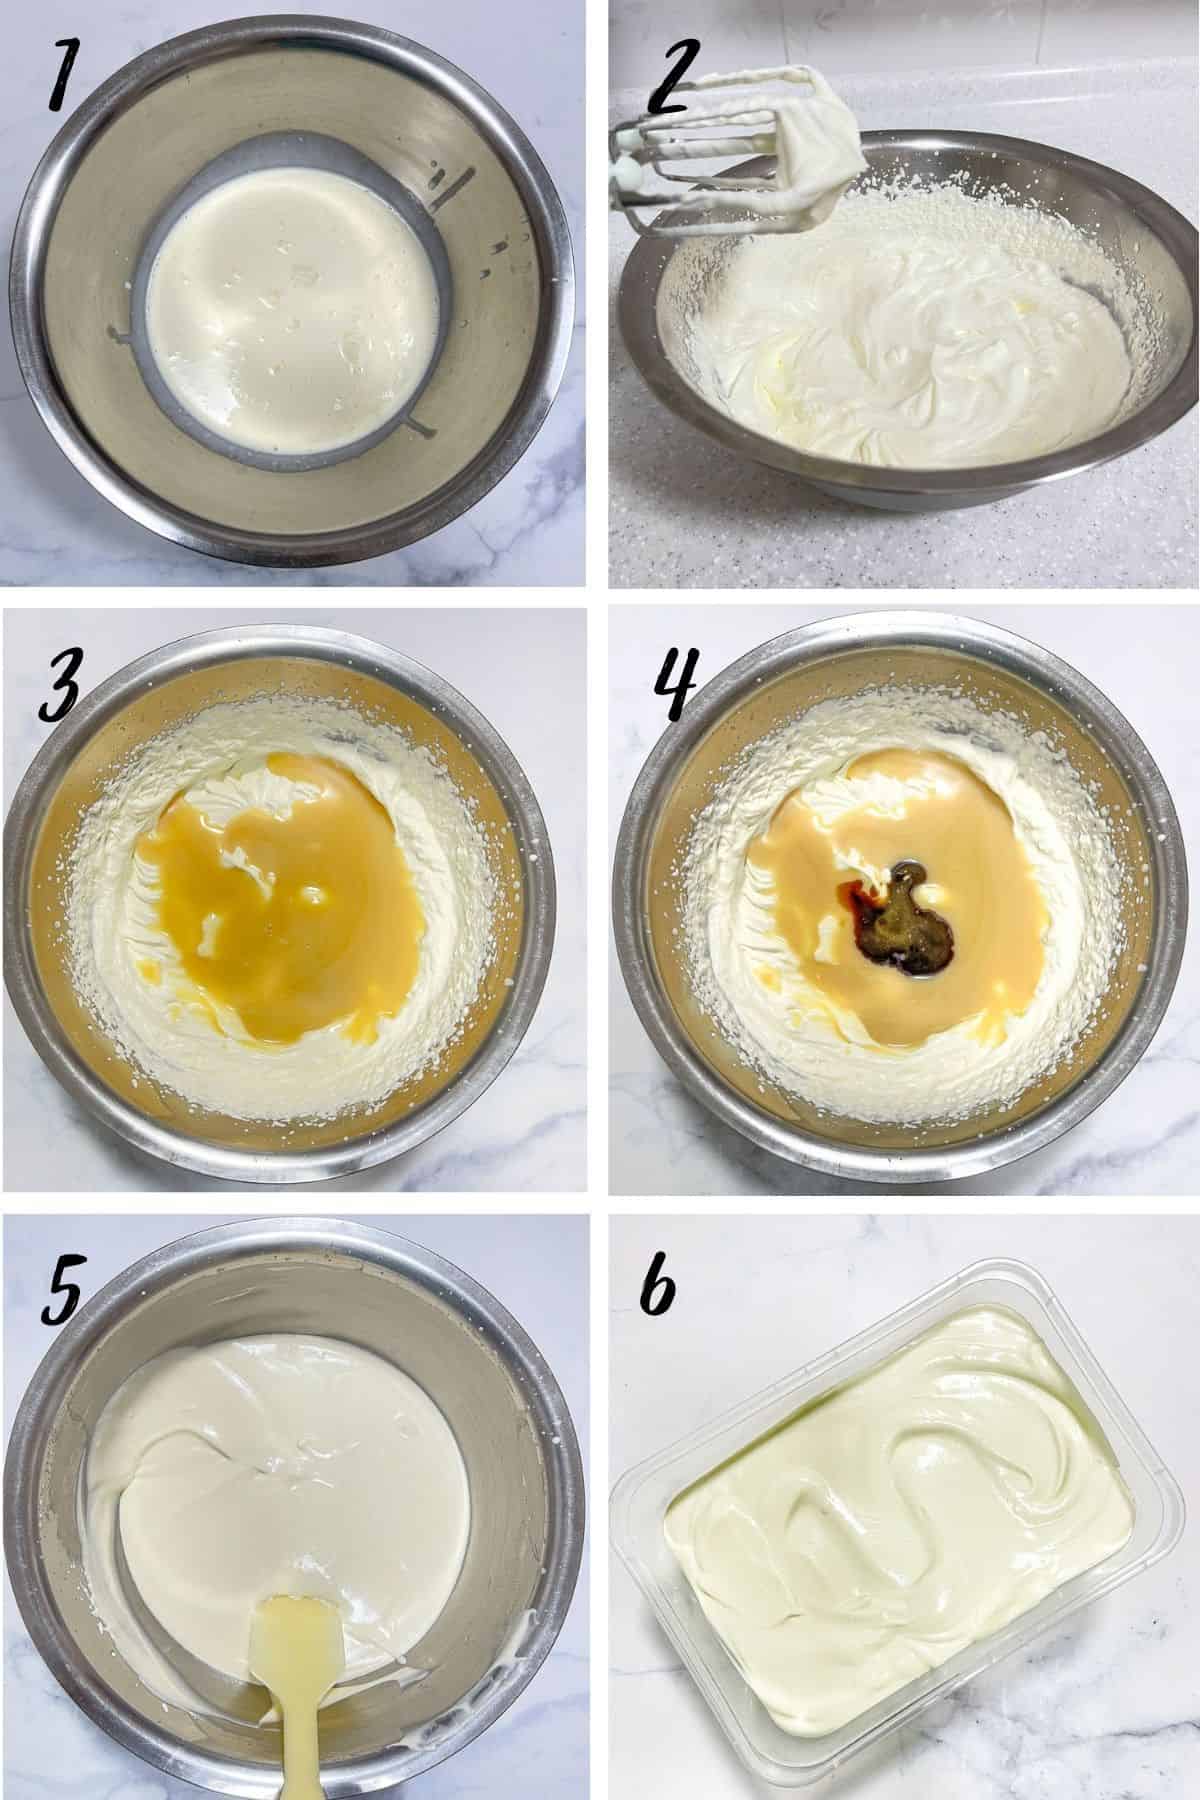
- Start by measuring the cream into a mixing bowl.
- Whip it until it becomes stiff and able to hold stiff peaks.
- Pour the chilled condensed milk into the cream.
- If you wish to flavor the ice cream, you can do it at this stage. I have chosen to add some vanilla essence for simple vanilla-flavored ice cream. You can add any flavor of your choice.
- Mix well. You can add other ingredients such as nuts, chocolate chips, cookies, or even fruits at this stage. In fact, you can also divide this ice cream base and make 2 or 3 different flavored ice creams in one batch.
- Pour the no-churn ice cream into a freezer-safe container. Freeze until is it is completely set (at least 6 hours or more, overnight is better). This homemade no-churn ice cream is best frozen at negative 13 degrees Celsius.
To serve the ice cream, simply use an ice cream scoop to scoop it into serving bowls. The ice cream should not be hard to scoop straight out of the freezer. But if for some reason it is hard to scoop, leave it at room temperature for a minute or two and try again.

Notes
The best whipping cream to use
- The heavy whipping cream must be completely chilled to be whipped properly. Choose the ones that have at least 35% fat content. This is to ensure your no-churn ice cream is really creamy as it should be.
- Do not over whip the cream - suffice until you see it is able to hold shape. If too long, it will turn into butter. The cream can still be salvaged. You need to add more cream and whisk, but this will change the ratio of cream to condensed milk in your recipe.
Condensed or evaporated milk?
- This no-churn homemade recipe requires condensed milk. This is different from evaporated milk. It is thickened and sugar-added which is exactly what we need for this homemade no-churn ice cream. Evaporated milk has higher water content. Since there is no churning involved in making this ice cream, the ingredients used must have minimal water content. Otherwise, your ice cream will end up with obvious water crystals in it. This won't happen if the ice cream is churned, which is why I was able to use regular fresh milk in my homemade churned ice cream recipe. However, since this is no-churn ice cream, evaporated milk will not help.
- Also, evaporated milk is not sweetened. There is no added sugar in this homemade no-churn ice cream recipe and the sweetened condensed milk is the only source of sweetener. Therefore, be sure to use sweetened condensed milk and not evaporated one. Otherwise, you will end up with no-churn ice cream that is bland, tasteless, and filled with obvious water crystals.
- Also, take note that condensed milk is should be chilled too. This will help avoid the whipped cream from deflating when mixing.
Can you adjust the ratio of cream and condensed milk in this recipe?
- This homemade ice cream recipe is written for a full can of condensed milk (a 14 ounces can). And for each can, you use 2 cups of cream. This ratio gives the no-churn ice cream the right level of creaminess and sweetness.
- If you change the ratio by for example reducing the condensed milk to reduce the sweetness of the ice cream, your ice cream may end up a little too creamy-tasting. If you are ok with that, then it is ok to adjust the ratio. Just keep in mind that altering the ratio could alter the ice cream texture and taste.
- Alternatively, you can consider using my homemade churned ice cream recipe here. There you can adjust the sweetness of the ice cream without affecting its texture. Plus, you don't need an ice cream machine to make it. A simple home blender or food processor can do the churning just fine.
How to make a chocolate-flavored homemade no-churn ice cream?
- For no-churn chocolate ice cream, there are 2 options. You can use cocoa powder or dark chocolate. For cocoa powder, you sift it into the ice cream base. Mix it thoroughly before freezing the ice cream. If you want to use dark chocolate instead, you would need to melt it with the condensed milk. Chill both and then add them to the whipped cream. I have a full post written on how to make the homemade no-churn chocolate ice cream here.

Like this easy ice cream recipe? Here are my other posts you might want to check out
- Homemade Churned Ice Cream (Ice Cream Maker and Blender Methods)
- Homemade Chocolate Ice Cream (Ice Cream Maker and Blender Methods)
- No-Churn Chocolate Ice Cream
- Chocolate Chocolate Chip Ice Cream - A Simple Homemade Recipe
- Mint Oreo Ice Cream - An Easy Homemade Recipe
Recipe (Printable)
Here is the full printable version of my homemade no-churn ice cream recipe.
📖Recipe
Homemade No-Churn Ice Cream
For best results, use the metrics measurements. US customary measurements have not been tested and are only meant for guide.
Ingredients
- 397 g condensed milk (one 14 ounce-can)
- 500 ml heavy whipping cream (at least 35% fat content)
- 2 teaspoon vanilla essence
Instructions
- Measure the whipping cream into a large bowl. Whip until stiff peaks form.
- Add the condensed milk and vanilla essence into the cream. Fold until the ingredients are thoroughly combined.
- If you wish to customize the ice cream by adding nuts, chocolate chips or even sauces, add them at this stage.
- Transfer the prepared ice cream into a freezer-safe container and freeze for at least 6 hours (or more as necessary) at negative 13 degrees Celsius until the ice cream is fully frozen.
- To serve, use an ice cream scoop to scoop the ice cream into serving bowls. Garnish as preferred.
- This recipe makes 1.5 quarts ice cream.
Notes
- For best results, the whipping cream and condensed milk should be completely chilled before mixing.
Nutrition
And that's it. My super easy and super yummy homemade no-churn ice cream for you!
Enjoy!
Leave a Reply