

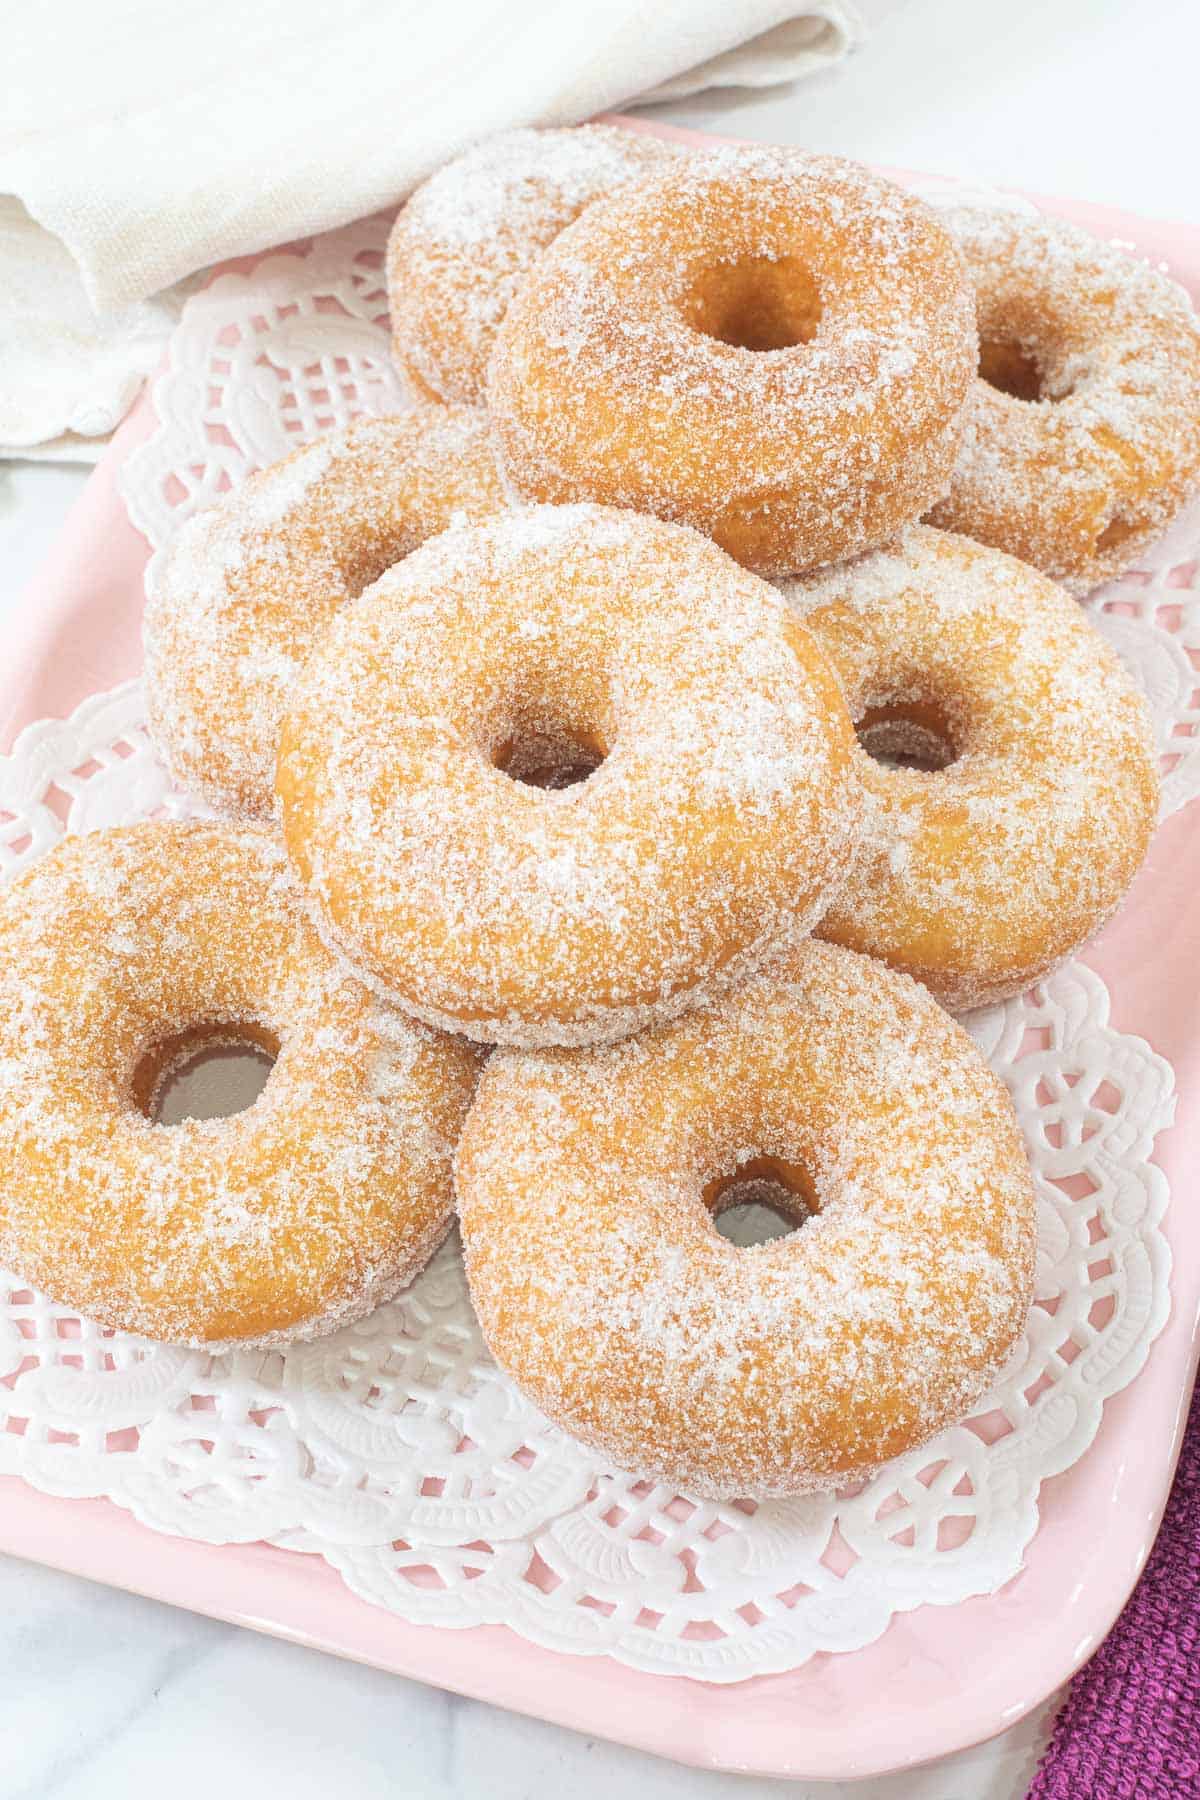
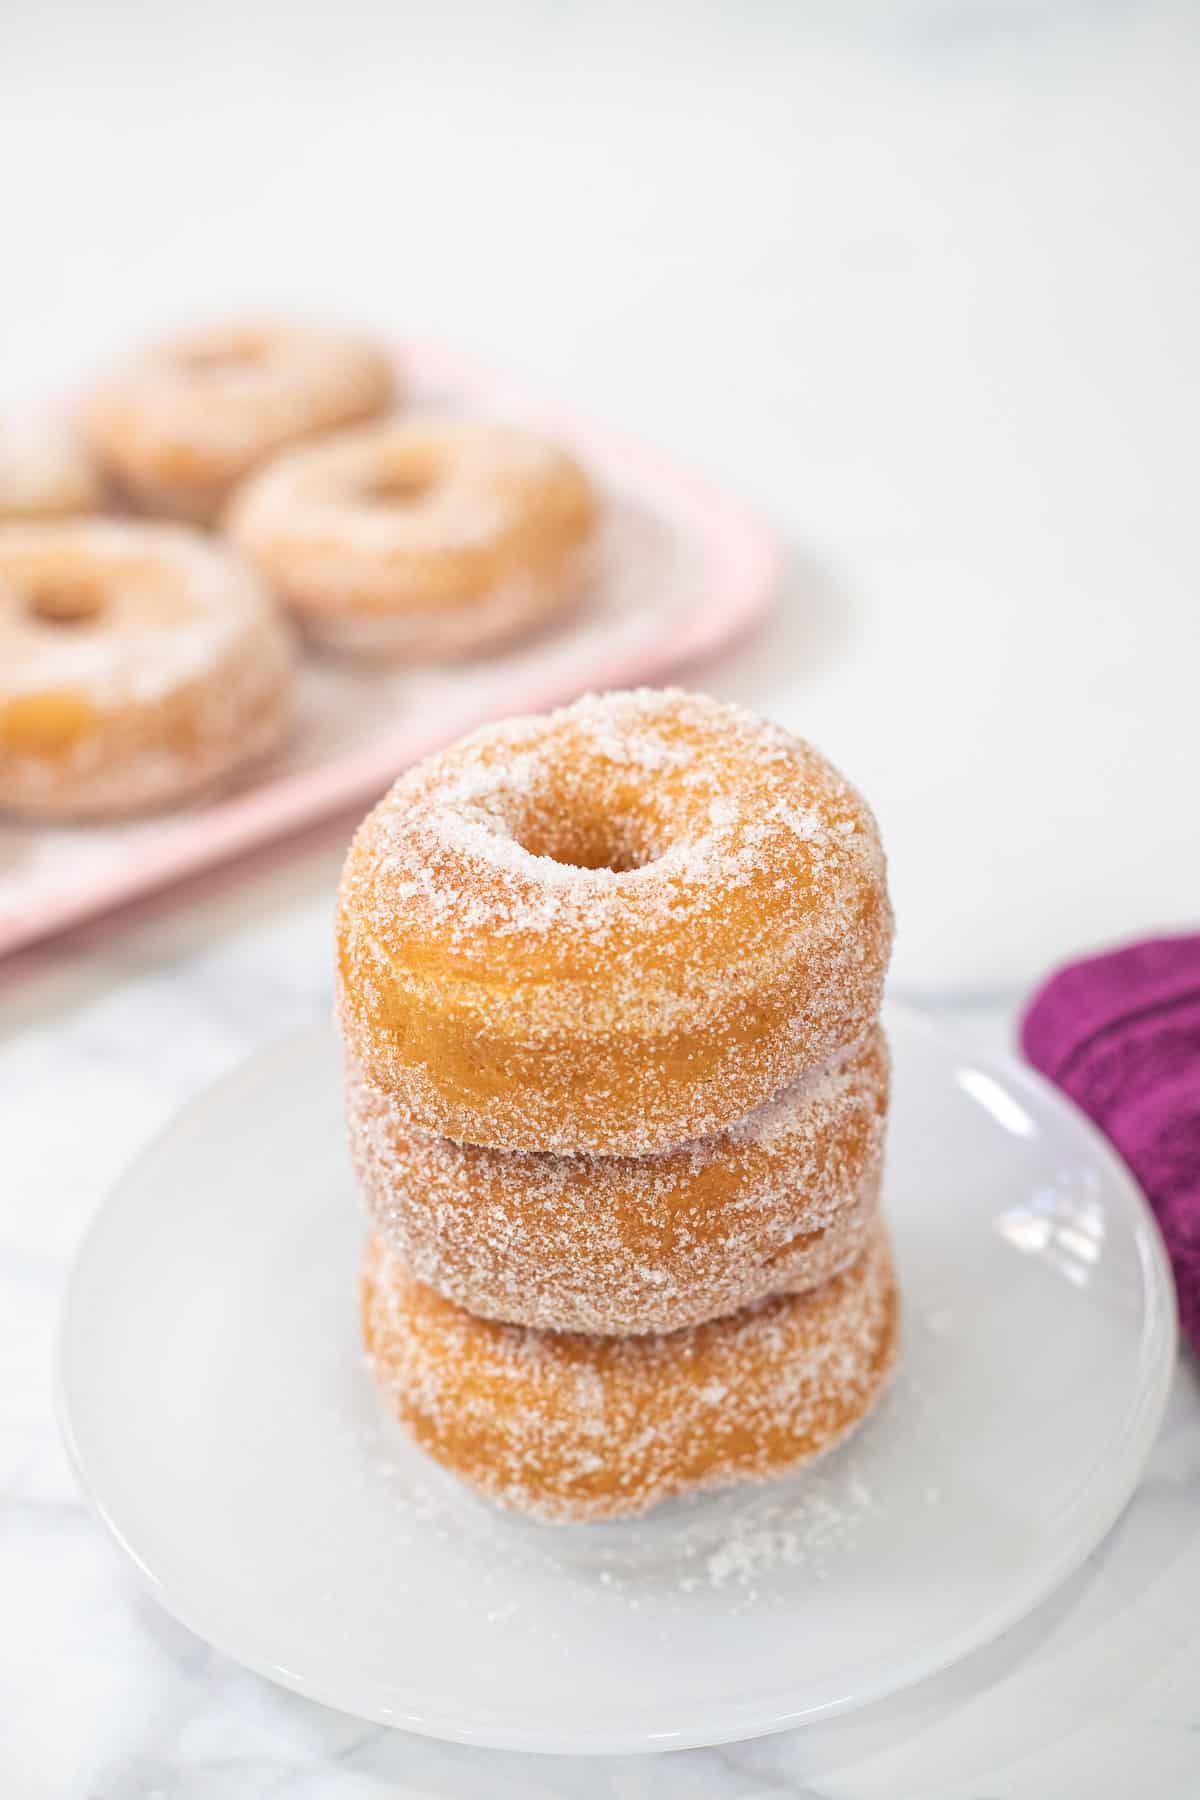
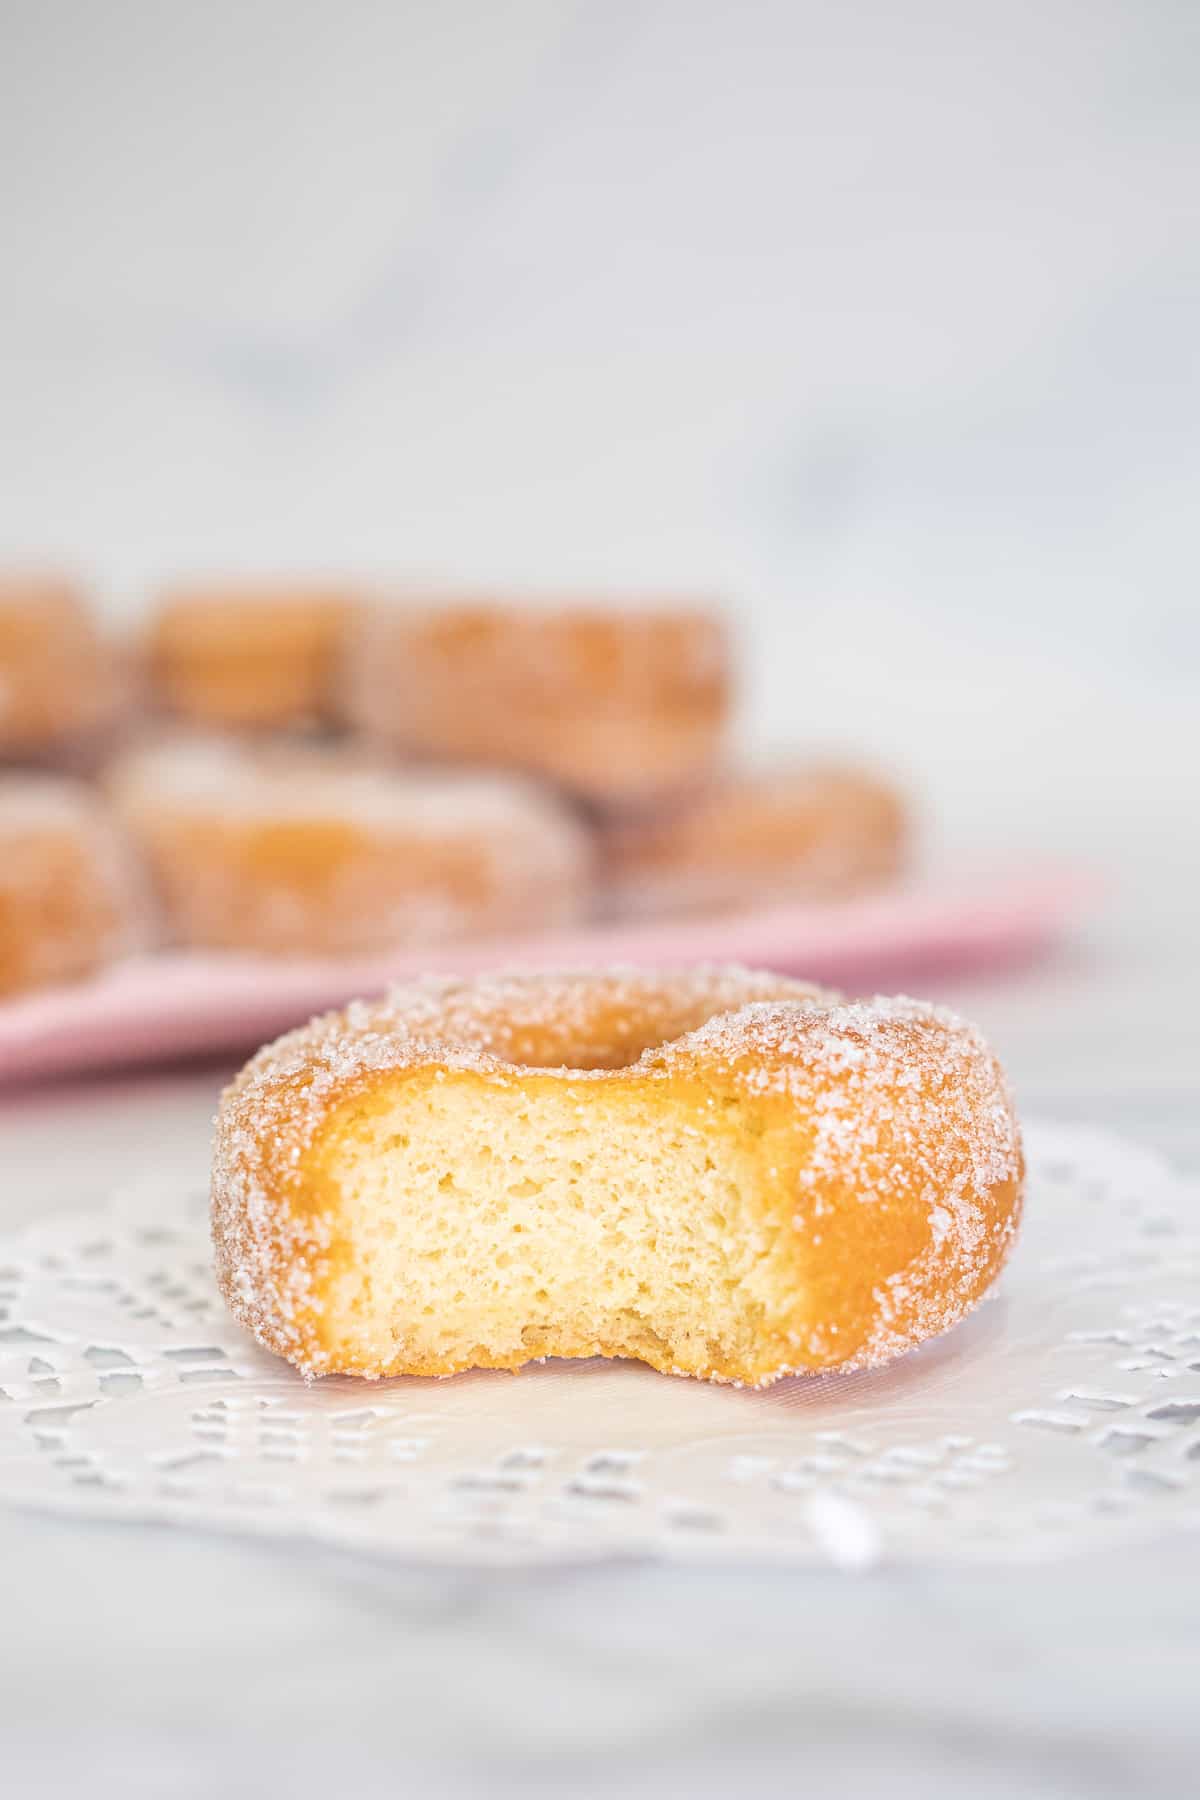
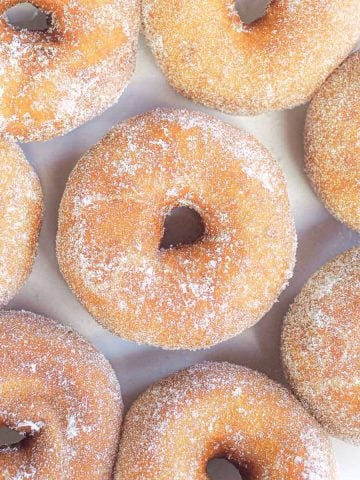
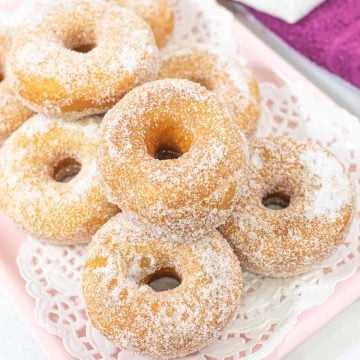
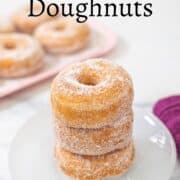
This homemade old fashioned yeast doughnuts (yeast donuts) recipe makes truly soft and fluffy, deep fried doughnuts with a soft and light crust and a glorious coating of sugar.
Shaped into ring doughnuts, these delicious treats are easy to make and turn out perfect every single time. I have loved these doughnuts since my childhood days and I am sure you will love them too!
Jump to:
❤️Why you will love this recipe
- This is an easy recipe for deep fried old fashioned ring doughnuts.
- The ingredients are simple and pantry staples except for yeast which can be easily purchased from any local stores.
- The recipe makes absolutely soft and fluffy doughnuts, you don't ever need to buy them again.
- The recipe is easy to follow and anyone can make these homemade doughnuts with great success.
- You can customize your doughnuts topping (a simple sugar glaze, or chocolate ganache) or make them into round doughnuts and fill them with filling of your choice.
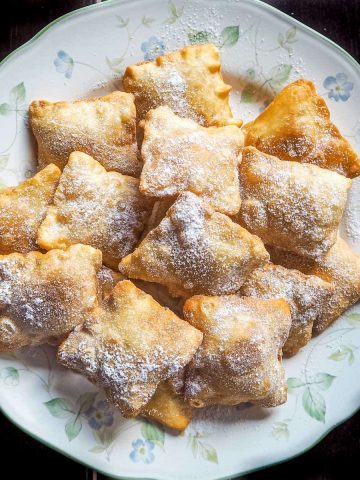
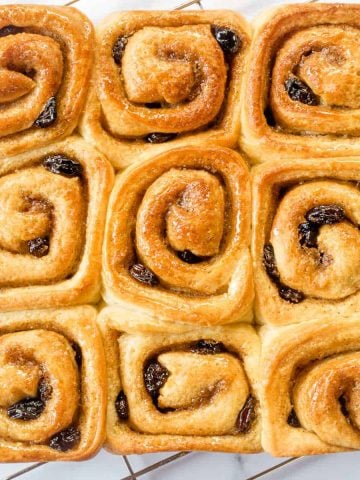
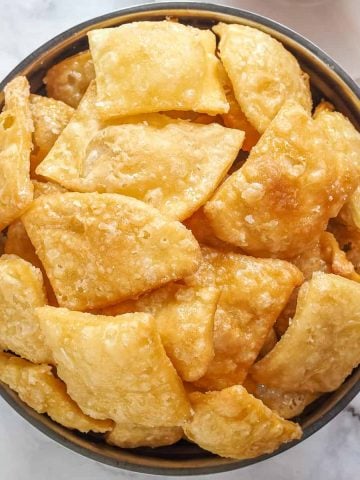
Like this recipe? Here are my other posts you might want to check out:
📋Ingredients
- All purpose flour + salt - salt cannot be added directly to yeast as it can kill the yeast. You can either mix it with the flour before adding to the yeast or add it in after the flour.
- Instant dry yeast - Instant yeast does not require activation, and you can add all other ingredients to it after dissolving it in liquid. Liquid need not be warm either, and can be at room temperature. Check to see that you are using instant dry yeast and not active dry yeast. See 'Substitution and variations' section below for active yeast.
- Granulated sugar - sugar is used both in the dough as well as for coating. Granulated sugar dissolves more readily in the dough. It also coats the doughnuts better after frying.
- Eggs - use large eggs.
- Butter - both salted and unsalted butter will work fine for this doughnuts recipe.
- Whole milk - can be at room temperature if using instant yeast. If using active yeast, use warm milk. Do not use hot milk as it will kill the yeast.
- Oil for frying - you can use any odorless oil like sunflower oil or canola oil.
*Refer to the recipe card below for full list of ingredients and exact quantities. For best results, use a digital kitchen scale where applicable*
🧾Substitution and Variations
- Instant dry yeast can be substituted with active dry yeast. Use exact same quantity but make sure the milk used is warm and you allow sufficient time for the yeast to activate, i.e. bloom or froth before adding in the other ingredients. The activation should happen within 10 to 15 minutes.
- The holes cut out of the ring doughnuts can also be proofed and fried as doughnut holes (donut holes). Coat them in sugar and enjoy them as bite-sized doughnuts.
- Variations for the doughnuts coating:
- Granulated sugar for coating the fried doughnuts can be replaced with powdered sugar. Coat the doughnuts in the same way as you do with granulated sugar.
- The doughnuts can also be coated with cinnamon sugar. Add a quarter teaspoon of cinnamon powder (ground cinnamon) to half cup of granulated sugar and coat the cooked doughnuts with the sugar.
- Dip the cooked and cooled doughnuts into vanilla flavored sugar glaze or chocolate glaze (chocolate ganache) for a vanilla glaze or chocolate glaze topping.
This recipe has not been tested with other substitutions or variations. If you do try, please let me know in the comments section below!
👩🍳How to Make
Mixing the yeast dough
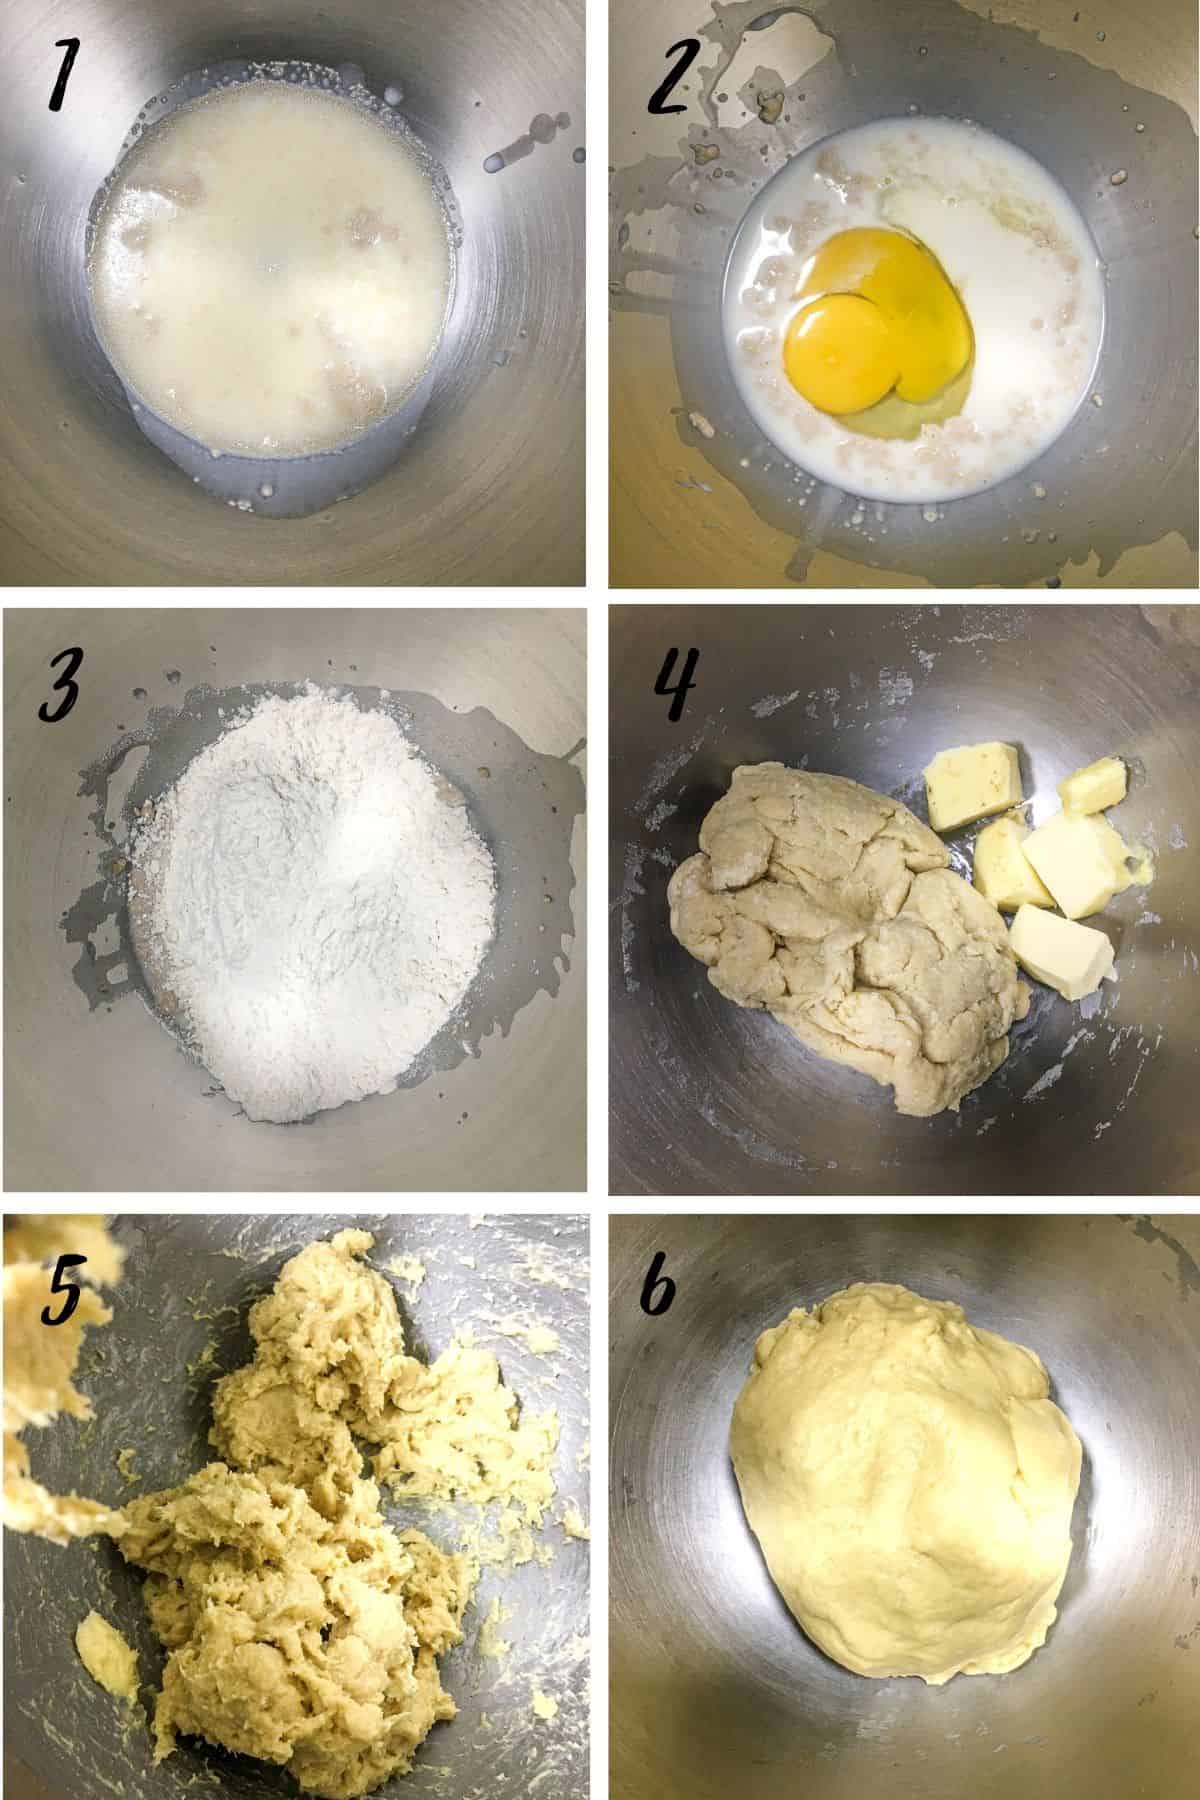
- Start by measuring the yeast into a large mixing bowl of a stand mixer. Add milk.
- Next, add the egg into the yeast mixture.
- Continue with the dry ingredients, i.e. the flour, sugar and salt. Start mixing all the ingredients (with a dough hook attachment on an electric mixer) on low speed for 2 minutes until they come together.
- Cut butter into small cubes and add into the mixing bowl. Continue to knead for 8 to 10 minutes on medium speed..
- The dough might look sticky a few minutes into adding the butter, and that is perfectly alright.
- Continue kneading until it comes together, smooth.
1st proofing and shaping the doughnuts
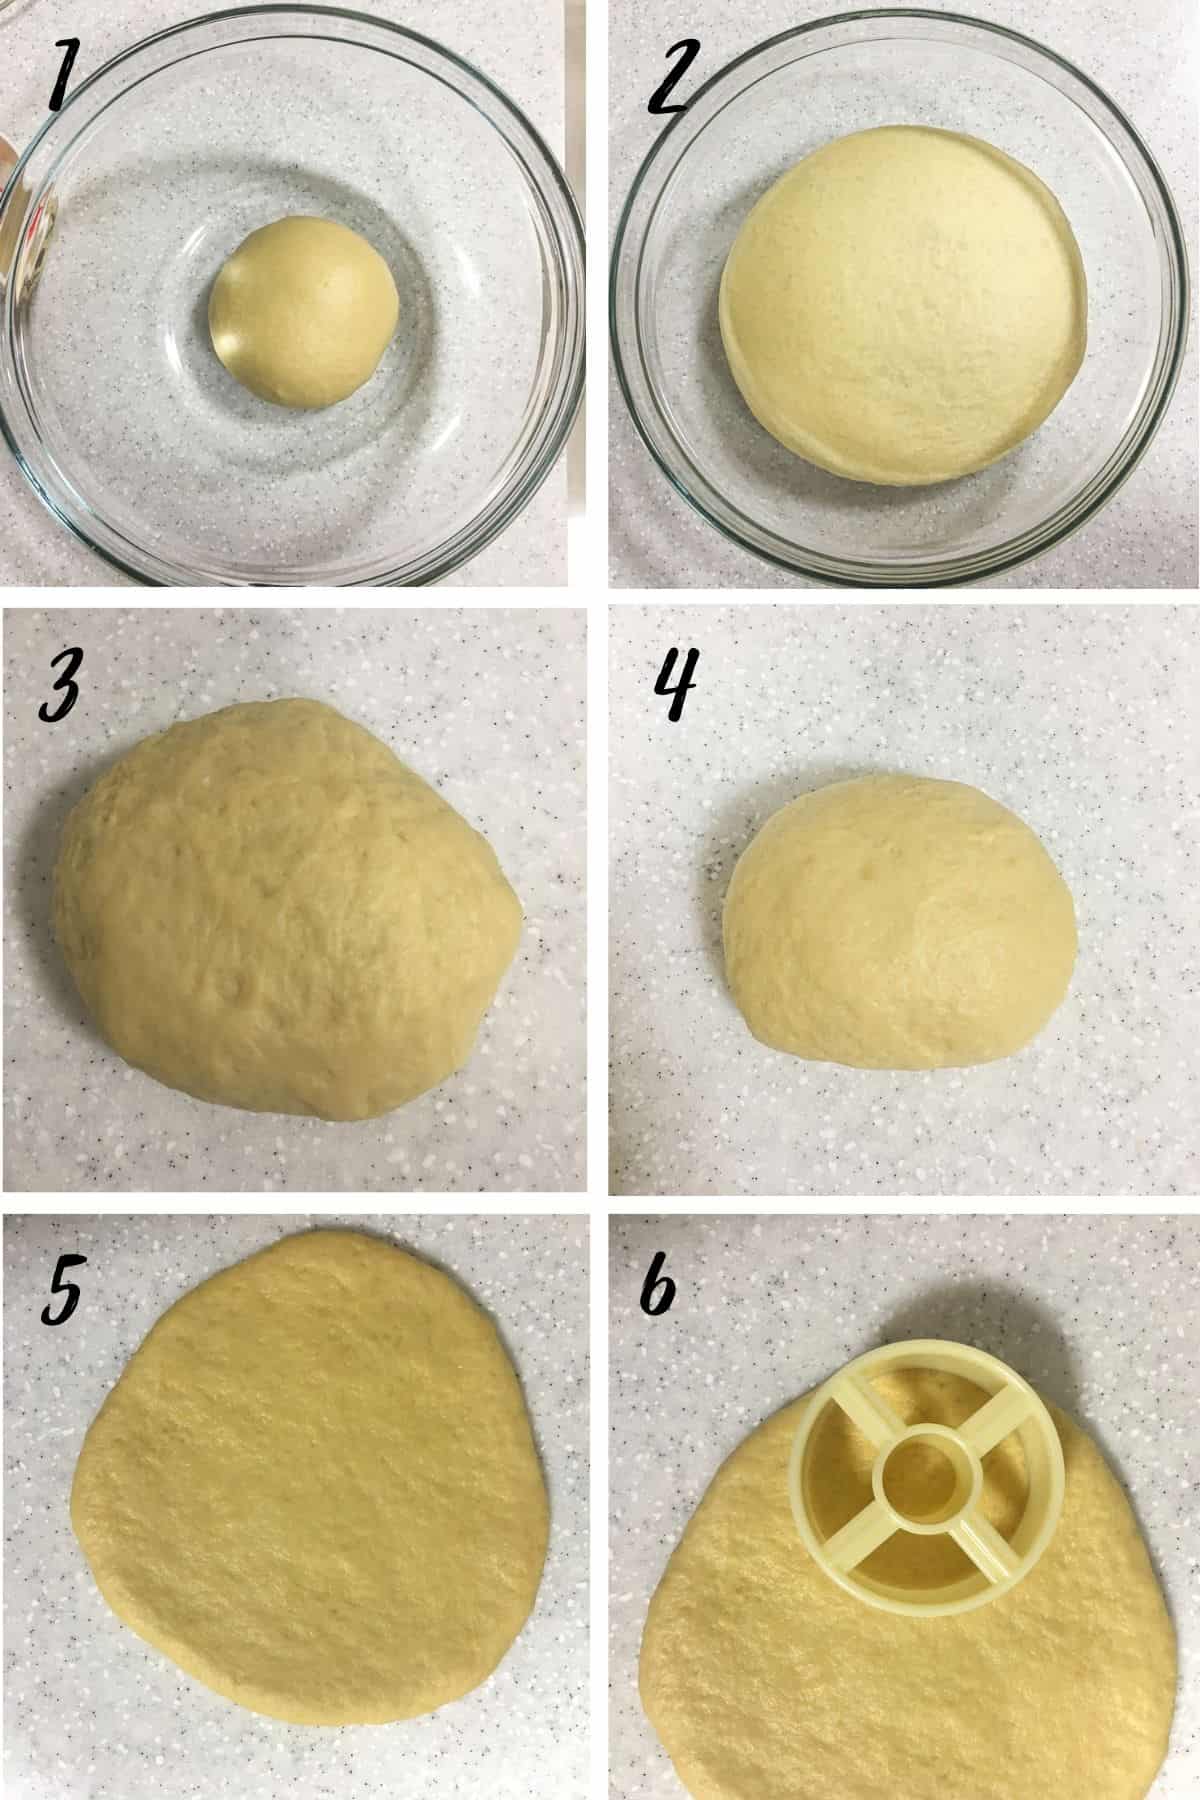
- Turn the soft dough out onto a lightly floured surface. Knead lightly to form a smooth ball. Place dough in a large greased bowl. Cover the bowl with a kitchen towel or cling wrap and let the dough rise (in a warm place or spot) until it is almost triple in size. This can take anytime between 1 hour or more, depending on the surrounding temperature.
- Once fully proofed, transfer it onto your workspace. Knead for a few minutes to knock out air bubbles in it.
- The dough might not be smooth initially, as you start kneading it.
- Continue kneading for 2 to 3 minutes until it becomes smoother.
- Divide it into 2 sections for easy handling and roll each section to about 1cm thick with a rolling pin.
- Use a ring doughnut cutter to cut the doughnuts out. Dip the cutter into flour to avoid the dough from sticking to it. Gather the scraps after cutting, form them into a ball and continue to roll and cut the doughnuts until the dough is all used up.
2nd Proofing and frying
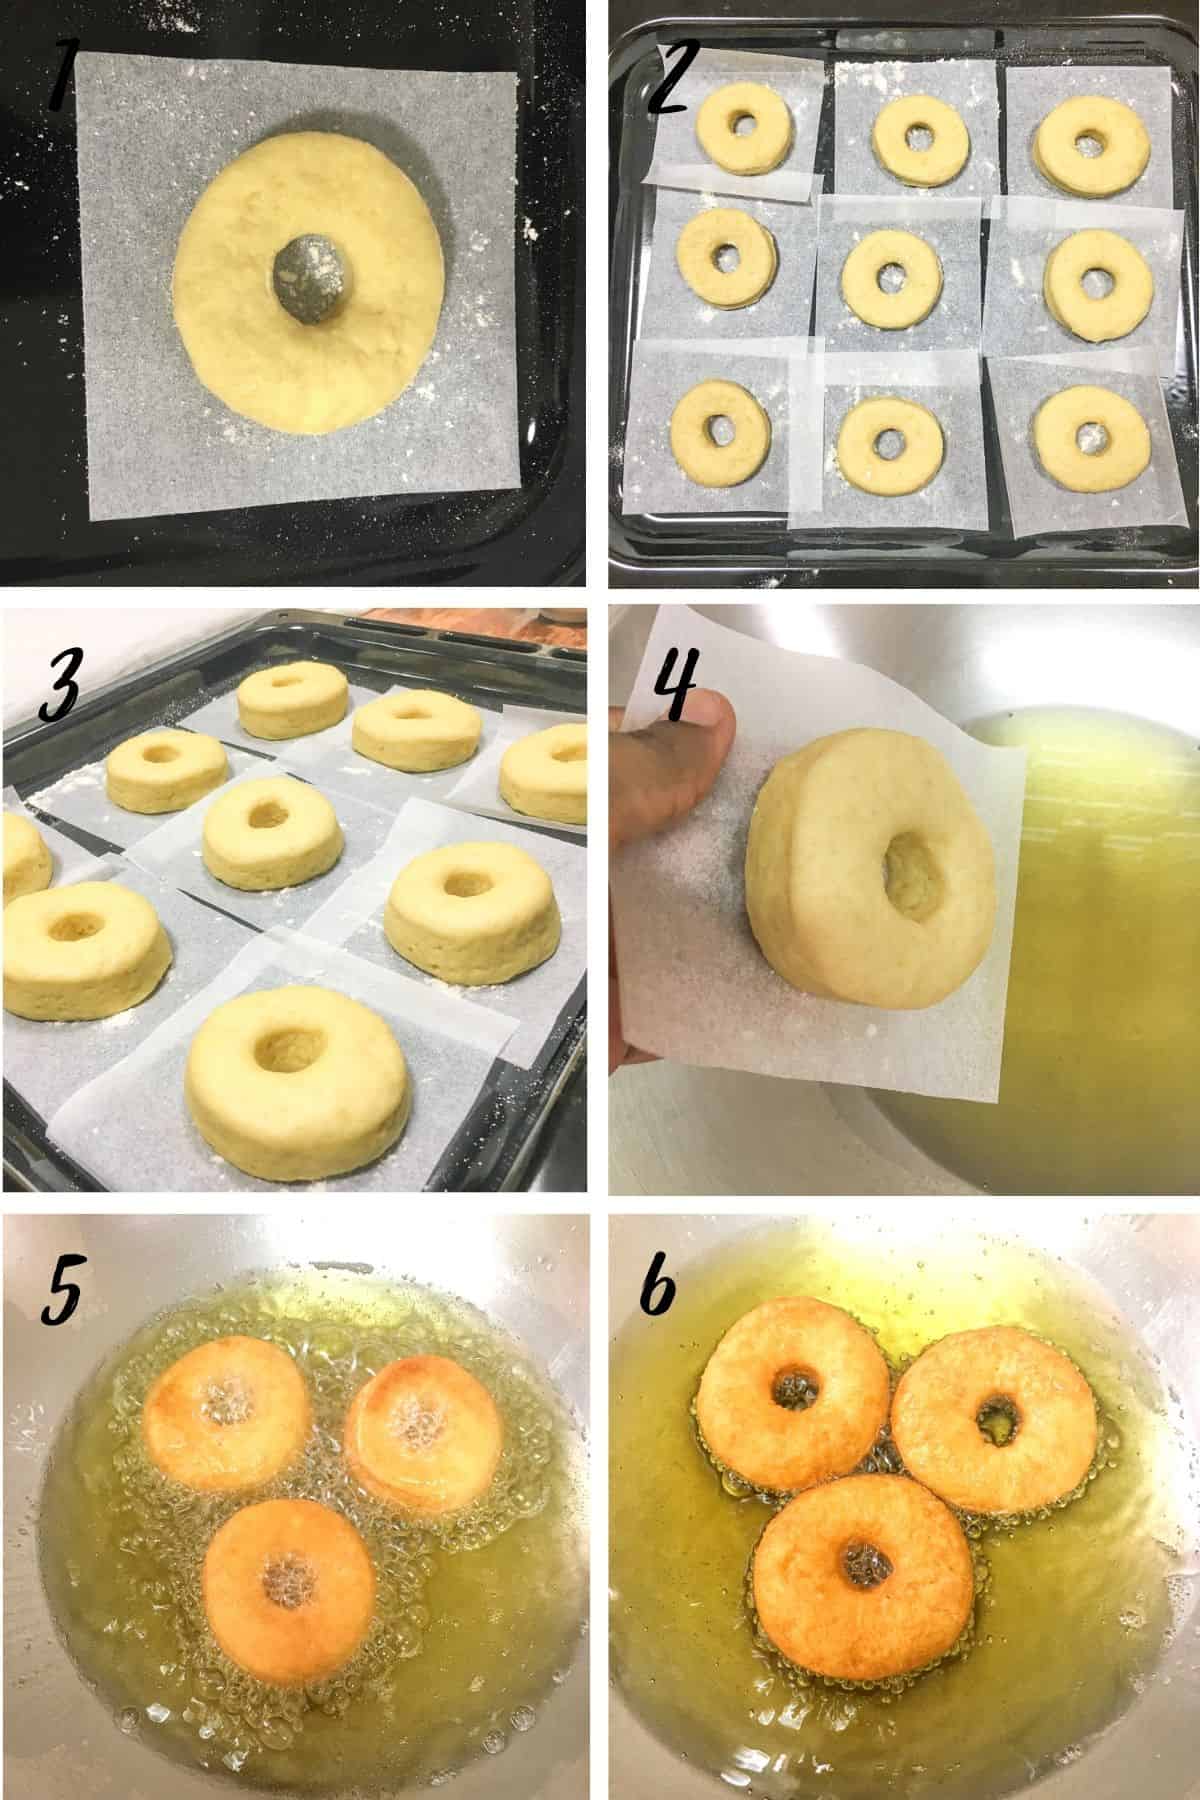
- As you cut each of the doughnuts, place them onto lightly floured parchment squares and arrange them on a large baking tray. Dusting the paper squares will ease in transferring the doughnuts into the oil when they are ready for frying.
- Space them to allow room for proofing without touching one another.
- Cover with a kitchen towel and let them proof until they have almost tripled in size. This can take any time between 1 hour to a few hours depending on the temperature.
- To fry these doughnuts, heat oil in a pan. Once the oil is heated up, carefully lift one doughnut along with the parchment square underneath and carefully slide it off the paper into the hot oil.
- Continue with a few more doughnuts, depending on the size of your pan. Fry the doughnuts on medium heat, turning them over with a tong halfway through to allow both sides of the doughnuts to cook.
- Fry until the doughnuts turn golden brown on both sides and the oil stops bubbling along their edges.
Coating the homemade doughnuts with sugar
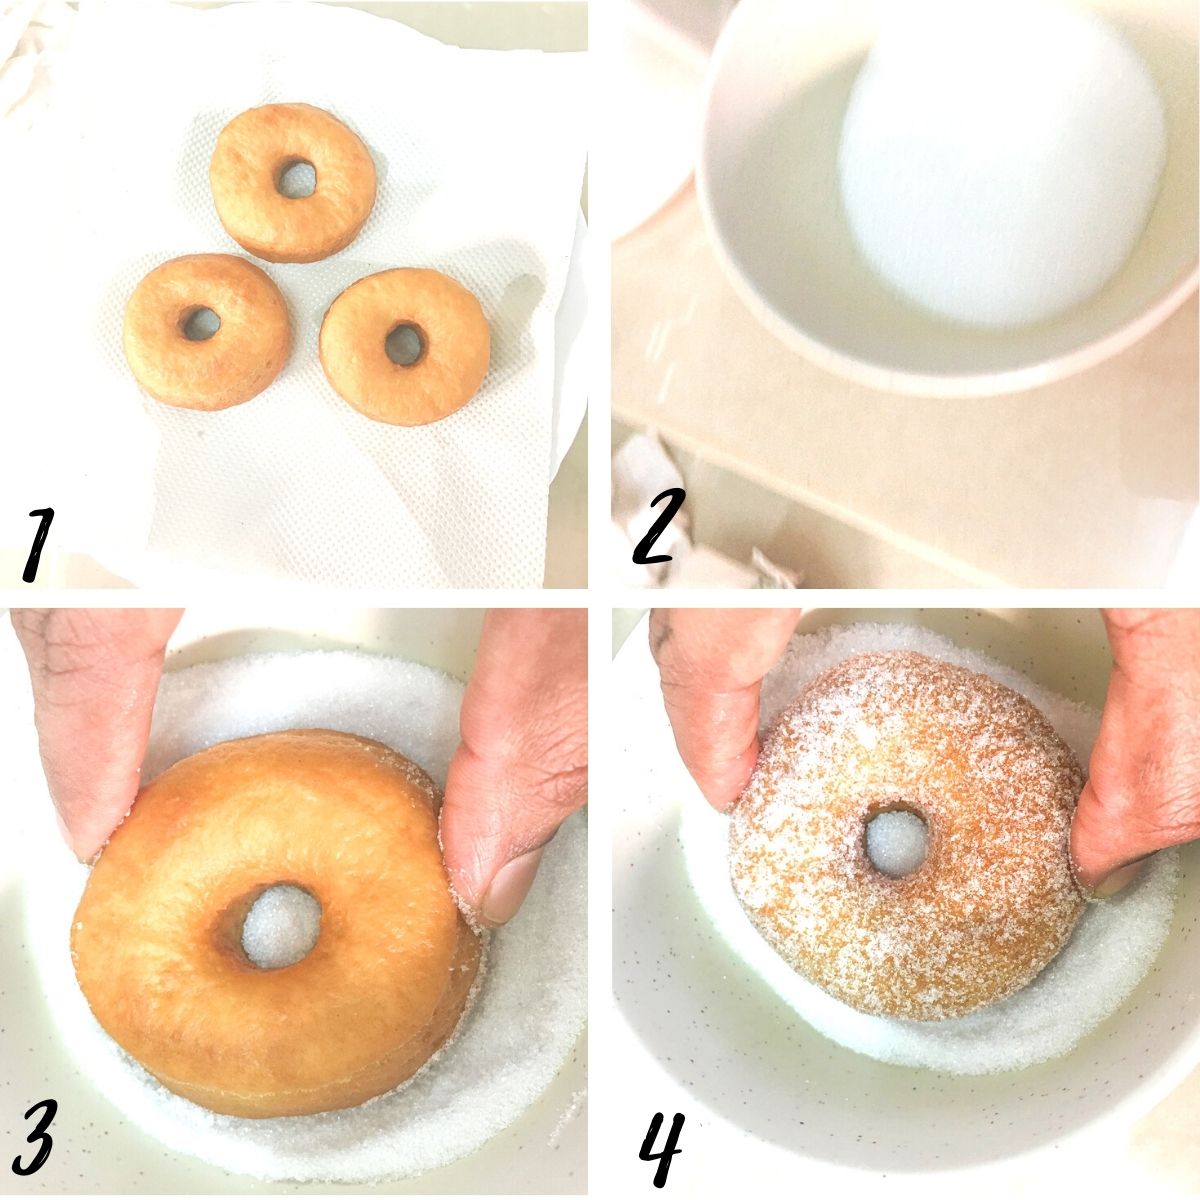
- Strain the doughnuts onto a kitchen paper towels lined plate to absorb excess oil.
- Once the doughnuts have cooled down, you can coat them with sugar. Add a few tablespoons of granulated sugar into a small deep bowl.
- Dip the doughnuts into the sugar, gently pressing into the sugar until they are halfway into the sugar.
- Lift and coat the other side of the doughnuts in the same way. Continue until all the doughnuts are fully coated.
🍽️Serving & storage
- These old fashioned homemade yeast doughnuts are best eaten on the day they are fried.
- They do last for more than one day, however, they tend to become a little stiff and dry the next day. They are at their best when consumed within a few hours of frying.
- There is also a tendency for the sugar coating to melt when you keep them for more than a day.
💡Expert Tips
- Be cautious not to add too much flour into the dough, as it can make the yeast doughnuts dense.
- Allow the dough sufficient time to rise (proof) until it has at least doubled in size. This can take any where between 1 to 2 hours or more, depending on the temperature and the yeast you are using. To prevent the dough from drying out, cover it with a clean kitchen towel or cover the bowl with a plastic wrap.
- Make sure to give sufficient space between each cut out doughnut when proofing them to avoid them to sticking to one another as they rise in size.
- Use a deep-fry thermometer to monitor the oil temperature. The ideal frying temperature for yeast doughnuts is between 173 to 175 degrees Celsius (approximately 345 to 350 degrees Fahrenheit). Make sure the oil is hot enough before adding the doughnuts, as this helps them develop a golden crust and prevents them from absorbing excess oil.
- Once the doughnuts are cooked, use a slotted spoon or tongs to remove them from the oil and transfer them to a paper towel-lined plate to drain excess oil.
💭FAQs
Yes, it can. If you do not wish to make the doughnuts on the same day you mix the dough, you can refrigerate or freeze it for later use.
Ideally, refrigerate if you plan to use it within the next day, and freeze it if longer.
To refrigerate, place it in a large bowl and cover the top of the bowl with cling wrap. The dough will continue to proof in the fridge albeit at a slower rate. The next day, remove it from the fridge, give it a knead for about 2 to 3 minutes to knock out any air bubbles before rolling and cutting the doughnuts. Let them proof for the second time and fry as usual.
To freeze the dough, wrap it tightly in a plastic wrap. Move it to the refrigerator section at least one day before frying the doughnuts. The following day, unwrap it, give it a short knead, and let it proof (1st proof) until it has almost tripled in size. Knock out the air bubbles from the dough and roll and cut the doughnuts before their 2nd proof and frying.
❤️More Recipes You Will Love
Do you like this recipe? Please leave a 5-star ⭐⭐⭐⭐⭐rating in the recipe card below and consider a review further down this page. I would love to hear from you. Thank you!
📖Recipe
Yeast Doughnuts (Old Fashioned Donuts)
For best results, use the metrics measurements. US customary measurements have not been tested and are only meant for guide.
Ingredients
Dough
- 225 g all purpose flour
- 5 g instant dry yeast
- 75 ml milk lukewarm
- ½ tablespoon granulated sugar
- 40 g butter
- 1 egg
- ⅛ teaspoon salt
- Oil for frying
Coating
- ½ cup granulated sugar (for coating)
Instructions
- Measure yeast into a large mixing bowl. Add the milk.
- Next, add the egg, followed by sugar, flour and salt.
- Mix on low speed for 2 minutes or until the dough comes together.
- Add butter and continue kneading on medium-low speed until the butter is all incorporated into the dough and dough becomes smooth and elastic. This should take about 8 to 10 minutes.
- Remove the dough from the bowl and shape it into a ball. Return the dough into the mixing bowl and let if proof until it has almost trippled in size. Keep the bowl covered with a kitchen towel or cling wrap while the dough proofs.
- Remove the dough from the bowl. Press it down to remove all air bubbles.
- Knead it for approximately 2 to 3 minutes, until the dough becomes smooth.
- Divide the dough into 2 sections for easy rolling. Roll each section to about 1cm thick.
- Using a ring cutter, cut out the doughnuts. Re-roll the scraps and cut out more doughnuts until the dough is all used up.
- Place each doughnut on a lightly floured parchment square. Arrange the doughnuts in a large tray, cover them with a kitchen towel and let them proof until almost tripled in size. Allow sufficient space between each doughnut so the they do not stick to one another as the rise in size.
- Heat oil in a deep pan or wok and fry the doughnuts until they turn golden brown. Turn them over halfway through to allow both sides to cook.
- Once done, remove from oil and drain them on a kitchen paper towel with a slotted spoon or tongs.
- For the sugar coating, fill the granulated sugar into a small bowl. Dip each doughnuts into the sugar on both sides before serving.
Notes
- Be cautious not to add too much flour into the dough, as it can make the doughnuts dense.
- Allow the dough sufficient time to rise (proof) until it has at least doubled in size. This can take any where between 1 to 2 hours or more, depending on the temperature and the yeast you are using. To prevent the dough from drying out, cover it with a clean kitchen towel or cover the bowl with a plastic wrap.
- Make sure to give sufficient space between each cut out doughnut when proofing them to avoid them to sticking to one another as they rise in size.
- Use a deep-fry thermometer to monitor the oil temperature. The ideal frying temperature for yeast donuts is between 173 to 175 degrees Celsius (approximately 345 to 350 degrees Fahrenheit). Make sure the oil is hot enough before adding the doughnuts, as this helps them develop a golden crust and prevents them from absorbing excess oil.
- Once the doughnuts are cooked, use a slotted spoon or tongs to remove them from the oil and transfer them to a paper towel-lined plate to drain excess oil.
Stephanie
What kind of flour do I use?
Priya Maha
Hi Stephanie, you can use regular all purpose flour.
Janessa Ferrer
Hi. If I will refrigerate the dough for overnight, is it necessary to proof it once before refrigerating it?
Hoping for your kind response thank you
Priya Maha
Hi Janessa,
No, it is not necessary. Place the dough in a large bowl after kneading. Cover the top of the bowl with cling wrap and place it in the fridge. The dough will continue to proof in the fridge. The next day, remove the dough from the fridge, press out the air bubbles, roll it and cut out the doughnuts. Let the doughnuts proof again before frying them.