

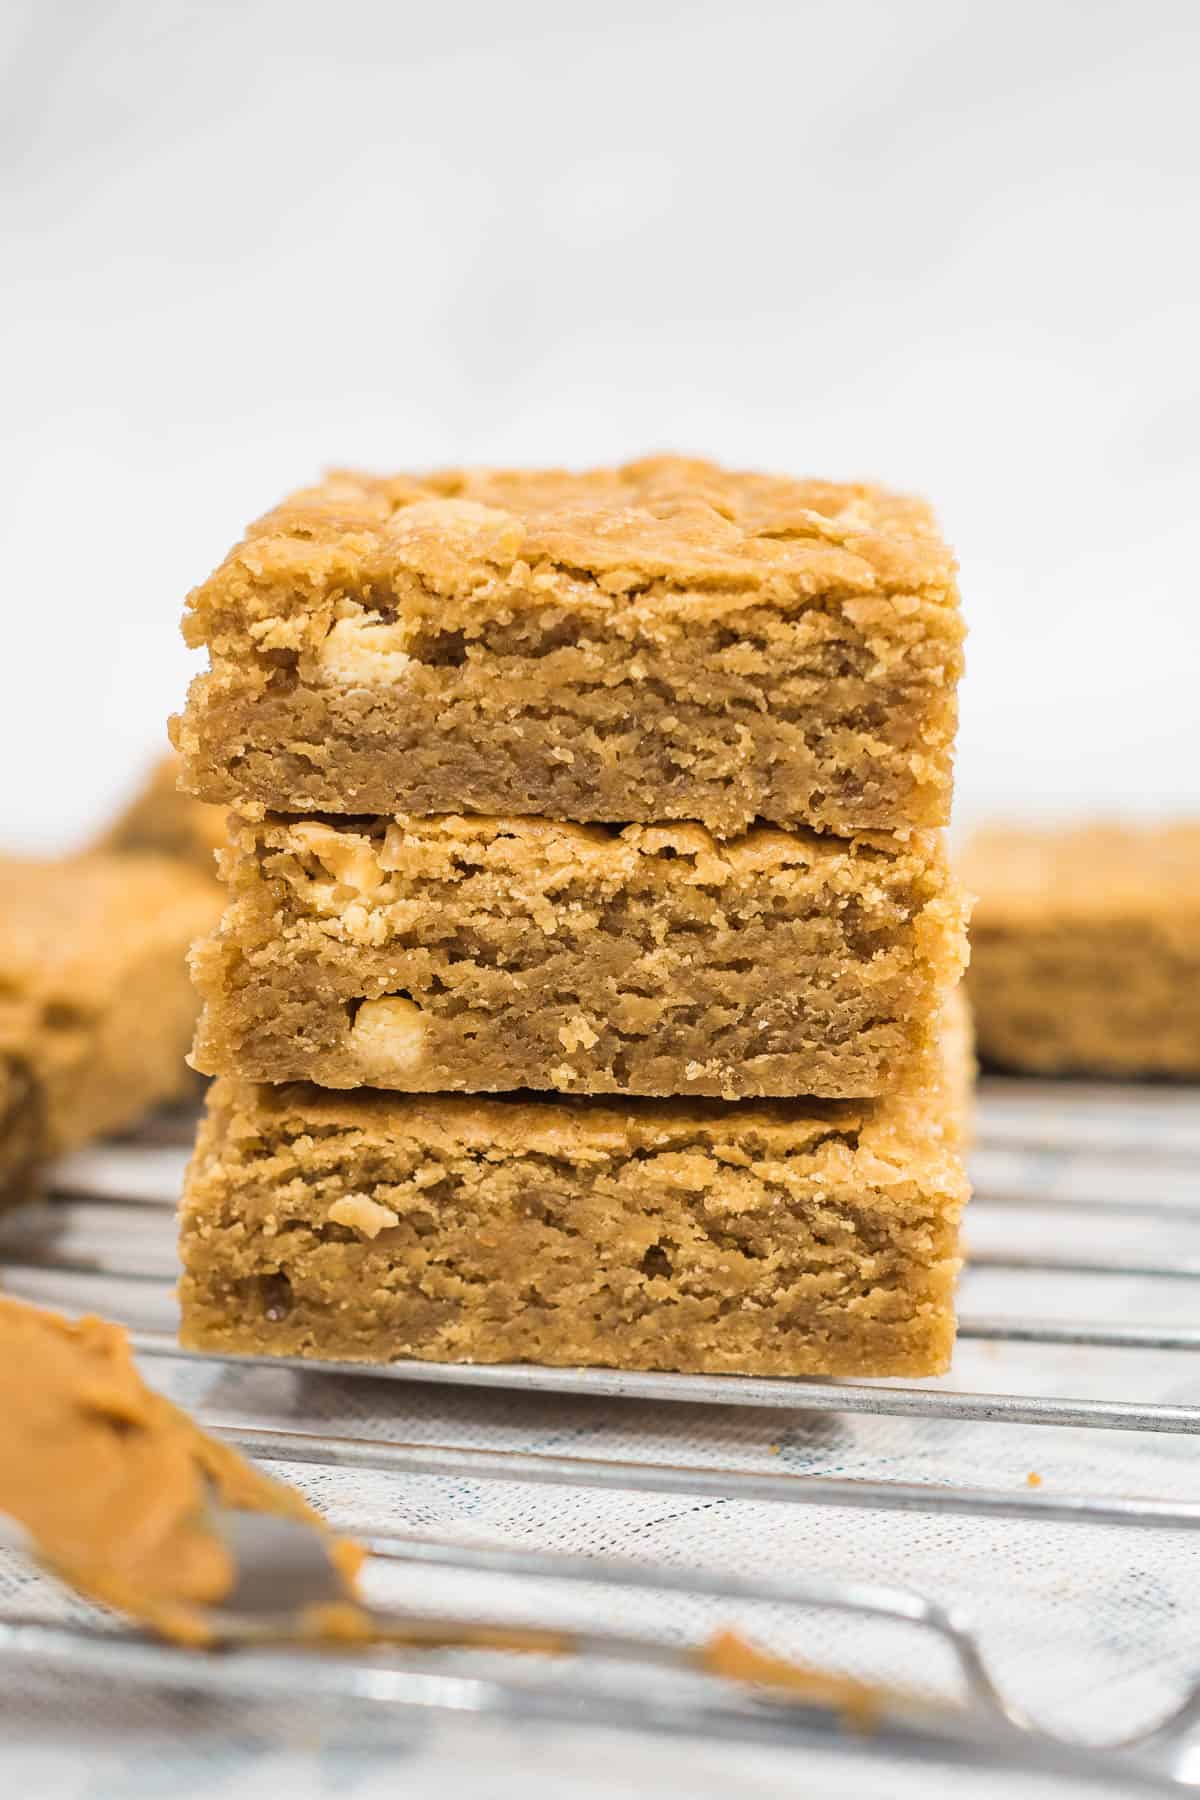
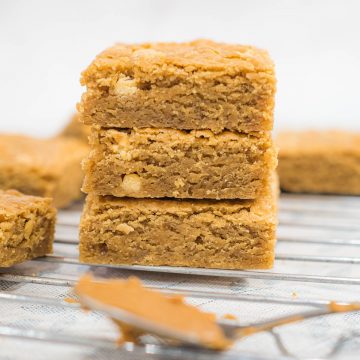
If you love cookie butter, these Biscoff blondies are perfect for you. With a soft, fudgy texture and light crisp top and edges, these Lotus Biscoff cookie butter flavored blondie bars are everything that blondies should be and much more!

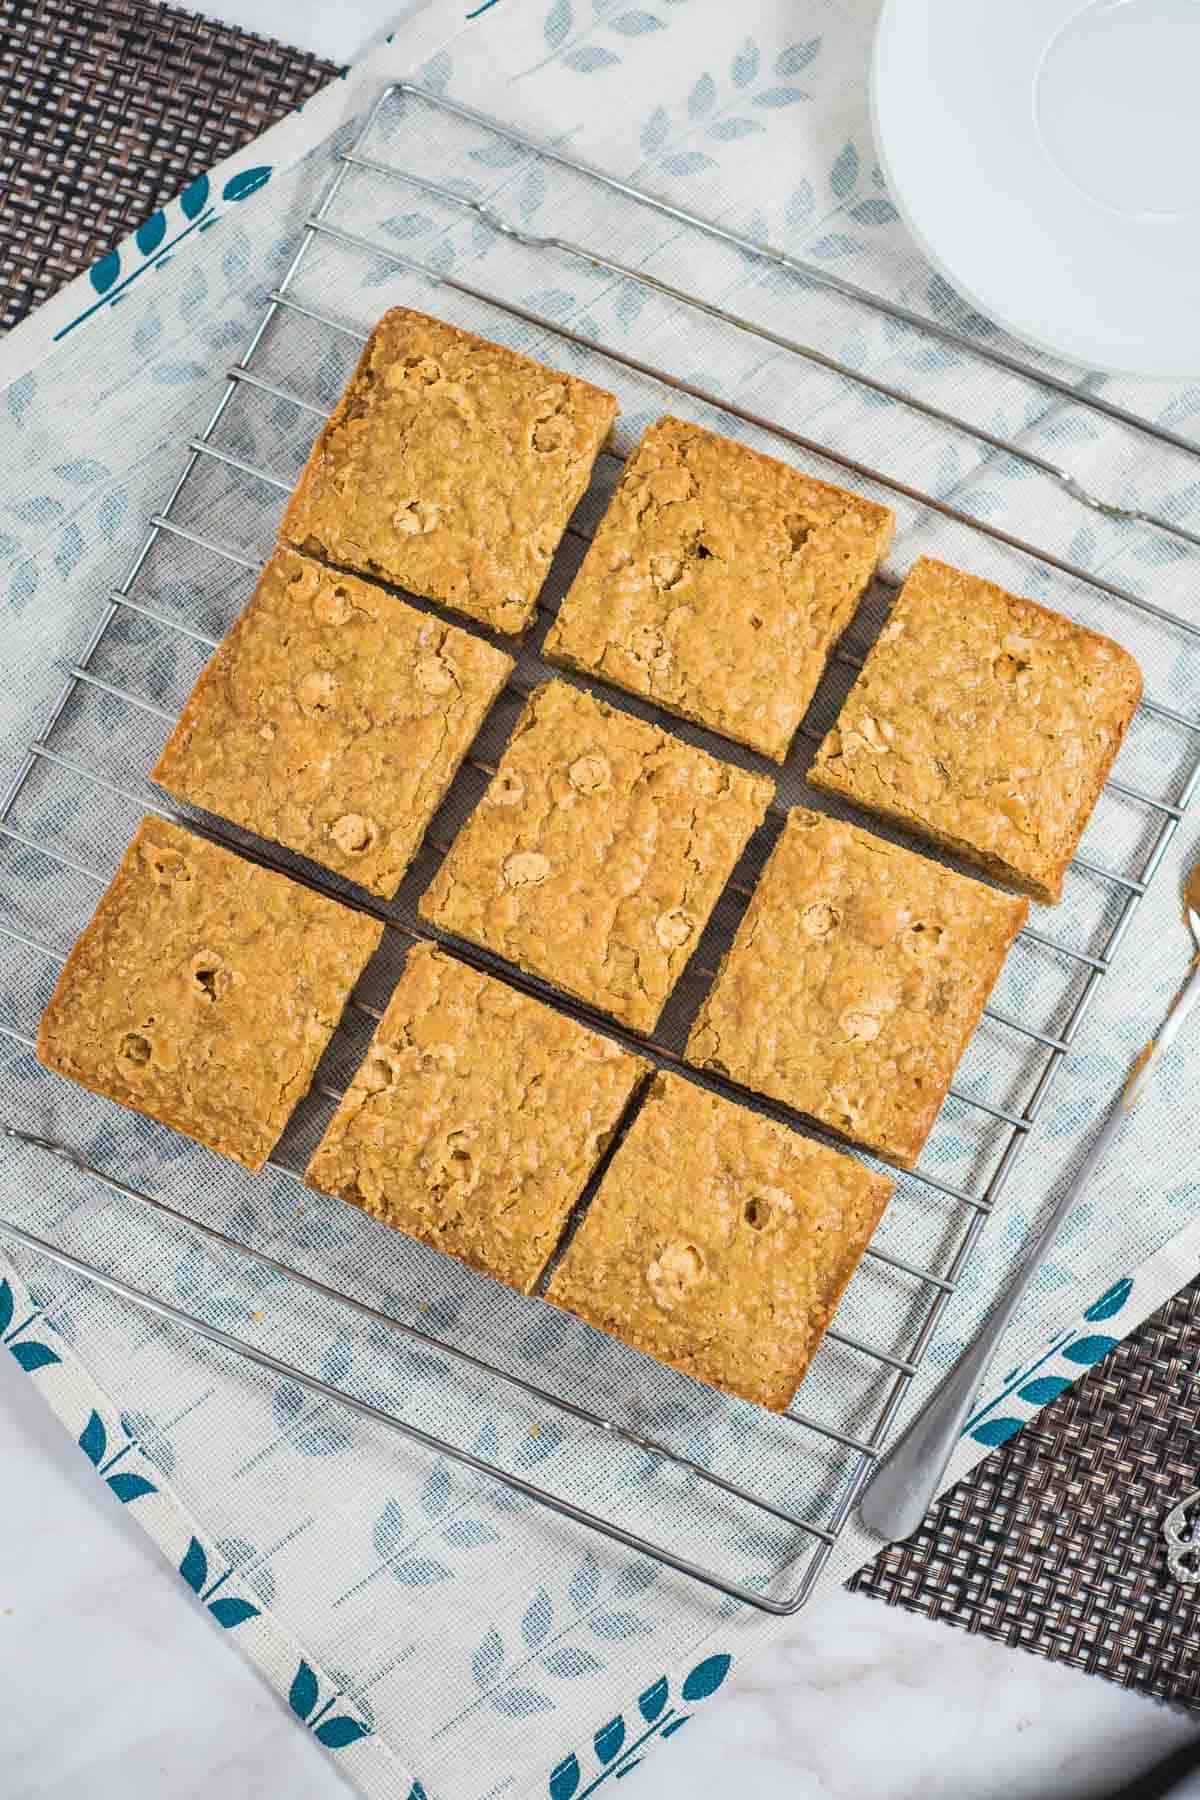
It is small batch blondie recipe, baked in a 7 inches square pan. Cut into 2 inches squares, you will get 9 pieces of cookie butter blondies and if cut into one and half inch squares, you will get 16 pieces.
Similar to my matcha blondies, these Biscoff blondies recipe is adapted from my basic blondie recipe by adjusting the amount of butter with Biscoff cookie butter.
And while you are here, you might also be interested in my fudgy triple chocolate brownies (with perfect crinkle top), easy dark cocoa powder brownies, ube brownies and nutty almond brownies.
Jump to:
❤️Why you will love this recipe
- This is an easy Biscoff blondies recipe and requires only 8 simple ingredients.
- It is a one-bowl recipe and you do not need any electric mixers (hand mixer or stand mixer) to make these. A simple hand whisk is all you need to mix the batter in under 10 minutes!
- It has a wonderfully fudgy texture and lovely caramel flavor, and makes the ultimate treat for cookie butter lovers.
📋Ingredients
- All purpose flour + salt - mix these together before sifting into the brownie batter. You can also sift them separately and then add into the batter. Either way, sifting helps to aerate the flour since there is no other rising agents in this recipe.
- Dark brown sugar - adds the signature molasses taste to the blondies. Light brown sugar can also be used, however, I do not recommend white sugar as brown sugar is unique for blondies.
- Butter (salted) - I use salted butter. Unsalted butter will also work fine.
- Lotus Biscoff spread (cookie butter) - star of the recipe and contributes to the delicious Biscoff taste in the blondies. I use the smooth variant, but you can also use the chunky variant.
- Eggs - use large eggs. Eggs help bind the ingredients together.
- Vanilla extract - adds flavor and a lovely aroma to the blondies.
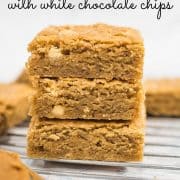
- White chocolate chips or chopped white chocolate chunks (optional) - these are optional but are definitely add an extra umph.
*Refer to the recipe card below for full list of ingredients and exact quantities. For best results, use a digital kitchen scale where applicable*
🧾Substitution and Variations
- To make brown butter Biscoff blondies, melt the butter and let it remain on heat until it turns brown before using.
- For extra texture, add crushed (break into large pieces, not crumbs) Lotus Biscoff biscuits into the brownie batter when mixing the white chocolate. Use between 8 to 10 biscuits or cookies.
- Lotus Biscoff is a brand name for cookie butter. You can replace it with any other cookie butter brand you like to make these cookie butter blondies.
This recipe has not been tested with other substitutions or variations. If you do try, please let me know in the comments section below!
👩🍳How to Make
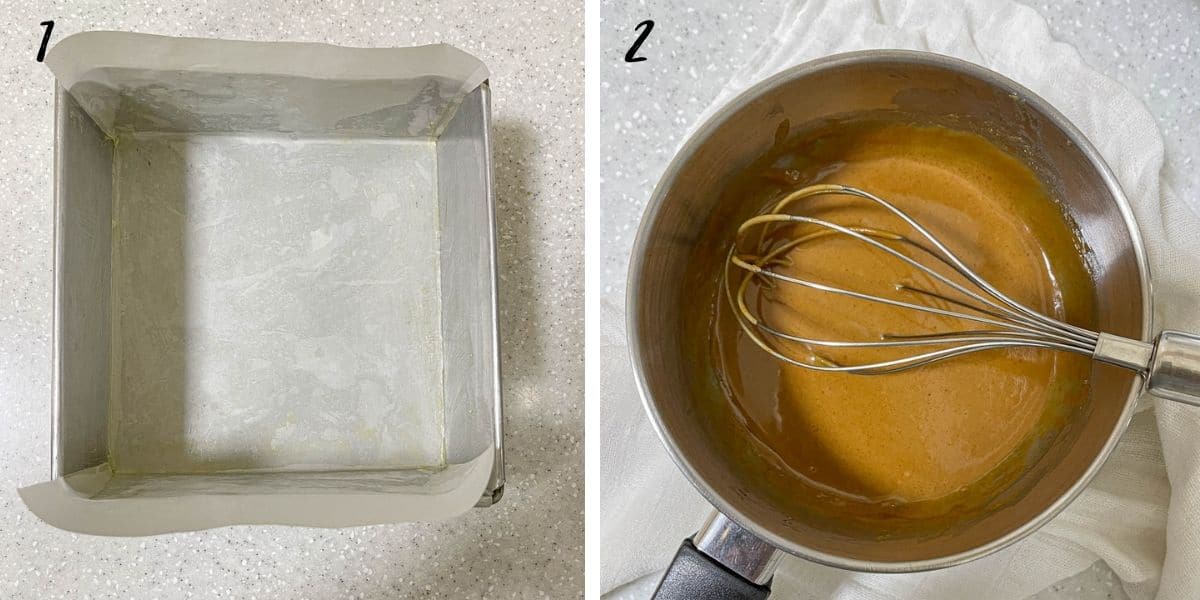
Step 1: Prepare the baking pan. Grease and line a 7 inches square cake tin with parchment paper. For easy release and lifting of the blondie from the tray after baking, let the paper overhang sightly on the sides (image 1).
Step 2: Place butter and cookie butter in a medium saucepan. Melt over low heat. As soon as melted remove from heat (image 2).
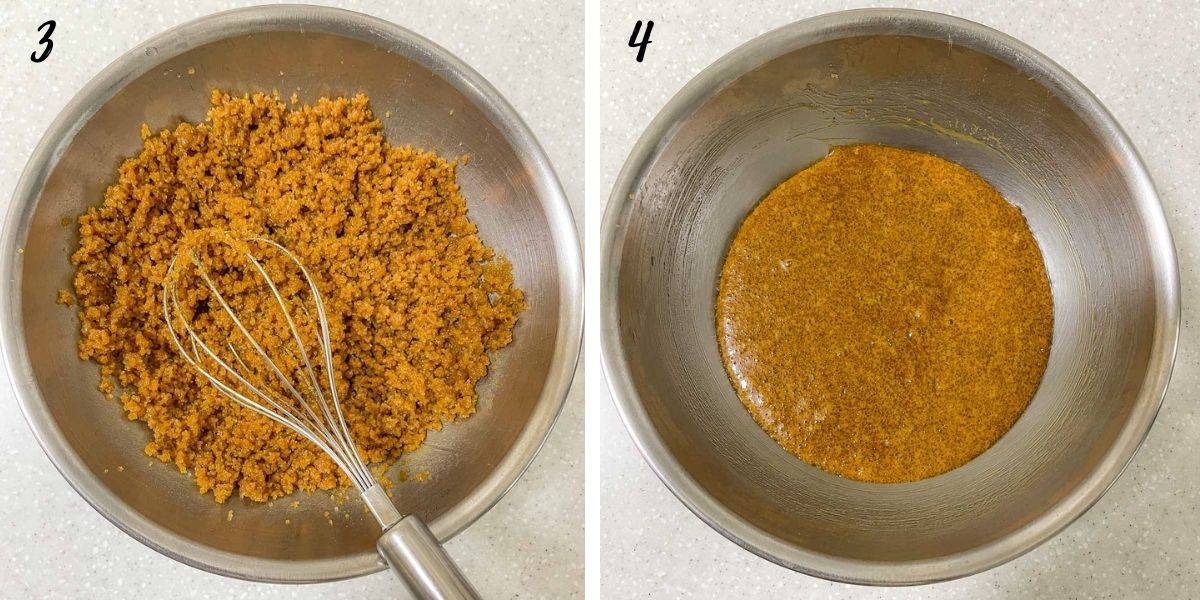
Step 3: Measure brown sugar into a large mixing bowl and add the hot melted butter and Biscoff to it. Whisk well. The mixture might appear a little dry at this stage (image 3).
Step 4: Add the eggs and whisk (image 4) until well incorporated into the butter and sugar (for about one minute), followed by the vanilla extract.
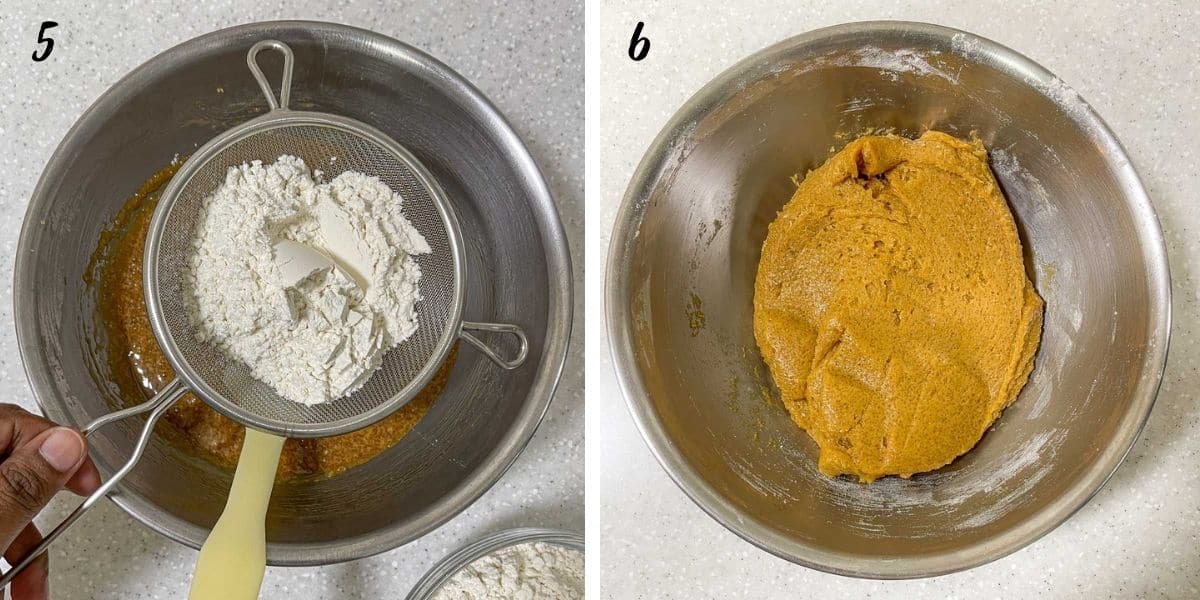
Step 5: Combine the flour and salt and sift into the wet ingredients. Fold until the flour mixture is just incorporated (images 5 & 6) .
Note: Do not overmix the batter. It can make your blondies tough.
Step 6: Reserve about 1 tablespoon of chocolate chips (or chunks) and mix the remaining into the Lotus blondies batter. If you wish to add the Biscoff biscuits, add them now.
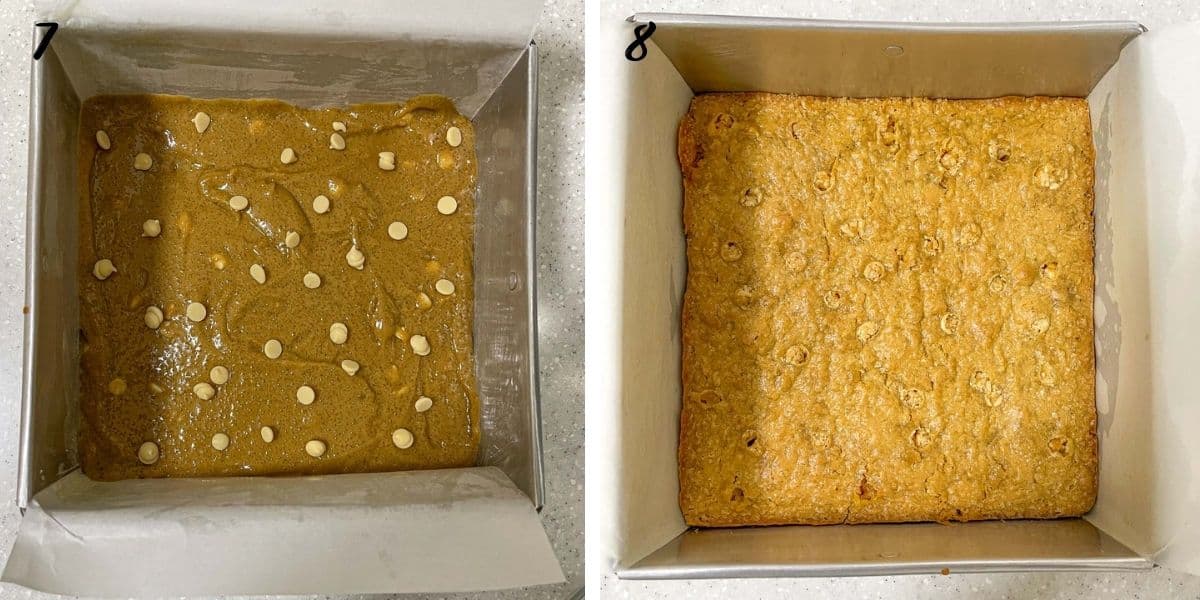
Step 7: Pour batter into the prepared pan. Level the top and sprinkle the reserved chocolate chips on top (image 7). Bake at 160 degrees Celsius for 20 minutes (until golden brown).
Step 8: Remove from oven and let the block rest in the tin for about 10 to 15 minutes (image 8) before carefully lifting it out of the tray onto a wire rack.
Note: You can hold the parchment paper that is overhanging on the sides of the tin to lift the blondie out. Alternatively, turn it out onto a wire rack (similar to cakes).
Step 9: Let the Biscoff blondie cool completely to room temperature and then place it in the refrigerator for 30 to 60 minutes before cutting. Once cut, the blondies can be stored at room temperature.
Note: Chilling in the fridge for 30 minutes will result in neat lines when you cut the blondies.
🍽️Serving & storage
- These Lotus Biscoff blondies can be served on their own. You can take them one notch better by adding a simple melted Biscoff drizzle or even chocolate ganache drizzle. Better still when you serve them with a scoop of Biscoff ice cream or plain vanilla ice cream!
- The blondies can last at room temperature for a good 5 to 6 days.
- If you wish to keep them longer, store them in the fridge (for up to 2 weeks), but make sure to keep them in an airtight container or wrapped in plastic wrap to avoid them from drying out in the fridge.
💡Expert Tips
- As soon as the blondie block is taken out of the oven, it will be soft. It will get firmer as it cools down. Let the blondie rest the tin for about 10 to 15 minutes before lifting out to reduce the risk of it breaking as you lift.
- Technically, you can make the blondies thicker by baking them in a smaller than 7 inches square tin, but if you do, you will have to adjust the baking time. I would recommend for these blondies to be baked in a 7 inches square tin to ensure the consistency remains soft, moist and fudgy.
💭FAQs
Blondies (and even brownies) sometimes end up with a cakey texture instead of a fudgy texture. This, I have come to notice, is dependent on the consistency of the batter.
Ideally, the blondies batter should be slightly thick (see the consistency in the step by step images above). Such consistency will produce a lovely dense and chewy texture. One way to control the consistency of the blondies is to ensure you limit the amount of liquid in the recipe.
This Biscoff blondies recipe has been tested a number of times and is proven to produce the right consistency of batter for perfectly fudgy and chewy blondies. If you follow the measurements provided in the recipe accurately, you can avoid a cakey blondie.
The refrigeration step is not a must, but I strongly recommend it. It allows the baked Biscoff blondie time to stabilize and the chilling solidifies the butter and Lotus Biscoff in the block, making it easier to achieve neater pieces when you cut it.
Blondies are similar to brownies but do not use cocoa. They bake into a golden brown color, as opposed to brownies which are normally dark brown, hence the names blondies and brownies.
The key difference is essentially the use of melted dark chocolate and cocoa powder in the brownies and none in the blondies.
In terms of texture, both the blondies and brownies have a lovely fudgy and chewy texture and are baked into a single block or bar and cut into smaller squares for serving.
The blondies do in a way, look like cookie bars, but they are not the same as blondies tend to be softer and more fudgy and also chewier compared to cookie bars.
Biscoff is a brand name for a type of spiced crunchy cookies / biscuits (also sometimes referred to as speculoos cookies). Originally from Belgium, these Lotus Biscoff biscuits are characterized by their distinctive caramelized flavor and crunchy texture. Made from a combination of warm spices, including a hint of cinnamon, nutmeg, and cloves, these crunchy Biscoff cookies offer a warm and comforting taste that pairs perfectly with a cup of coffee or tea.
In addition to the cookies, Biscoff is also well known for its creamy spread. It is made from finely ground Biscoff cookies and has a spreadable peanut butter consistency. Biscoff cookie spread is perfect for spreading on toast, dipping fruit and adds a lovely caramel and spice flavor to desserts.
❤️More Recipes You Will Love

Do you like this recipe? Please leave a 5-star ⭐⭐⭐⭐⭐rating in the recipe card below and consider a review further down this page. I would love to hear from you. Thank you!
📖Recipe
Biscoff Blondies (Perfectly Chewy & Fudgy)
For best results, use the metrics measurements. US customary measurements have not been tested and are only meant for guide.
Ingredients
- 100 g Biscoff cookie butter
- 25 g butter
- 140 g all purpose flour
- 200 g dark brown sugar
- 2 eggs
- ½ teaspoon vanilla extract
- ⅛ teaspoon salt
- 30 g white chocolate chips
Instructions
- Preheat oven to 160 °Celsius. Grease and line a 7 inches square cake tin with parchment paper (see Note 1).
- Melt butter and cookie butter over very low heat (see Note 2).
- Once melted, turn off the heat. Pour into the brown sugar in a large bowl and whisk until well combined. The mixture will appear dry and crumbly.
- Next, add both the eggs and whisk (with a hand whisk) until well incorporated, for about 1 minute. Add the vanilla extract and combine well.
- Sift the flour and salt into the wet ingredients and fold them in until well incorporated. Do not overmix.
- Finally, reserve 1 tablespoon chocolate chips and add the remaining into the batter (see Note 3). Mix well.
- Pour the Biscoff blondie batter into the prepared tin and level the top. Sprinkle the reserved chocolate chips onto the blondie.
- Bake for 20 minutes, until the top of the blondie turns golden brown. Remove the blondie from oven and let it cool in tin for about 15 to 20 minutes before lifting out onto a wire rack to cool completely (see Notes 4 & 5).
- Once the blondie has cooled to room temperature, place it in the refrigerator for about 30 minutes to 1 hour before cutting for neater slices (see Note 6).
Notes
- For easy release and lifting of the blondie from the tray, let the paper overhang sightly on the sides.
- To make brown butter Biscoff blondies, melt the butter separately until it browns before adding the cookie butter to melt.
- If you wish to also add the crushed (broken in large pieces and not crumbs) Lotus Biscoff biscuits into the brownie batter for extra texture, do it at this stage along with the chocolate chips. Use between 8 to 10 biscuits or cookies.
- You can hold the parchment paper that is overhanging on the sides of the tin to lift the blondie out. Alternatively, turn it out onto a wire rack (similar to cakes).
- As soon as the blondie block is taken out of the oven, it will be soft. It will get firmer as it cools down. Let the blondie rest the tin for about 10 to 15 minutes before lifting out to reduce the risk of it breaking as you lift it.
- Chilling in the fridge for 30 minutes will result in neat lines when you cut the blondies.
Leave a Reply