

Learn how to make intricate filigree icing for your cakes with this easy tutorial. It is perfect for making lace patterns and intricate designs on cakes and cupcakes and makes very pretty cake decoration. With the correct techniques, this icing technique is very easy to learn and make.
This is a piped decorating technique and is quite a traditional form of cake decorating.
It is most often used in decorating wedding cakes due to its intricate nature which resembles delicate designs such as laces and lace borders. Nevertheless, this technique can be used on any cake and is quite easy to learn.
Jump to:
❤️Why you will love this tutorial
- It is very easy to learn.
- It makes very pretty and intricate design on cakes.
- You can prepare the filigree icing in advance and attach it to cakes when you need to.
- Saves a lot of time and stress in making intricate designs on cakes as you can make it in advance.
If you like this tutorial, you should also check out my tutorial on how to pipe consistent lines on cake, how to make buttercream basket weave pattern on cakes, how to make royal icing butterflies and how to make easy buttercream flowers for beginners.
🧾Supplies required
- Royal icing in stiff, pipeable consistency
- Round piping tip #1 or #2 - I use Wilton brand. You can use any brand you like. The smaller the tip, the more intricate your filigree patterns will be.
- Parchment paper or non-stick baking sheets - to pipe the icing on.
- Templates - you can hand draw these, or print them off the internet (do an internet search and look for patterns you like)
- Paper clips - to hold the parchment paper and the paper templates.
👩🍳How to Make
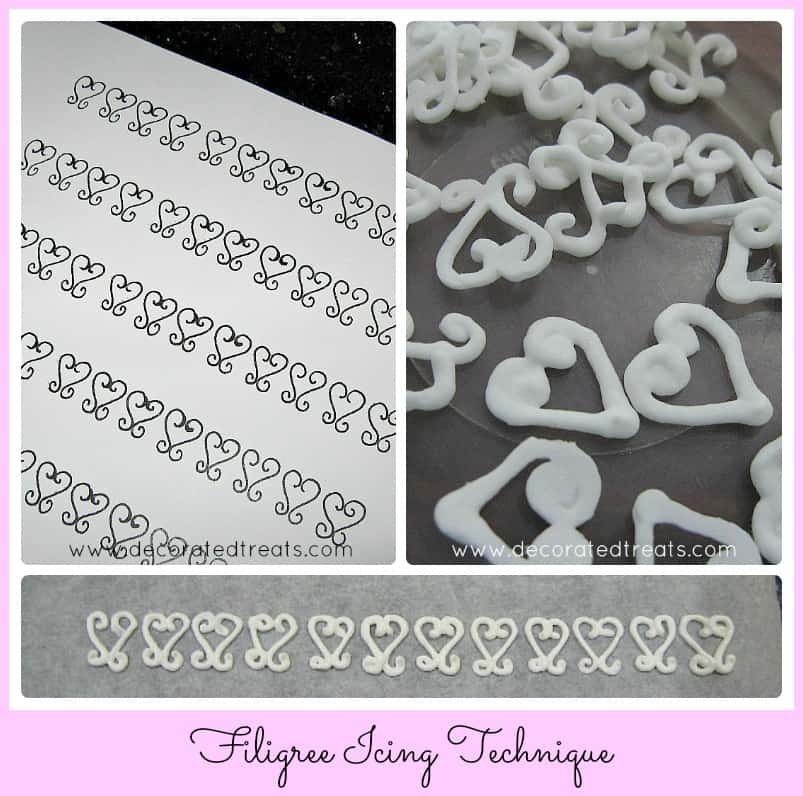
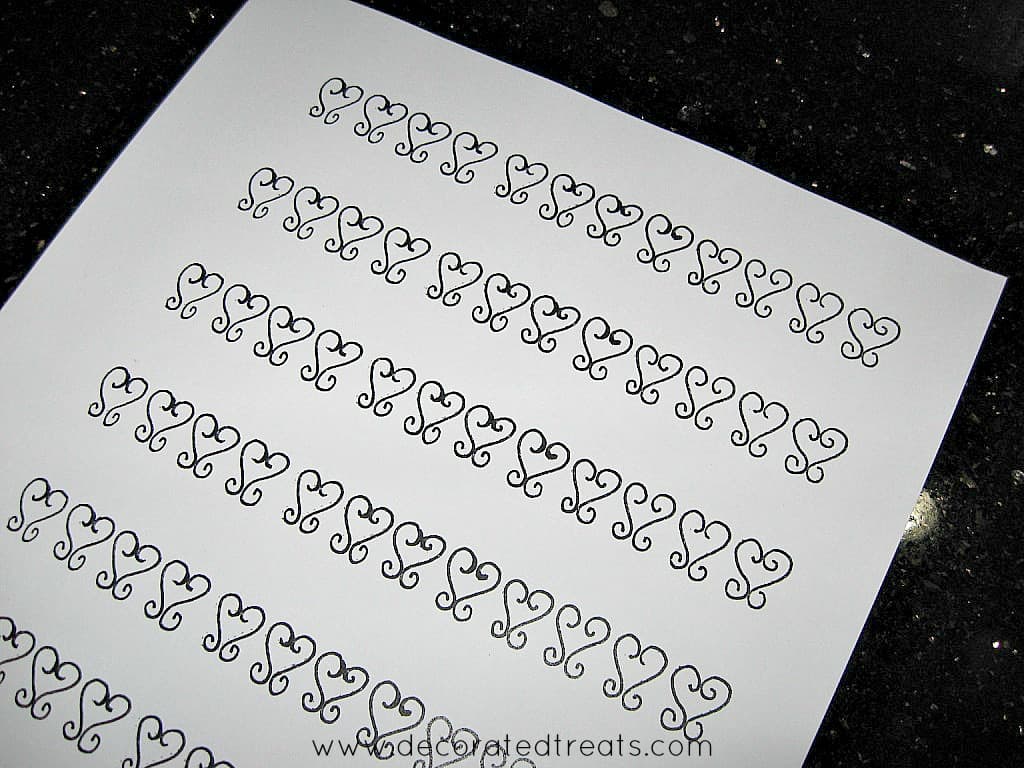
Step 1: Prepare the pattern template
First and foremost, get the designs ready. Make a rough estimate of how much of the finished lace pieces you need for your cake and get the required number of templates ready.
You can create your own designs by drawing out one row and then copying it until your paper is filled with it.
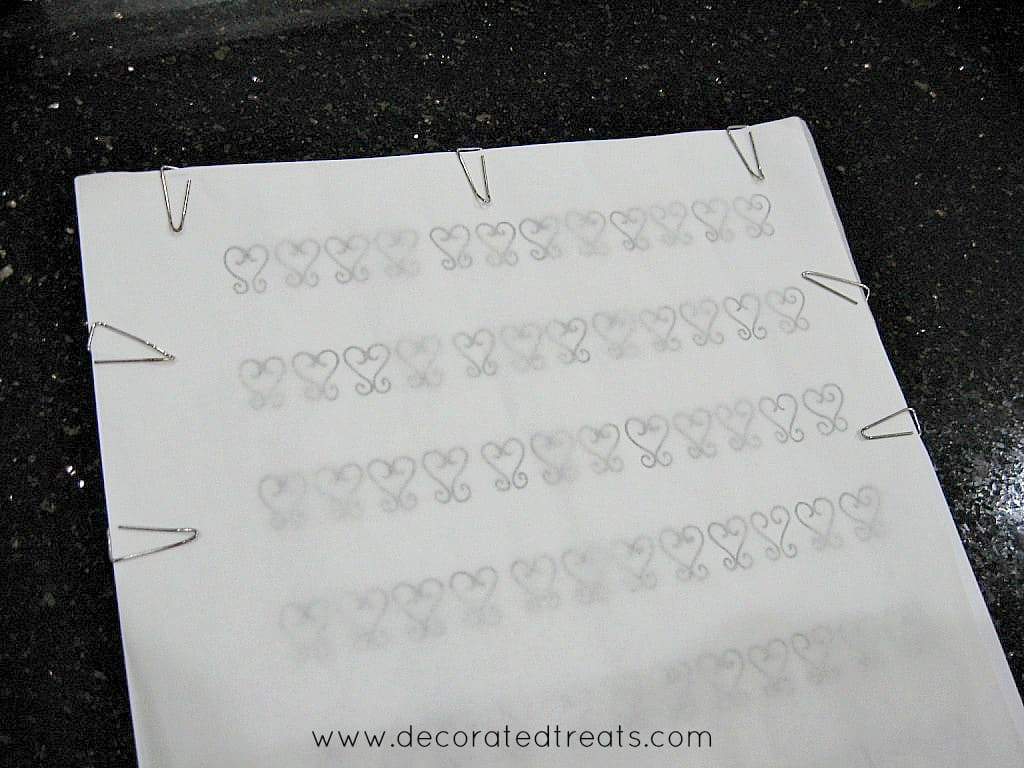
Step 2: Attach parchment paper to the templates
Cut a piece of parchment paper or nonstick baking sheet as big as your template.
Place the parchment paper on the template and secure both papers with paper clips so that the papers don’t move while you are piping your designs.
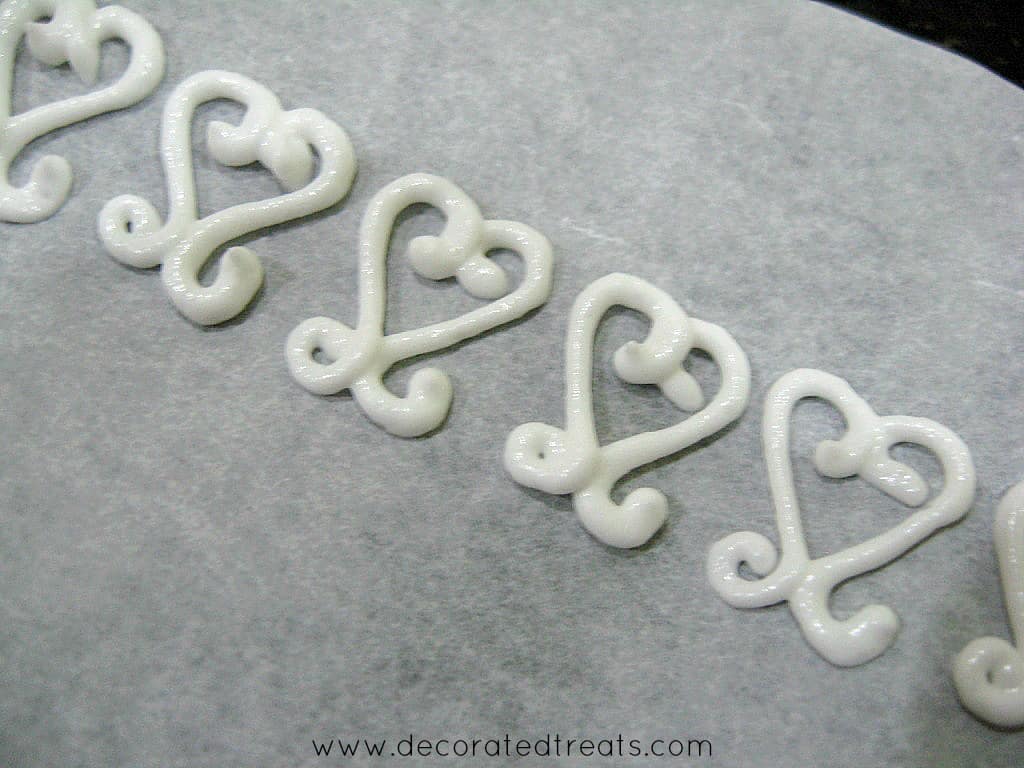
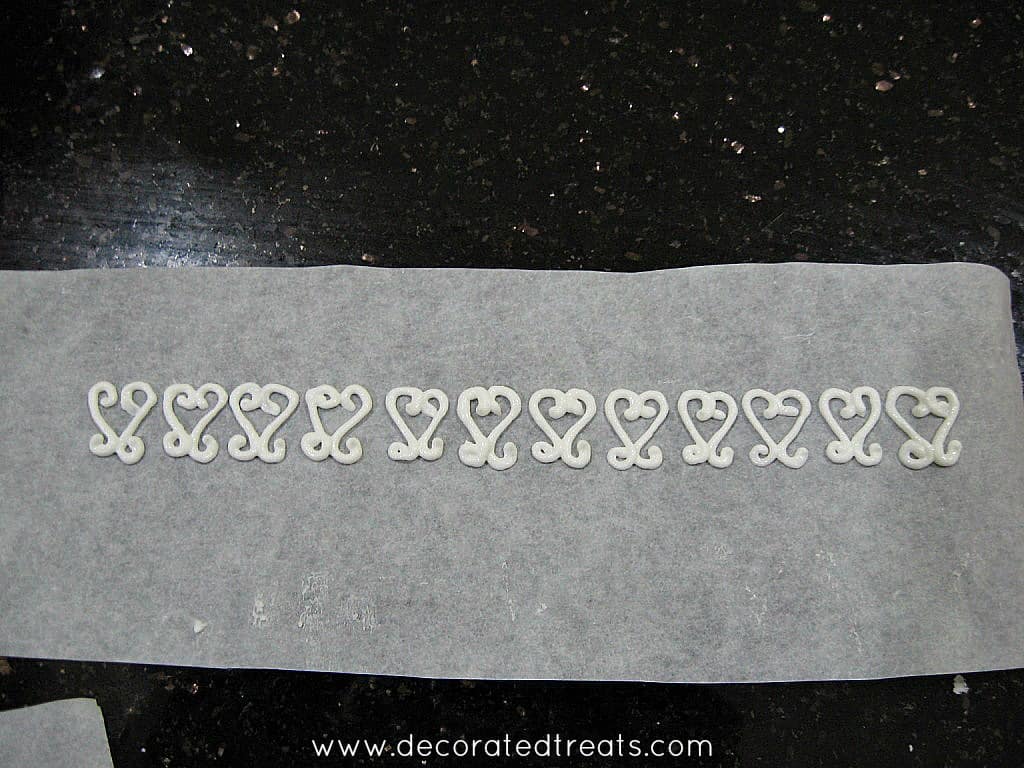
Step 3: Pipe the icing
Next, place the clipped sheets on a flat and even surface.
Fill the royal icing into a piping bag fitted with a small round piping tip (use tip #2 or #3 if you just starting out).
Trace the patterns on the template onto the parchment paper with the icing.
Step 4: Allow the icing to set completely
Once all the designs are traced with royal icing, remove paper clips and let the icing to dry and set completely.
Depending on the humidity of your place, the royal icing needs anytime between one hour to overnight.
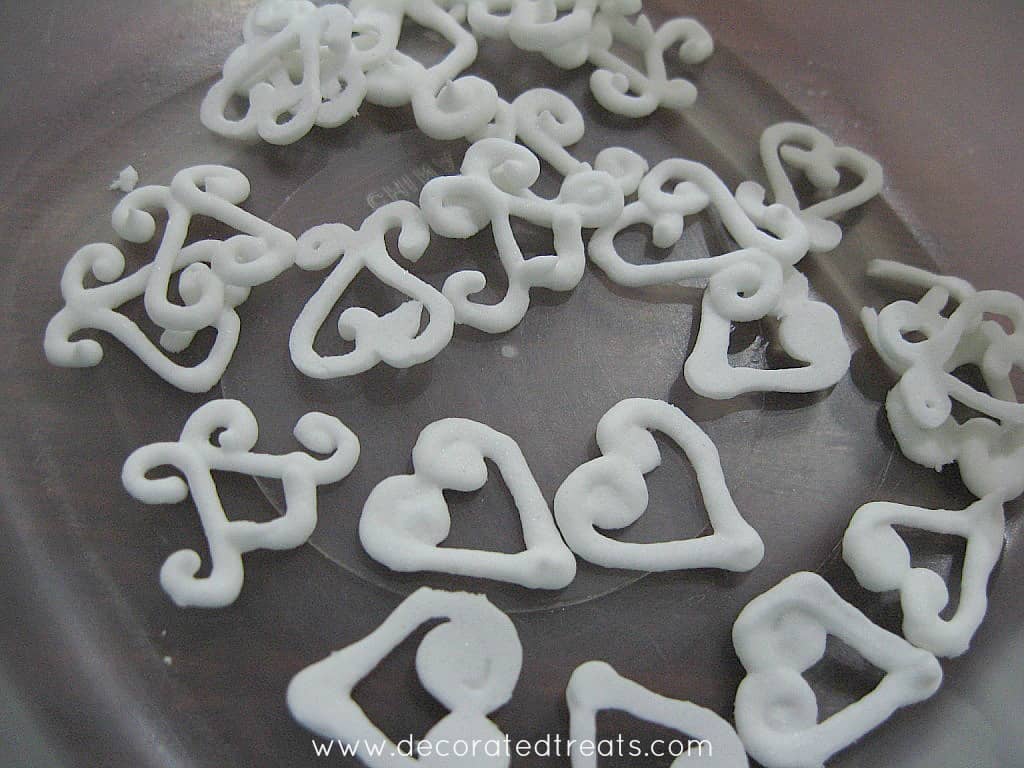
Step 5: Peel and use
Once they are completely set, carefully peel off the icing from the parchment paper. If the icing is completely set, the icing should separate for the sheets easily.
If they don't, leave them aside for a little longer until they are completely dry. Once peeled, the filigree designs are ready to be used.
They can be attached to cakes with dots of royal icing, either as flat deco or since they are all dry and set, they can even be attached in an upright position, depending on the design of the cake.
If not using immediately, store them in an airtight container.
💡Expert Tips
- Always remember to make slightly more than what you need to allow for breakages.
- When peeling the dried icing, do it gently as these piped patterns are thin and fragile.
- When choosing the patterns, it is easier to work with small ones instead of long and big ones as they are more prone to breaking.


Leave a Reply