

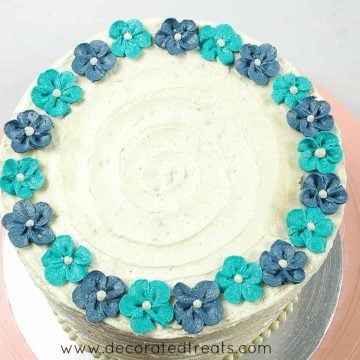
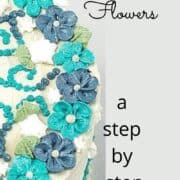
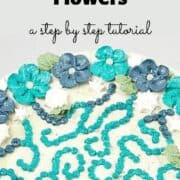
These easy buttercream flowers tutorial teaches you how to make simple buttercream flowers that take only seconds to pipe. They can be made in advance, very easy to master and definitely elevate your cakes and cupcakes.

Jump to:
❤️Why you will love this tutorial
- The flowers are very quick to pipe, you can complete each within 30 seconds.
- With the step by step tutorial and video, these flowers are easy to master and are perfect for beginners.
- They also make pretty decoration for cakes, cupcakes and even cookies.
- You can make these buttercream flowers in advance, saving you time and hassle of piping them directly on the cake or cupcakes.
If you like these easy buttercream flowers, see how I have used them to decorate this simple buttercream flower cake. And for more buttercream flower piping, check out these pretty sunflower cupcakes and daisy cupcakes. You can also check out my very easy to make buttercream rosette cake and daisy cookies for more piped flower decorating ideas.
📋Supplies required
- Buttercream - should be in stiff, pipeable consistency.
- Food coloring - I used Americolor navy blue with a little royal blue and a very light hint of black for the dark blue flowers. The other color is turquoise and I used Americolor Turquoise.
- Wilton petal piping tip #101 for the petals and round piping tip #3 for the centers
- Piping bags and icing couplers - I used disposable piping bags.
- Icing nail (flower nail) - to pipe the flowers on.
- Parchment paper squares - cut into 2 inches by 2 inches squares.
*Refer to the recipe card below for full list of ingredients and exact quantities. For best results, use a digital kitchen scale where applicable*
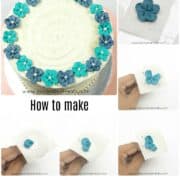
👩🍳How to make
Step 1: Prepare the parchment squares.
Cut them into 2 inches by 2 inches squares and set aside.
Step 2: Make the buttercream
Add butter into a large bowl and beat until creamy. Add sifted powdered sugar to the creamed butter and beat again until it is creamy and fluffy. Add vanilla extract and beat again until well combined.
Note: Scrape the bottom and sides of the bowl at least once half way through to make sure the butter and sugar are well combined.
If you find the icing too stiff, add some milk. Always do it is small increments of half a teaspoon to make sure you do not add too much and make the buttercream too soft.
Note: To determine if the consistency is right, test by transferring some into a piping bag with a different tip or nozzle. If it is ok to pipe and holds its shape well, you can proceed to color the icing.
Remove some of the icing into a small bowl and tint it white. This is for the flower centers.
Divide the remaining into 2 medium bowls. Tint the first bowl with navy blue and add a tiny bit of royal blue and a small tinge of black to it. Tint the second bowl with turquoise. Mix well.
Fit 2 piping bags with the round tip and the petal tip each. Transfer the white icing into the round tip bag. Transfer the blue and turquoise frosting into 2 separate piping bags (without any tips attached).
Note: Fitting the tip separately into a bag and the frostings into a different bag will make it easy to use the same tip for different colored icing. Read more about how to manage different colored icing for the same piping tip here.
Step 3: Attach the parchment paper to the flower nail
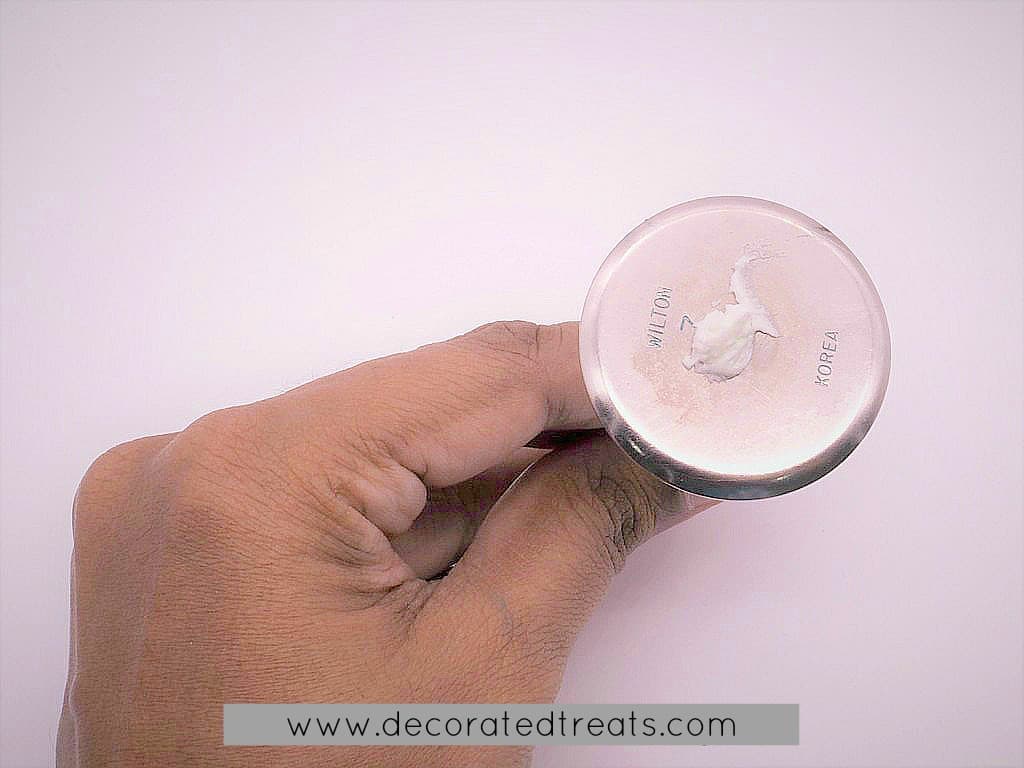
Firstly, dab a little icing onto the flower nail.
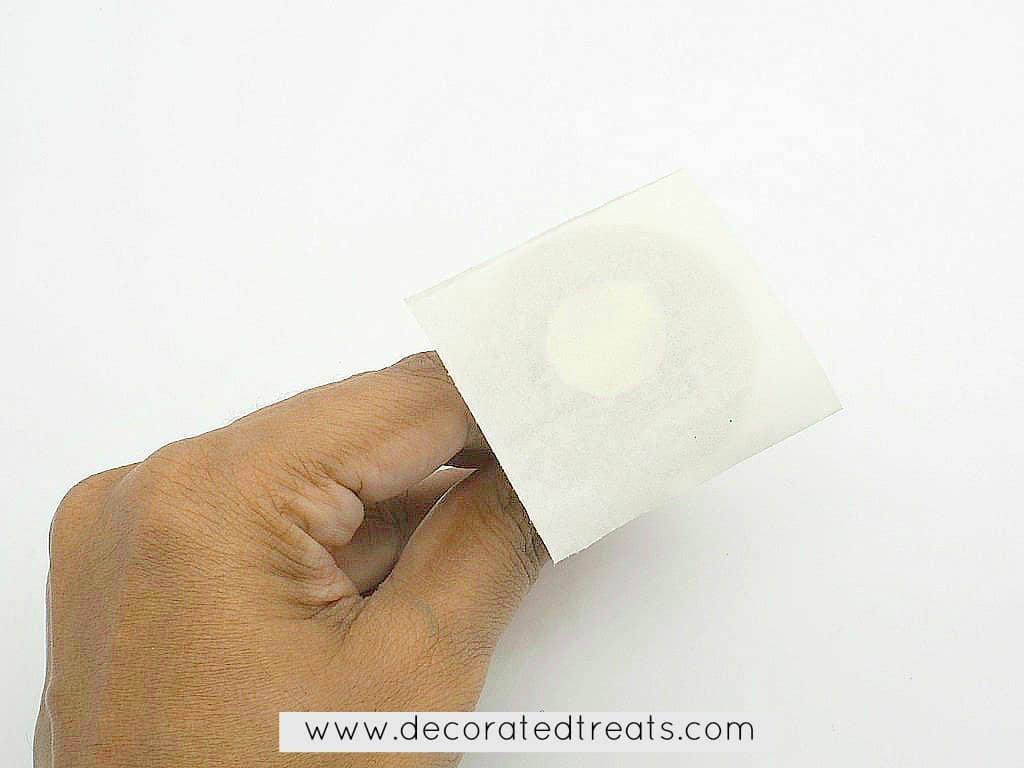
Stick a parchment square onto the flower nail. The buttercream acts to hold the paper in place while you are piping the flower.
Step 4: Pipe the flowers
Snip the tip of the piping bag with navy blue buttercream. Insert the bag into the piping bag fitted with petal tip #101.
Hold the flower nail in your left hand and the piping bag on your right with the tip positioned at a 45 degrees angle from the paper. Make sure the narrow end of the tip is on the top and the wider end at the bottom.
Note: Holding the tip at a 45 degrees angle will ensure the petals do not lay flat on the paper and instead, have a natural curved petal look.
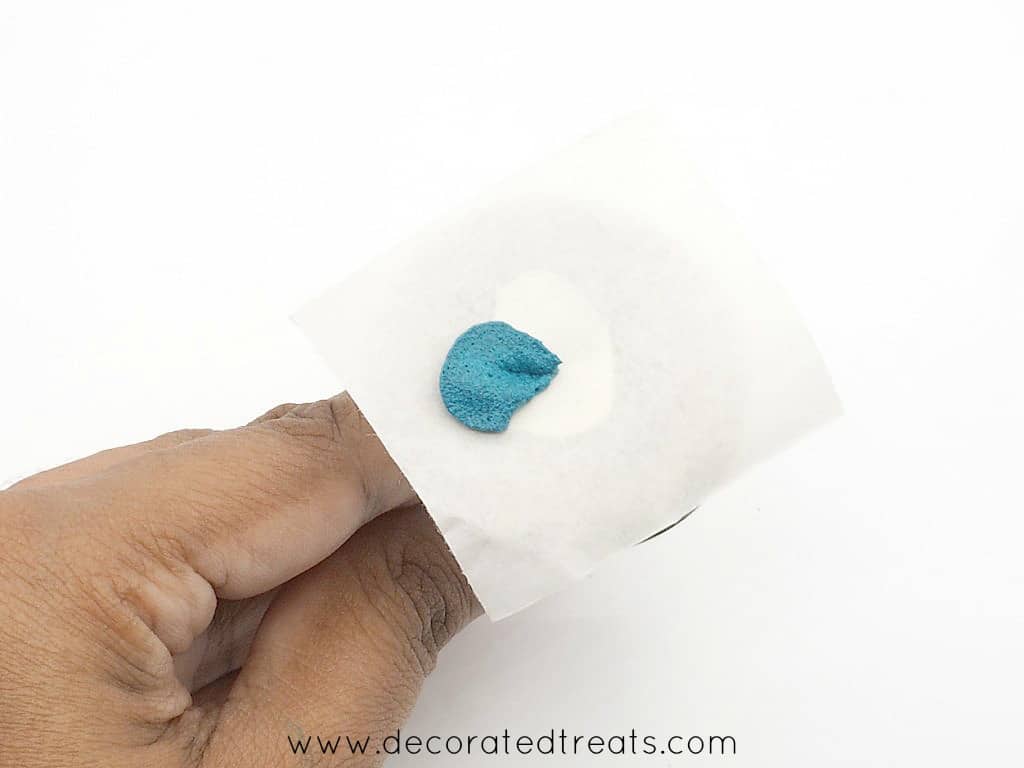
To pipe the petals, place the bottom of the tip in the center of the flower nail. Simply rotate the top of the tip (while gently squeezing the piping bag) in a circular motion until you get the shape of a petal. Lift the tip.
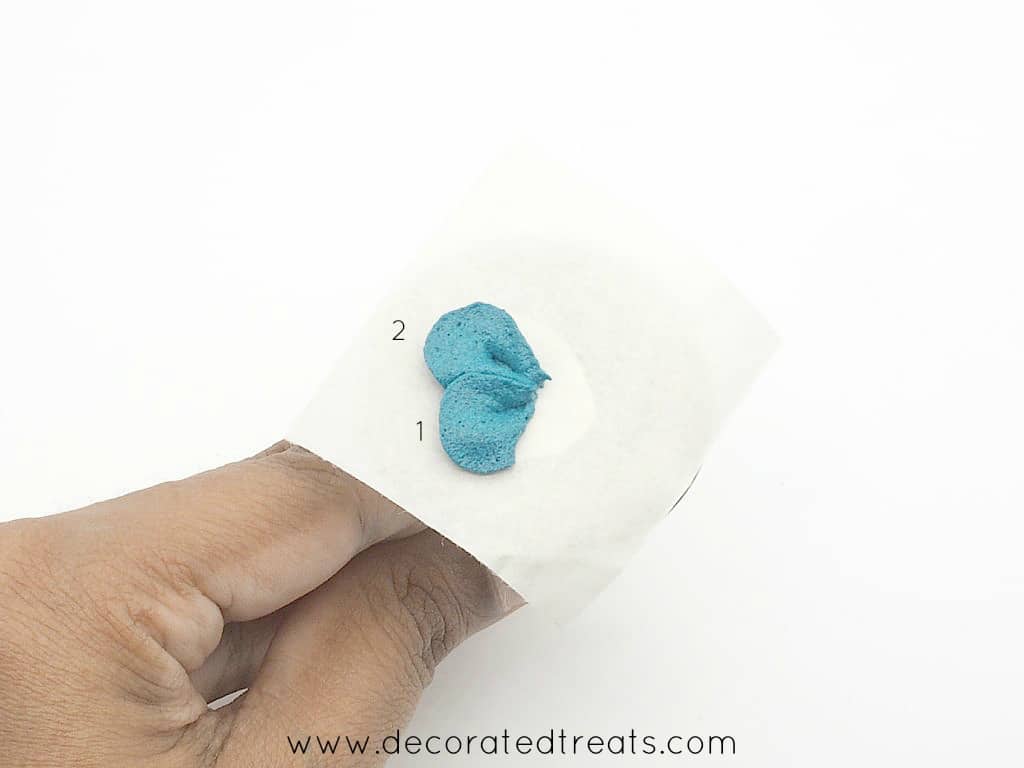
Repeat the step and pipe the second petal. In piping the petals, always rotate the flower nail such that the petal you will be piping next is always at an angle that is comfortable for you. For easy understanding, I have marked the image below with numbers 1 & 2. 1 for the first petal, and 2 for the second petal piped. As you finish piping each petal, rotate the flower nail.
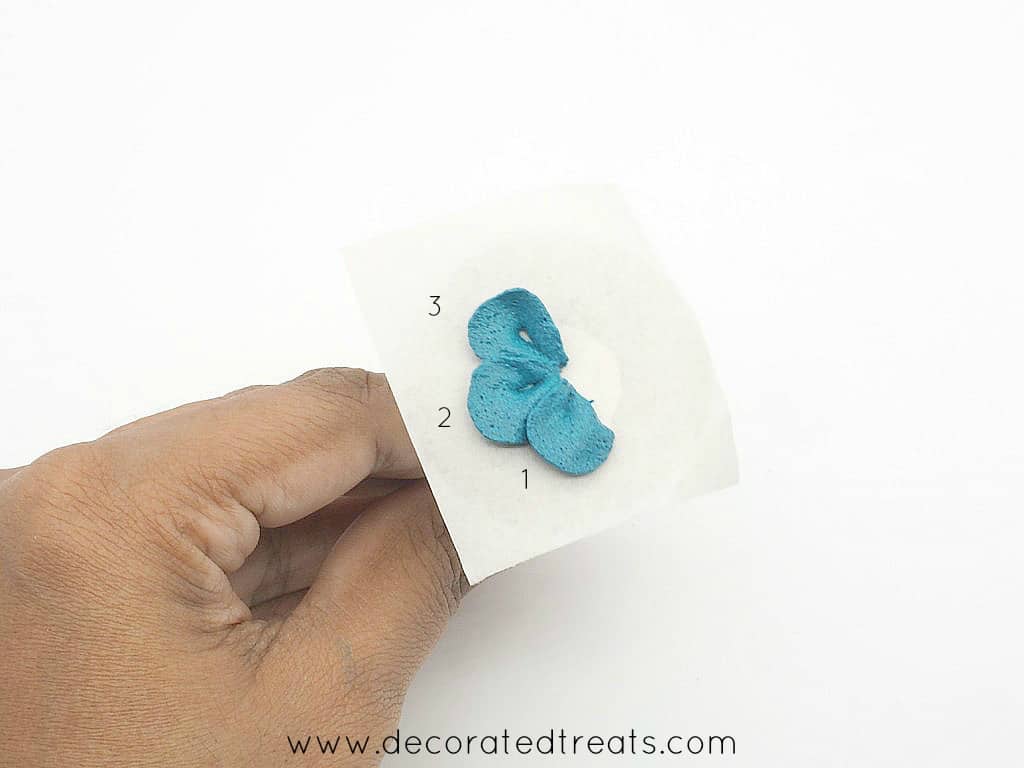
The third petal. See the numbering? I have rotated the flower nail such that the last petal is always rotated to the left to give room for the next petal to be piped at an angle that is comfortable for piping.
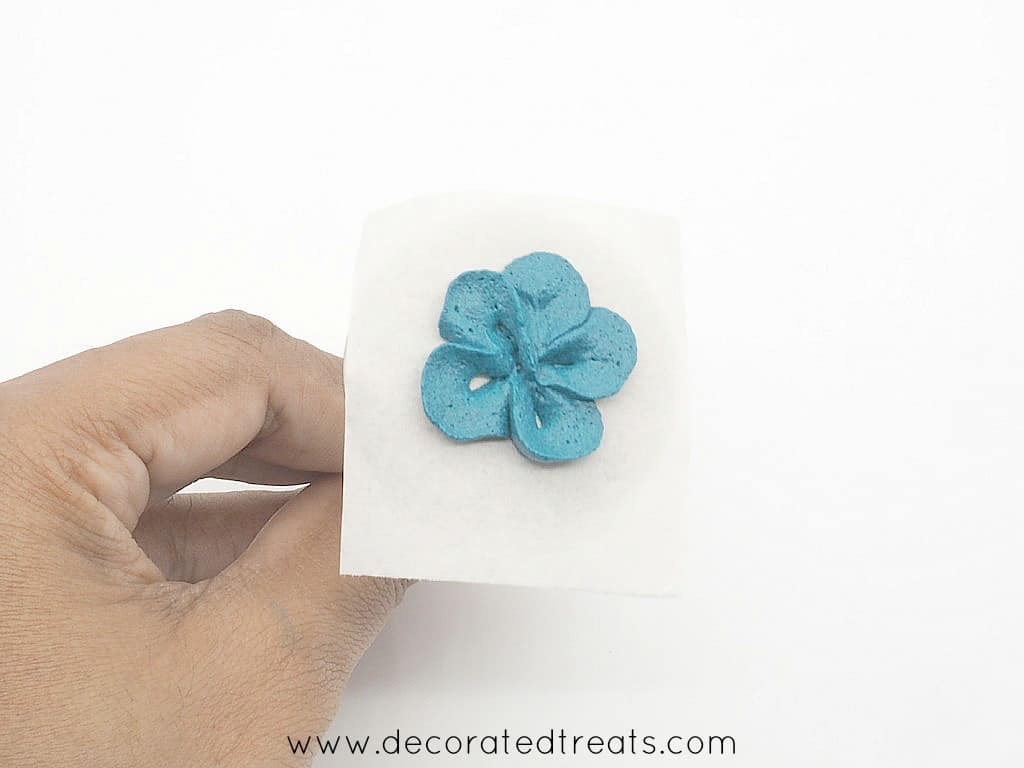
Continue with the 4th and the last petal.
Note: Left handed people may need to adjust the rotating position differently ( I am guessing that they would rotate the flower nail in a clockwise motion).
Step 5: Freeze the flowers
This step is what makes it possible to pipe buttercream flowers on a paper instead of directly on a cake. Freezing helps the buttercream harden and the transfer possible.
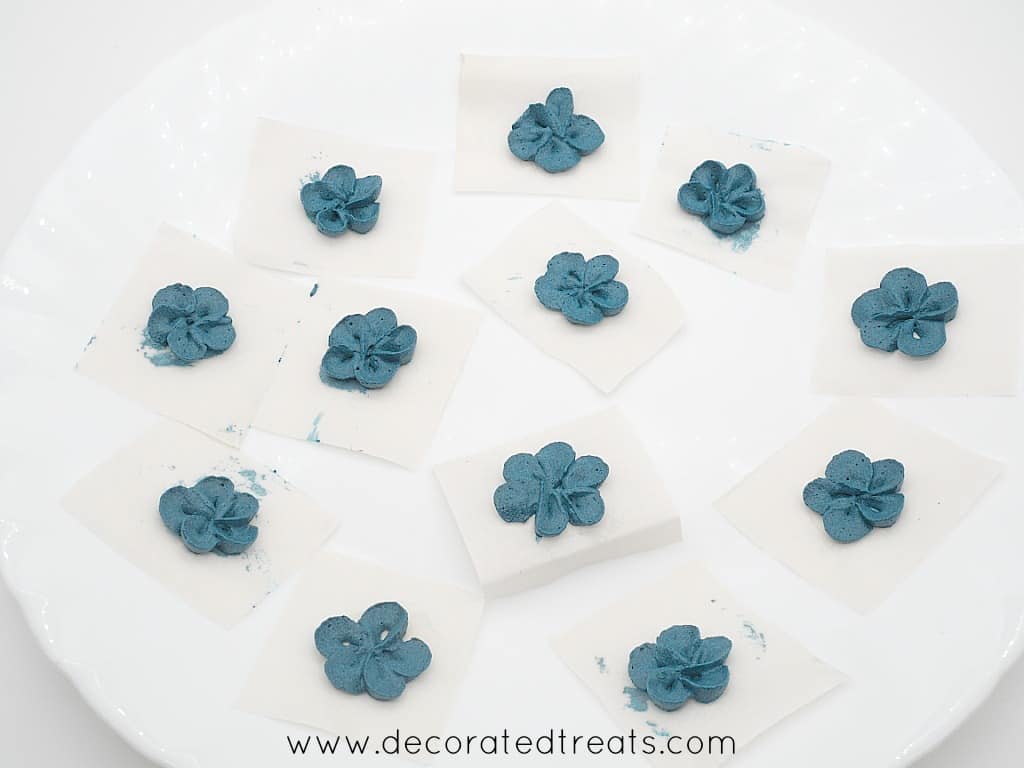
Gently slide the paper away (pull it sideways) from the flower nail and place it on a flat cake board.
Once all cake board is filled, place it in the freezer for approximately 30 minutes until the buttercream flowers have hardened. Keep them in the freezer until ready to use.
Note: you can also try the refrigerator but the flowers may soften very quickly and that will make it difficult to transfer the flowers onto a cake or cupcake.
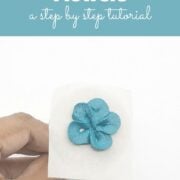
Step 6: Transfer the flowers to your cake or cupcakes
To place the flowers on the cake, remove them from the freezer. You should be able to peel the paper off very easily from the flowers.
Peel half and then use a spatula to lift the flower off the paper. Position the flowers on your cake or cupcakes as you wish.
Note: When removing the flowers from the fridge, do it a few at a time to avoid the flowers from becoming soft again. If they do, it will be difficult to peel the parchment paper and lift them with a spatula.
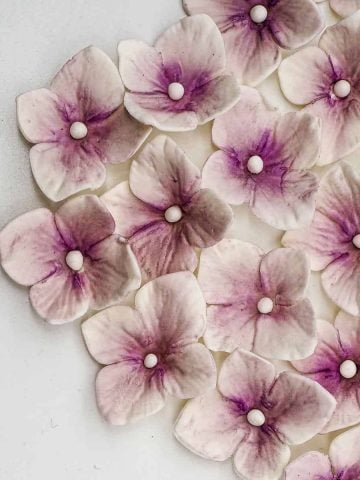
Step 7: Pipe white flower centers
Use the white icing fitted with round tip #3 to pipe tiny white dots for each flower center to complete them.
Note: You can also pipe the centers before freezing the flowers.
💡Expert tips
- When making buttercream, make sure the butter is not too soft or your buttercream will be too soft. Ideally, it should be firm but soft enough to poke your finger in. If it is too soft, return to the fridge to firm it again.
- Sift the powdered sugar before making buttercream, especially for buttercream flowers piping. Powdered sugar tends to be lumpy and these tiny lumps will clog your piping tips (piping nozzles).
- When adjusting the buttercream consistency by adding more sugar or butter or even milk, always do it in small increments and small amounts will make a difference to the consistency.
- Buttercream tend to melt in warm temperatures. For heat stable buttercream, replace half of the butter in the recipe with shortening. Other options include to use royal icing which is not affected by surrounding temperature and sets very well.
- Holding the piping bag for long can also cause the buttercream to melt (from the heat of your hands). For best results, if making these flowers in large batches, it is best to fill the icing into smaller bags so that you can rotate them.
- Always make extra flowers than what you require for contingency.
❤️More tutorials you will love
Do you like this tutorial? Please leave a 5-star ⭐⭐⭐⭐⭐rating in the recipe card below and consider a review further down this page. I would love to hear from you. Thank you!
📖Recipe
Easy Buttercream Flowers for Beginners (How to Make)
Equipment
- Petal tip #104
- Round tip #3
- Piping bags
- Flower nail
- Parchment paper squares
For best results, use the metrics measurements. US customary measurements have not been tested and are only meant for guide.
Ingredients
- 150 g butter salted
- 300 g powdered sugar icing sugar sifted
- ½ teaspoon vanilla extract
- 1 tablespoon milk optional
- Navy blue food coloring
- Royal blue food coloring
- Black food coloring
- Turquoise food coloring
- White food coloring
Instructions
- Cut parchment paper into 2 inches by 2 inches squares and set aside.
- Add butter into a large bowl and beat until creamy. Add powdered sugar to the creamed butter and beat again until it is creamy and fluffy. Add vanilla extract and beat again until well combined.
- Scrape the bottom and sides of the bowl at least once half way through to make sure the butter and sugar are well combined.
- If the icing is too stiff, add some milk. Do it is small increments of half a teaspoon to make sure the buttercream does not become too soft (see Note 1).
- Remove some of the icing into a small bowl and tint it white for the flower centers.
- Divide the remaining into 2 medium bowls. Tint the first bowl with navy blue and add a tiny bit of royal blue and a small tinge of black to it. Mix well.
- Tint the second bowl with turquoise food coloring. Mix well.
- Transfer the white frosting into a piping bag fitted with round tip #3. Transfer the blue and turquoise frosting into 2 separate piping bags (without any tips attached). In a separate piping bag, fit the petal tip #104 (see Note 2).
- Snip the tip of the piping bag with navy blue buttercream. Insert the bag into the piping bag fitted with petal tip #101.
- Dab a little icing onto the flower nail. You can use the blue or turquoise icing.
- Stick a parchment square onto the flower nail. The buttercream acts to hold the paper in place while you are piping the flower.
- Hold the flower nail in your left hand and the piping bag on your right with the tip positioned at a 45 degrees angle from the paper. Make sure the narrow end of the tip is on the top and the wider end at the bottom (see Note 3).
- To pipe the petals, place the bottom of the tip in the center of the flower nail. Simply rotate the top of the tip (while gently squeezing the piping bag) in a circular motion until you get the shape of a petal. Lift the tip.
- Repeat the step and pipe the second petal, followed by the third, forth and fifth. In piping the petals, always rotate the flower nail such that the petal you will be piping next is always at an angle that is comfortable for you. As you finish piping each petal, rotate the flower nail.
- Gently slide the paper away (pull it sideways) from the flower nail and place it on a flat cake board. Once all cake board is filled, place it in the freezer for approximately 30 minutes until the buttercream flowers have hardened. Keep them in the freezer until ready to use.
- To place the flowers on a cake or cupcake, remove them from the freezer (see Note 4). Peel half of parchment paper underneath each flower and use a spatula to lift the flower off the paper. Position the flower on your cake or cupcakes as you wish.
- Use the white icing fitted with round tip #3 to pipe tiny white dots for each flower center to complete them (see Note 5).
Video
Notes
- To determine if the consistency is right, test by transferring some into a piping bag with a different tip or nozzle. If it is easy to pipe and holds its shape well, you can proceed to color the icing.
- Fitting the petal tip separately into a bag and the frostings into a different bag will make it easy to use the same tip for different colored icing. Read more about how to manage different colored icing for the same piping tip here.
- Holding the tip at a 45 degrees angle will ensure the petals do not lay flat on the paper and instead, have a natural curved petal look.
- When removing the flowers from the fridge, do it a few at a time to avoid the flowers from becoming soft again. If they do, it will be difficult to peel the parchment paper and lift them with a spatula.
- You can also pipe the centers before freezing the flowers.
- When making buttercream, make sure the butter is not too soft or your buttercream will be too soft. Ideally, it should be firm but soft enough to poke your finger in. If it is too soft, return to the fridge to firm it again.
- It is extremely important to sift the powdered sugar before making buttercream, especially for buttercream flowers piping. Powdered sugar tends to be lumpy and these tiny lumps will clog your piping tips (piping nozzles).
- When adjusting the buttercream consistency by adding more sugar or butter or even milk, always do it in small increments and small amounts will make a difference to the consistency.
- Buttercream tend to melt in warm temperatures. For heat stable buttercream, replace half of the butter in the recipe with shortening. Other options include to use royal icing which is not affected by surrounding temperature and sets very well without any need for freezing.
- Holding the piping bag for long can also cause the buttercream to melt (from the heat of your hands). For best results, if making these flowers in large batches, it is best to fill the icing into smaller bags so that you can rotate them.
- Always make extra flowers than what you require for contingency.

Leave a Reply