

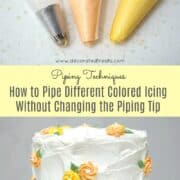
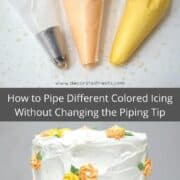
Learn how to pipe different colored icing without changing piping tip with this easy tutorial. It helps you save the hassle of owning many piping tips and cleaning them.
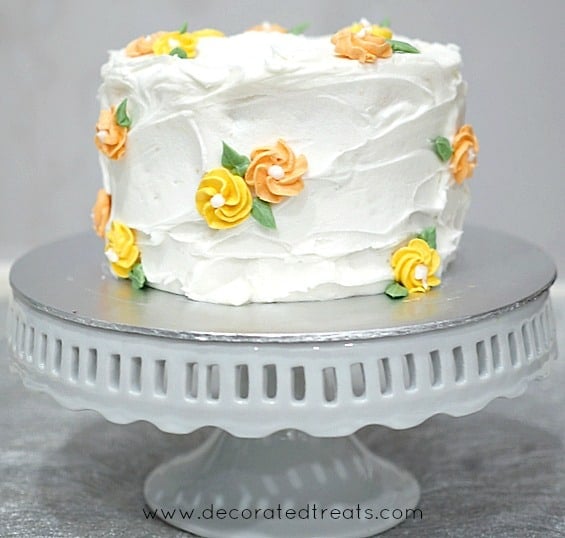
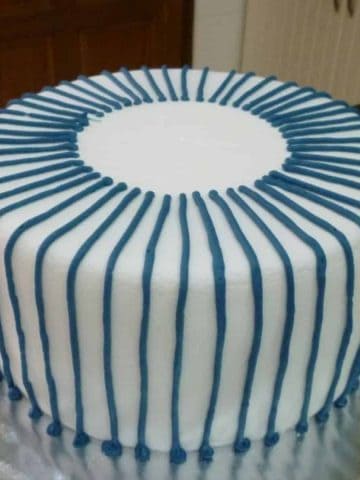
I discovered this technique when the buttercream cake above. The cake itself was covered in buttercream.
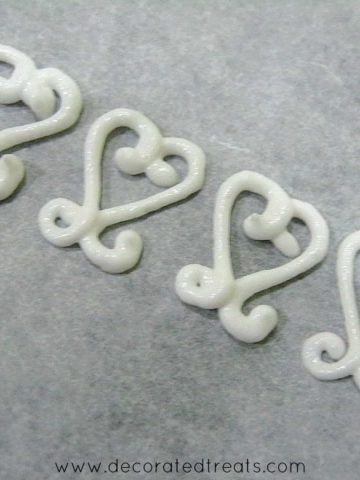
And I wanted to decorated it with simple buttercream swirl flowers in orange and yellow. To pipe the flowers, I used Wilton tip 2D. I only had one of these tips.
This technique is not only useful when you have only one tip in a particular size but also when you do not own many icing couplers to be used for all the many different icing colors in a cake project.
This topic is on how to use one tip for many icing colors for tips that do not require icing coupler . I also have another post written on how to manage with one coupler for many icing colors. Don't forget to check it out too!
❤️Why you will love this tutorial
- It teaches you how to manage your time and effort when you have only one piping tip but need to use it for many colors.
- It saves you the time and hassle to keep changing the piping bag and tip every time you need to change the icing color.
- The technique also works when you have limited icing couplers and need to use it for many colors.
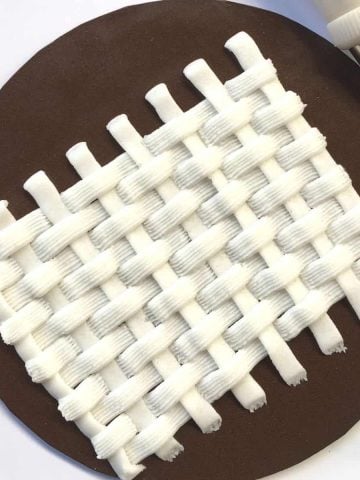
If you like this tutorial, do check out my other tutorials like how to make easiest basket weave cake without piping, buttercream basket weave pattern, how to melt chocolate on the stove and microwave, beginner piping techniques and advance piping techniques.
The problem
So this is basically how the technique works. Say you need to pipe one type of flower (using for example Wilton tip 2D ) in 2 different colors. And you have only one of that piping tip.
You would probably start and finish piping the flowers in one color first. And then remove all icing from the piping bag before removing the tip out of it and dropping it into another piping bag.
You then fill it up with the second colored icing and continue piping. Isn't it a hassle to be removing and filling icing just to transfer the piping tip from one bag to another?
And imagine if you have to pipe the same flower in many different colors. Two is still not too bad but I think anything more than 3 is a real hassle!
And that was exactly the situation I faced when I was decorating my buttercream cake above. The piping tip I used did not have a coupler. Hence, I had to drop it directly into my piping bag and fill it with icing. I wanted to use the same tip to pipe the same flowers in 2 different colors - orange & yellow.
Typically, I would have started by piping all the yellow flowers first. And then I would have removed the remaining yellow icing out. Next, I would have removed the piping tip. Then drop the tip into another clean piping bag and fill it up with my next color, i.e. orange. Imagine the hassle!
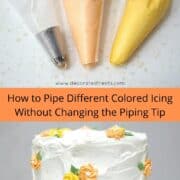
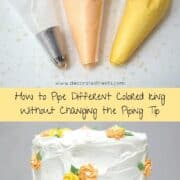
👩🍳How it Works
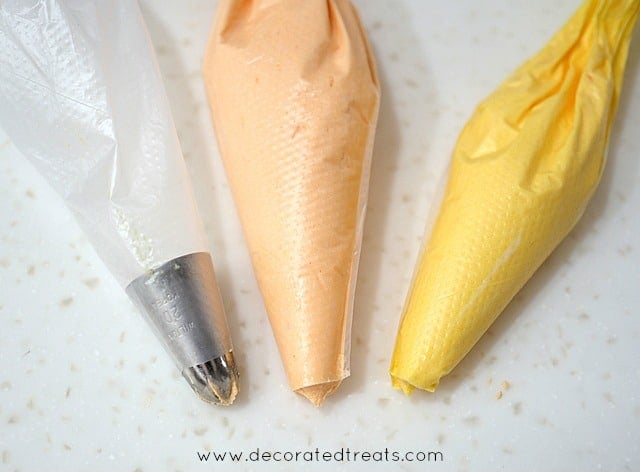
So this idea came to mind. I used 3 piping bags in total. One was fitted with the piping tip. The other 2 were filled with orange and yellow buttercream each without any tips attached to them.
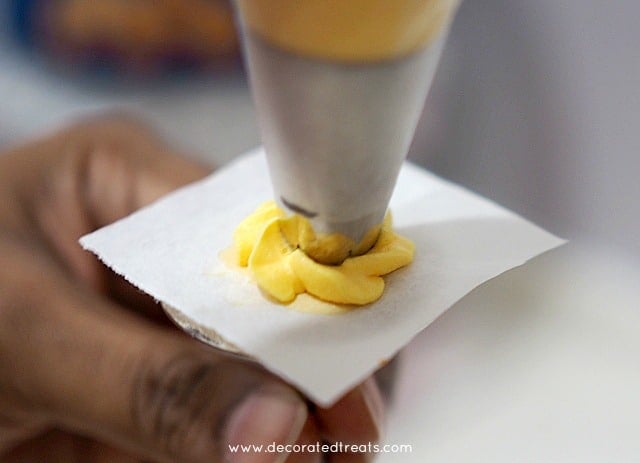
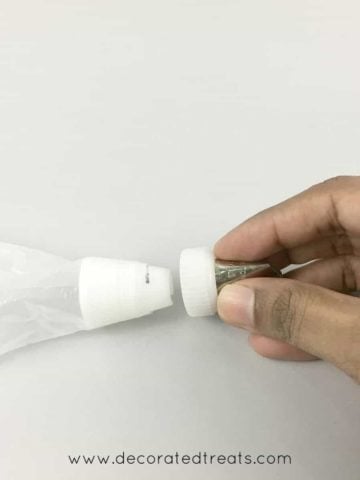
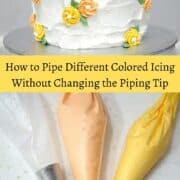
When I started with the yellow flowers, I simply snipped the end of the yellow icing piping bag. I inserted it into the empty piping bag that was already fitted with my piping tip.

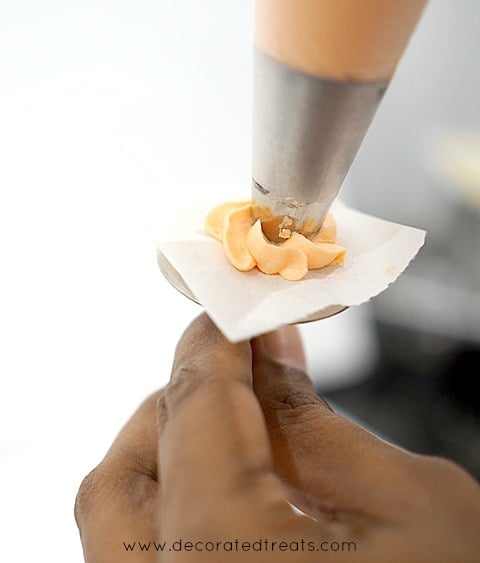
And then I piped my yellow flowers until I had enough numbers to decorate my cake.
Once the yellow flowers were all done, I simply removed the yellow icing bag from the piping tip fitted bag. With that, I replaced the orange icing filled one.

Removing my yellow icing filled piping bag.
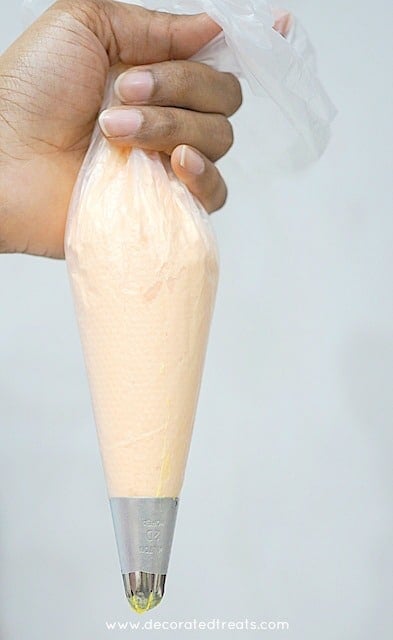
My orange icing filled piping bag has replaced the yellow one.
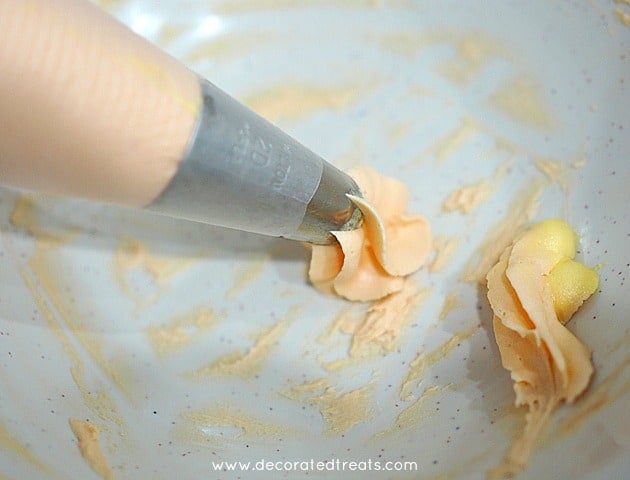
When changing the icing colors, there would be some leftovers of the previous color in the piping tip. An easy way to remove it is to squeeze the piping bag until all the previous colored icing comes out.
Do it until you see the new color starting to come out. You will notice with this technique that there is not much of the previous color in the piping tip. So it actually saves on icing too.
And that is my technique on how to pipe different colored icing without changing the piping tip. This really saves me the hassle of transferring the piping tip from one piping bag to another when I am decorating cakes.
Leave a Reply