

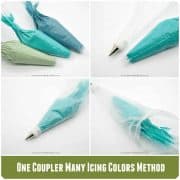
I am sharing on this page a special trick on how to manage with one coupler for many icing colors without transferring it from one bag to another. It is time saving, cost saving and effort saving too.
Working with buttercream can be a messy affair. Imagine if you have only one or two couplers but have to decorate a cake with more than one or two icing colors or piped patterns.
(Not sure what a coupler is? Read my post here on what is an icing coupler and how to use it.)
You would need to literally remove the coupler from one piping bag and then fit it into another before filling it with icing for piping.
And so I figured out a way which will allow me to use one coupler for many icing colors without having to keep moving the coupler from one piping bag to another.
❤️Why you will love this tutorial
- It teaches you the correct techniques for using one coupler for many icing colors.
- You need not spend money buying extra couplers.
- It also saves to you time and energy from having to wash and clean a whole bunch of icing couplers when working with buttercream.
If you like piping work, you will also like my other tutorials on how to make buttercream basket weave, filigree icing techniques, how to pipe different colored icing without changing the tips, and how to make easy buttercream flowers for beginners.
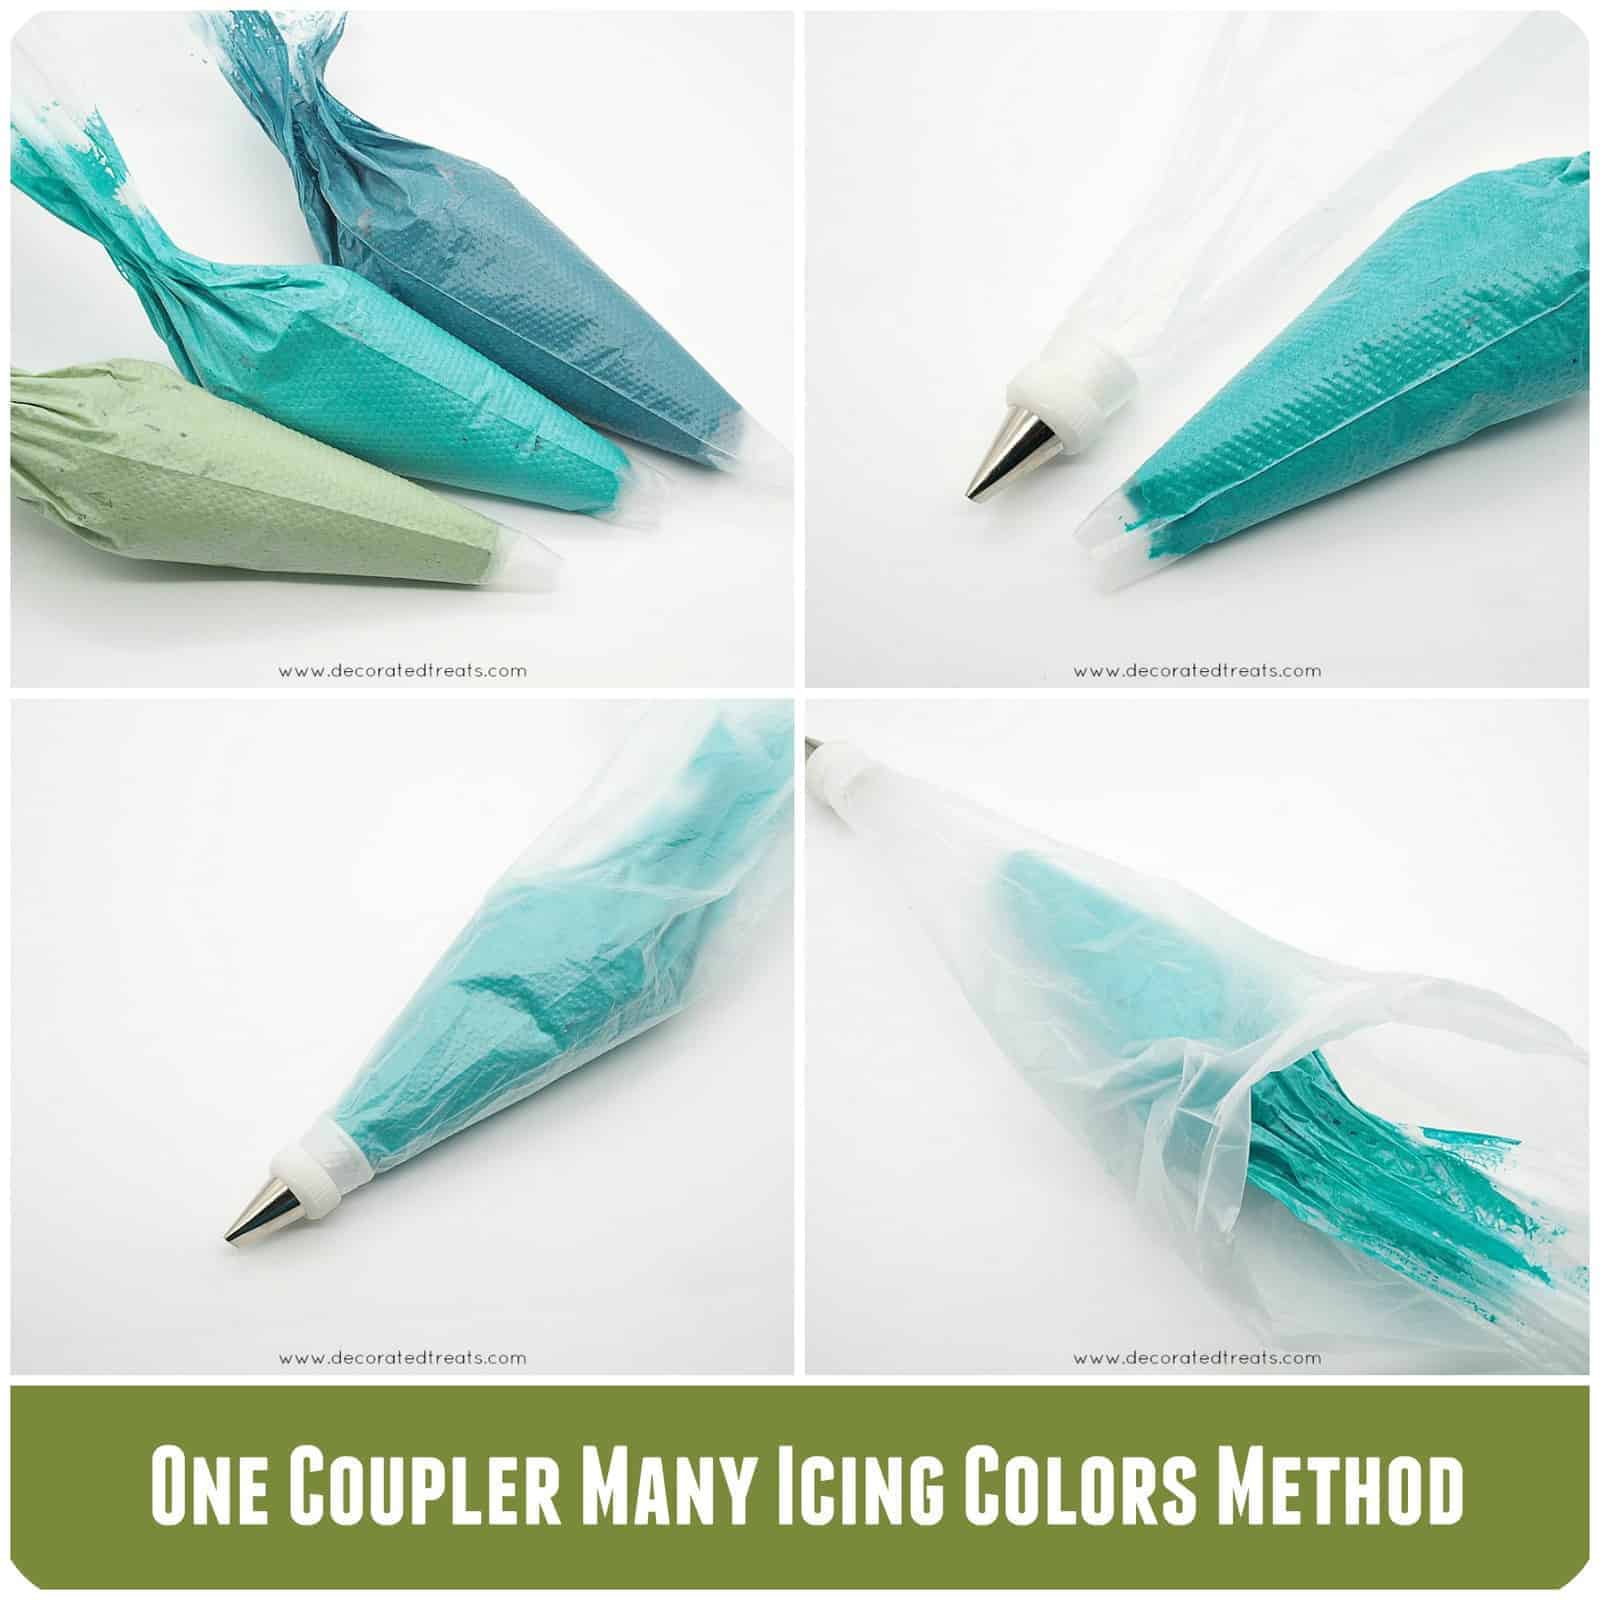
👩🍳How it Works
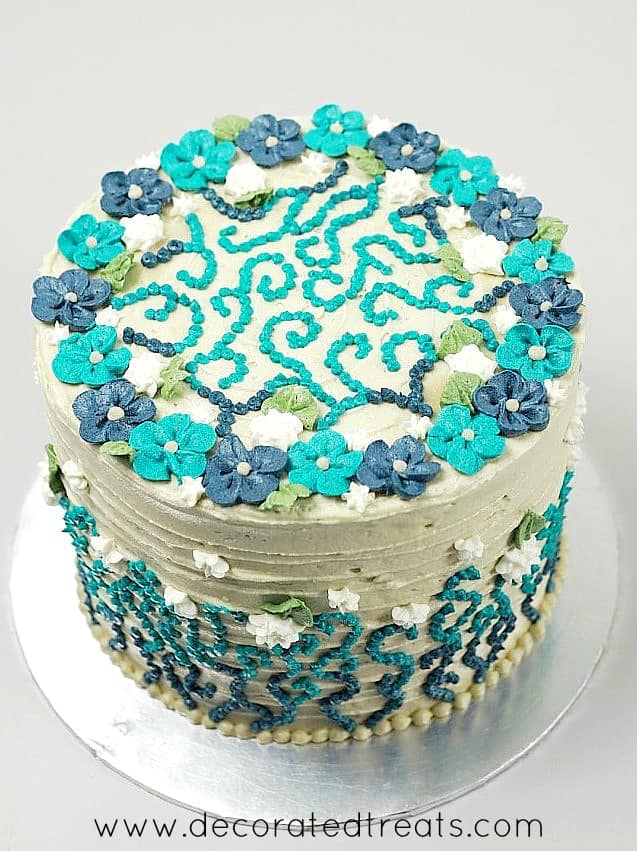
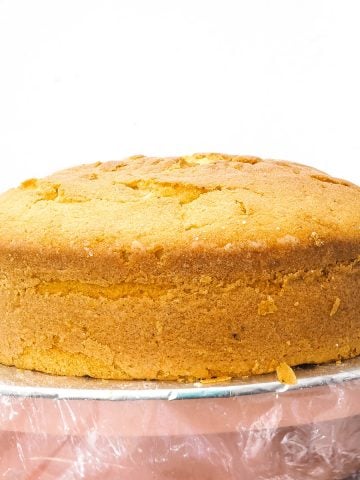
So this is basically how the technique works. Say, for example, you need to decorate your cake with blue and turquoise buttercream flowers as in the cake below.
You would typically need the following supplies:
- 2 Piping bags
- 2 Icing couplers
- 1 petal tip
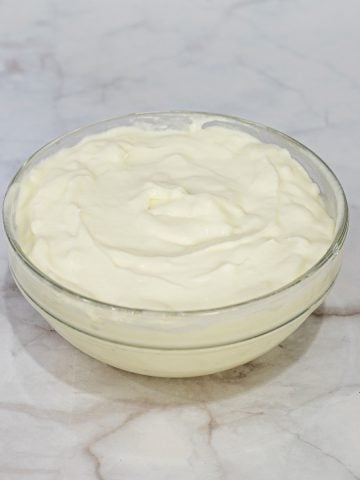
- Buttercream in blue and turquoise
So, for this pattern, you would typically fit the piping bags with the icing couplers. And then fill the bags with blue and turquoise icing respectively. Next, you would fit the tip onto the first piping bag (blue in this instance) and complete the blue flowers.
Once done, you would remove the petal tip and fit it to the piping bag filled with turquoise icing. And pipe the turquoise flowers. Now, there is nothing so complicated about this because changing the piping tip in this case is not an issue at all.
Imagine if you have only one coupler . How would you manage this design? You would need to need to finish with one color, remove all the excess icing from the piping bag, remove the coupler from inside the piping bag, wipe it clean and then fit it into another piping bag that you would then fill with the other colored icing and continue your piping work.
See the hassle? Imagine if you were going to pipe the same flowers in 4 or 5 different colors and have only one coupler! Tiring isn't it?
The trick
Well, you don't have to be if you learn this trick. Assuming we want to make the same cake above. And this time, you have only one coupler. These would be your supplies:
- 3 Piping bags
- 1 coupler
- 1 petal tip
- Buttercream in blue and turquoise.
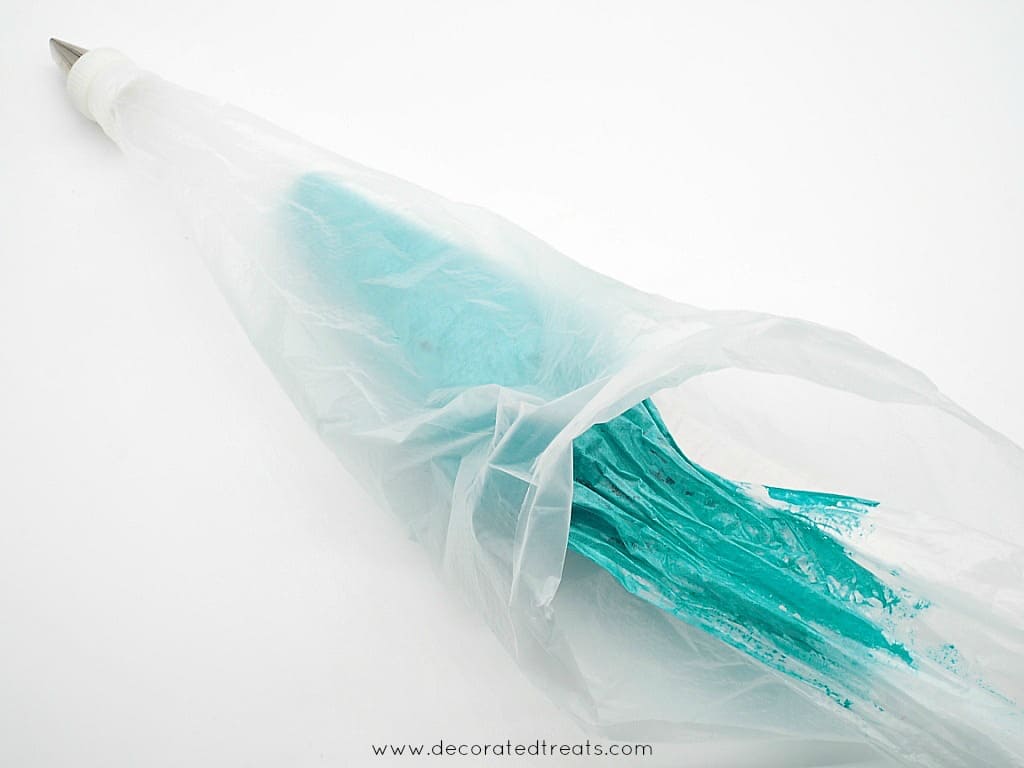
Fit the first piping bag with the coupler. Fill the remaining 2 bags with blue and turquoise icing (without any coupler fitted in) each. And have the tips cut off slightly.
See the image below. It only shows the turquoise icing, but you would need to do the same for the blue icing as well.
And for the 3rd piping bag, do not fill any icing into it. Just fit it with the coupler and piping tip.
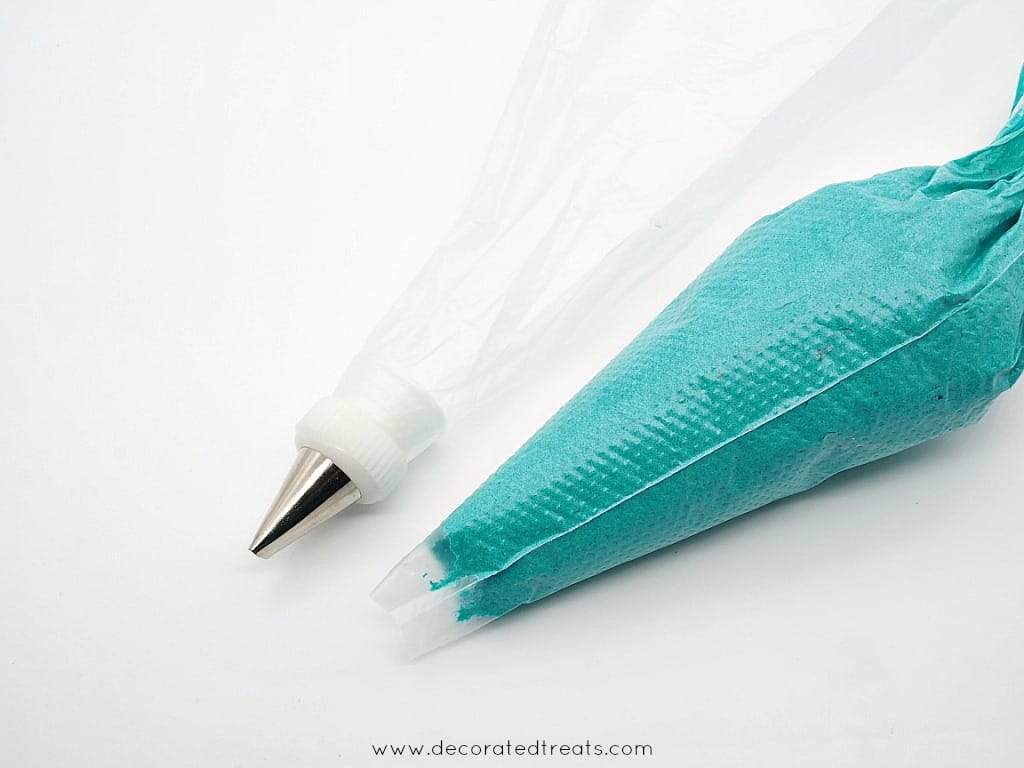
And then, assuming you want to start piping the turquoise flowers first, you will have to insert the turquoise icing bag into the piping bag that was fitted with the coupler and piping tip.
At this point, you will be using double piping bags to pipe your flowers.
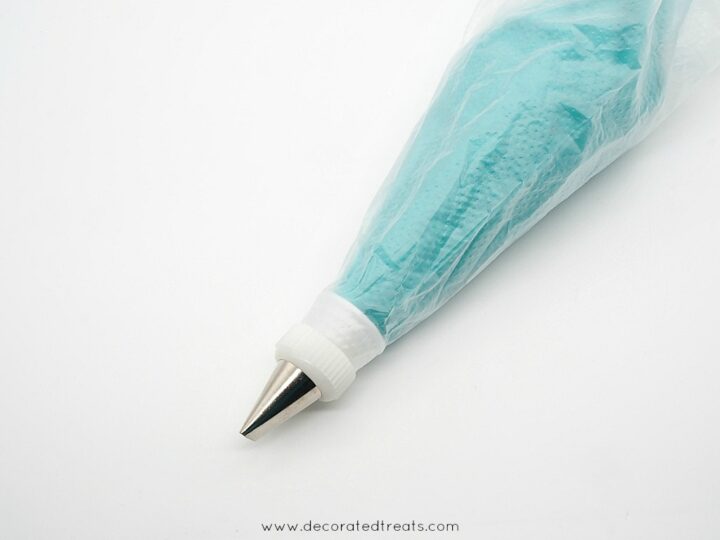
And once you are done with the color, simply remove the turquoise icing bag from the piping bag fitted with the coupler and fit in the blue icing bag.
Before you start piping with the blue icing, squeeze some off in a bowl to remove any residue icing from the previous color. And if you have more flowers to pipe in other colors, simply remove the blue icing bag and fit in another color.
That's the trick on how to manage with one coupler for many icing colors! See how easy it becomes to work with different colored icing with just one coupler?
There is absolutely no hassle of transferring the coupler from one bag to another and you can always return to the previous colors with very minimal icing wastage and in a matter of seconds!
Hope you find this sharing useful.


Leave a Reply