

Learn how to pipe consistent lines on cakes with this easy tutorial. It teaches you techniques to make sure repetitive vertical lines you pipe with your favorite frosting on your cakes are consistently spaced for a professional look.
One might think that piping consistent lines on cakes is an easy task. After all, its just straight lines, and how difficult can that be?
Well, that was what I always thought until the day I held a piping bag and tried to pipe straight lines on my cake. Let me tell you, it is not so easy unless you have had enough practice and you know the techniques.
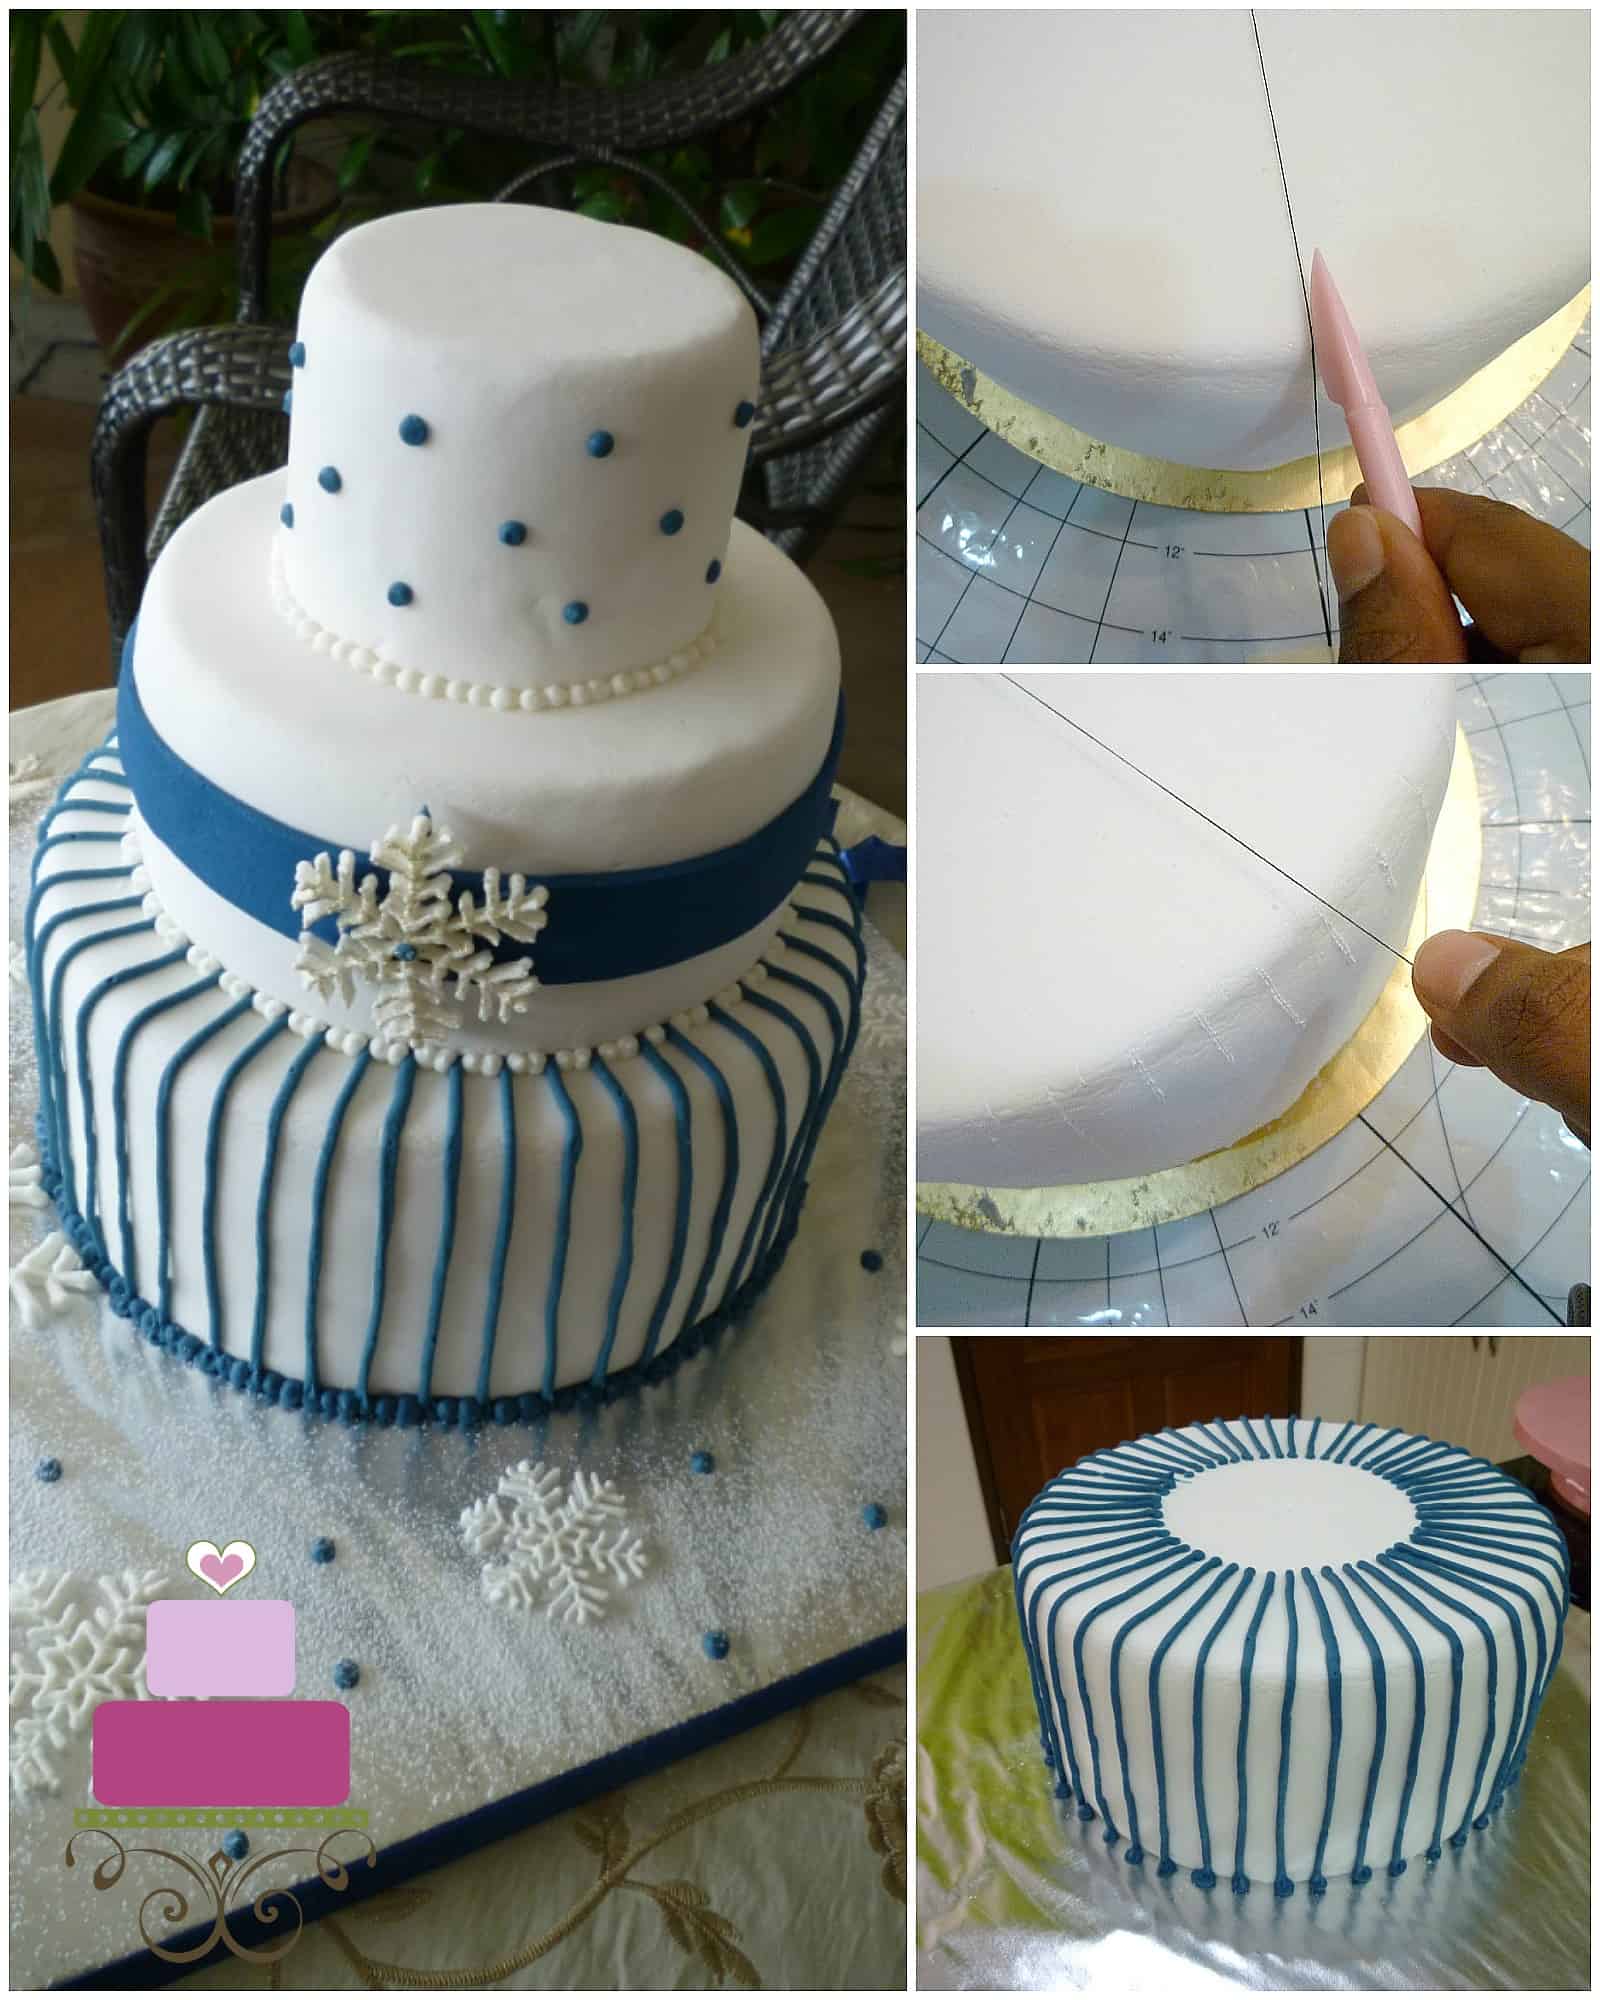
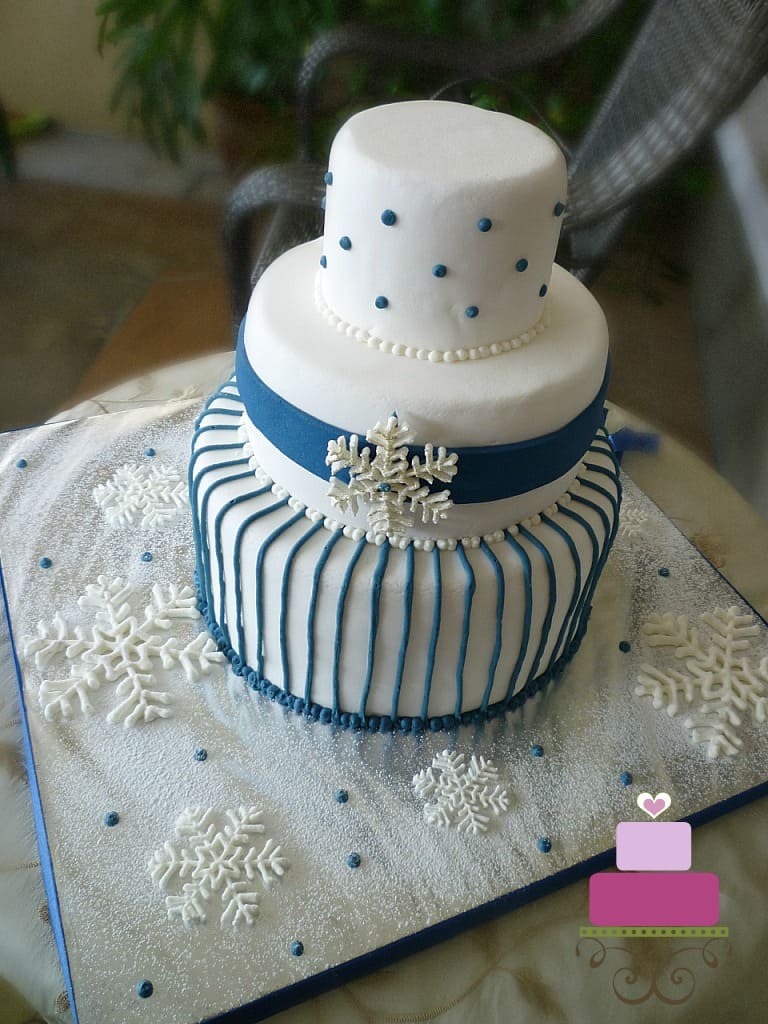
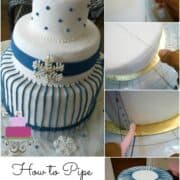
This post is not about how to get straight lines on cakes, but rather, how to pipe consistent lines on cakes. What exactly do I mean by consistent straight lines? Well, see the bottom tier of the snowflakes wedding cake above?
The dark blue vertical lines were piped all around the cake tier. And the space between each tier is consistently same. It's not easy to achieve this without some form of guide unless one is a pro at piping work. This tutorial will teach you exactly how to achieve that consistent spacing when piping lines on your cakes.
Jump to:
❤️Why you will love this tutorial
- It is a fail-proof method to get consistently spaced lines on cakes.
- You can use this technique not just for piped frosting like buttercream and royal icing, but also for cut out line made of fondant.
- The tutorial is easy to follow and gives you professional results.
If you like this tutorial, you should also check out my other tutorials like how to make easy letter cupcake toppers, how to make fondant surf boards, how to make fondant loop bow, how to make the easiest basket weave cake and how to make buttercream basketweave for cake decorating.
🧾Supplies required
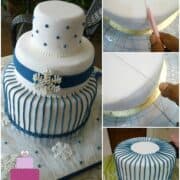
Using my snowflakes wedding cake as an example, I have created the tutorial below to show you the technique I used in piping the consistent vertical lines all around my cake tier.
- A fondant covered cake - I used a round cake. It can be in any size you like.
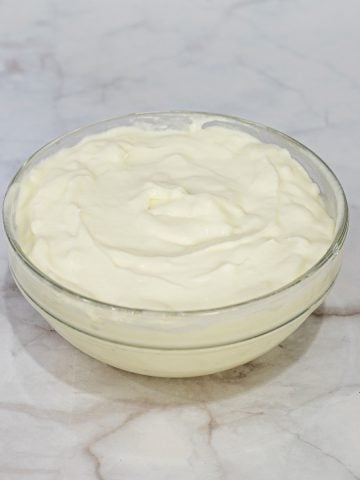
- Buttercream or royal icing in piping consistency - this is used to pipe the lines on the cake.
- Piping bag and a round piping tip - I used round tip #3.
- Ruler
- Thread - to guide in identify straight lines on the cake.
- Skewer or toothpick - to mark the center point on the cake.
- Sugar craft knife or a marking tool - to mark the lines on the cake
- A small round plate or disc - you can also use a small cake board or card board.
- Tape - masking tape works best as you will need to peel and retape as you mark the lines on the cake.
- Cake decorating mat with grid lines - helps to portion the cake with accuracy
👩🍳How to Make
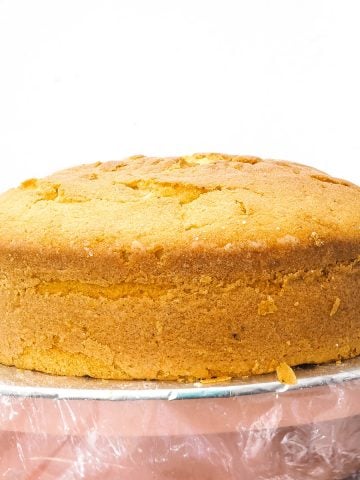
Step 1: Cover your cake with fondant
Smooth the edges just like you would for any fondant covered cake.
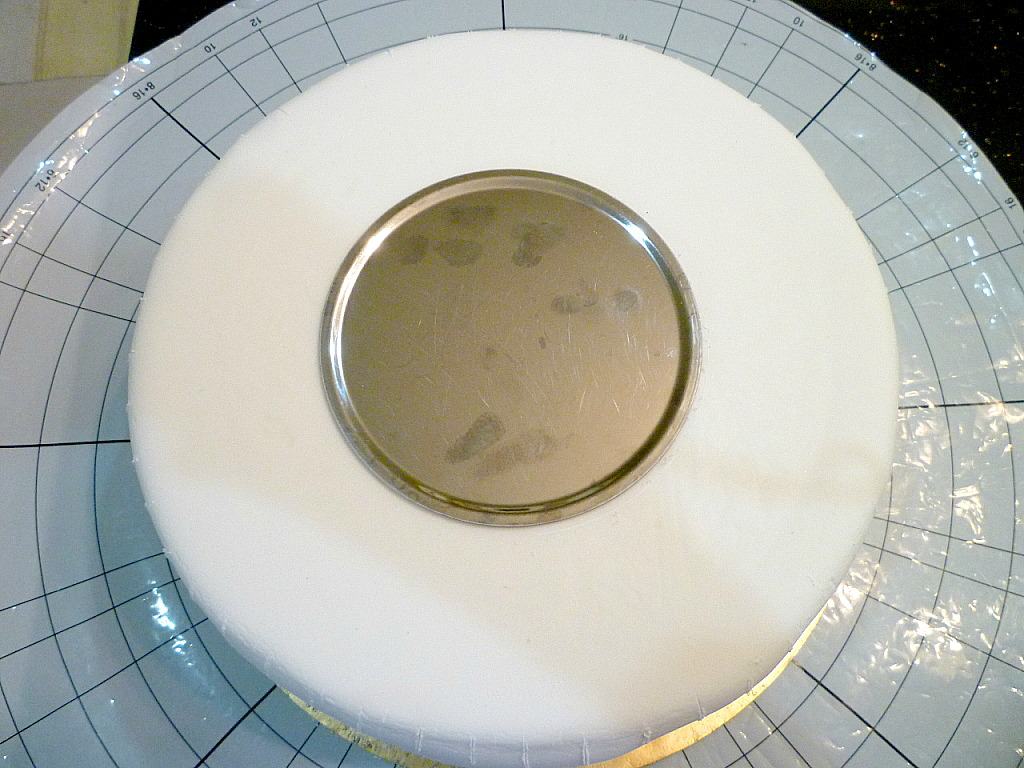
Step 2: Place the cake on a cake decorating mat
Choose a mat that has round gridlines with lines segmenting the circles from the center to the outer edge.
Make sure the cake is well centered on the mat.
The one I used is from Wilton. This mat was particularly useful for this technique as it has dividing lines all around, making it extremely easy for me to identify halves and quarters on my cake.
Note: If you do not have this mat and do not wish to purchase one, you can always make one your self either by using a large greaseproof or parchment paper. Mark the lines on the paper before putting your cake on it for a guide.
Step 3: Tape black thread to the decorating mat
Cut 2 long strands of black thread.
Tape the end of the first thread on one of the dividing lines on the mat.
Bring the other end of the thread to the opposite side of the cake and tape it there. In doing this, make sure the thread runs over the center of the cake.

Repeat the process with the other stand of thread, this time, cross the thread at a 90 degrees angle on the first thread. Both strands should the intersecting at the center point of the cake.

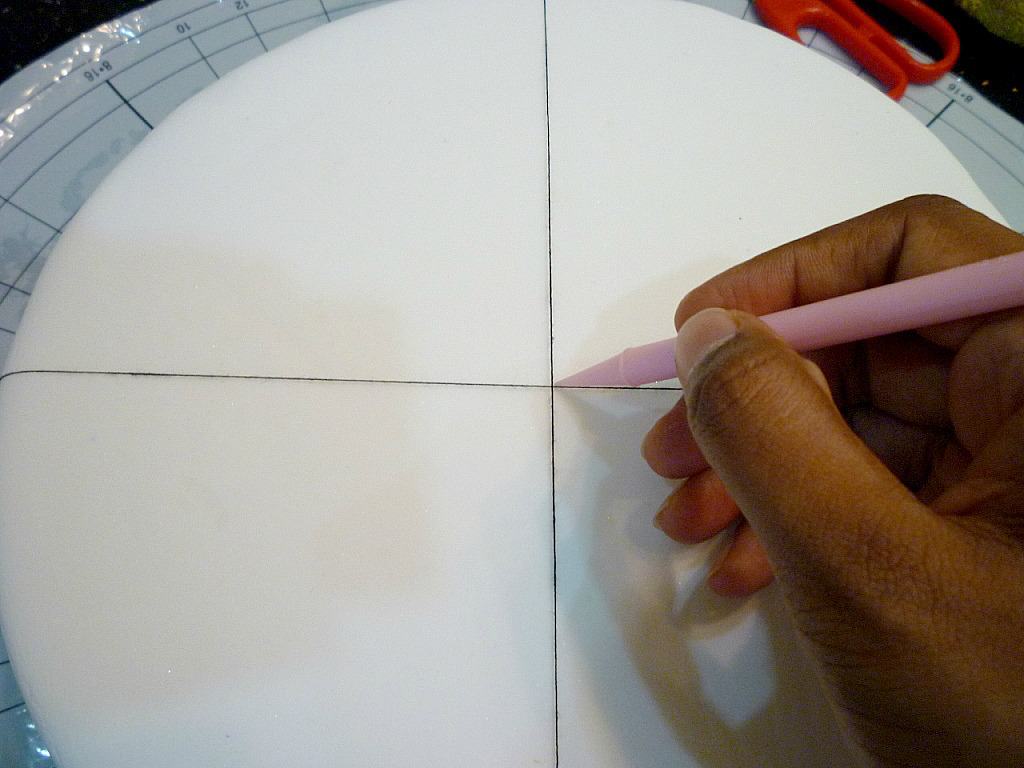
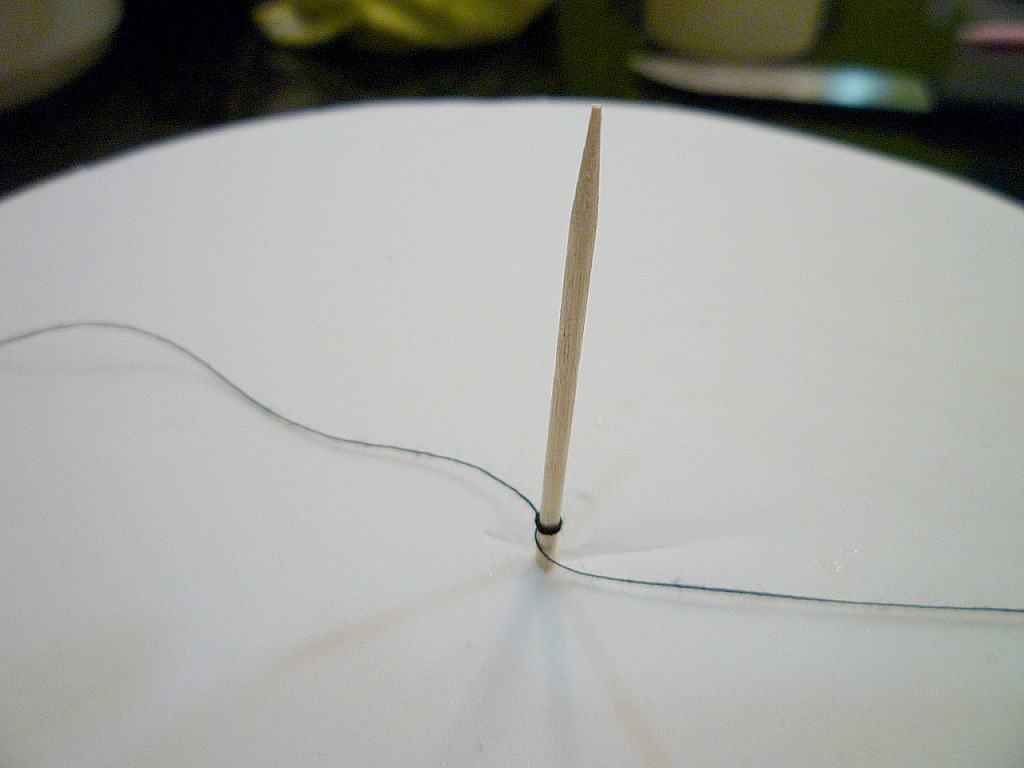
Step 4: Mark the center point on the cake
Using a pointy fondant shaping tool (or a toothpick or a needle tool), mark the center of the cake where the 2 strands of thread met.
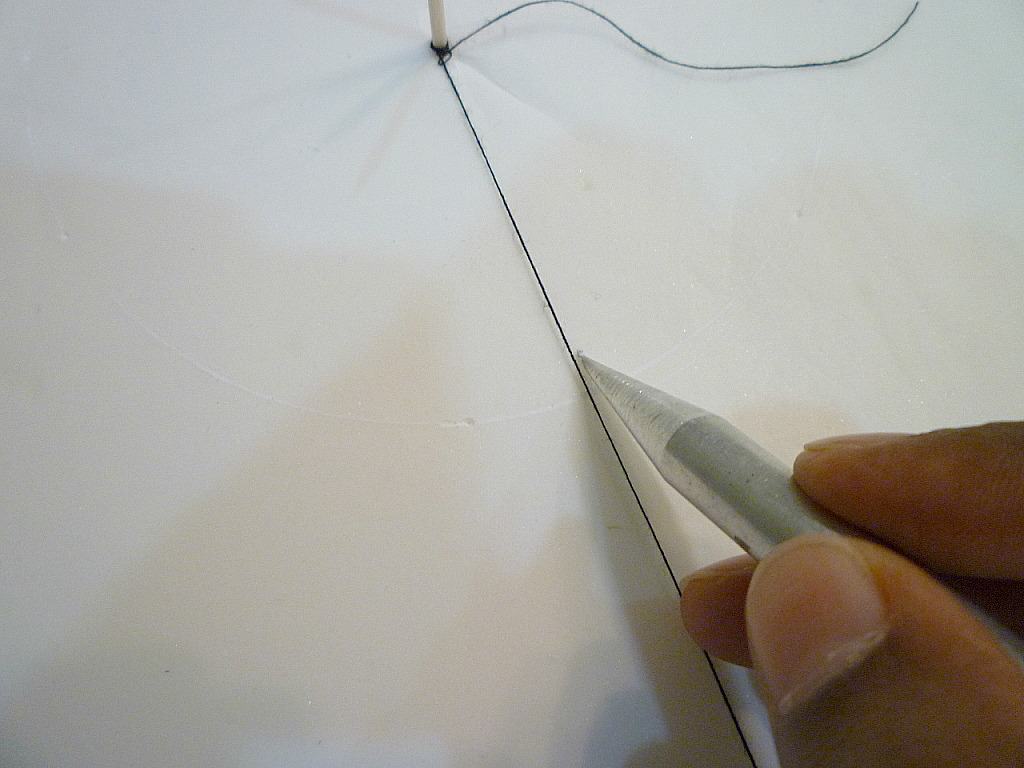
Step 5: Mark the edges and base of the cake
Using the threads as a guide, mark the first four lines on the cake. These lines mark the cake into 4 equal quarters.
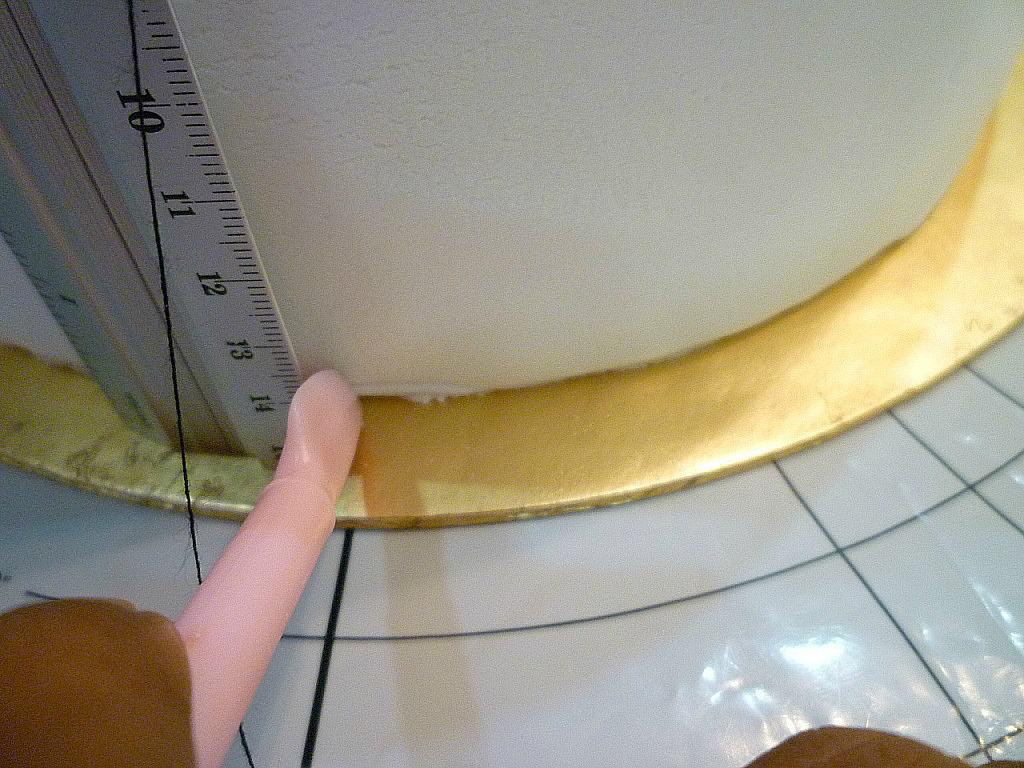
Make the marks on the edges of cake and then on the base of the cake, following the thread as a guide at all times.

To make sure you get a straight line at the base of the cake, place a flat edged ruler against the side of the cake along the thread.
This was how I used the thread a guide to mark the base of my cake.
Repeat the marking process by removing the tape and adjusting the thread to the center of each quarter.
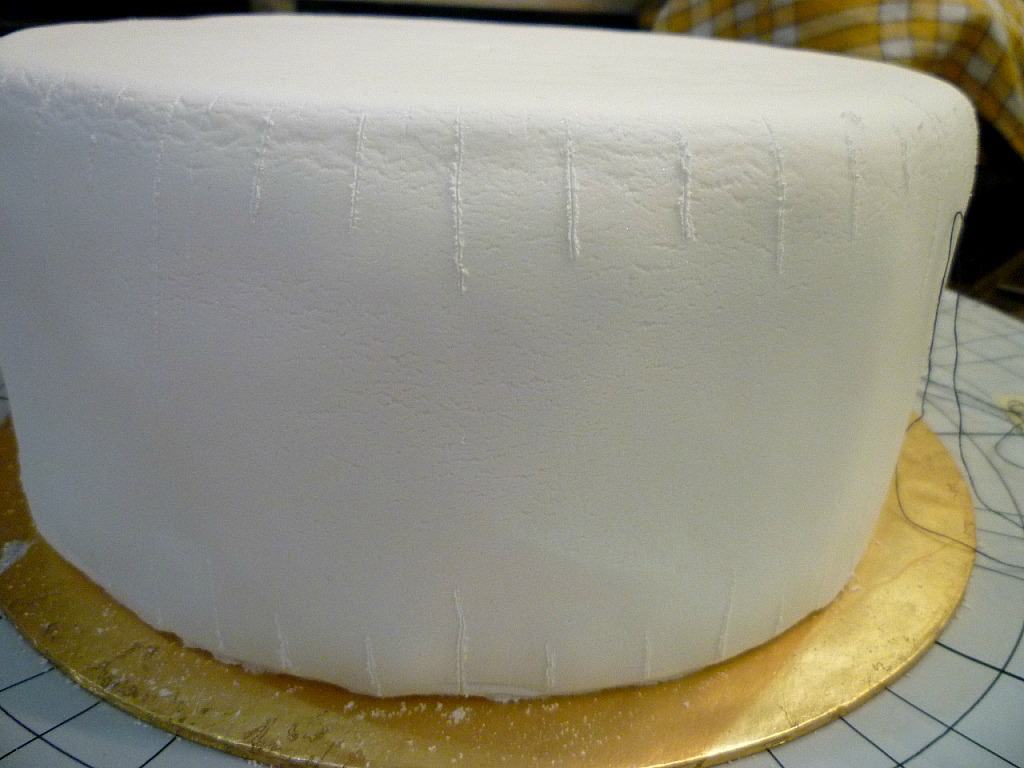
And then mark these lines similar to the ones earlier. The guiding lines on the rolling mat made this process much easier.
This was how my cake looked like after all the markings. See the consistent space between each line? And see also how the top and bottom markings are perfectly aligned in a straight line?
Step 6: Mark the cake top
Next process is to add similar lines on the cake top. To do this, use a small disc or plate and mark its diameter on the fondant.
You can even use a small saucer or cake board for this, it does not really matter, so long at it is round and the diameter is smaller than the cake that is going to be stacked on top.
Once marked, remove the disc and poke a skewer or toothpick in the center of the cake. Tie a long strand of thread to it.
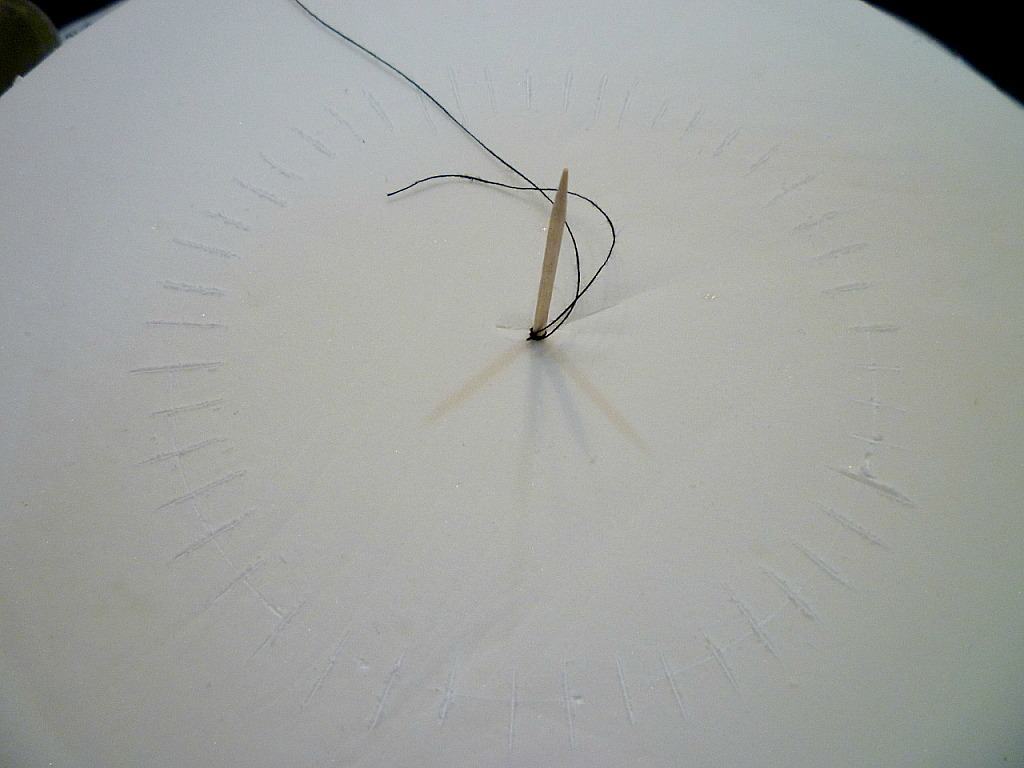
Straighten the thread towards the lines you made earlier on the cake edges.

Do it one at a time, and each time, mark a small line on top of the cake as shown. Repeat to mark the cake top for all the corresponding markings on the edges and base of the cake.
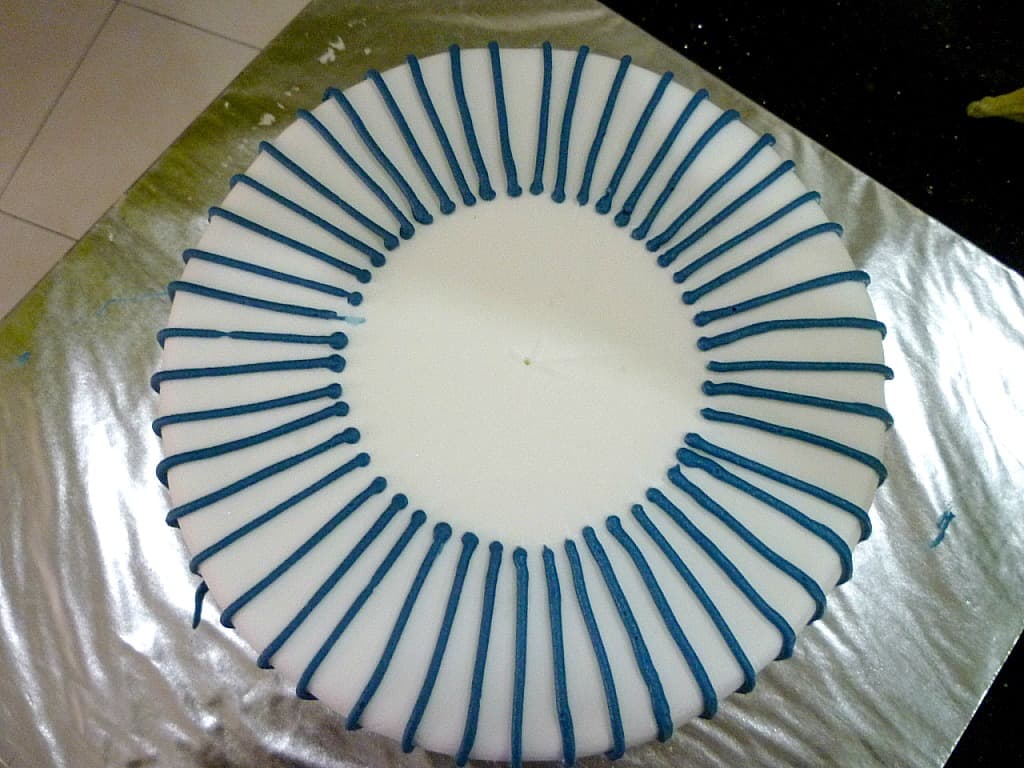
This was how the cake center looked like once all the markings have been added. With that, the marking process is done. I have made marks on the top of the cake, its edges, and its base.
And each of the marks on the top of the cake is perfectly and consistently aligned to the lines on the edges and the base of the cake.
The reason I did not start the markings on the cake top right in the center of the cake itself is because it was going to be stacked with another cake and therefore, there was no need to pipe from the center. The icing was not going to show once the cakes were stacked.
Step 7: Pipe the frosting lines on the cake
After the marking process, next step is the piping itself. Using the marks as guide and connecting dots, pipe long lines of frosting from the top of the cake all they way to the base, all around the cake.
And that is my technique for piping consistent lines on cakes.
Hope this was useful. This was how the finished cake looked like.

Jody Silbaugh
Up up up, tolerable