

Learn how to use icing coupler correctly with this easy tutorial. It is a simple tool that helps make piping work for cakes and cupcakes easy. Fit them to your piping bags and starting piping like a pro in no time!
Jump to:
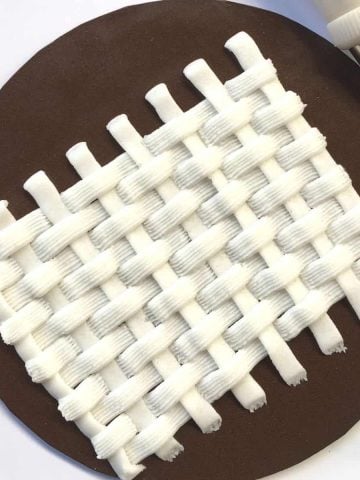
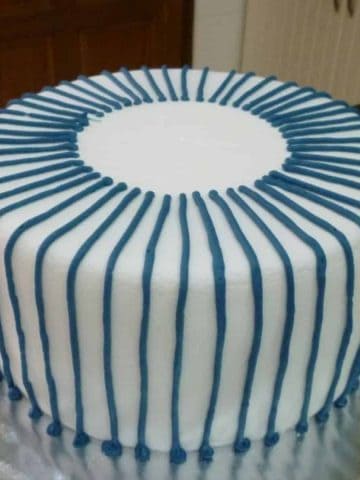
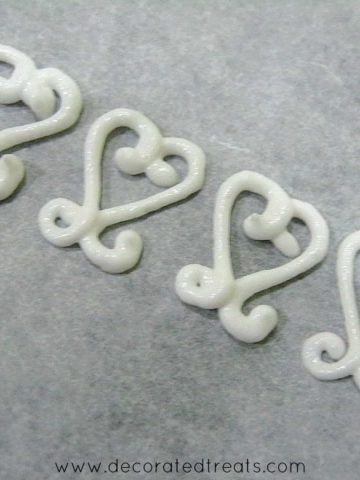
If you like piping work, check out these other tutorials on how to make buttercream basket weave patterns, how to make easy buttercream flowers, how to make royal icing butterflies and filigree icing technique.
What is an icing coupler?
Icing coupler is a tool that is used to hold piping tips to piping bag when decorating cakes and cupcakes. You do not need a coupler for all piped decorations. Some can also be done without a coupler, and it all depends on the piping tip you are using.
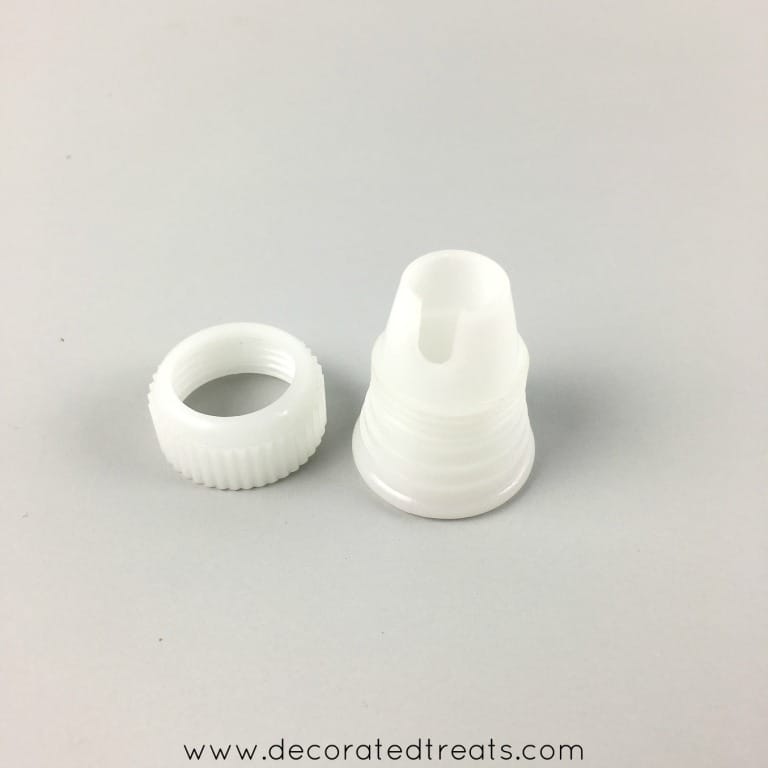
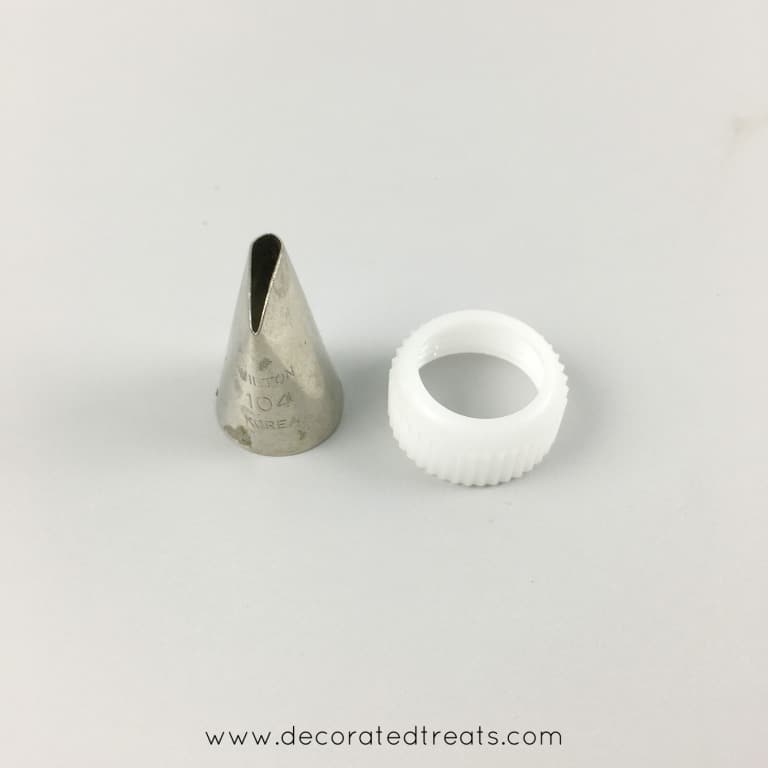
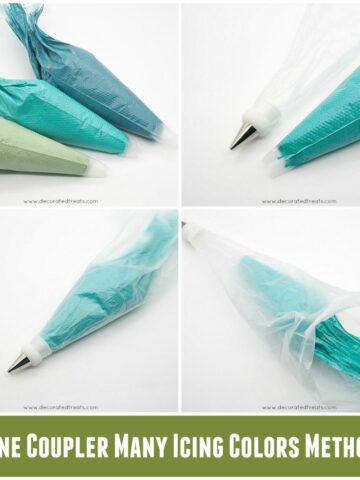
An icing couple is made up of 2 components. One long cylinder-shaped piece and another one that looks like a nut. These are mostly made in plastic and come in many different colors.
The ones I use are Wilton couplers and the size can fit all Wilton standard piping tips. By standard, I mean the normal-sized piping tips and not the larger ones like tip number 2D.
There are off course larger couplers for the larger piping tips. But I find that the larger tips don't really need couplers. They are good to use without a coupler.
Using a coupler is so easy that it is often assumed one would know how to use it without any demo. And that was what I thought too all this while until someone asked me what a coupler is and how to use it.
What is it Used For?
Icing couplers are used primarily to secure the fit of piping tips to piping bags so that the icing does not leak out when squeezed for piping.
It also makes changing piping tips easy as the tip is held by the coupler outside the piping bag.
🎥Video Tutorial - How to Use
Check out my full video on how to use an icing coupler:
🧾Tools required
This guide is to show you how to fit an icing coupler into a piping bag. It will also show you how to secure a piping tip with it in the best way to avoid icing leaks.
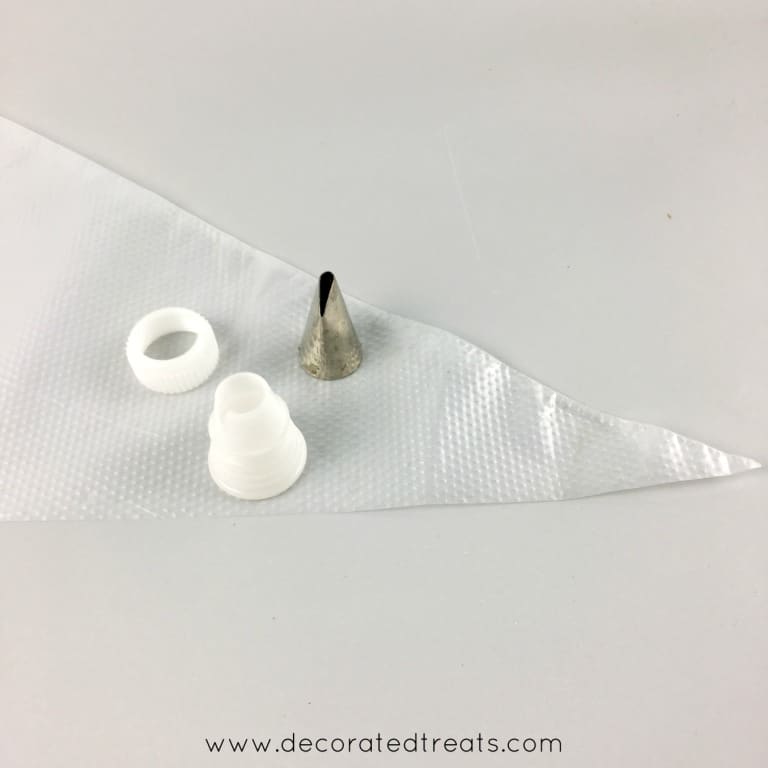
- Piping bag (I am using a disposable piping bag here)
- Icing coupler
- Piping tip
👩🍳How to Use
Step 1: Insert the cylinder component into the piping bag. Start by dropping your cylinder component into your piping bag and push it right to the tip.

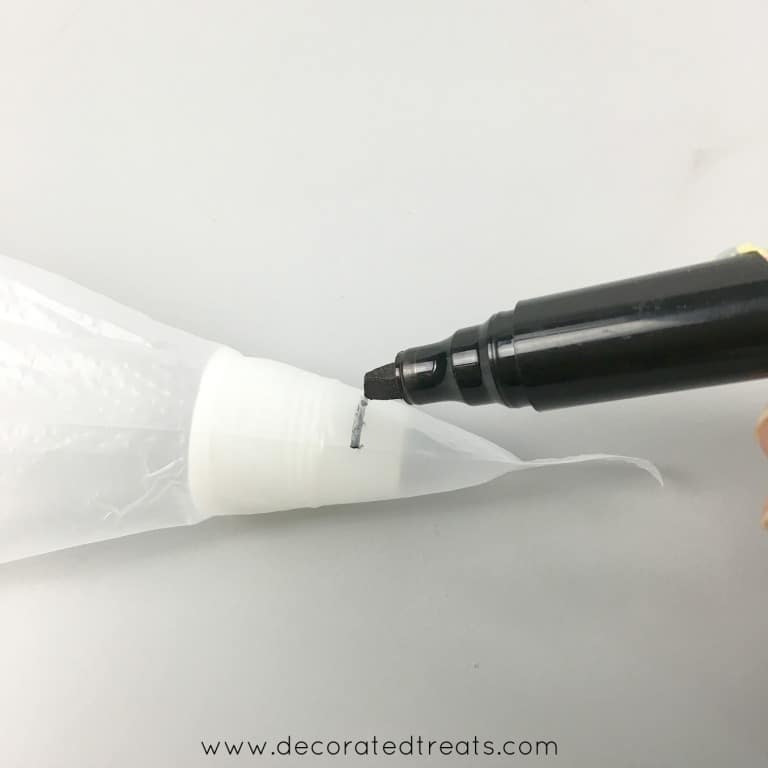
Step 2: Mark the cutting line. Using a marker pen, draw a small line as a cutting guide.
The position of the line is very important to avoid leaks in the piping bag so always make sure it is no more than the one-third mark from the bottom of the coupler.
Also, make sure, the line is always below the thread lines on the coupler.
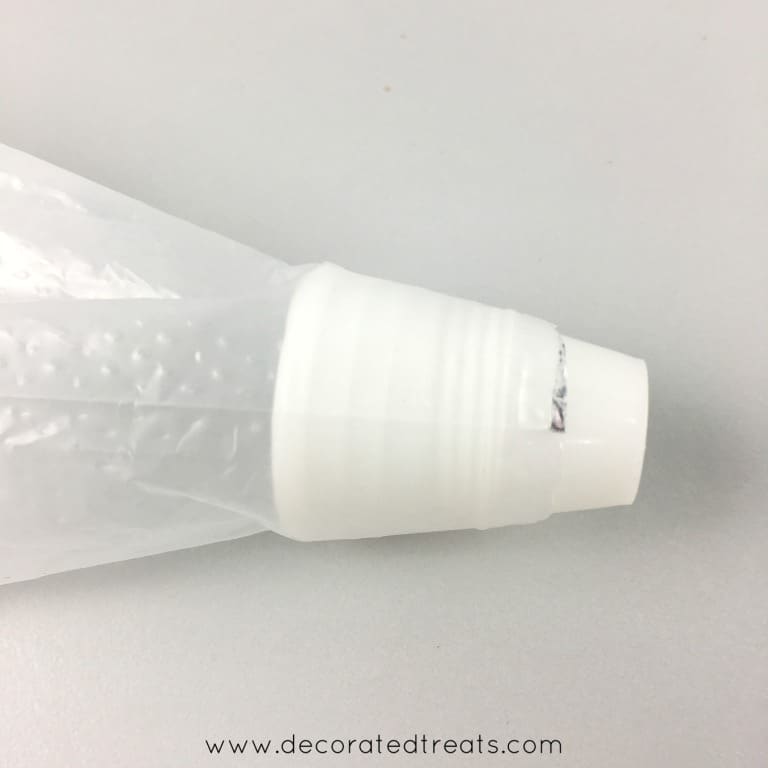
Step 3: Cut the tip of the piping bag. Push the coupler up so that you can cut your piping bag along the line marked earlier.

Once cut, push the coupler back to the tip of the piping bag. This is how it would look like.
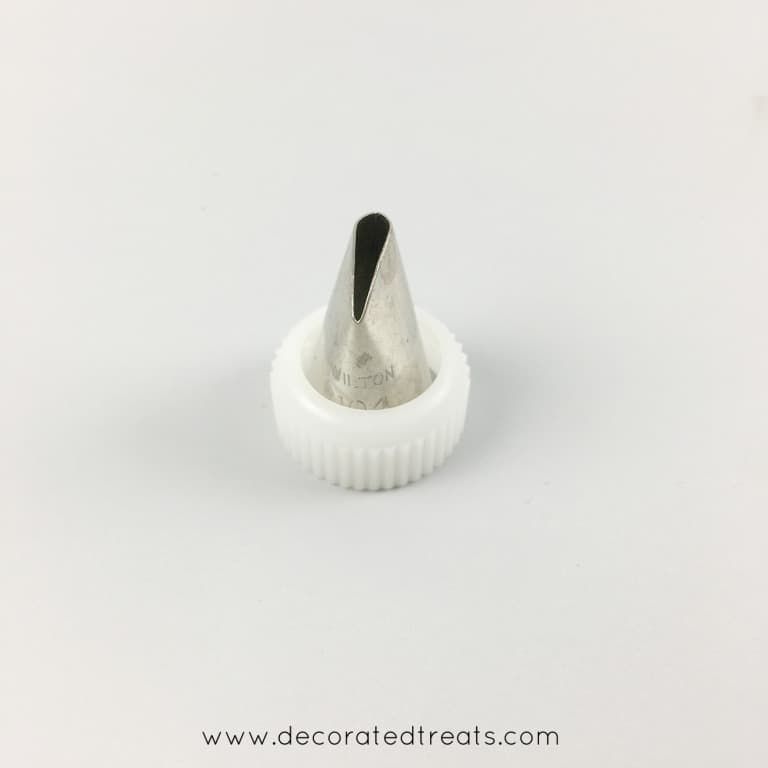
Step 4: Fit the piping tip. This will be done using the coupler nut.
Place the nut as shown below:
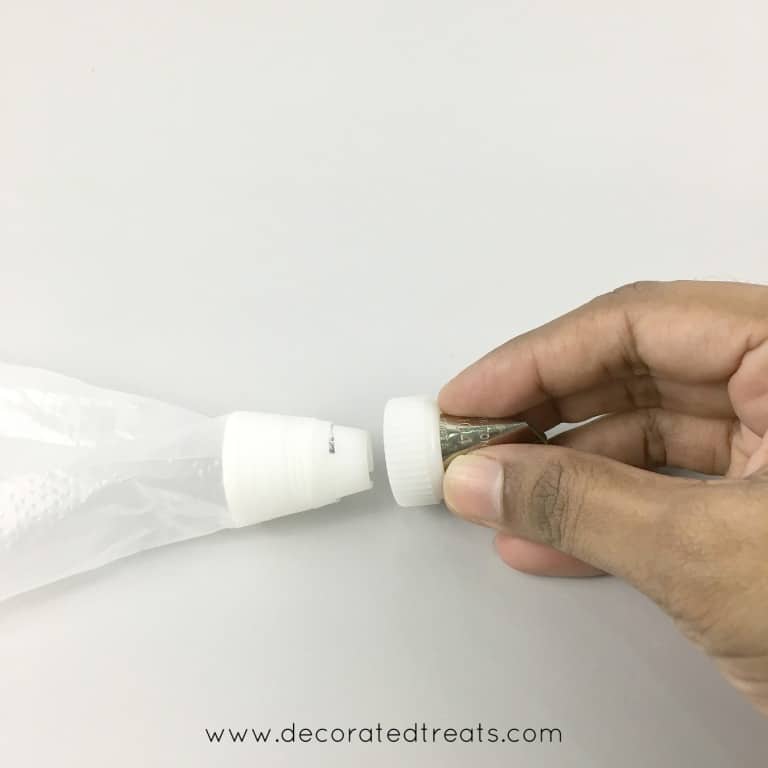
And then, simply lift the tip with the nut on and screw it to the coupler in the piping bag like this:
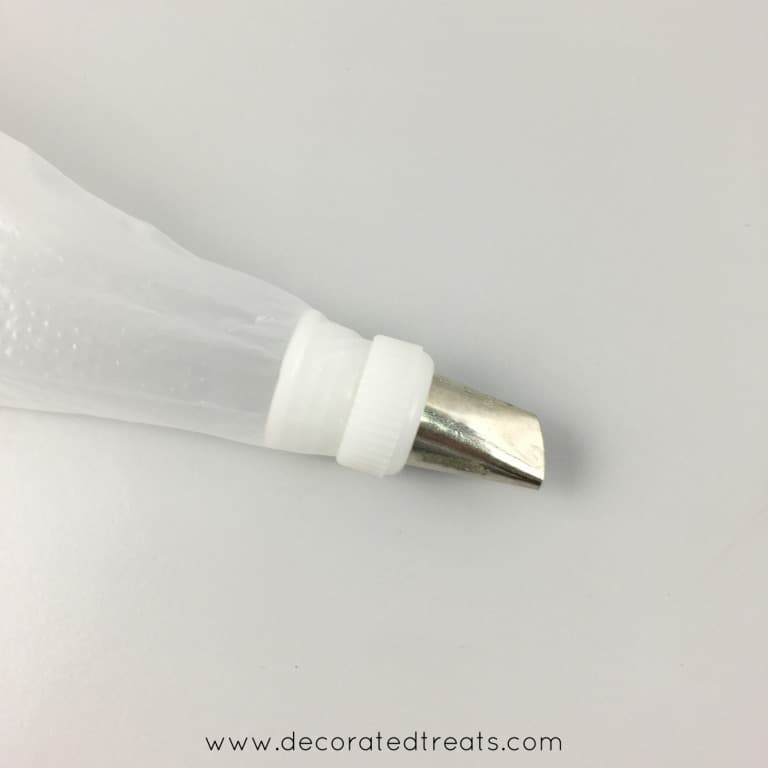
This is how it should look like when done.
Step 5: Filling the bag with frosting and start piping. If you need to change the tip, simply unscrew the nut and replace the piping tip before screwing it back again.
And that is how you use a coupler for cake decorating piping.
Marilyn
Thank you for the coupler info. I am a beginner and found it very helpful.
Priya Maha
Thank you Marilyn. I am glad you find it useful 🙂
Gberikon Deborah
This is great