

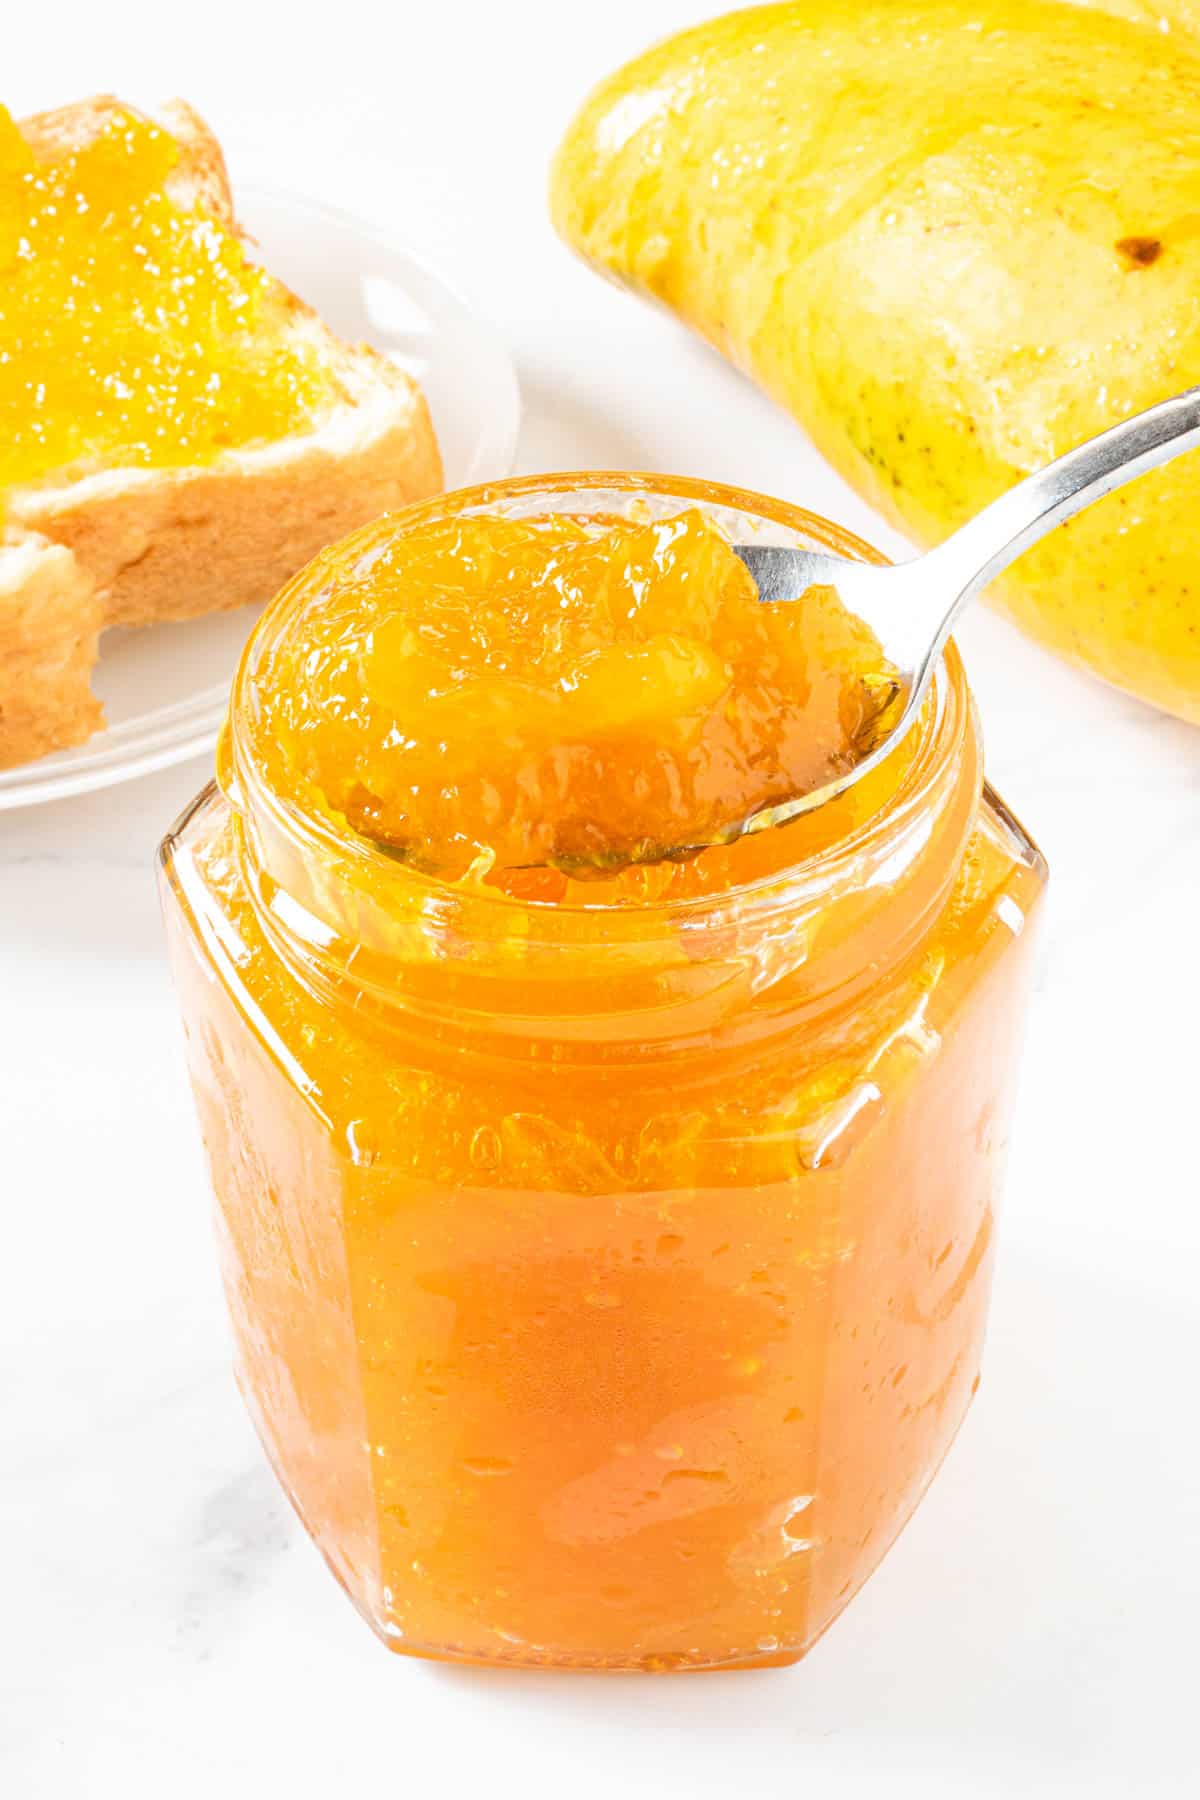
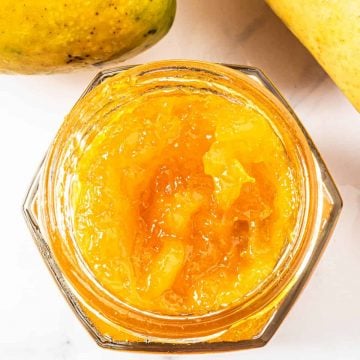
If you love mangoes, you will love this homemade mango jam without pectin. It’s not only easy to make but tastes absolutely delicious too!
Making this homemade jam is very simple. All you need is three ingredients – mangoes, sugar and lemon juice; and within 45 minutes (from the time you peel the fruits until the jam is cooked) you can have a jar of lovely homemade mango jam (or mango preserves as some call it), all ready to be enjoyed.
Jump to:
❤️Why you will love this recipe
- This homemade mango jam recipe a great way to use up mangoes during mango season.
- It is a great option for those looking for fruit jams with tropical flavors.
- This is an easy recipe, with only 3 ingredients and makes absolutely delicious jam.
- The jam is made using fresh mangoes and natural pectin from lemon juice. It is all natural, and there is no added pectin (artificial pectin) unlike store-bought jam.
- You can adjust the amount of sugar in the fruit jam if you prefer less sugar.
- This is a small batch homemade jam recipe, and you can make it fresh whenever you want.
Like this homemade jam recipe? Here are my other fruit and mango recipes you might want to check out
📋Ingredients
- Mangoes - choose well ripened mangoes. Ripe mango fruit are normally yellow in color. Some variants are red and green so it is hard to decide just by the skin color. The more effective way to know if a mango is ripe is by giving it a light squeeze. Unripe mangoes will be hard. If the mango gives in to the light squeeze, it is ripe and ready to use.
- White sugar - both coarse sugar and granulated sugar will work for this homemade jam recipe.
- Lemon juice - choose fresh lemon juice. Strain it to remove any seeds before using.

*Refer to the recipe card below for full list of ingredients and exact quantities. For best results, use a digital kitchen scale where applicable*
🧾Substitution and Variations
- Lemon juice can be substituted with lime juice. Use exact same quantity as mentioned in the recipe card for lemon juice.
This recipe has not been tested with other substitutions or variations. If you do try, please let me know in the comments section below!
👩🍳How to Make
Cooking the fruits
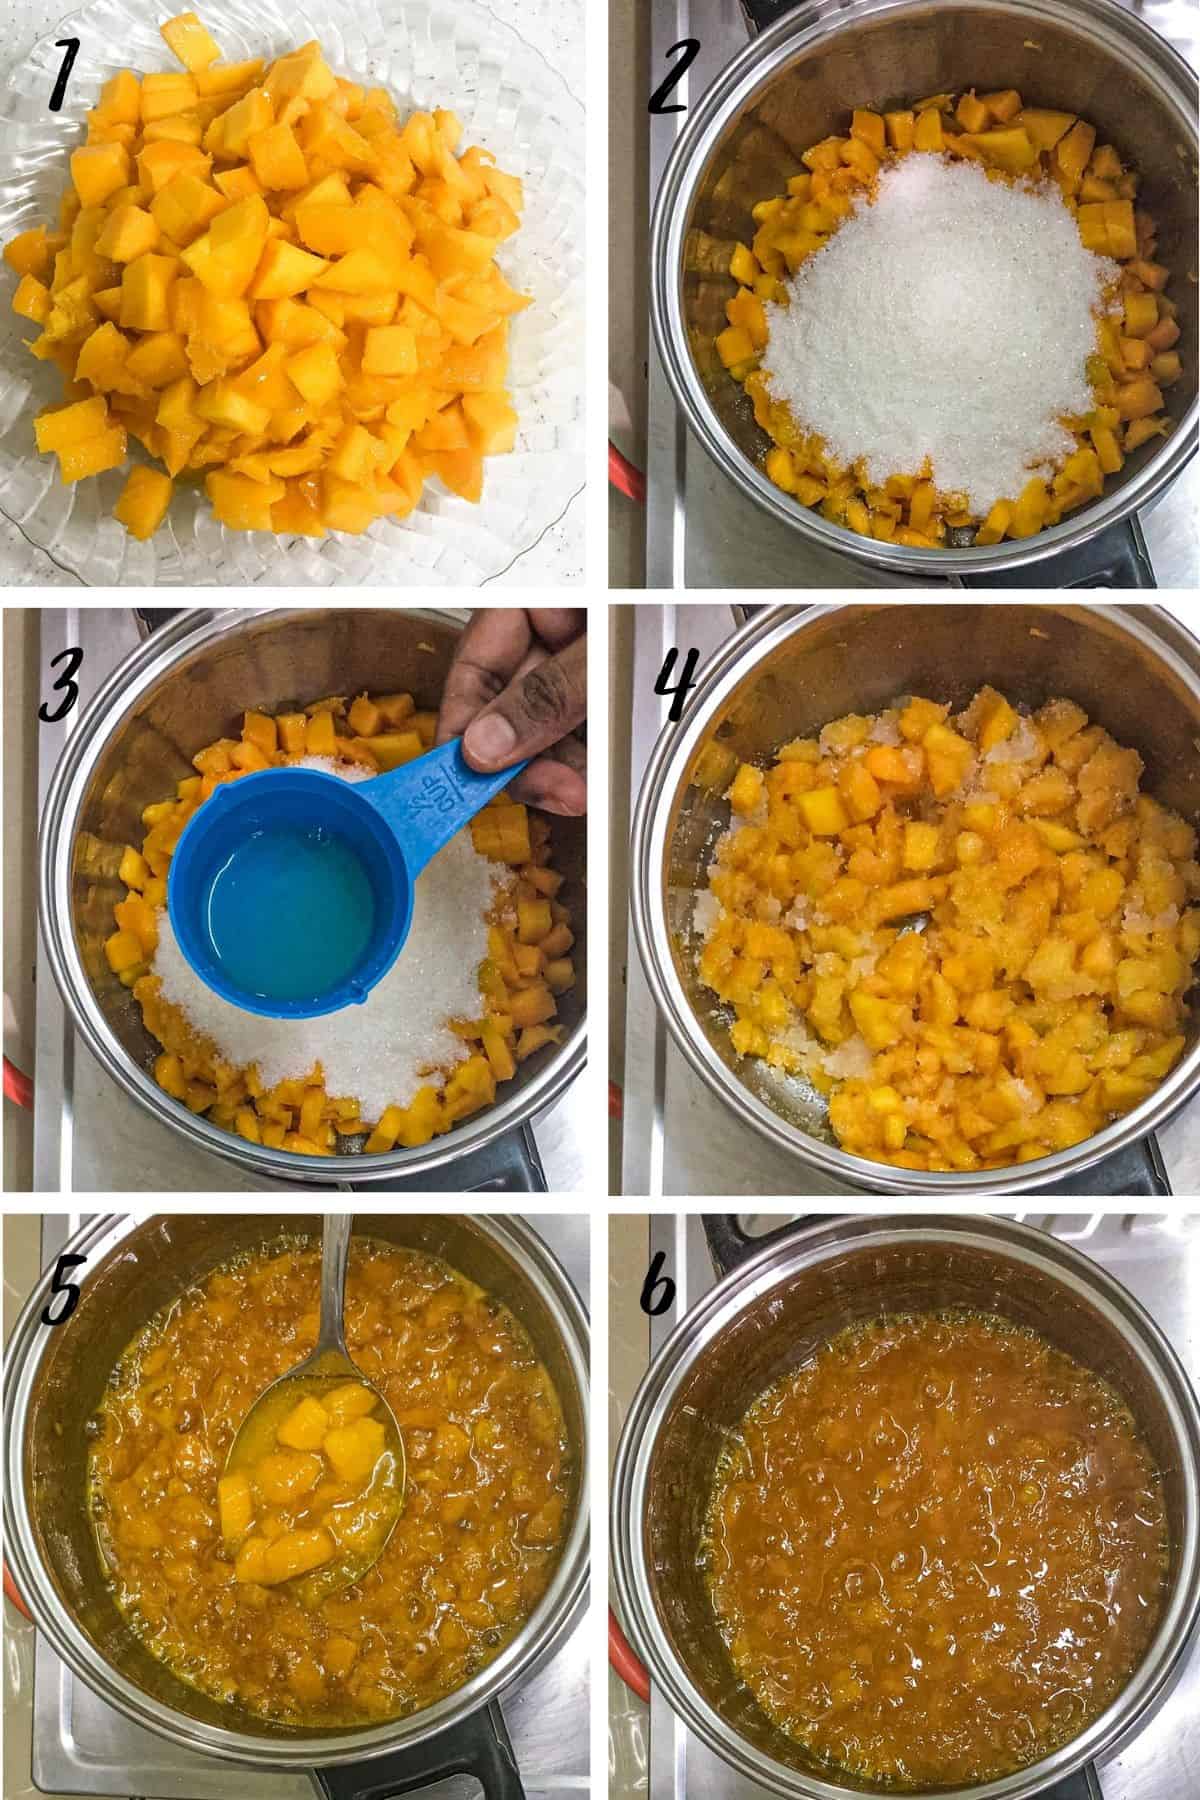
- Chop the flesh into tiny cubes and place the chopped mango in a medium saucepan.
- Measure the sugar and add it into the saucepan.
- Add in the strained lemon juice.
- Mix the fruits, sugar and lemon juice. Turn on the heat (low to medium) and simmer the fruits.
- The fruits and sugar mix will turn watery as the sugar dissolve.
- You will see after about 10 minutes that the jam will start to thicken a little. Continue to let the mango mixture simmer while making sure to stir the mango jam frequently. As soon as the fruits start to soften, if you see any large chunks, mash them up with the back of our spoon or use a potato masher to mush them (if you like your jam chunky, leave the fruit pieces alone).
Checking if the jam is done
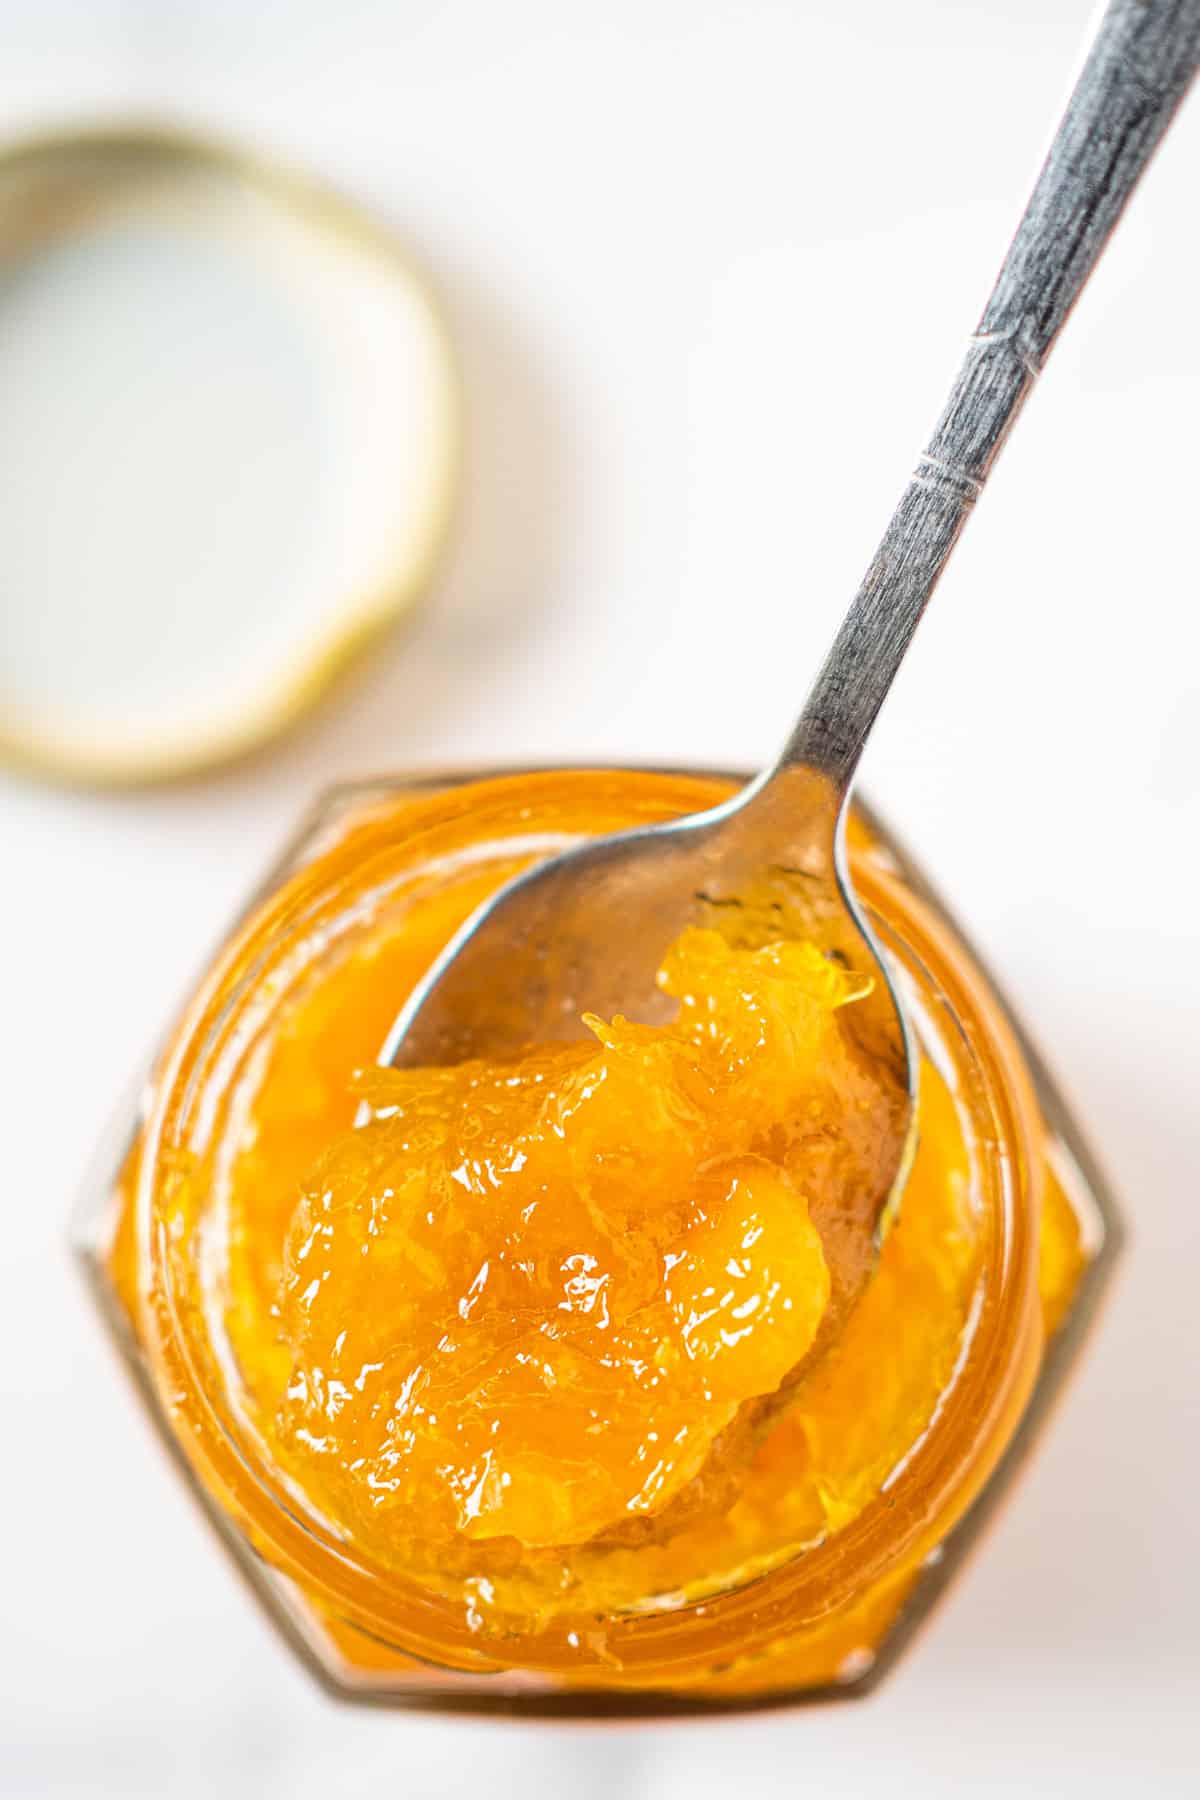
- Continue to let the jam cook until it thickens a little, approximately 20 to 25 minutes on low heat. To test if the jam is done, spoon some into a small plate. Let it cool down and then push it with your finger. If you see the surface wrinkle up, the jam is done and can be removed from heat. If not, continue cooking for a few more minutes and repeat the test.
- The other way to check if your mango jam is ready is by using a candy thermometer. If you have a candy thermometer, the reading should show 105 Celsius or 220 Fahrenheit. This is a good stage to remove the jam from the heat. Let the jam cool down completely to room temperature before spooning into clean jars.
🍽️Serving & storage
- Unless you follow proper canning method for jams, this mango jam needs to be refrigerated. It lasts in the fridge for a good 2 to 3 weeks. If you make the jam in large batches, you can divide the jam into smaller containers and freeze some. That way, you get to keeps the jam longer – about 2 to 3 months. Thaw it before using.
- I like to keep my jams in glass jars, in the fridge because I find the canning method a little too complicated for me. Before spooning the jam into jars, I let the jam cool down completely. And then I heat up my jars up in the oven for about 2 minutes before spooning the jam in. I keep the mango jam refrigerated all the time.
- If you don’t want to heat up the jars in the oven, place them facing up in jar filled with hot water. Let the jars warm up (make sure no water gets into the jars). Remove the jar from the hot water and then fill in the jam.
💡Expert Tips
- Choose well ripened fresh mangoes, these will definitely make a better tasting mango jam than the unripe ones.
- Always go for the type of mango with less thread in the flesh. Some mango varieties have a very thready mango pulp. When made into jam, you will end up with jam that has a lot of thready pulp in it.
- If you do not like your mango jam with chunks of the fruit pieces in it, you can chop the mangoes into tiny pieces or process them smooth in a food processor or immersion blender.
- Peel the mangoes before chopping them. We do not want any mango skin in the jam.
- If you have a candy thermometer, remove the jam from heat as soon as it reaches 104 degrees Celsius or 220 degrees Fahrenheit.
- Otherwise, you can check is the jam is done by cutting through the jam with a spoon. If you see a line that takes 2 or 3 seconds to close, the jam is ready and can be removed from heat.
⭐What can you use the jam for?
- Spread it on toast, bagels, croissants, or muffins.
- Use as a filling for pastries like turnovers or danishes.
- Spread the jam over pancakes, waffles, or crepes as a delicious alternative to traditional maple syrup.
- Layer the jam with yogurt and granola for a flavorful yogurt parfait.
- Swirl into vanilla ice cream or frozen yogurt for quick mango ice cream or frozen yoghurt.
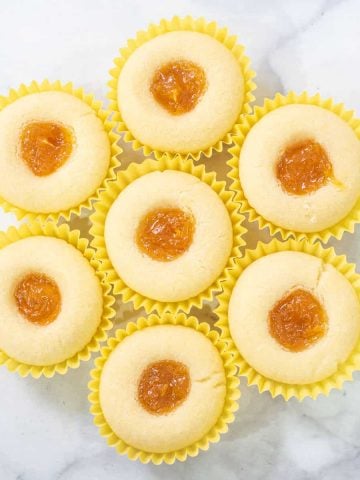
- Use as a filling for cakes, cupcakes, or muffins.
💭FAQs
Jams often have an ingredient called pectin added to them. It is a naturally occurring ingredient in fruits and when making jams, it helps in the gelling process of the jams. Unfortunately, not all fruits are high in natural pectin. These fruits, when made into jams, will not set properly. They need pectin to be added as a separate ingredient.
The amount of pectin in fruits differ by the type of fruit and level of ripeness. This is why most commercially made store-bought jam use pectin – it helps in achieving consistent results without relying on the varying levels of natural pectin in fruits.
While there is no harm in using pectin in making jams, I believe it is not something that is readily available in most homes. It is not something that I have at home too. Plus, unless you are into large scale jam making, you will probably want to use a substitute rather than purchasing the pectin and let most of it go unused.
This is where the lemon comes into the picture. It is an excellent pectin substitute for making jams. When making jams with low pectin fruit, such as mangoes, this juice is all you need, which is what I have chosen to use in making my mango jam.
To make this jam, you need to peel the mangoes and discard the skin. You can peel the skin with a sharp knife. Simply slice off the thin skin layer.
Another method is to use a vegetable peeler. Simply run the peeler on the skin until it's all peeled off. If the mango is too ripe, it might be a little hard to hold the mango in hand. Use a kitchen towel to avoid the fruit from sliding off your hands.
If you do not want to peel the skin first, you can use another method. Hold the mango on a chopping board. Using a sharp knife, slice off both sides of the fruit, as close as possible to the seed, leaving just the middle section (where the flat seed is). Aim to slice the fruit along the flat sides of the seed. Take each of the sliced sides, and make horizontal and vertical slits on the flesh, but make sure not to slit the skin underneath. Use a spoon to scoop out the cubed flesh. Cut them further into smaller chunks as desired.
❤️More Recipes You Will Love
Do you like this recipe? Please leave a 5-star ⭐⭐⭐⭐⭐rating in the recipe card below and consider a review further down this page. I would love to hear from you. Thank you!
📖Recipe
Mango Jam without Pectin
For best results, use the metrics measurements. US customary measurements have not been tested and are only meant for guide.
Ingredients
- 500 g mangoes skin peeled and chopped
- 300 g white sugar
- 1 tablespoon lemon juice
Instructions
- Wash and peel the mangoes.
- Cut the flesh into small cubes. Discard the seeds.
- Place the cut mangoes in a deep saucepan.
- Add sugar and strained lemon juice and cook over low heat.
- Stir the jam every few minutes. The jam will be watery as the sugar melts.
- Continue to cook over low heat until the jam thickens, about 20 to 25 minutes.
- If you have a candy thermometer, cook the jam until it reaches 105°Celsius or 220°Fahrenheit and remove from heat.
- If you don't have a candy thermometer, as soon as you see the jam thickening slightly, spoon some into a plate. Let it cool down and push it with your finger. If the surface wrinkles, the jam is ready. If not, let the jam cook for a few more minutes and continue the test.
- The jam will thicken more as it cools down, hence, it is best to not let it thicken too much on heat.
- Let the jam cool completely before spooning into a clean and lightly heated bottle.
- Place the lid and keep the jam refrigerated.
Notes
- Choose well ripened fresh mangoes, these will definitely make a better tasting mango jam than the unripe ones.
- Always go for the type of mango with less thread in the flesh. Some mango varieties have a very thready mango pulp. When made into jam, you will end up with jam that has a lot of thready pulp in it.
- If you do not like your mango jam with chunks of the fruit pieces in it, you can chop the mangoes into tiny pieces or process them smooth in a food processor or immersion blender.
- Peel the mangoes before chopping them. We do not want any mango skin in the jam.
- If you have a candy thermometer, remove the jam from heat as soon as it reaches 104 degrees Celsius or 220 degrees Fahrenheit.
- Otherwise, you can check is the jam is done by cutting through the jam with a spoon. If you see a line that takes 2 or 3 seconds to close, the jam is ready and can be removed from heat.

Freya
Really tasty. I used frozen mango and it worked perfectly - although it did take longer.
SAMSON ANABWANI
nice jam,we need more of this