

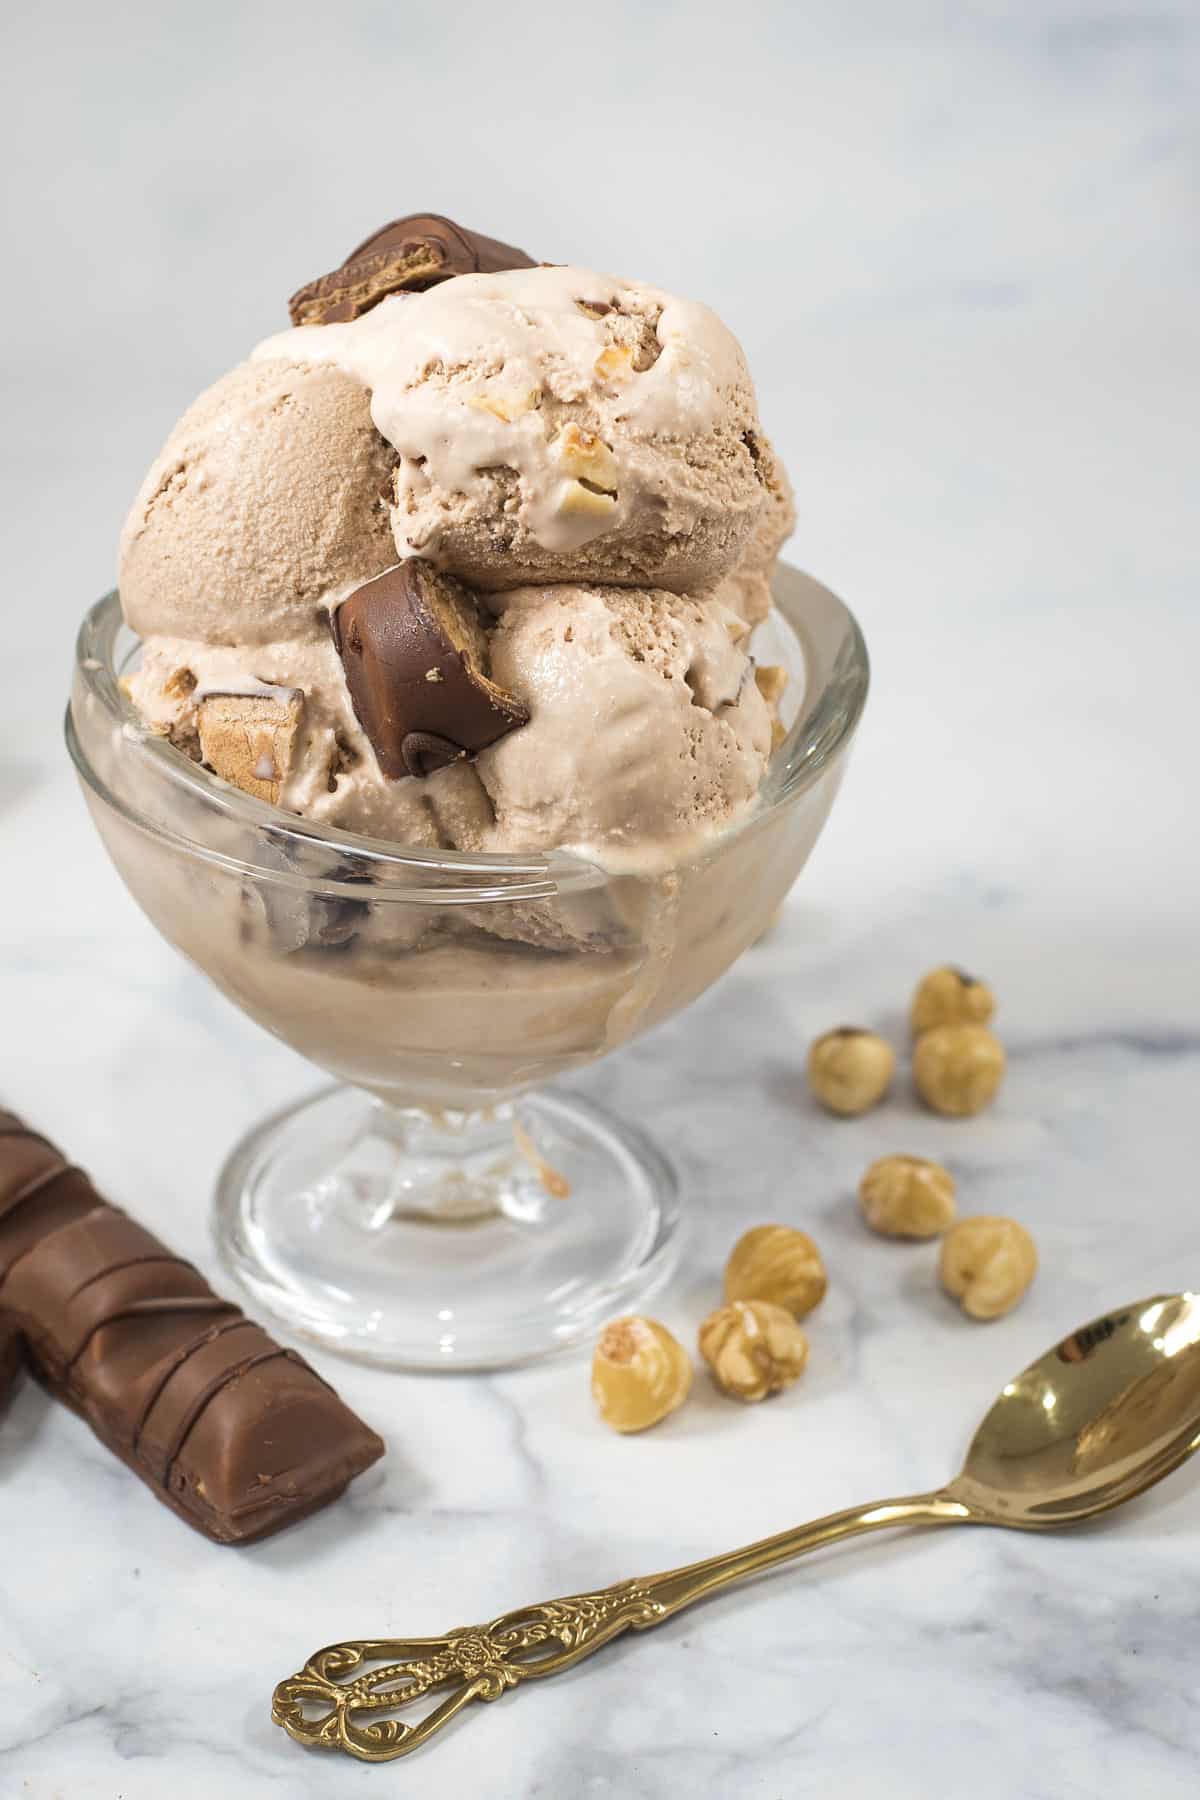
If you love Kinder Bueno, you've got to try this homemade Kinder Bueno ice cream! It's easy to make both with and without an ice cream maker!
This is a churned ice cream recipe, made using an ice cream maker. But if you don't have an ice cream machine, don't worry. You can still make this smooth and creamy ice cream at home with a blender instead.
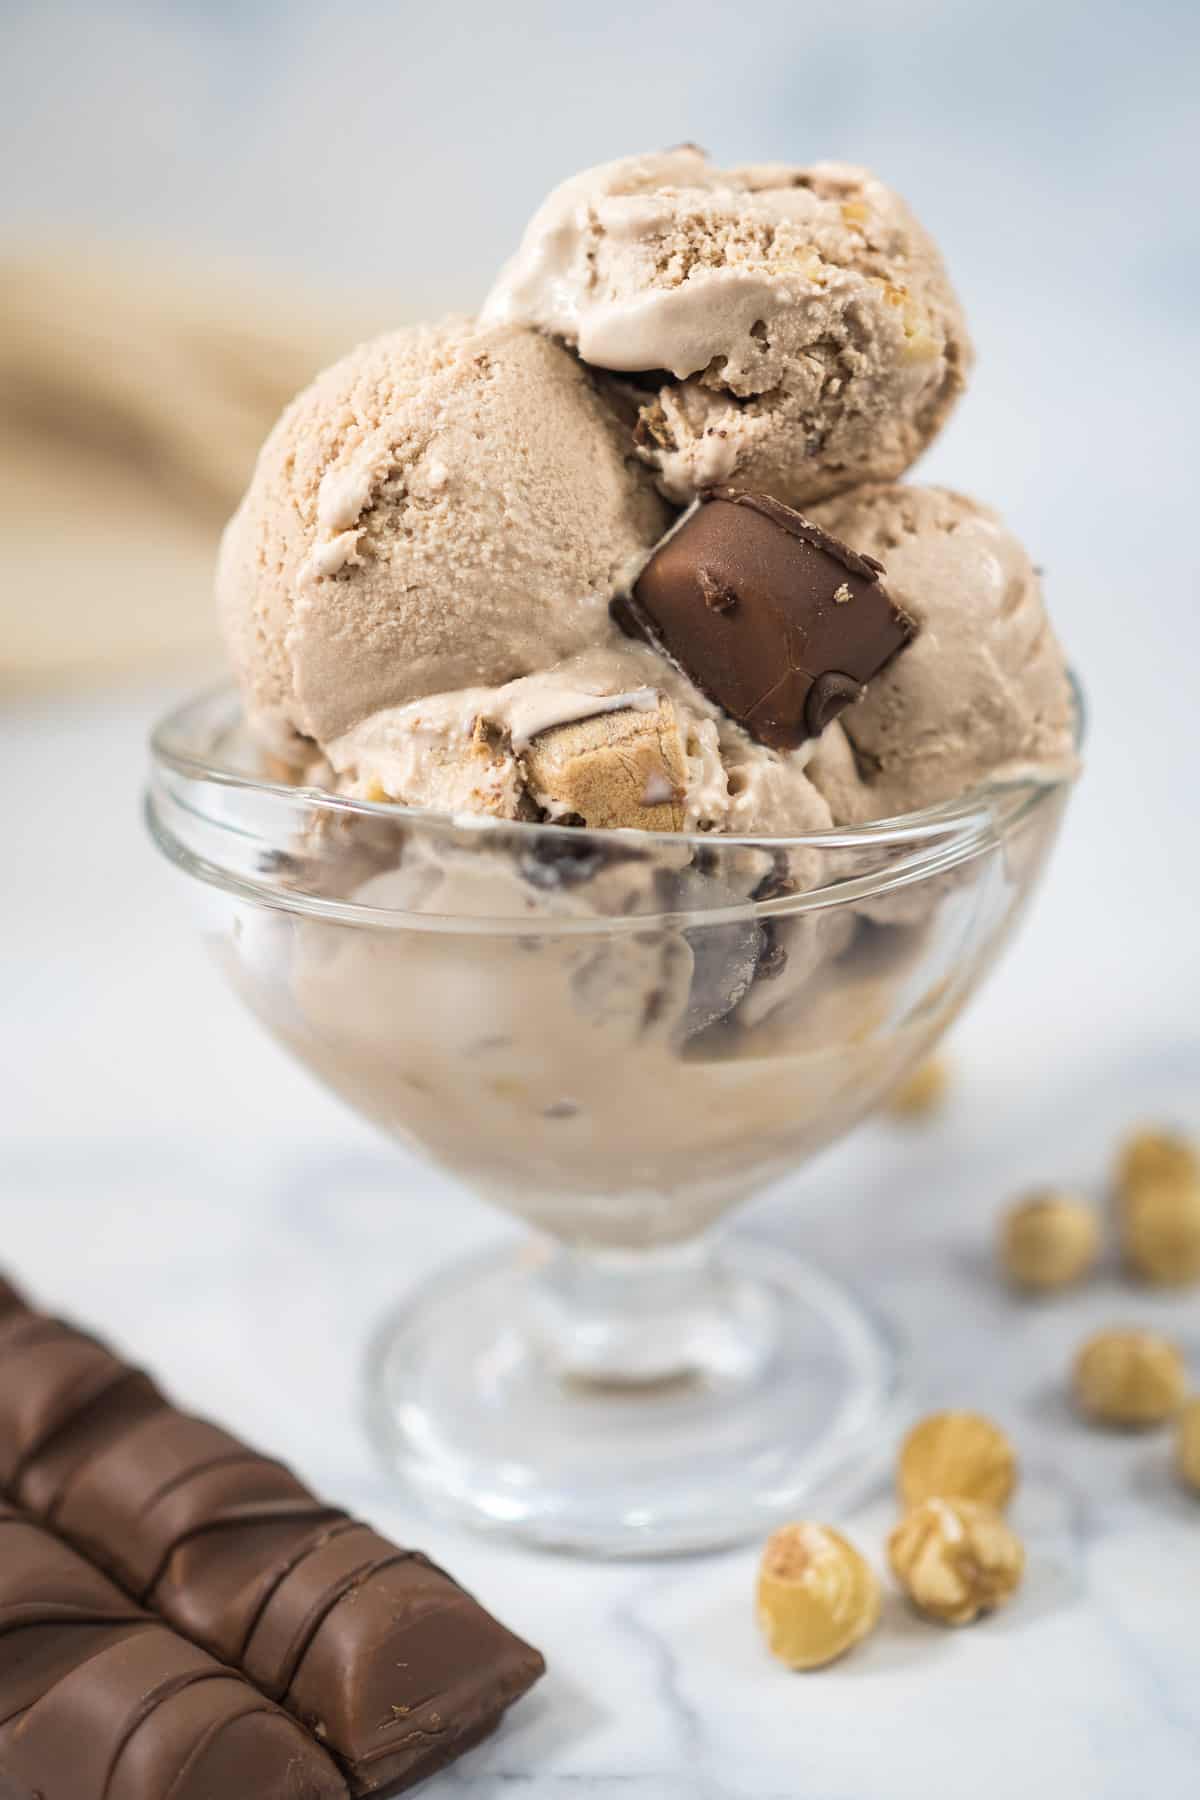
The ice cream base starts with milk, sugar, and cream, and it is then is flavored with Nutella and vanilla. Once churned, it is filled with chopped Kinder Bueno chocolate and hazelnuts and frozen until set to make absolutely delicious Kinder Bueno ice cream.
If you don't have an ice cream machine, all you need to do is make the ice cream base (see the step-by-step guide below) and freeze it until it is completely set. Once set, you break it into chunks, pop the chunks into a blender and blend until smooth, to a smoothie consistency. Pour the blended ice cream back into its container, mix the chopped Kinder Bueno chocolate and hazelnuts, and return it to the freezer to set completely before serving. Easy right?
Table of contents
- How to Make
- Notes
- Can the nuts be omitted from the recipe?
- Substituting the full fat milk with low fat milk
- Can the ratio of milk and cream be adjusted in the recipe?
- Is it necessary to chill the ice cream solution before churning it?
- What is the best temperature to freeze the ice cream?
- What if the ice cream is too hard to scoop?
- Like this easy homemade ice cream recipe? Here are my other posts you might want to check out
- Recipe (Printable)
How to Make
Ingredients
- Full fat milk
- Heavy whipping cream (with at least 35% fat)
- Granulated sugar
- Fine salt
- Vanilla Essence
- Nutella (chocolate hazelnut spread)
- Kinder Bueno chocolate
- Hazelnuts (chopped and roasted)
Making the ice cream base
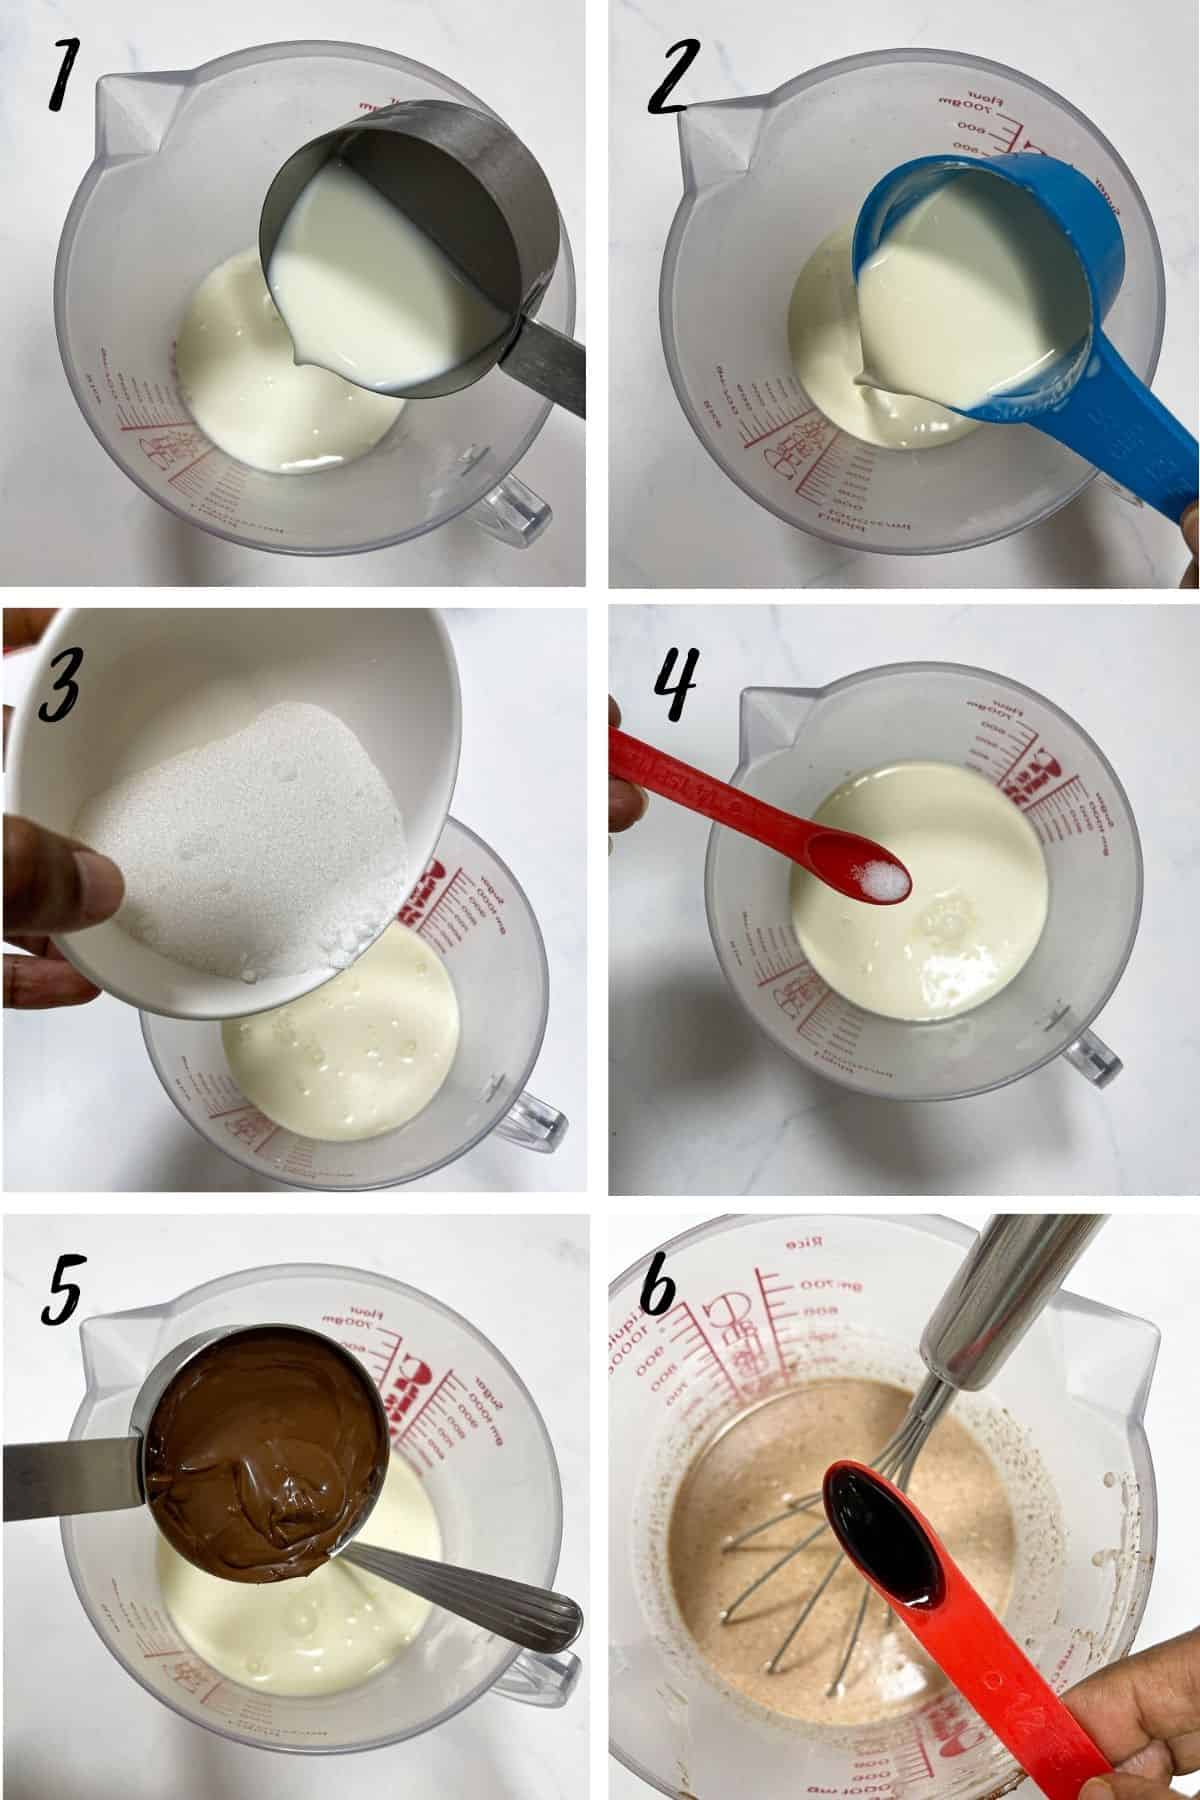
- Measure the milk into a measuring jug or pot.
- Add the cream.
- Measure in the sugar.
- And then add the salt. Stir the ice cream base solution with a spoon or whisk until the sugar and salt are all dissolved. Since granulated sugar is quite fine, this process should not take more than a minute or two. As you stir the milk, you will feel the sugar and salt grains at the bottom of the bowl or pot. As soon as you don’t feel them anymore, that means the sugar and salt are dissolved.
- Next, add the Nutella. Mix well. The Nutella will not completely dissolve in the ice cream solution, i.e. you will see it a bit curdled and that is fine. It will dissolve further during the churning process. Suffice if you stir until there are no lumps of it in the milk and cream solution.
- Finally, add the vanilla essence and stir well.
Preparing the chocolate and nuts
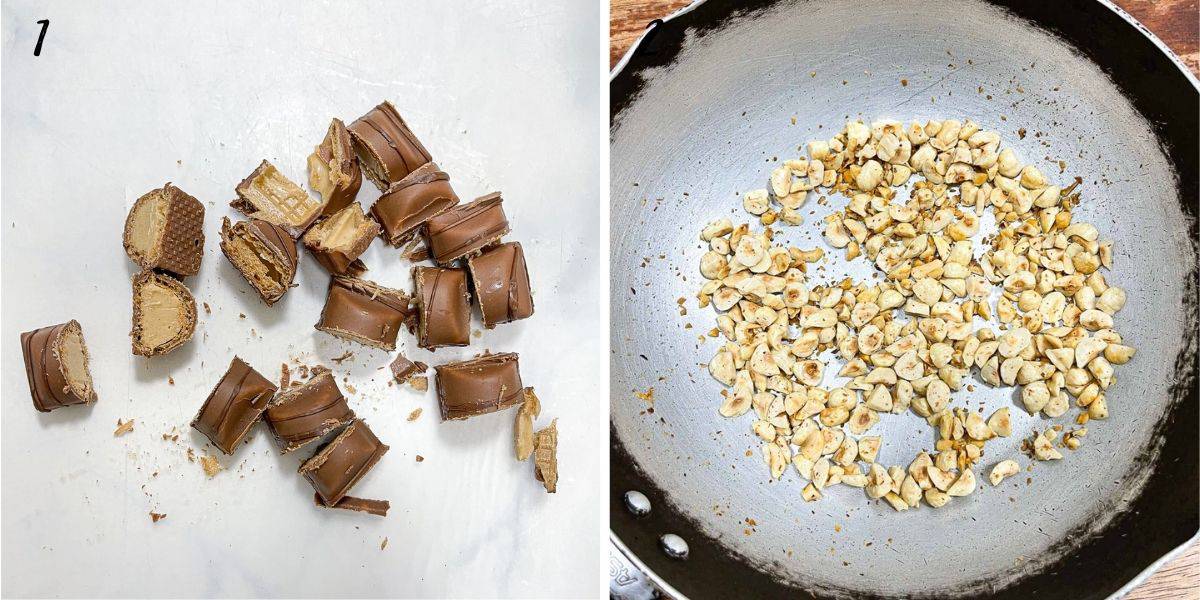
- Chop the Kinder Bueno chocolate into small pieces. I chopped mine into 8 pieces for each bar and I used 4 bars of chocolate for this recipe. Set aside until ready to use.
- Chop the hazelnuts into pieces. If you like large chunks of nuts in your ice cream, you can chop them as such, otherwise, chop them smaller. Place the chopped nuts in a pan and dry roast them over low heat until they turn golden brown in color and become crunchy. Set aside to cool.
Method 1: Churning the ice cream in an ice cream machine
- Chill the homemade ice cream base prepared above in the fridge for at least 2 hours, until the mixture is completely chilled. You can also leave this in the fridge overnight. If you want to get it ready faster, you can put it in the freezer for about an hour.
- Pour the chilled base into your ice cream maker bowl. Follow the instructions as stated in your ice cream maker manual on how to operate your machine. Each machine works differently. Also, make sure you have the correct churning pedal attached (in case your machine comes with more than one type of pedal) and that the quantity of the liquid is not exceeding the capacity of your machine. This homemade base can be used for ice cream makers with a capacity of one and a half quarts. Also do note that as the ice cream is being churned, it will increase in volume. So make sure you do not fill your ice cream maker tub anymore than the capacity it is intended for.
- Turn on the machine and let it churn the ice cream. I churn mine for 1 hour, but be sure to check the maximum time for your machines.
- At the end of 60 minutes, the ice cream should be perfectly churned. But it may still be a little soft (like a soft-serve ice cream consistency). If the ice cream is too soft, freeze it for a few hours before adding in the chopped Kinder Bueno and the hazelnuts.
Method 2: Using the Blender
- Prepare the ice cream base as above. Pour it into a freezer-safe container and freeze until it is completely set (about 4 to 6 hours).
- Once frozen, remove it from the fridge, break it into smaller chunks with a spoon and place the ice cream chunks into the blender.
- Blend the ice cream until smooth. If it is hard to blend, try to press the ice cream chunks down with a spoon (please ensure the blender is turned off when you are doing this).
- Quickly transfer the blended ice cream into a freezer-safe container. Freeze for about an hour before assembling so that the ice cream is firmer.
Assembling the ice cream

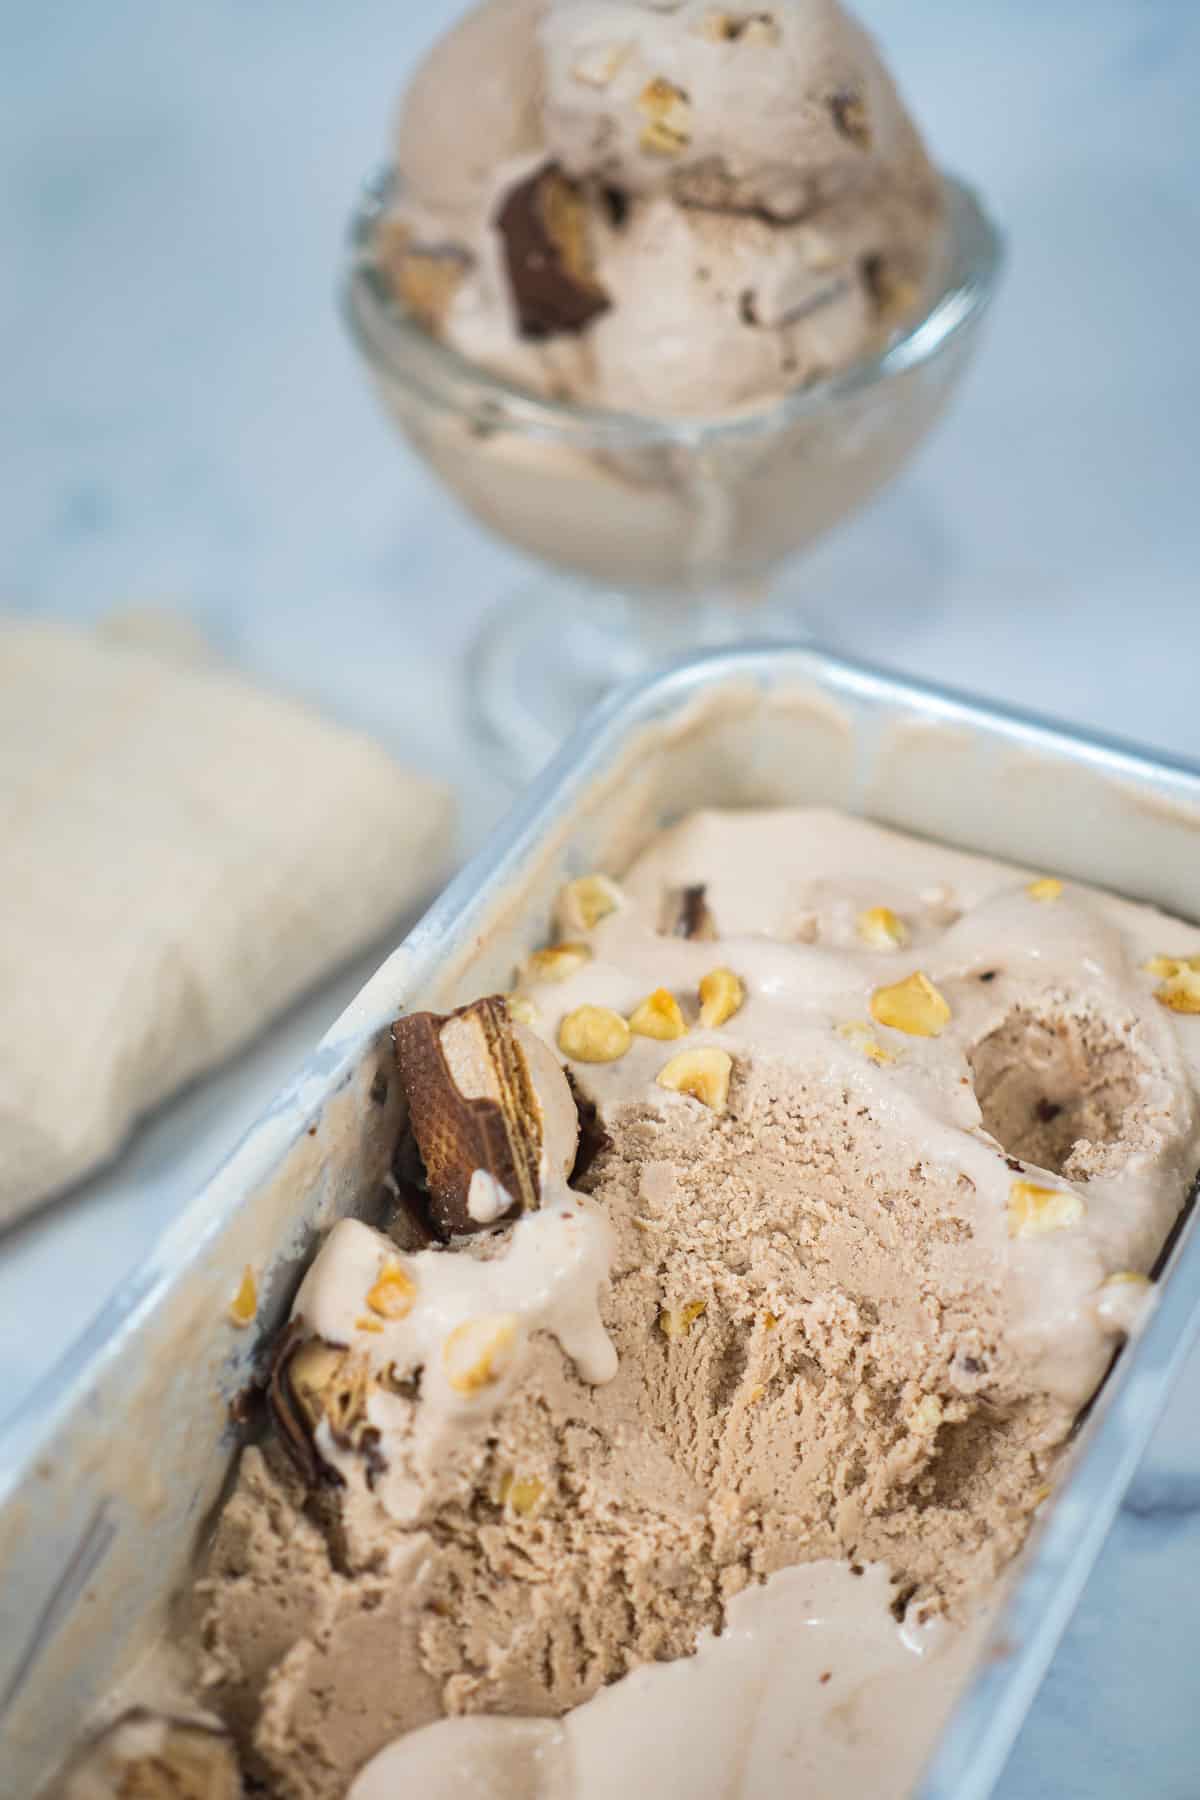
- To assemble the ice cream, transfer one-third of the churned/blended ice cream it into a freezer-safe container. Level it and sprinkle one-third of the chopped Kinder Bueno chocolate and the hazelnuts on top.
- Top with another layer of ice cream (another one-third). Spread the top with another one-third of the chocolate and nuts mixture.
- Finish off the ice cream assembling process by adding the remaining ice cream and topping it with the remaining chocolate and nuts. Give it a little stir in your wish.
- Place the Kinder Bueno ice cream in the freezer until it sets completely (about 4 hours).
Serving the homemade ice cream
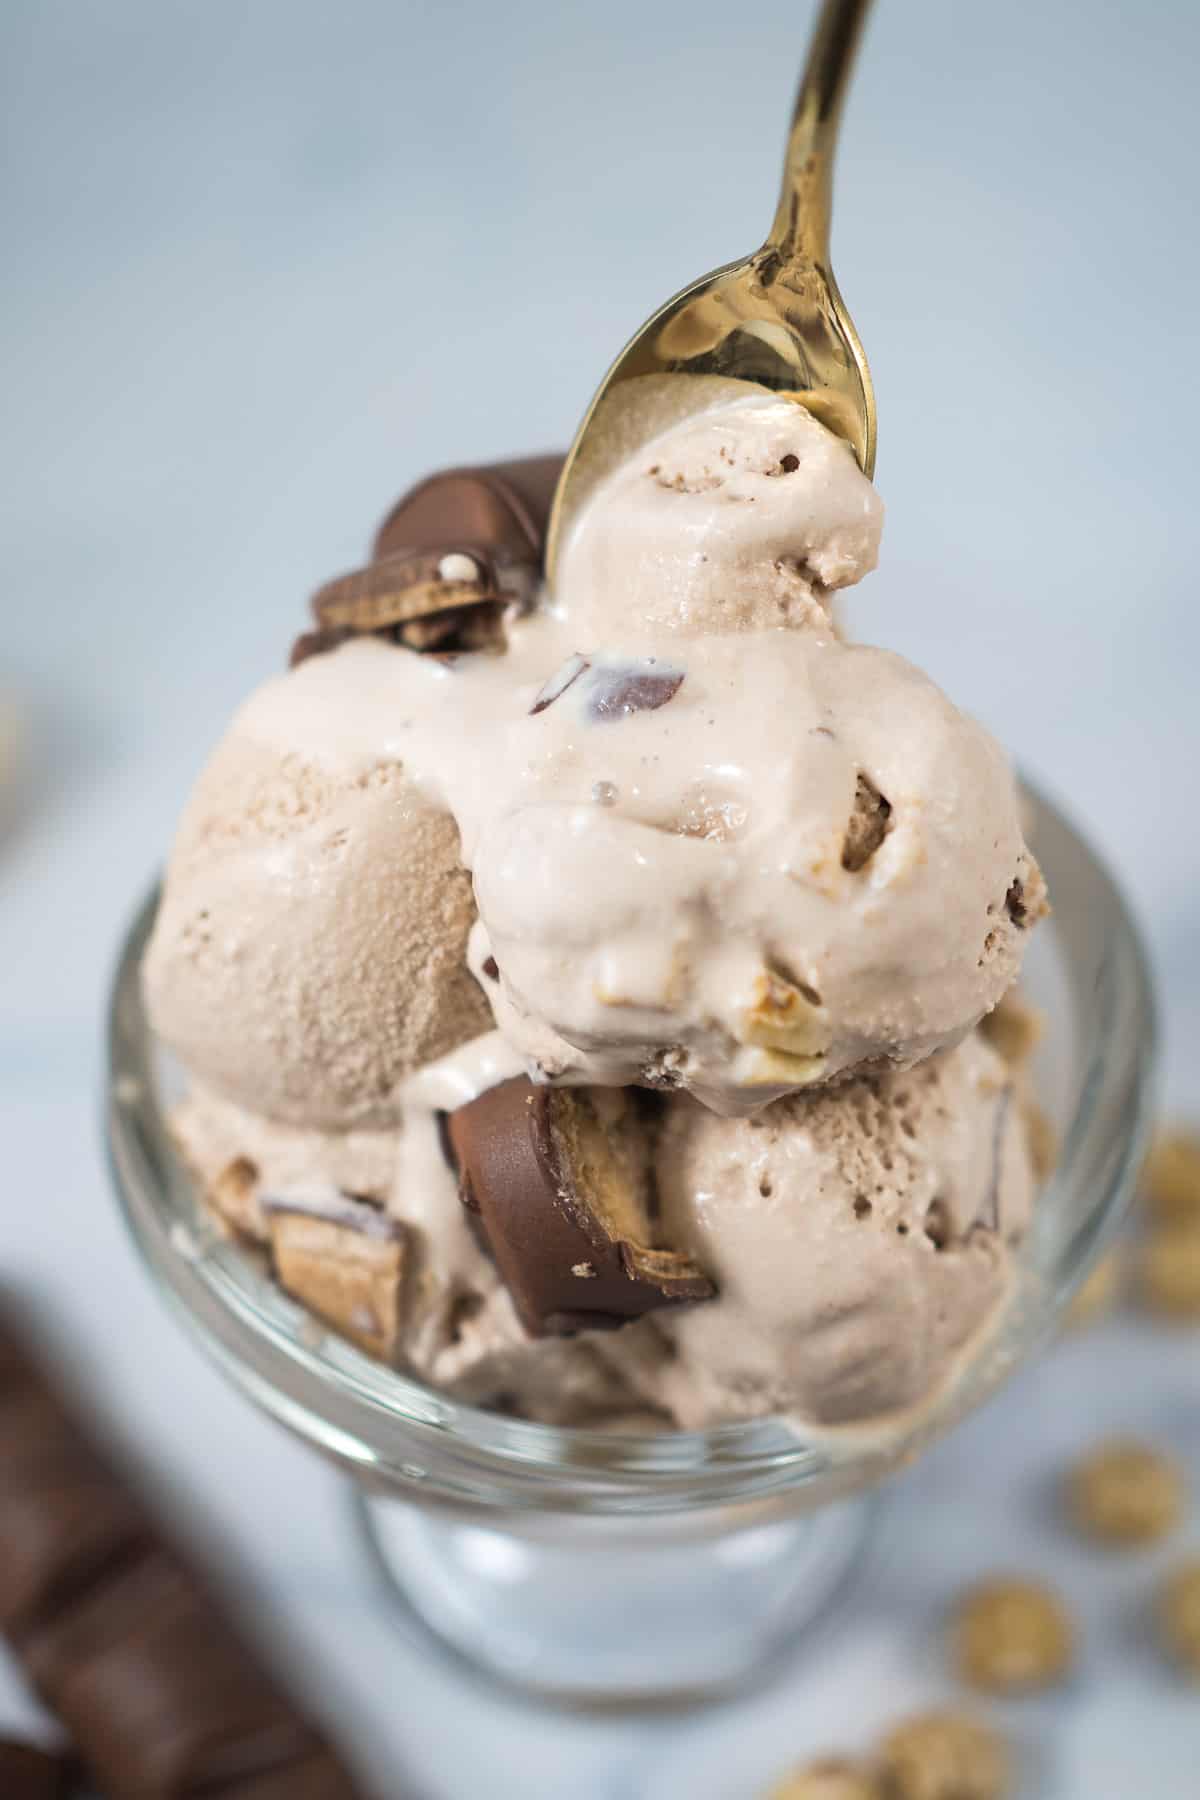
- To serve the Kinder Bueno ice cream, use an ice cream scoop to scoop it into serving cups. The ice cream should not be too hard to scoop if you use the exact same quantity of ingredients mentioned in my recipe card below and the ice cream is frozen at -13 degrees Celsius.
- But if it is hard for some reason, do not worry. Leave the ice cream container out for a few minutes. It should be a lot easier to scoop your ice cream then.
Notes
Can the nuts be omitted from the recipe?
- Yes, you can. The hazelnuts are optional and you can leave them out if you wish. You can also increase or decrease the quantity if you like.
- Also, when chopping the nuts, if you like them in large chunks, you can chop the nuts into half and roast them that way. If you prefer smaller pieces, can chop each nut into smaller pieces.
- You can also use other nuts if you wish, but since Kinder Bueno chocolate has hazelnuts in it, hazelnuts would make the best choice for this Kinder Bueno ice cream.
Substituting the full fat milk with low fat milk
- The reason why full-fat milk is used in making this ice cream is that it totally helps with the creamy texture of the ice cream.
- Substituting it with low-fat milk will result in your ice cream not having as creamy texture as it would with full-fat milk.
Can the ratio of milk and cream be adjusted in the recipe?
- Yes, you can. In fact, I have tried experimenting with different ratios of milk and cream to make my homemade ice cream.
- Generally, the ice cream tastes better with a slightly higher ratio of cream compared to milk. Nevertheless, this is a matter of personal preference and can be adjusted accordingly, provided you keep the final quantity of your homemade ice cream solution as per your ice cream maker specifications.
- Sugar can also be adjusted accordingly.
Is it necessary to chill the ice cream solution before churning it?
- A thoroughly chilled ice cream solution will take the ice cream machine a shorter time to churn because the solution is already well chilled, hence the need to chill it first before churning.
What is the best temperature to freeze the ice cream?
- This churned ice cream requires a negative thirteen (-13) degrees Celsius temperature to freeze well.
What if the ice cream is too hard to scoop?
- If you find it hard to scoop the ice cream after long hours of freezing, simply leave it out at room temperature for a minute or two (or slightly longer if your room temperature is not so warm) and try scooping it after that.
Like this easy homemade ice cream recipe? Here are my other posts you might want to check out
- No Churn Chocolate Ice Cream - Amazingly Smooth and Creamy
- Homemade No Churn Ice Cream - The Easiest!
- Churned Ice Cream
- Churned Chocolate Ice Cream
- Chocolate Chocolate Chip Ice Cream - A Simple Homemade Ice Cream Recipe
- Mint Oreo Ice Cream - An Easy Homemade Recipe
- Lychee Ice Cream Recipe - Creamy & Luscious (How to Make)
Recipe (Printable)
Here is the full printable version of my homemade Kinder Bueno ice cream recipe.
📖Recipe
Kinder Bueno Ice Cream
For best results, use the metrics measurements. US customary measurements have not been tested and are only meant for guide.
Ingredients
Ice Cream Base
- 250 ml full fat milk
- 500 ml heavy whipping cream (at least 35% fat)
- 75 g castor sugar
- 50 g Nutella
- ⅛ teaspoon salt
- ½ teaspoon vanilla essence
- 6 bars Kinder Bueno Chocolate (chopped)
- 25 g hazelnuts (chopped and roasted)
Instructions
Making the ice cream base
- Measure milk into a measuring jug.
- Add the cream.
- Measure sugar and salt into the milk and cream solution. Stir to dissolve the sugar and salt. This should take about 2 minutes.
- Add the Nutella and vanilla essence and stir until the Nutella is well blended. It will remain slightly curdled in the milk and cream and that is fine.
Method 1: Ice Cream Maker
- Prepare the ice cream base as above. Chill the solution for at least 2 hours or more until it is completely chilled. Churn the ice cream according to your ice cream maker's instructions.
- At the end of the churning process, if the ice cream is too soft, freeze it for a few hours before adding in the chopped Kinder Bueno and the hazelnuts.
Method 2: Blender/Food Processor
- Prepare the ice cream base as above. Pour it into an ice cream container and chill for at least 4 to 5 hours or until completely frozen.
- Once frozen, remove the ice cream from the freezer and use a spoon to break it into chunks.
- Add the ice cream chunks into a blender and blend until smooth, for approximately 1 to 2 minutes. Do not blend too long to avoid the ice cream from melting too much.
- Pour the blended ice cream back into its container. Let it set slightly in the freezer for about an hour before assembling the Kinder Bueno ice cream.
Preparing the chocolate and nuts
- Chop each Kinder Bueno chocolate bar into 8 small pieces. Set aside until ready to use.
- Chop the hazelnuts into pieces. Place the chopped nuts in a pan and dry roast them over low heat until they turn golden brown in color and become crunchy. Set aside to cool.
Assembling the Ice Cream
- To assemble the ice cream, transfer one-third of the churned/blended ice cream into a freezer-safe container.
- Level it and sprinkle one-third of the chopped Kinder Bueno chocolate and the hazelnuts on top. Top with another layer of ice cream (another one-third). Spread the top with another one-third of the chocolate and nuts mixture.
- Finish off by adding the remaining ice cream and topping it with the remaining chocolate and nuts. Give it a little stir in your wish. Place the Kinder Bueno ice cream in the freezer until it sets completely (about 4 hours).
Chilling and serving the ice cream
- To serve, scoop the ice cream into serving bowls or ice cream cones.
- If the ice cream is too hard to scoop, leave it out at room temperature for a minute or two. It will be much easier to scoop.
- This recipe makes 1.5 quartz of ice cream.
Notes
- When using the blender method, if the frozen ice cream (before blending) is too hard to break with a spoon, leave it out for a minute or two to soften it slightly before trying again.
Nutrition
And that's pretty much my super yummy Kinder Bueno ice cream recipe for you.
Enjoy!
Sarah Young
How is it possible for you to complete the whole cooking and writing first thing on Saturday morning? Since you are a full time working mum, how is this even possible. You must share your tricks so we all can learn from you;-)
Priya Maha
Hi Sarah,
I don't do it all on the same day. It takes about one to two weeks for me to get a post up - from cooking, photography, editing, writing the post and publishing it. 🙂