

Here is a cute pig in mud cake design. This is a square cake covered in ganache and topped with handmade fondant pig and chocolate cookie sticks fence, also handmade. This is an easy cake to make and a much fun decorating project too!
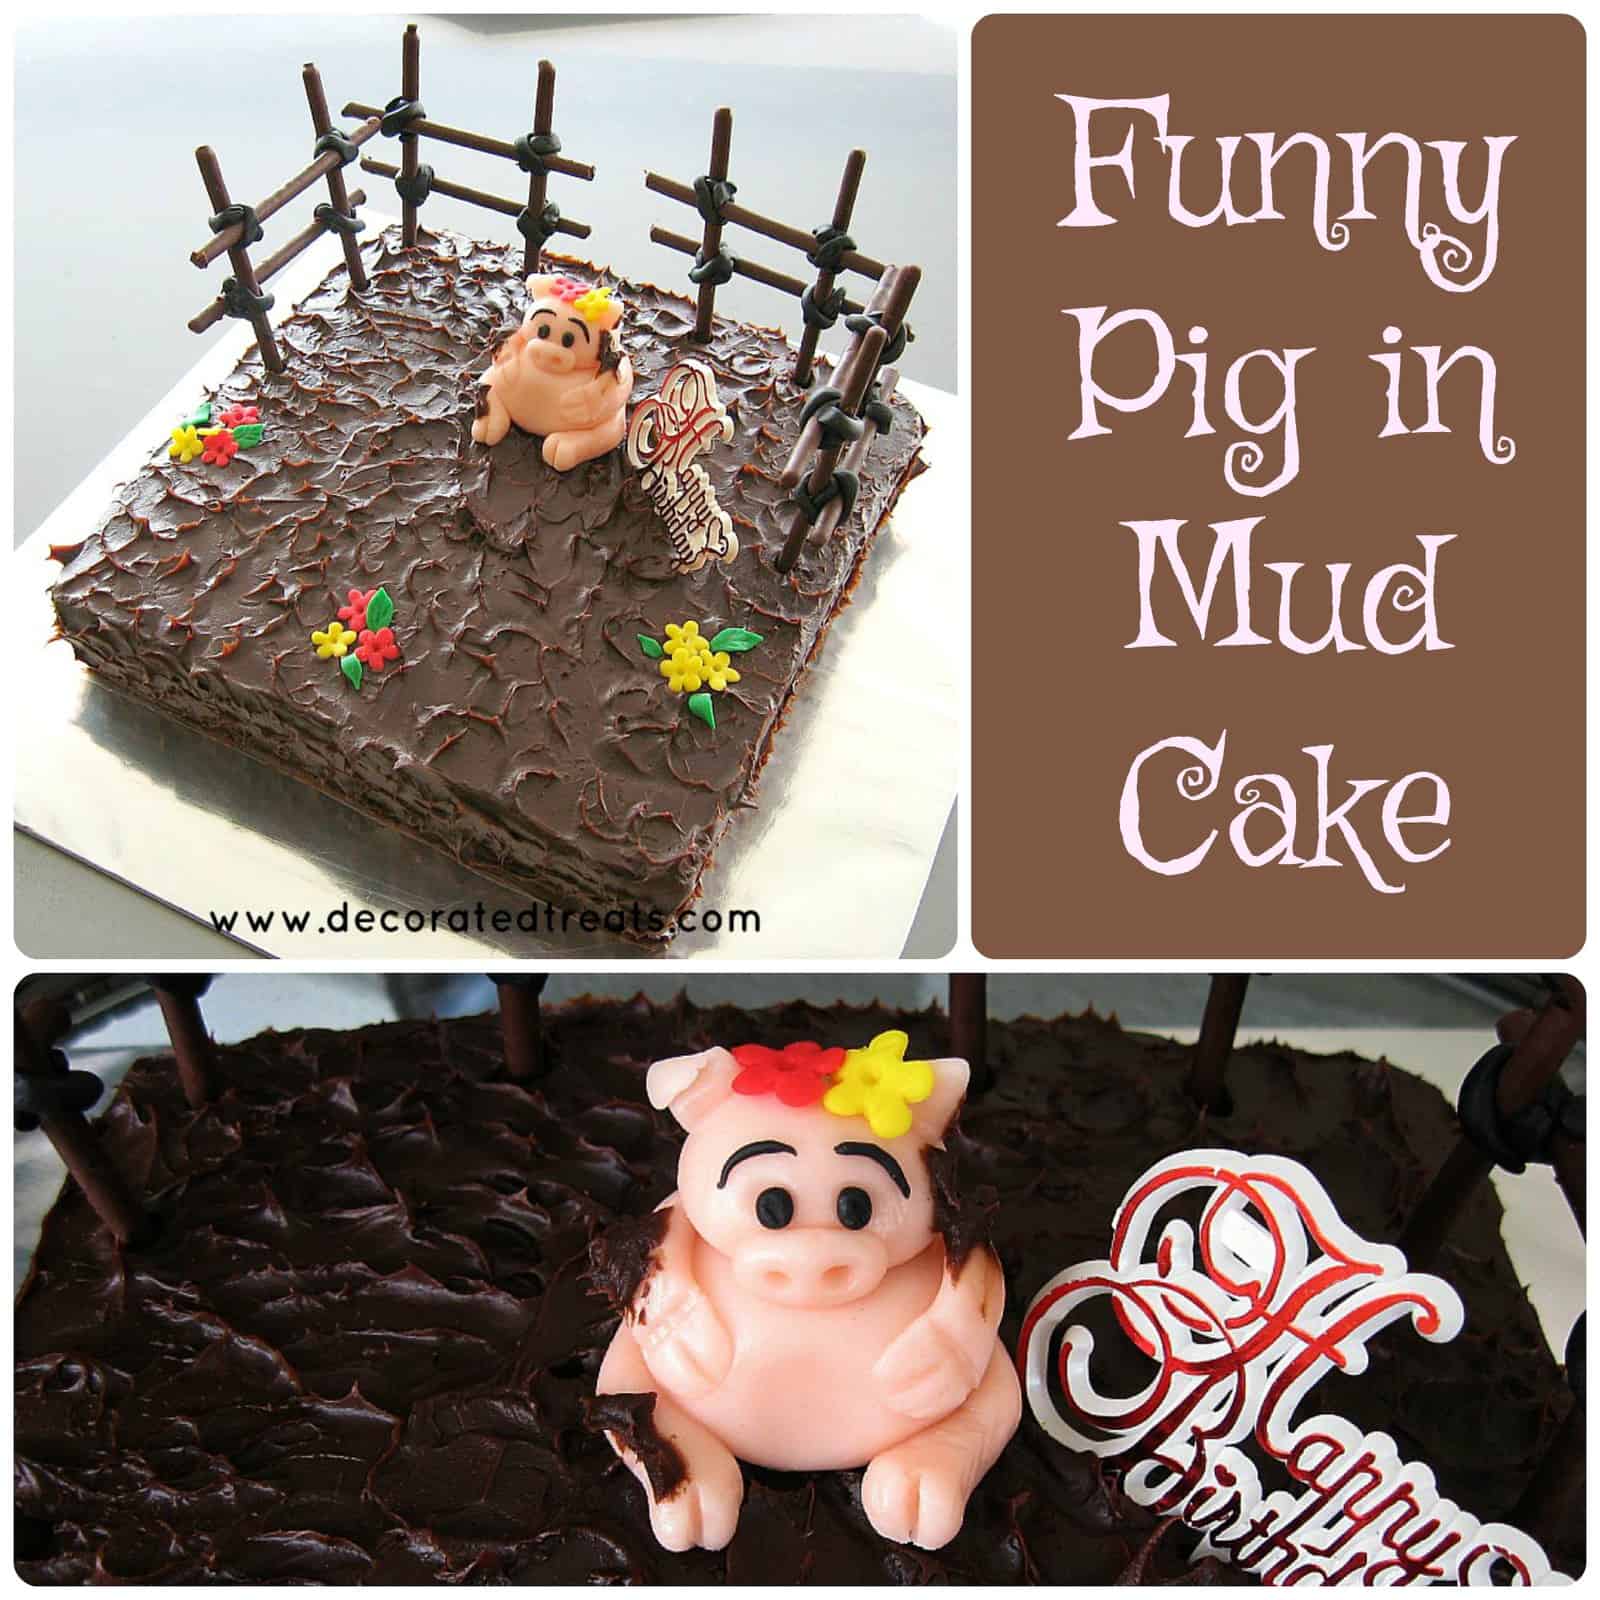
This pig in mud cake can be assembled pretty quickly too provided the pig cake topper and the cookie fence is prepared ahead of time.
🧾Supplies Required
- One square cake – I made an 8-inch square chocolate cake and covered it with chocolate ganache. I used my favorite chocolate cake recipe and baked only one layer. Since it was a single layer cake, the cake height was approximately 2 inches only. The cake was for a small family event so we did not want too much cake. Since it was single layer, I did not layer it further. So the cake was not filled with any icing. But of course, if you want it to be filled, you can always layer the cake for filling. Or you can bake 2 cakes and sandwich them together.
- Chocolate ganache – I made the ganache one day in advance. This gave the icing sufficient time to thicken and be of the right consistency for the pig in mud cake.
- Chocolate covered finger cookies – I bought these from a local store and used them with fondant to create the fence. These are basically long and thin cookies dipped in chocolate.
- Fondant – There was not much fondant used on the cake. I used it to make the pig, the cookies fence as well as for the tiny flowers on the cake. The pig was made using pink fondant. To hold the cookies for the edible cookie fence, I used black fondant. The tiny flowers and leaves were made using yellow, red, and green fondant.
- Birthday message plaque – I bought this from a local cake decorating shop. It was made of plastic. And it has a pick so it was easy to just poke it anywhere on the pig in mud cake in an upright position.
👩🍳How to Make
Step 1: Frost the Cake with Ganache
I baked the cake, leveled, and placed it on a cake board.
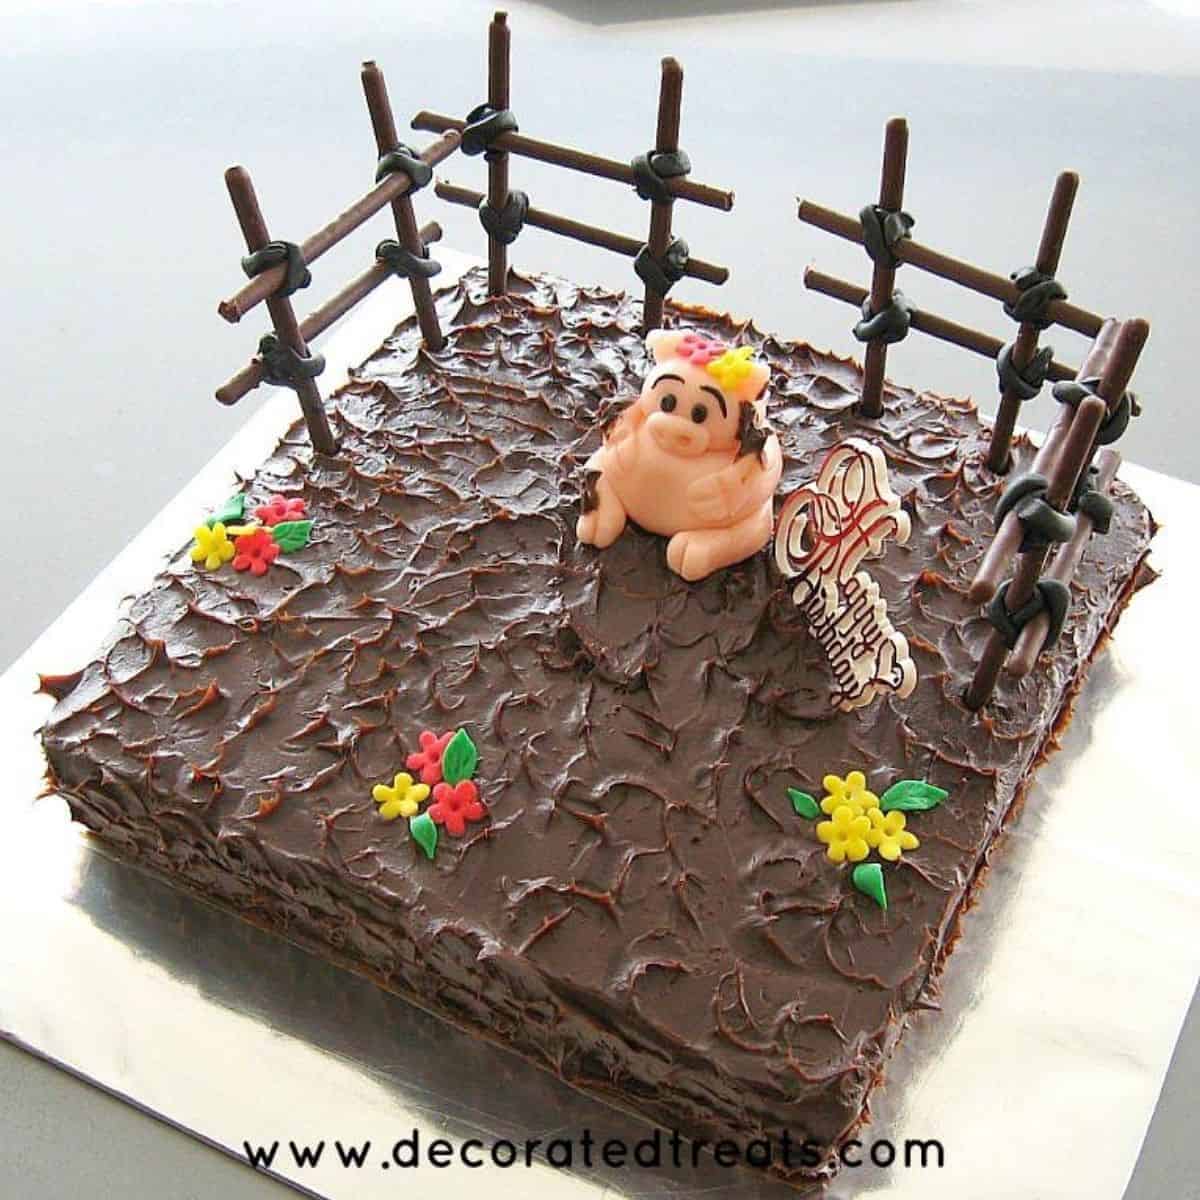
I then covered it with generous amounts of ganache. Using a palette knife, I created the spikes effect on the ganache on the cake. All you need to do to create the spikes is use the tip of your palette knife (spatula) and move it on the ganache so that it creates tiny wave-like pattern.
Once the whole cake was covered with ganache mud spikes, I positioned the cookie fence on the pig in mud cake by poking the fence very gently into the cake. I made a total of 4 of these fences. And placed them at the edge of the cake, forming a ‘closure’ for the cute piggy.
Step 2: Make the Pig Cake Topper and Cookie Fence
As for the pig cake topper, I made it a few days in advance with pink fondant. This was to allow the pig topper sufficient time to set and harden.
I also made the cookie fence ahead of time. To make this, I simply rolled long ropes of black fondant. And then I tied the cookie sticks together to form the fence. This was not very easy to do. It took me a while because it was kind of difficult to hold the cookies in place while tying them with soft ‘fondant’ ropes.
An easier method would be to try and use melted chocolate to stick the cookie sticks together before tying them with the black fondant.
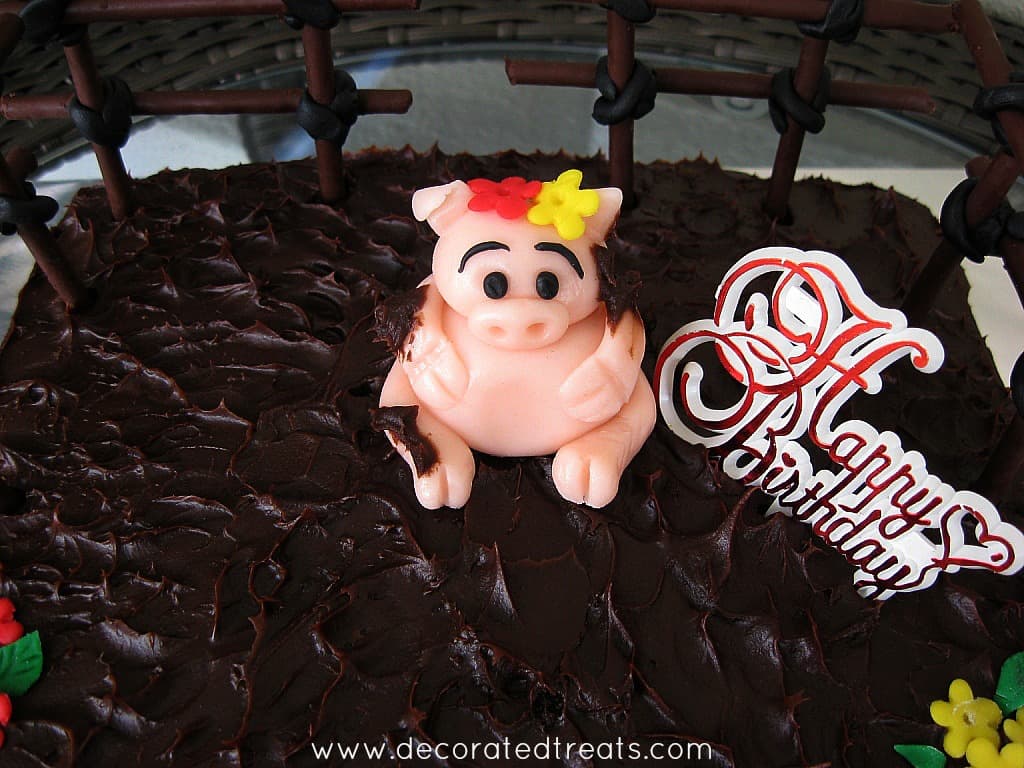
Once the edible cookie fence was in place on the chocolate ganache covered pig in mud cake, I placed the fondant pig cake topper in the center. The ganache was enough to hold the pig in place. So I did not use any picks or glue to hold it.
The other reason why I did not use a pick to attach the little piggy to the cake is because I was not transporting the cake anywhere as the party was in my house. If you plan to make a similar pig in mud cake with a 3D fondant pig cake topper, and plan to transport it elsewhere, it is better to insert a wooden pick or a straw to the bottom of the pig cake topper and use it to attach the topper securely to the cake.
I then dabbed some chocolate ganache randomly on the pig to give it a messy mud effect.
Step 3: Add the Finishing Touches
Finally, the flowers and leaves went on the cake, followed by the birthday message plaque.
❤️More Designs You Will Love


Do you like this tutorial? Please leave a 5-star ⭐⭐⭐⭐⭐rating in the recipe card below and consider a review further down this page. I would love to hear from you. Thank you!
📖Recipe

Pig in Mud Cake
Equipment
- Fondant shaping tools
- Flower plunger cutter
- Palette knife (Spatula)
- Birthday wishes plaque (pick)
For best results, use the metrics measurements. US customary measurements have not been tested and are only meant for guide.
Ingredients
Cake
- 300 g butter
- 300 g granulated sugar
- 275 g self-raising flour
- 25 g cocoa powder
- 5 eggs
- 75 ml milk
- ¼ teaspoon salt
- ¾ teaspoon baking powder
- ¾ teaspoon vanilla extract
Frosting and Decoration
- Chocolate covered finger cookies
- Fondant
- Chocolate Ganache
- Food coloring (pink, red, yellow, green, black)
Instructions
Baking the cake
- Preheat oven to 170 degrees Celsius.
- Beat butter and castor sugar till soft and creamy. Add eggs, one at a time, beating well after each addition.
- In another separate bowl, sift flour, cocoa powder, baking powder and salt 3 times. Fold in the sifted ingredients into the creamed mixture alternately with milk, starting and ending with flour.
- Finally add vanilla extract and combine well.
- Pour the batter into a well greased and floured 8 inches square cake tin. Level the top and bake the cakes for 45 to 50 minutes or until a skewer inserted in the center of the cake come out clean.
- Remove the cake from the oven and let it cool in the tin for 5 minutes before turning it out onto a wire rack to cool completely before decorating.
Covering the piggy cake with ganache 'mud'
- Once the cake is completed cooled, level the top and place it on a cake board.
- Cover it with generous amounts of ganache. Using a palette knife, create the spikes effect on the ganache on the cake. All you need to do to create the spikes is use the tip of your palette knife (spatula) and move it on the ganache so that it creates tiny wave-like patterns.
Pig cake topper and the edible cookie fence
- Make the piggy cake topper few days in advance. This is to allow the pig topper sufficient time to set and harden.
- Use the fondant tools to shape the fondant pig.
- It is also advisable to make the cookie fence ahead of time. To make this, simply roll long ropes of black fondant. Tie the cookie sticks together with the fondant to form the fence. If this is difficult to do, try to stick the cookie sticks together with some melted chocolate first to help them stay in place while you attach the black fondant strips.
- Make total of 4 fences for the cake, to form a 'closure' for the cute piggy. You may want to make an extra one or two fences for contingency.
Assembling the cake
- To assemble the cake, position the cookie fence on the cake by poking the fence very gently into the chocolate cake.
- Once the edible cookie fence is in place, place the fondant pig cake topper in the center. If you plan to transport the cake elsewhere, it is better to insert a wooden pick or a straw to the bottom of the pig cake topper and use it to attach the topper securely to the cake.
- Once the topper is in place, dab some chocolate ganache randomly on the pig to give it a messy mud effect.
The flowers and the birthday wishes pick
- And finally, cut the flowers and leaves and attach them to the ganache on the cake, followed by the birthday wishes plaque.
Leave a Reply