

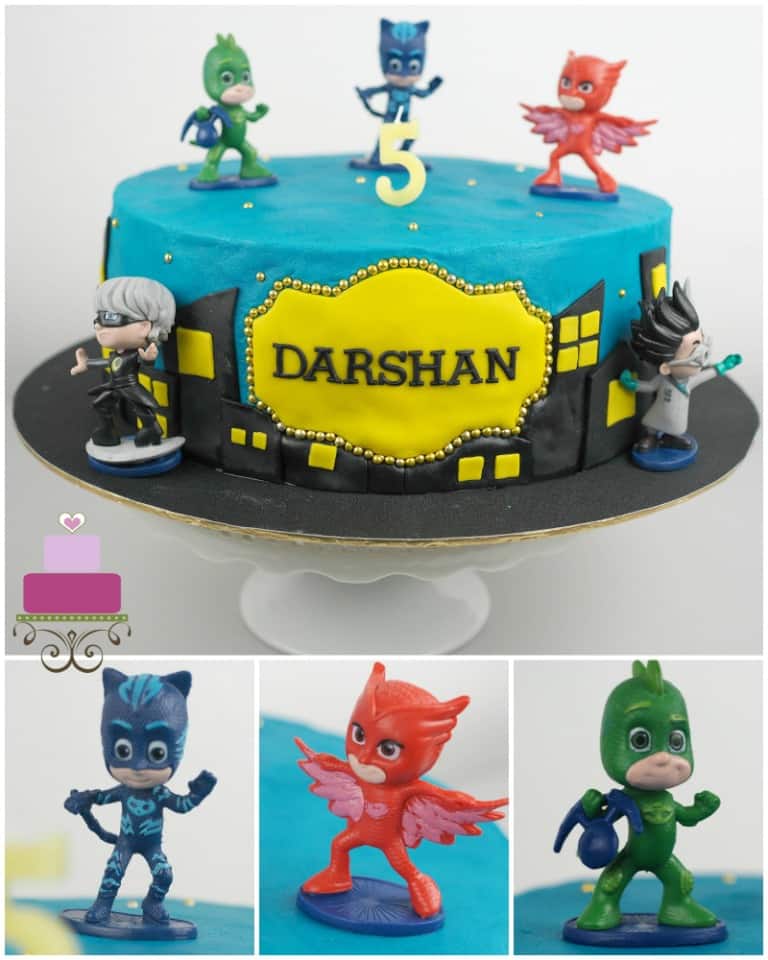
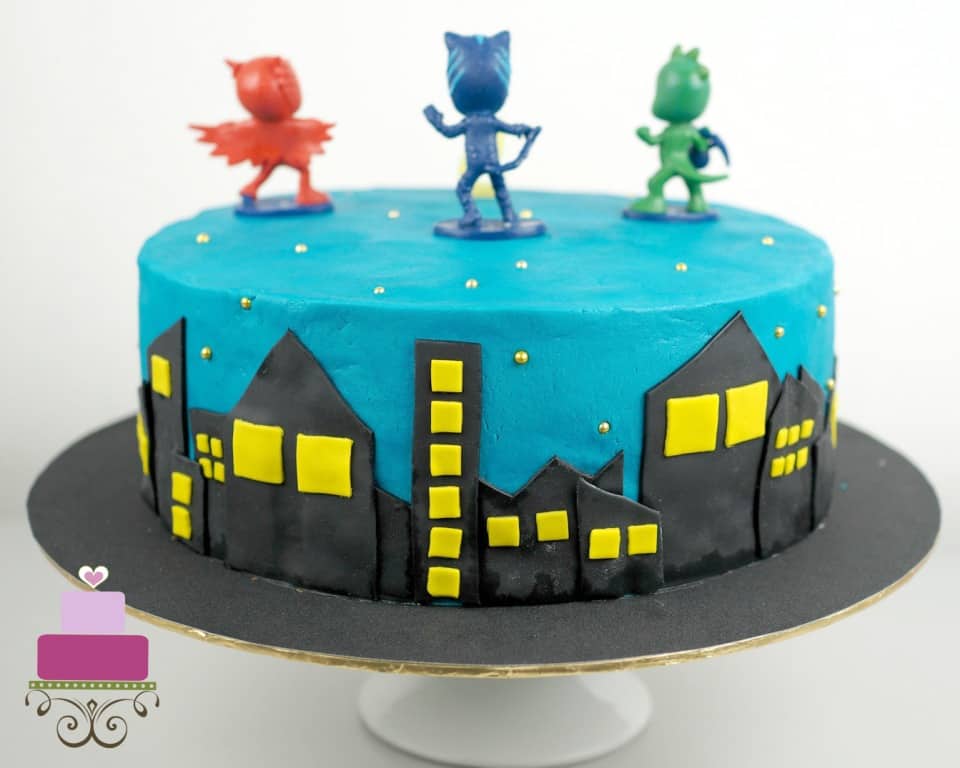
Learn how to make a PJ Masks birthday cake with this easy tutorial. The cake is covered in butter icing and decorated with fondant accents. The toppers on the cake are store bought toys and that made decorating this cake very quick and easy.
🧾Supplies Required
- Cake – this was an 11 inches round cake. I baked it in 2 layers and sandwiched with buttercream. I used my butter pound cake recipe. Overall, the cake was approximately 4 inches high.
- Buttercream – I used buttercream to fill the cake layers.
- Butter icing – the entire cake was covered in butter icing. This is similar to buttercream but is of a much stiffer consistency due to additional icing sugar. Get the recipe here.
- Fondant – I used Satin Ice in black and yellow for the buildings on the sides of the cake as well as the name plaque and lettering on the cake.
- Gold dragees – I used gold dragees to frame the name plaque on the cake. I also used these dragees randomly on the cake, as bright shinny stars against the blue butter icing.
- Blue food coloring – I tinted my buttercream in blue.
- Square plunger cutter set - these were for the yellow squares in a couple of different sizes. I used the squares as the windows on the building around the sides of the cake.
- Pizza cutting wheel – this was used to make the black fondant buildings on the sides of the cake.
- FMM block alphabet Tappit cutters – I used the block letters for my son’s name on the cake.
- Fondant plaque cutter – I used this for the yellow plaque on which I attached the birthday boy’s name.
- Shortening – I used very little on this on the cake. It was for the purpose of sticking my letters onto the yellow plaque as well as the yellow squares on the sides of the cake.
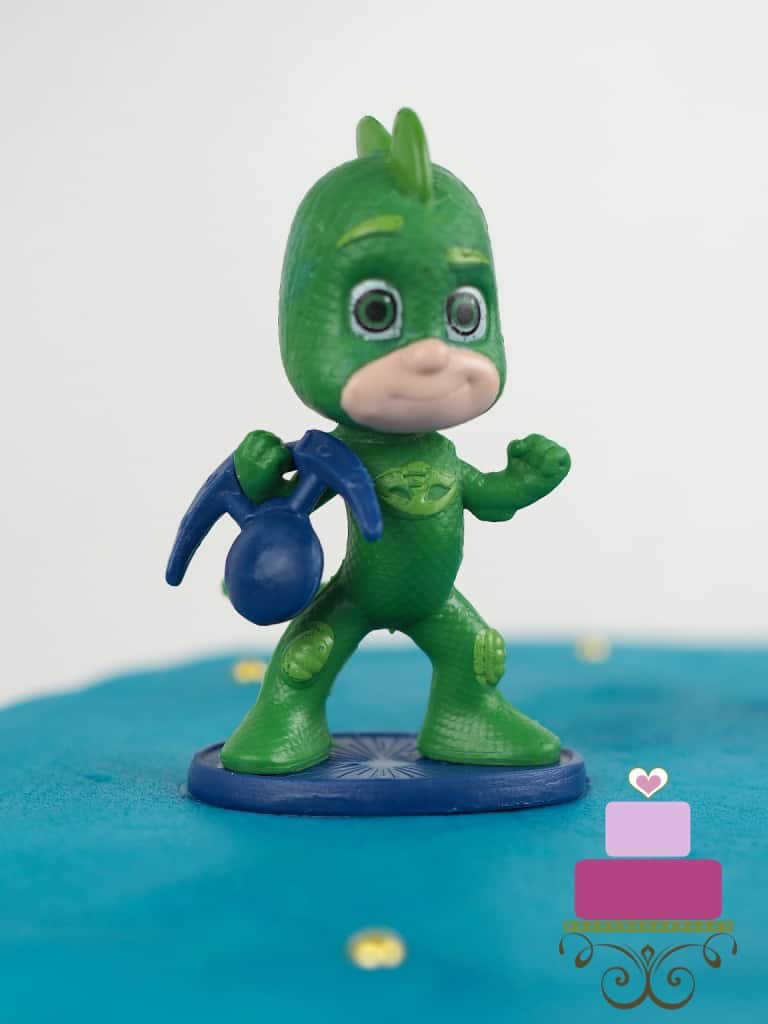
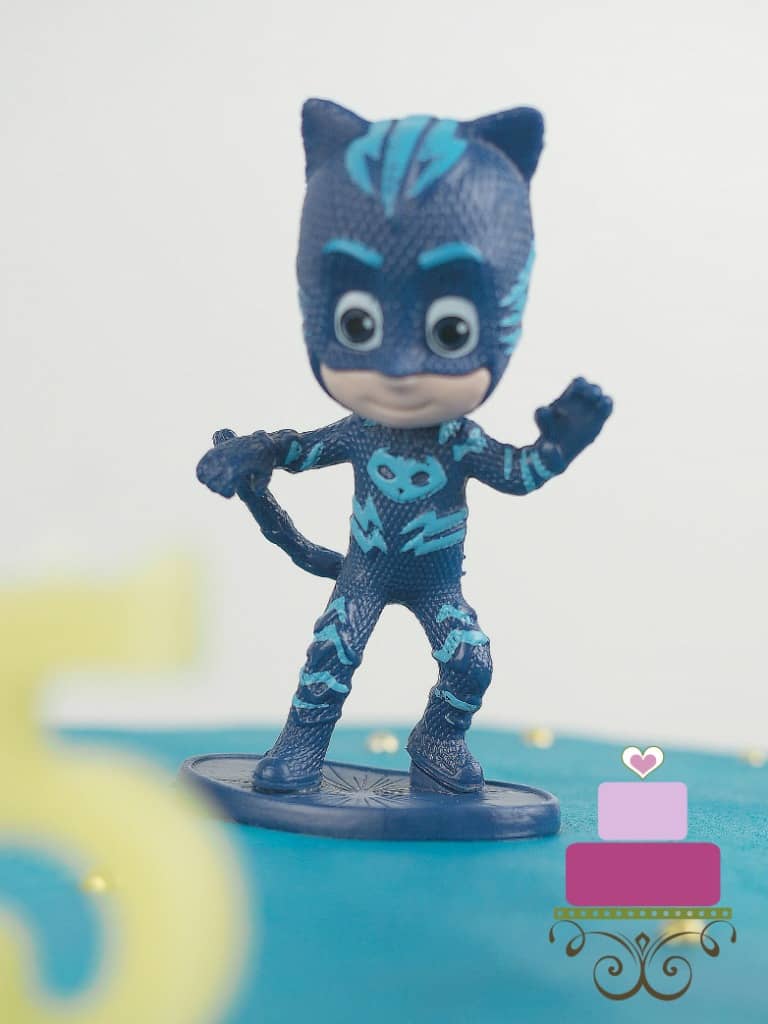
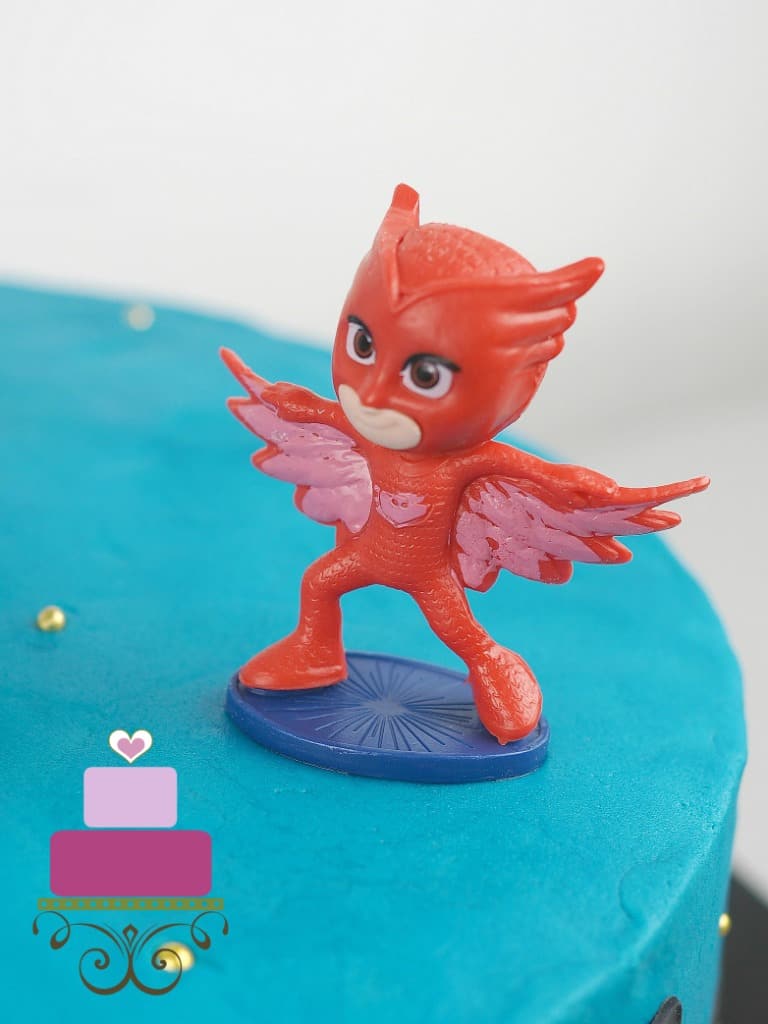
- PJ Masks toy toppers set – These are a set of 5 characters from PJ Masks. I got these from a local cake decorating supplies shop. When choosing the toppers, I made sure they were able to stand stable on the cake. So the ones I chose had oval bases that helped the figurines to stand stable on the cake and the cake board.
- Sugar craft knife
👩🍳How to Make
Step 1: Prepare the PJ Masks Toppers
Since the toppers I used for this PJ Masks birthday cake were all toys, there was not much preparation I could or had to do in advance. In fact, I baked and decorated the whole cake in one day. So the assembly process for this cake started with the baking the cake itself.
Step 2: Bake the Cake and Cover with Butter Icing
I baked the cake in 2 layers in 2 separated tins. Once the cakes were baked and cooled down, I leveled and sandwiched them with buttercream. And then I crumb coated the stacked cakes with buttercream before covering the entire cake with butter icing.
I used my palette knife and kitchen towel to smooth the butter icing on the cake. Once the butter icing work was done, I did the side decoration.
Step 3: Make and Attach the Fondant Buildings
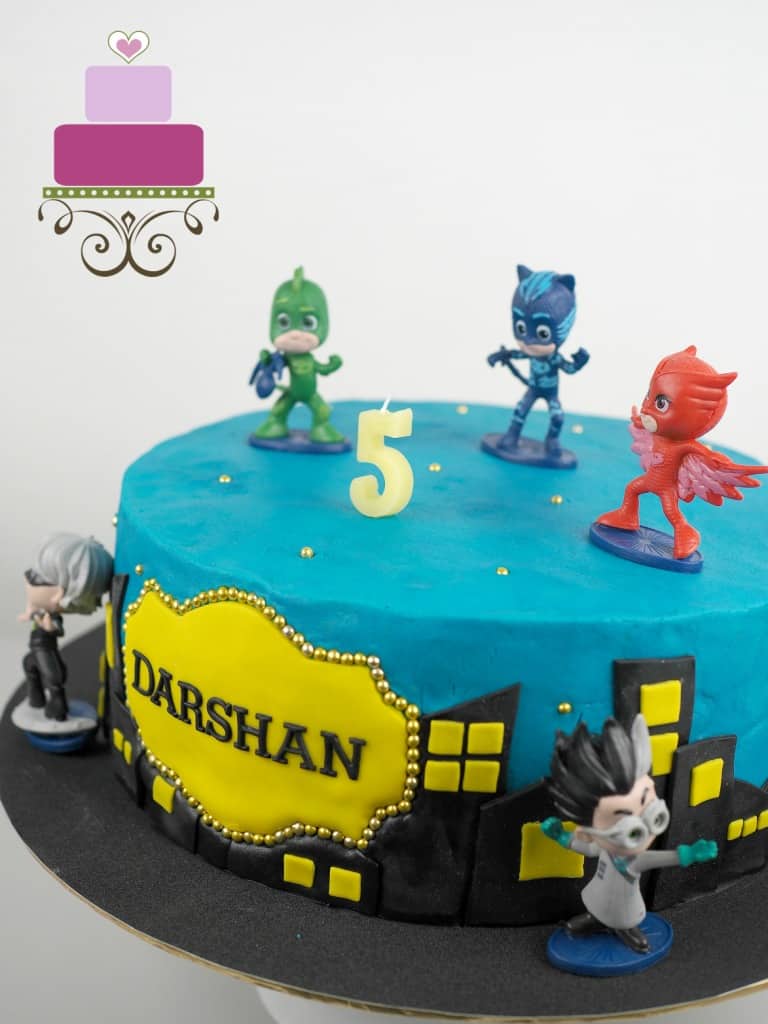
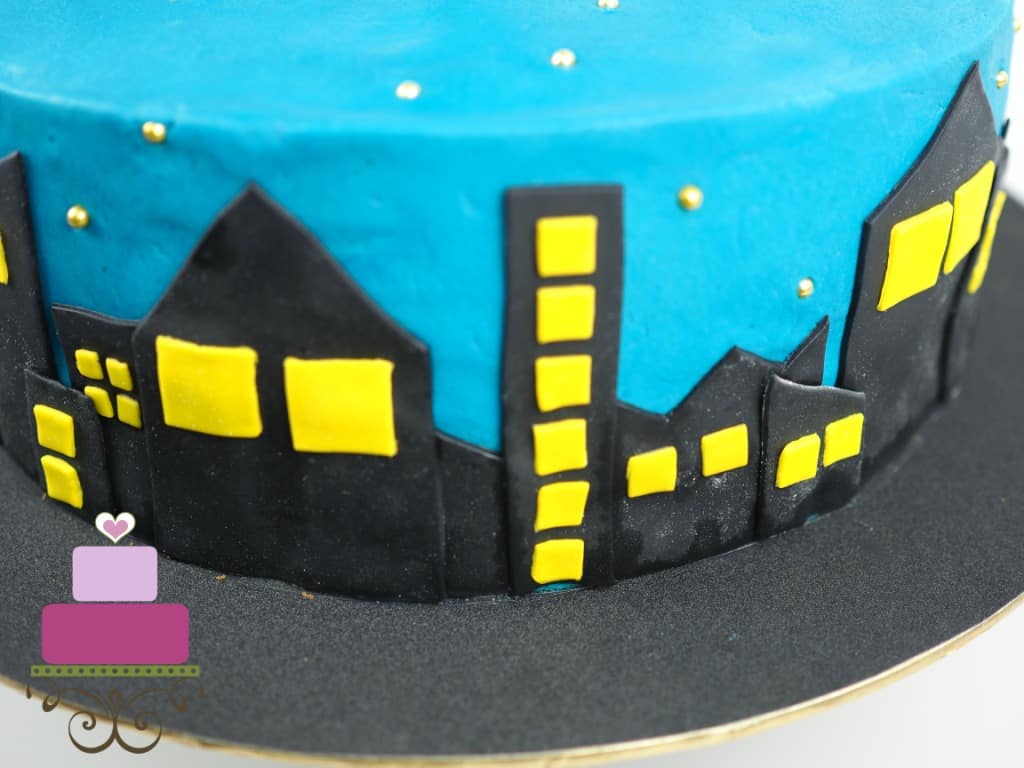
I rolled out black fondant and cut out strips in random widths and lengths, but made sure the length is not more than the height of the cake. I attached these to the sides of the cake in random order but made sure the tall and short strips were kind of well distributed all around the sides of the cake.
These black strips were basically buildings and they are all black because the scene on the cake was supposed to be at night. Well, that’s when PJ Masks are out to save the world and so the entire night scenario on the cake.
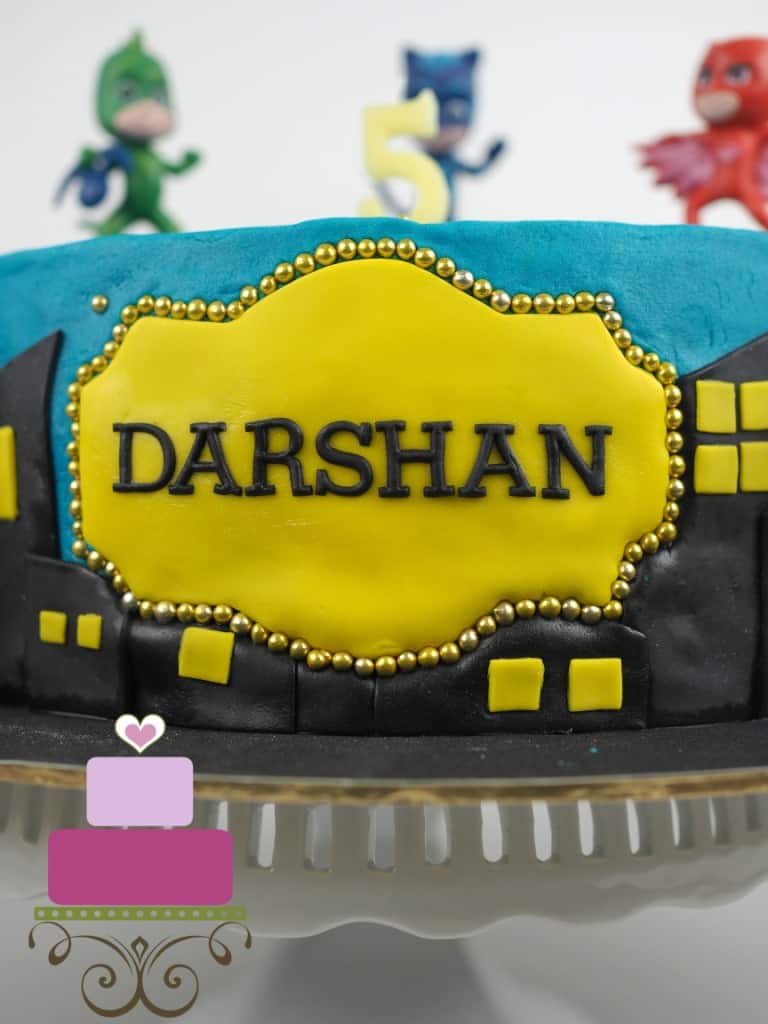
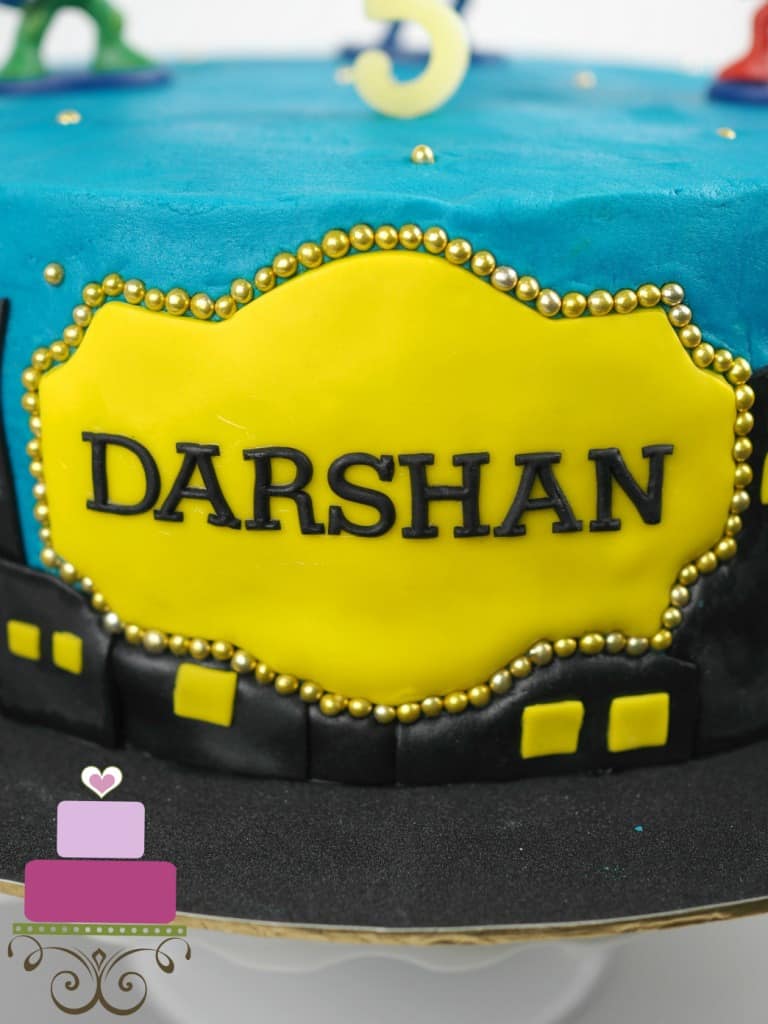
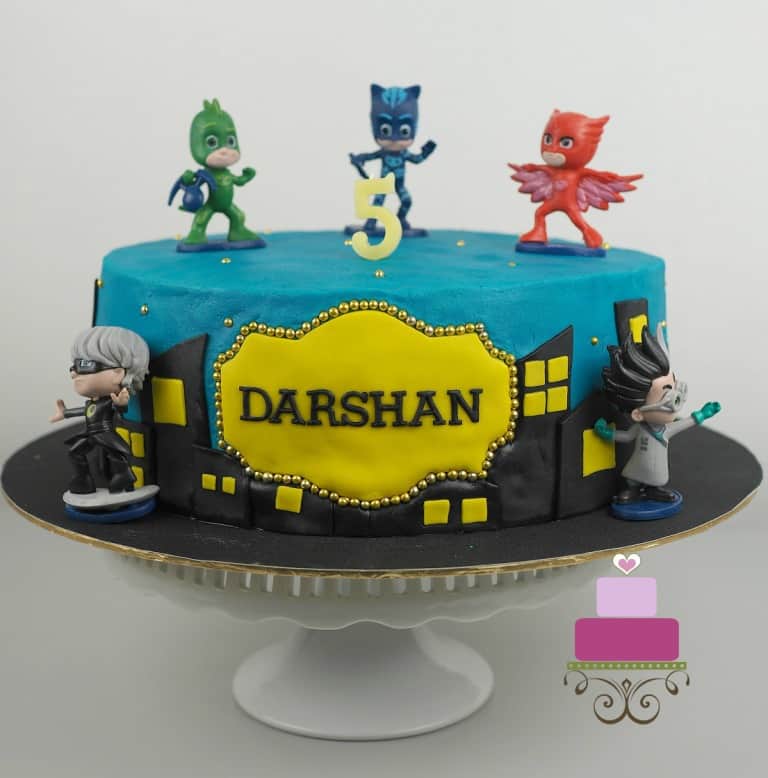
Step 4: Attach the Name Plaque
Next to go on the cake was the yellow name plaque. I attached it to the front side of the cake. And then, using my sugar craft knife, I carefully cut out some of the black strips on which the plaque overlay.
To remove the black fondant pieces, I lifted the parts of the plaque which had the black fondant underneath and removed the black pieces before putting the plaque back in place. And then, I pressed my gold dragees all around the plaque as the border.
Step 5: Make the Windows for the Fondant Buildings
After the buildings and the name plaque , I cut out the windows for the buildings. These were cut using my square plunger cutter and yellow fondant. I made the squares in a number of different sizes and attached them onto the buildings with shortening.
Step 6: Add the Lettering for the Cake
Next was the lettering on the cake. I used black fondant for the letters and cut out my son’s name using the FMM block letter Tappit cutters. And I attached these letters to the plaque using shortening. Before attaching the letters, I made sure I measured them to make sure they were centered on the plaque.
Step 7: Attach the Gold Dragees
And finally, before placing the PJ Masks toppers on the cake, I attached more gold dragees on the cake, this time in random order all over the top and sides that was not covered in fondant. These were meant to be the stars in the night sky.
And with that, my son’s PJ Masks birthday cake was complete. Hope you enjoyed this PJ Masks birthday cake tutorial.


Leave a Reply