

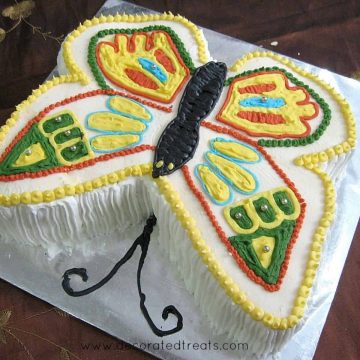
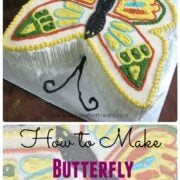
Looking for easy butterfly birthday cake ideas? Here is a simple birthday cake with butterfly design you can make. Cut out of a rectangle cake, this cake is covered in fondant and decorated with royal icing in bright and cheerful colors.
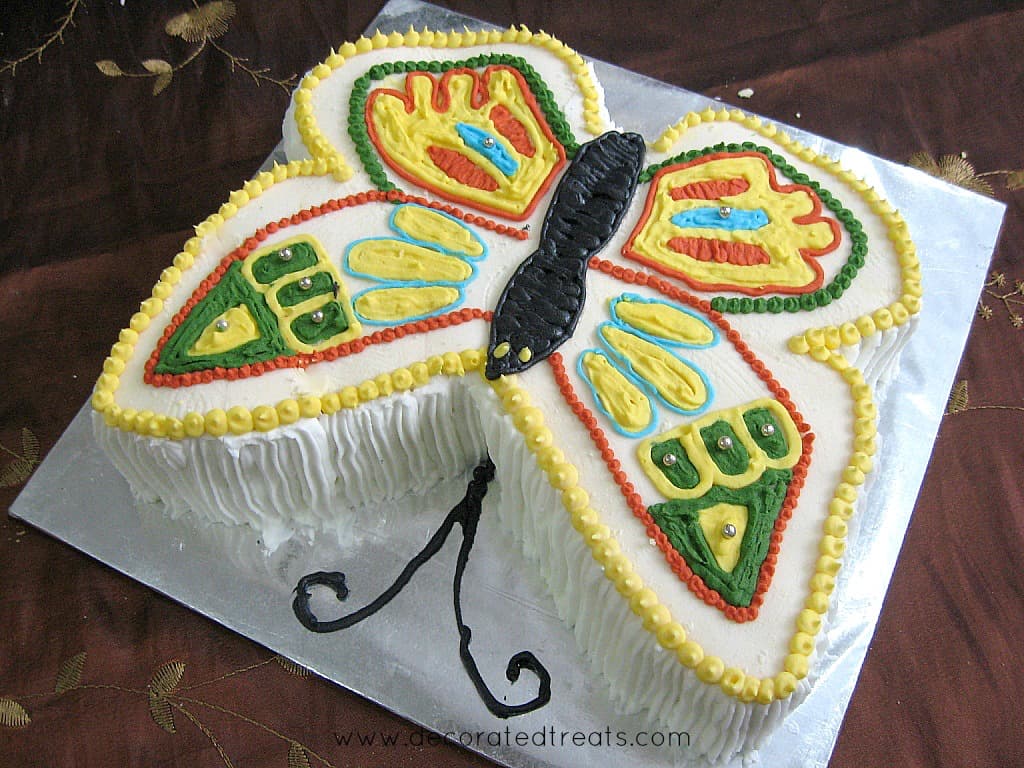
The cake was carved out of a 6 inches by 10 inches rectangle cake. I used a butterfly template which I drew by hand as a guide to cut the butterfly shaped cake. If you are not into drawing your own butterfly template, you can source for one from the internet. Look for 'butterfly coloring pages' and you will find lots of ideas that you can use as butterfly template for cake.
I baked the cake using my butter pound cake recipe which is vanilla flavored, but if you like you can also make a chocolate butterfly cake using my chocolate pound cake recipe.
The cake is decorated in fondant and royal icing. If you prefer the entire cake to be covered in fondant, you can always do so. Alternatively, you can omit the fondant and cover the butterfly cake entirely in buttercream for a buttercream butterfly birthday cake.

Overall, this is a fairly easy butterfly birthday cake to make and decorate. You can further customize the design on the wings as well as the colors used to decorate your butterfly cake. You can even turn this cake into a rainbow butterfly birthday cake by choosing rainbow icing colors to decorate the wings.
🧾Supplies Required
- Cake - I baked a rectangle cake measuring 6.5" by 10" using my butter pound cake recipe. I baked two of these cakes and sandwiched them with buttercream. Use the recipe measurement for 8 inches square cake tins.
- Buttercream - I used vanilla buttercream to fill the cake. I also used buttercream to crumb coat the cake.
- Fondant - I used very little fondant on this cake. Only the top of the cake was covered in fondant. I used my homemade fondant.
- Royal icing - Royal icing was the main icing used for decorating the cake. I also used royal icing to decorate the sides of the cake. For the butterfly wings, I used Wilton
gel colors in red, golden yellow, royal blue, and moss green. I also tinted some of the icing in black for the butterfly body.
- Butterfly template - I searched the internet for a butterfly template, resized the image such that it would fit my rectangle cake, and printed it out.
- Piping tips and piping bags - I used Wilton
👩🍳How to Make
Step 1: Prepare the Butterfly Template
First was the butterfly template. I drew the butterfly template by hand. For consistent sizing of the wings, fold your paper into 2 and draw half of the butterfly. Still keeping the paper folded, cut the butterfly following the outline and then open up the fold. This way, you will get both sides of the wings and body is the exact same shape and size.
If you are not into drawing, you can get a butterfly template from your child's coloring books or simply get a template from the internet. Search for 'butterfly coloring pages' and you will find lots of pretty templates you can use for your cake. Do remember to resize the template to fit your cake before printing. Learn how to resize your templates with my easy tutorial here.
Step 2: Bake and Carve the Cake
Next was baking the birthday cake. I baked 2 rectangle cakes (6.5 inches by 10 inches), sandwiched both with buttercream. And then, using my prepared butterfly cake template, I carved the cake to make a butterfly shaped cake.
I then placed the carved cake on a cake board, and crumb coated it with a thin layer of buttercream.
Step 3: Cover the Birthday Cake with Fondant
I rolled out my white fondant to about ⅛ inch thick and again, using the same butterfly template I used for the cake, cut out the butterfly shape. I dusted the cut fondant with powdered sugar and loosely rolled it into my rolling pin. This way, you can avoid the fondant form stretching and loosing its shape as you are lifting it.
Gently unroll the fondant piece onto the buttercream crumb coated cake and position it to fit onto the butterfly shaped cake.
If there is excess fondant on the sides, use a sharp knife to trim it off. If for some reasons the fondant piece is smaller than the cake, you can stretch it gently to cover the top of the cake entirely.
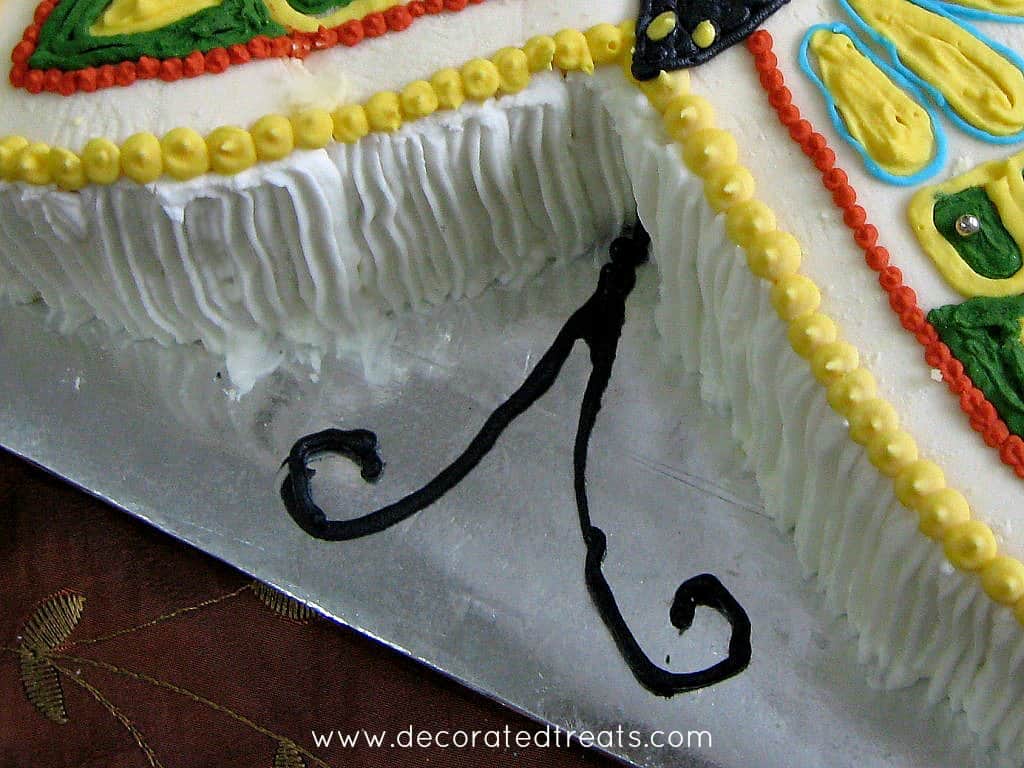
Step 4: Pipe Royal Icing on the Sides of the Cake
Next was the sides of the butterfly birthday cake. For this, I used a star tip and white royal icing for the vertical lines of icing, all around the cake.
Step 5: Decorate the Butterfly Wings
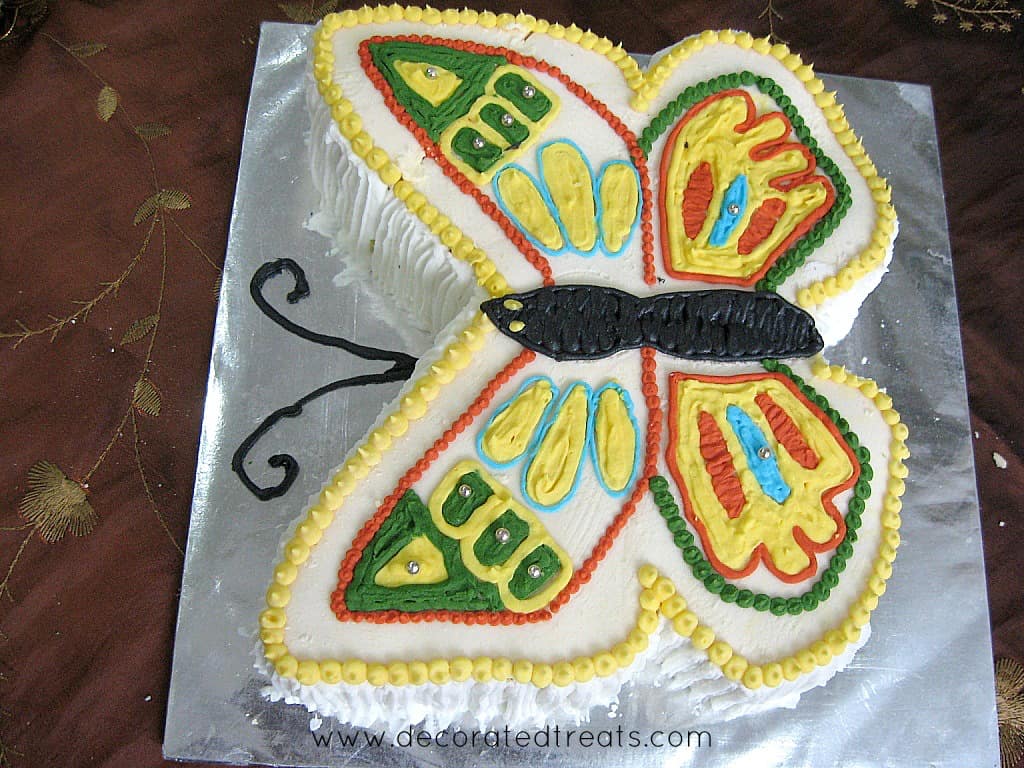
And then I went on to decorate the wings. I had royal icing tinted in red, blue, yellow, and green and used round piping tips. I piped everything freehand here.
If you intend to make a similar butterfly birthday cake, it would help greatly if you mark the designs on the cake using either a toothpick or small knife before piping. I started with the outlines in yellow. I used a round piping tip and made medium-sized dots all around the butterfly border.
Next were the red and green dotted lines for the upper and lower wings. Again, I used round piping tips and made the medium-sized dots, following the shape formed by the yellow dots earlier as close as possible.
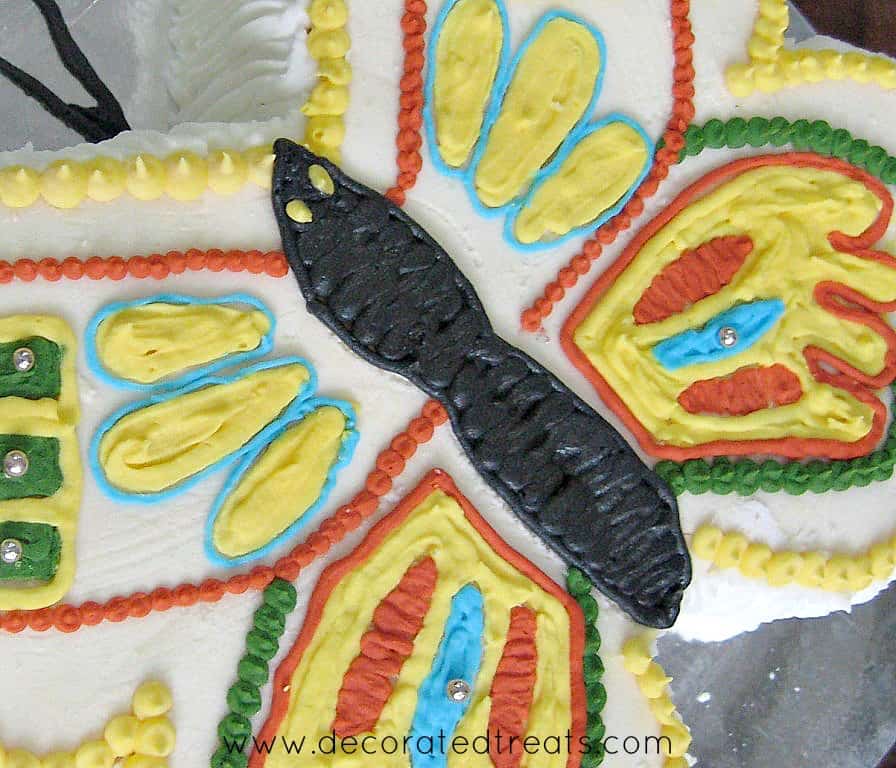
Step 6: Pipe the Butterfly Body
I used a round tip, piped the outline, and then filled the inside with black icing in horizontal lines. Using the same black icing, I made two antennae for the butterfly on the cake board.
After that, I completed the rest of the butterfly wing design, piping the outlines first and then filling the insides. I also piped 2 yellow dots for the butterfly's eyes.
And that was how I decorated my easy butterfly shaped butterfly birthday cake.
❤️More Cake Designs You Will Love


Do you like this tutorial? Please leave a 5-star ⭐⭐⭐⭐⭐rating in the recipe card below and consider a review further down this page. I would love to hear from you. Thank you!
📖Recipe
Butterfly Birthday Cake
Equipment
- Butterfly paper template
- Round piping tip #3
- Star piping tip #16
- Piping bags
- Knife
- Rolling Pin
For best results, use the metrics measurements. US customary measurements have not been tested and are only meant for guide.
Ingredients
Cake
- 600 g butter
- 600 g granulated sugar
- 600 g self-raising flour
- 10 eggs
- 150 ml milk
- ½ teaspoon salt
- 1 ¼ teaspoon baking powder
- 1 ⅔ teaspoon vanilla extract
Frosting
- Buttercream
- Royal Icing
- Fondant
- Wilton food coloring in red golden yellow, royal blue, and moss green
Instructions
Baking the cake
- Preheat oven to 170 °Celsius.
- Beat butter and sugar till soft and creamy for about 2 minutes. Add eggs, one at a time, beating well after each addition.
- In a separate bowl, sift flour, baking powder, and salt. Fold in the sifted ingredients into the creamed mixture alternately with milk, starting and ending with flour.
- Finally, add in vanilla extract and combine well. Pour batter into two greased and floured cake pans (6 inches by 10 inches rectangle pans) and bake for 45 to 50 minutes until the top of the cakes spring back when lightly pressed. The cakes are done when a skewer inserted in the center of the cakes comes out without any wet batter.
- Remove cakes from oven and let them cool completely before icing and decorating.
The butterfly template
- Draw the butterfly template by hand. For consistent sizing of the wings, fold your paper into 2 and draw half of the butterfly. Still keeping the paper folded, cut the butterfly following the outline and then open up the fold. This way, you will get both sides of the wings and body is the exact same shape and size (see Note 1).
Preparing the cake and carving it
- Once the cakes have completely cooled down, level the tops and sandwiched both with buttercream. And then, using the prepared butterfly cake template, carve the cake to make a butterfly shaped cake.
- Place the carved cake on a cake board, and crumb coat it with a thin layer of buttercream.
Covering the butterfly cake with fondant
- Roll out some white fondant to about ⅛ inch thick and again, using the same butterfly template used to cut the cake, cut out the butterfly shape. Dust the cut fondant with powdered sugar and loosely roll it into a long rolling pin. This way, you can avoid the fondant form stretching and loosing its shape as you are lifting it.
- Gently unroll the fondant piece onto the buttercream crumb coated cake and position it to fit onto the butterfly shaped cake.
- If there is excess fondant on the sides, use a sharp knife to trim it off. If for some reasons the fondant piece is smaller than the cake, you can stretch it gently to cover the top of the cake entirely.
The sides of the cake
- Next is the sides of the butterfly birthday cake. For this, use the star tip and white royal icing for the vertical lines of icing, all around the cake.
Decorating the butterfly wings design
- Tint the royal icing in red, blue, yellow, and green. Start with the outlines in yellow. Use a round piping tip and make medium-sized dots all around the butterfly border.
- Next are the red and green dotted lines for the upper and lower wings. Again, use a round piping tip and make the medium-sized dots, following the shape formed by the yellow dots earlier as close as possible.
The butterfly body
- Pipe the butterfly body on the butterfly themed birthday cake. Use a round tip, pipe the outline, and then fill the inside with black icing in horizontal lines. Using the same black icing, make two antennae for the butterfly on the cake board.
- After that, complete the rest of the butterfly wing design, piping the outlines first and then filling the insides. Finally, pipe 2 yellow dots on the head for the eyes.
Notes
- If you are not into drawing, you can get a butterfly template from your child's coloring books or simply get a template from the internet. Search for 'butterfly coloring pages' and you will find lots of pretty templates you can use for your cake. Do remember to resize the template to fit your cake before printing. Learn how to resize your templates with my easy tutorial here.
Leave a Reply