

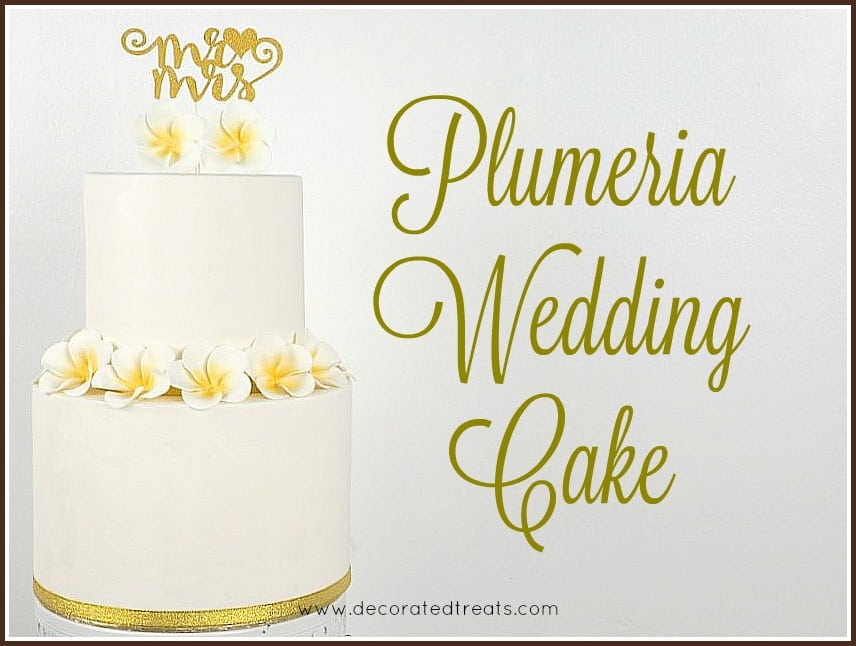
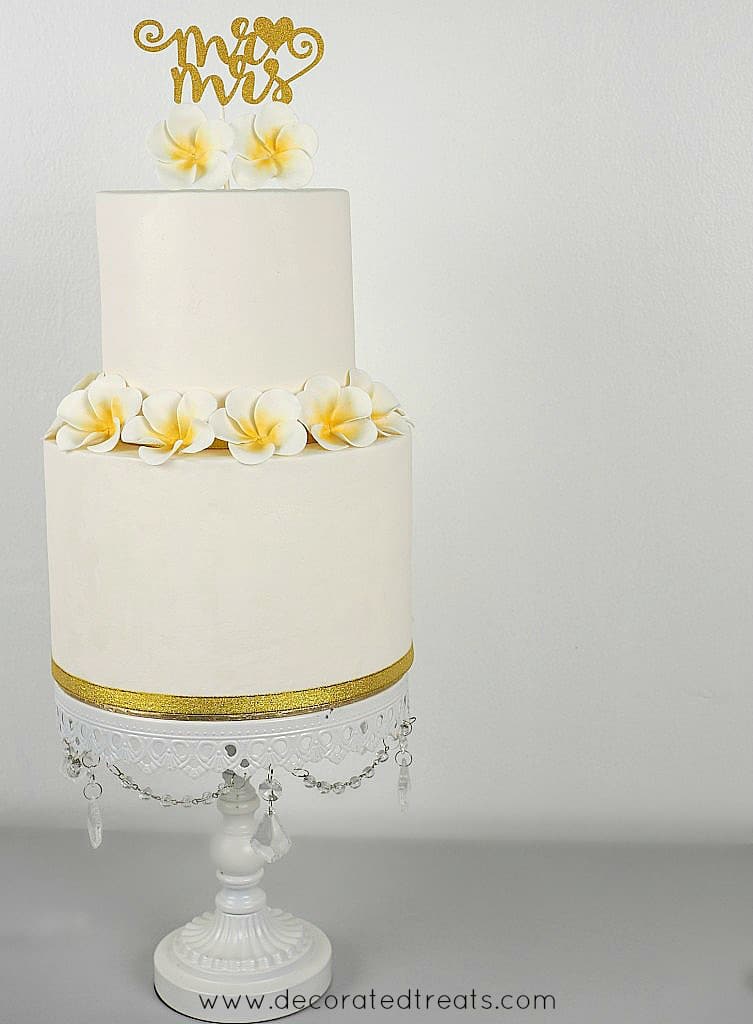
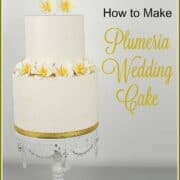
Want to learn how to make a simple plumeria wedding cake? Here is a quick and simple design for you. This is a 2 tier cake, decorated with handmade gum paste plumeria. It is elegant and simple and you can put this cake together very quickly.
🧾Supplies Required
- Cake - This was a 2 tier cake. The bottom tier measured 9 inches round while the top was 6 inches round. The height of each tier was 6 inches, hence the total height of the cake without any decoration on the top was 12 inches. I used my butter pound cake recipe for the cake. If you intend to use the same recipe, please do note that since this cake tiers are 6 inches high, you would need to increase the calculated recipes for 6 inches and 9 inches round cakes by 1.5 times as my recipes were calculated to produce cakes that are 4 inches tall.
- Buttercream - Each tier had 3 layers of cake and each layer was sandwiched with vanilla buttercream. I also used buttercream to crumb coat the cakes before covering them with fondant.
- Fondant
- I used Satin Ice white fondant to cover both cakes. Satin Ice works best for me and I use it for all my fondant cakes.
- Gold ribbon
- Gum paste plumeria flowers - I made these flowers in advance using Satin Ice white gum paste and then dusted the centers with yellow food color.
- Mr and Mrs wedding cake topper
- Fondant glue - I made this glue using CMC powder and used it to stick the plumeria flowers onto the wedding cake as well as to attach the gold ribbon to the cake.
👩🍳How to Make
Step 1: Make the Gum Paste Plumeria
I made these flowers in advance. They need time to set and are best made at least one day in advance. I have prepared a detailed step by step tutorial on how to make gum paste plumeria flowers and here is the summary:
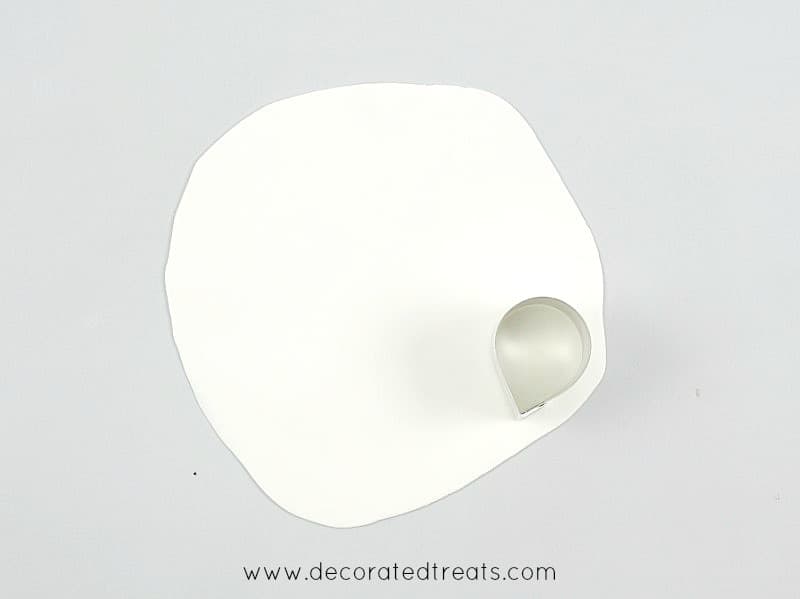
I used a rose petal cutter to cut the plumeria petals on very thinly rolled gum paste.
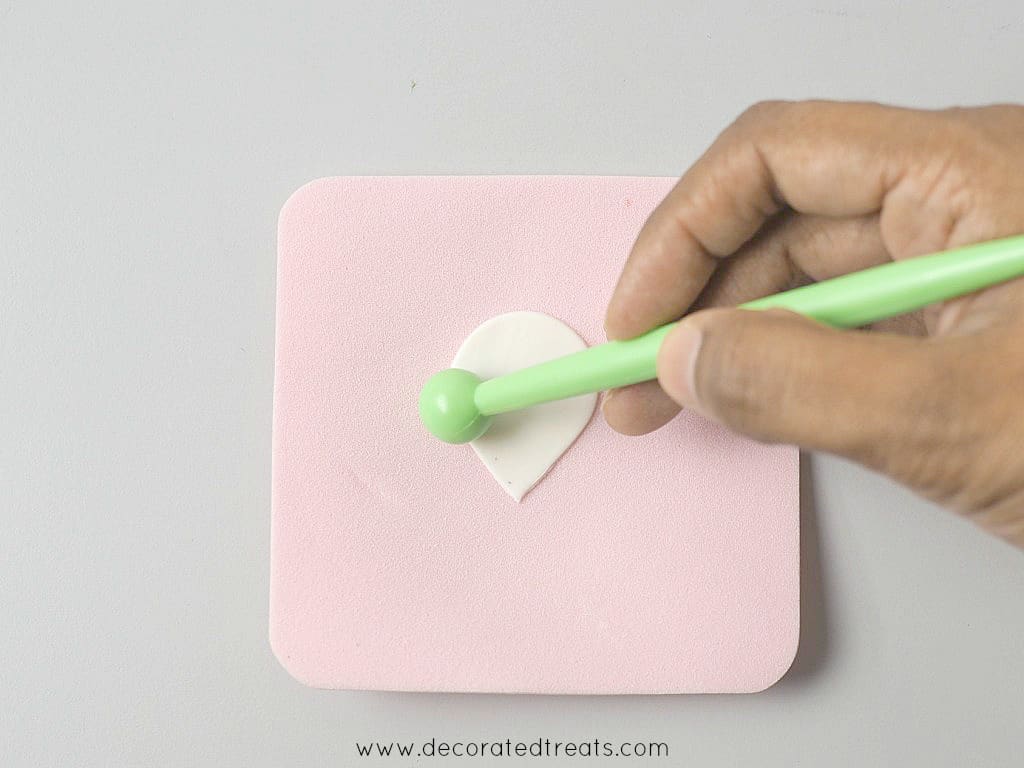
And then I thinned the petals further.
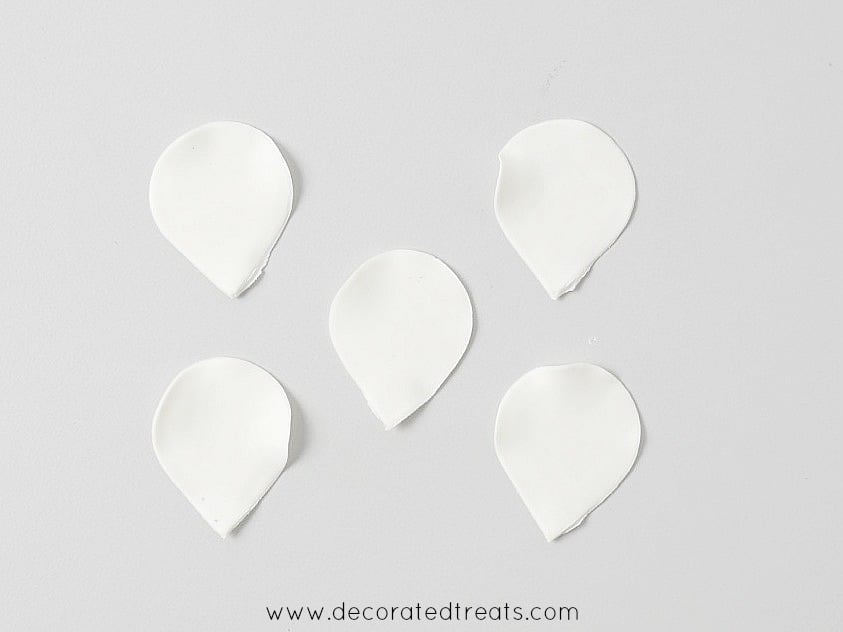
I made a total of 5 petals for each flower.
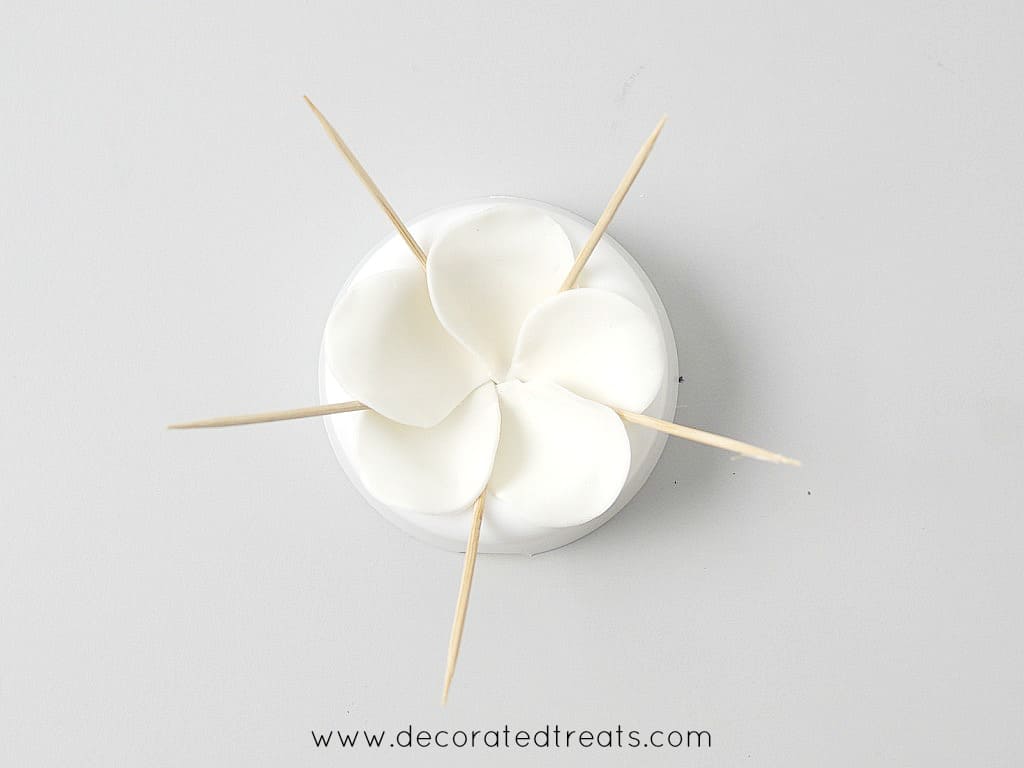
And then I arranged the petals into a flower on a flower former. And I inserted toothpicks to allow the petals to curve slightly.
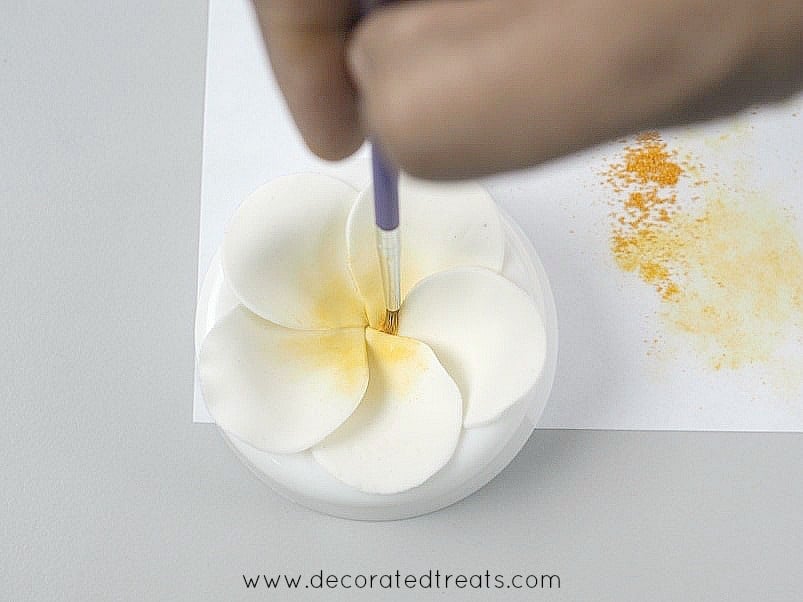
Once set, I dusted the centers with yellow petal dust.
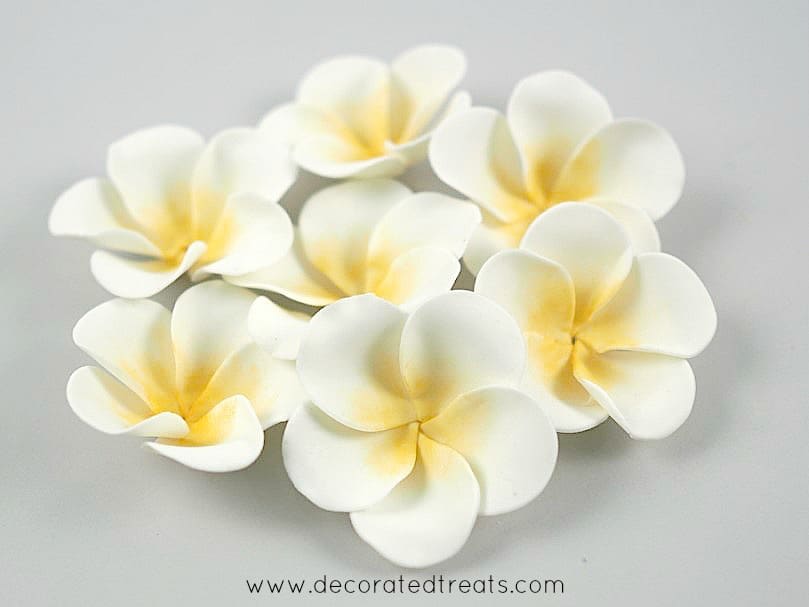
This is how the completed flowers looked like.
Step 2: Bake the Cakes and Cover with Fondant
Once the cakes were baked and have cooled down, I leveled the cakes, sandwiched them with buttercream and then stacked and crumb coated with buttercream. Each tier was separately covered in fondant and stacked on top of one another.
The cake board I used for this cake was 9 inches round, and was the same width as the bottom tier of the cake.
I then wrapped the gold ribbon on the borders of each tier and secure the ends with some fondant glue (if fondant glue does not work well, I sometimes use hot glue to secure the ends of the ribbon and in doing this, I take extra care to make sure the glue does not touch the cake).
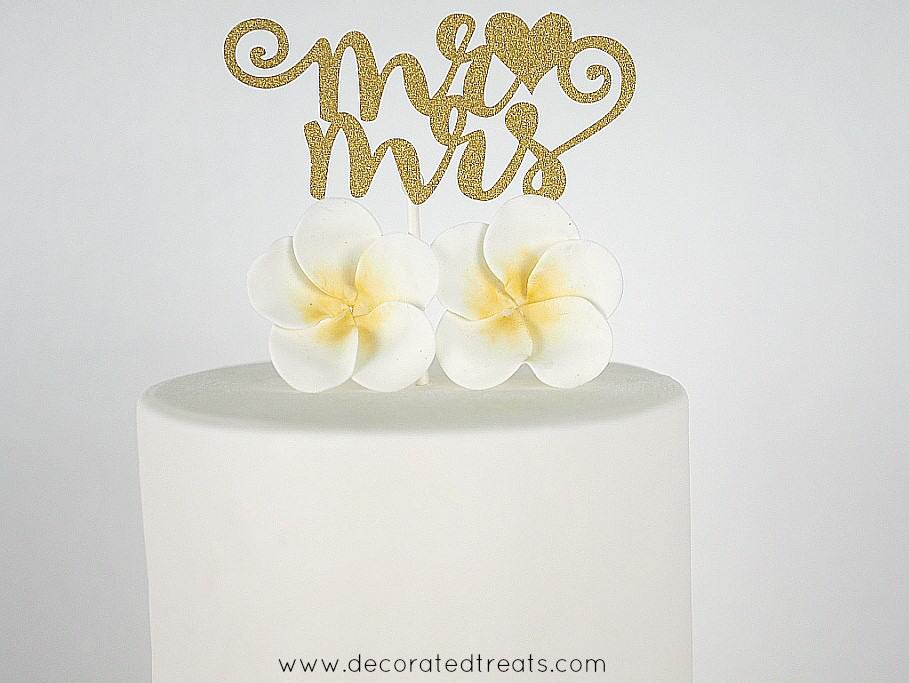
Step 3: Add the cake topper
Next, I poked the glitter "Mr & Mrs" topper in the center of the top tier. And placed two gum paste plumerias on the front of the topper. These were secured in place with some fondant glue.
Step 4: Attach the flowers
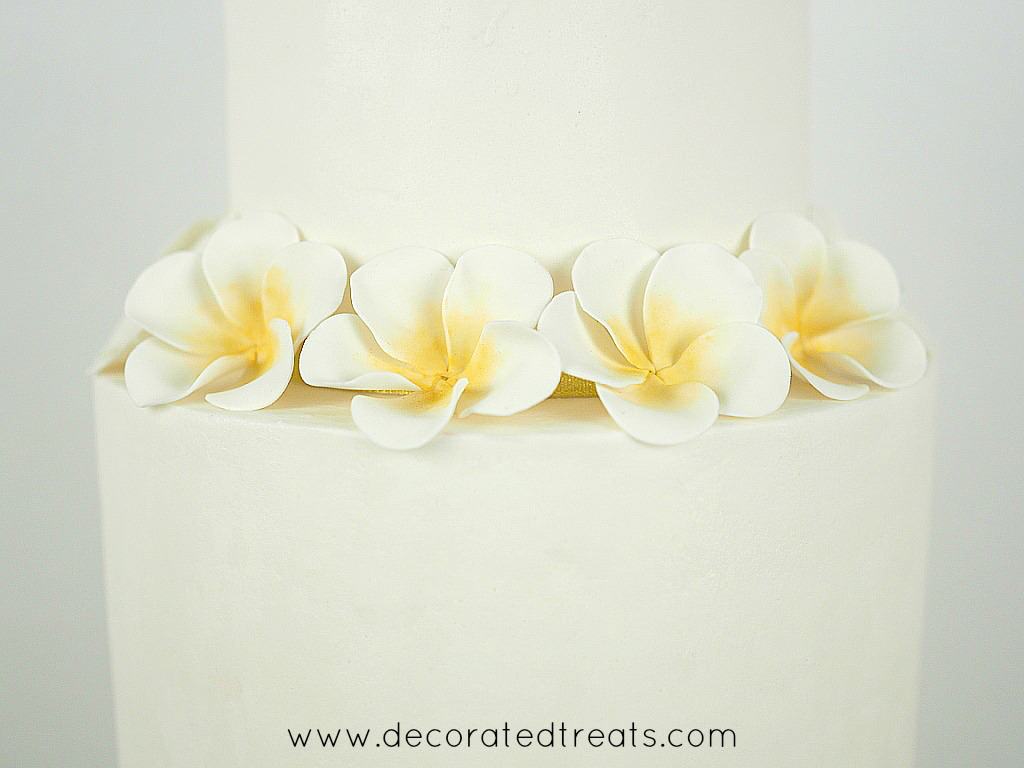
Next, I started arranging the remaining plumerias on the bottom of the first tier.

I secured the plumeria flowers in place with fondant glue. This is how they looked like on the wedding cake:
And that pretty much it. My plumeria wedding cake.
Talitha Hibdon
This is some of the best writing I've stumbled upon in a while.