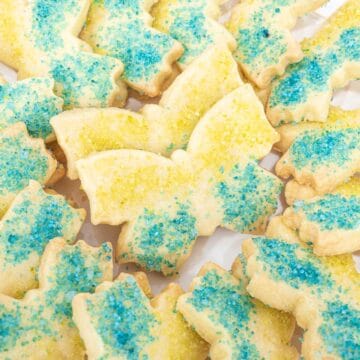
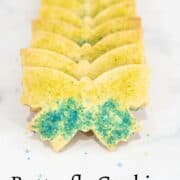
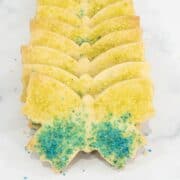
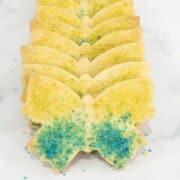
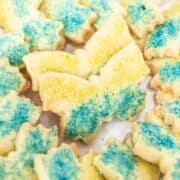
This butterfly cookies recipe makes rich and perfectly crumbly, melt in your mouth shortbread cookies. With only 3 main ingredients, these cookies are absolutely easy to make and decorate.
The cookies are decorated with homemade colored sugar and make perfect sweet treats for special occasions like birthday parties, baby showers, Mother's Day, Christmas and Easter!

These cookies are adapted from my classic shortbread cookies recipe. They are flavored with vanilla extract and rolled and cut into pretty butterfly-shaped cookies.
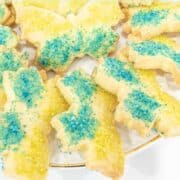
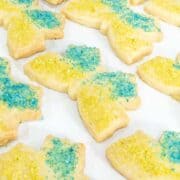
To decorate these simple butterfly cookies, I made my own colored sugar in pretty green and turquoise colors. And I simply sprinkled it onto the top of the cookies for absolutely gorgeous decoration for my butterfly shortbread cookies.
And that's all you need to decorate these pretty cookies - no need for piping bag or piping tip or any piping skills. It's that simple!
If you love shortbread cookies, do check out my other recipes like these brown sugar shortbread, all butter shortbread bars and mango cookies.
And for more butterfly treats, do check out my flower cake with edible butterflies, a simple tutorial on how to make royal icing butterflies, butterfly birthday cake and my tutorial on how to make gum paste butterflies for cake decoration.
Jump to:
❤️Why You Will Love This Recipe
- With just three basic ingredients – butter, sugar, and plain flour – and a touch of vanilla, these cookies are easy to make.
- These butterfly sugar cookies are a perfect combination of crispness and crumbliness that melts in your mouth.
- Decorated with vibrant homemade colored sugar in green and turquoise, these cookies are not just delicious, they are pretty too.
- The cookies are also a great variation to the classic shortbread cookies.
📋Ingredients
- Butter - Use salted butter. It enhances the taste of the cookies.
- Granulated sugar - this fine sugar is used to make the cookies. Do not use coarse sugar as it will not dissolve properly, leaving you with specks of sugar on the surface of the cookies after baking.
- All purpose flour
- Vanilla extract - for aroma and flavoring.
- Food coloring ( I used Americolor Peacock and Chartreuse) - these are gel based colors used to color the sanding sugar on the cookies.
*Refer to the recipe card below for full list of ingredients and exact quantities. For best results, use a digital kitchen scale where applicable*
📃Substitution and Variation
- If using unsalted butter, add about ¼ teaspoon fine salt when rubbing in the flour and the butter.
- Vanilla extract can be replaced with almond extract for almond flavored cookies.
- For citrus flavored cookies, add 1 teaspoon of grated orange rind or lemon rind into the when mixing the butter and flour.
- If using liquid based food coloring to make the sanding sugar, the sugar will be damp after mixing in the color. Spread the sugar in a large tray to allow the color to dry completely before using.
- You can replace the blue and green coloring to any other colors you like. Bright and dark colors will make good choices. You can also decorate your butterflies in rainbow colors to make pretty colorful butterfly cookies.
This recipe has not been tested with other substitutions or variations. If you do try, please let me know in the comments section below!
👩🍳How to Make
Step 1: Mix the cookie dough. The cookie dough is mixed in the exact same way as these classic shortbread cookies.
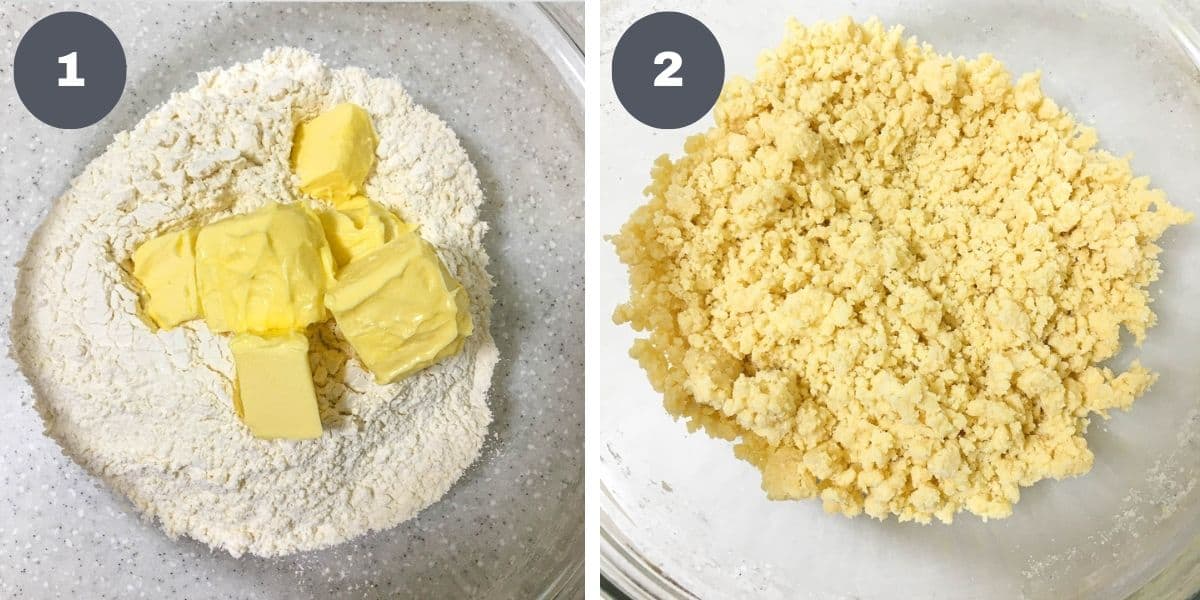
Start by adding butter and flour into a medium-sized bowl (image 1).
Note: The butter must be soft but firm. It should soft enough to poke your finger in but still hold its shape.
Mix both on medium speed until the mixture turns crumbly. You can also use a pastry cutter to cut the butter into the flour. Alternatively, you can also rub in the butter into the flour with your fingertips until it turns into a crumbly texture (image 2).
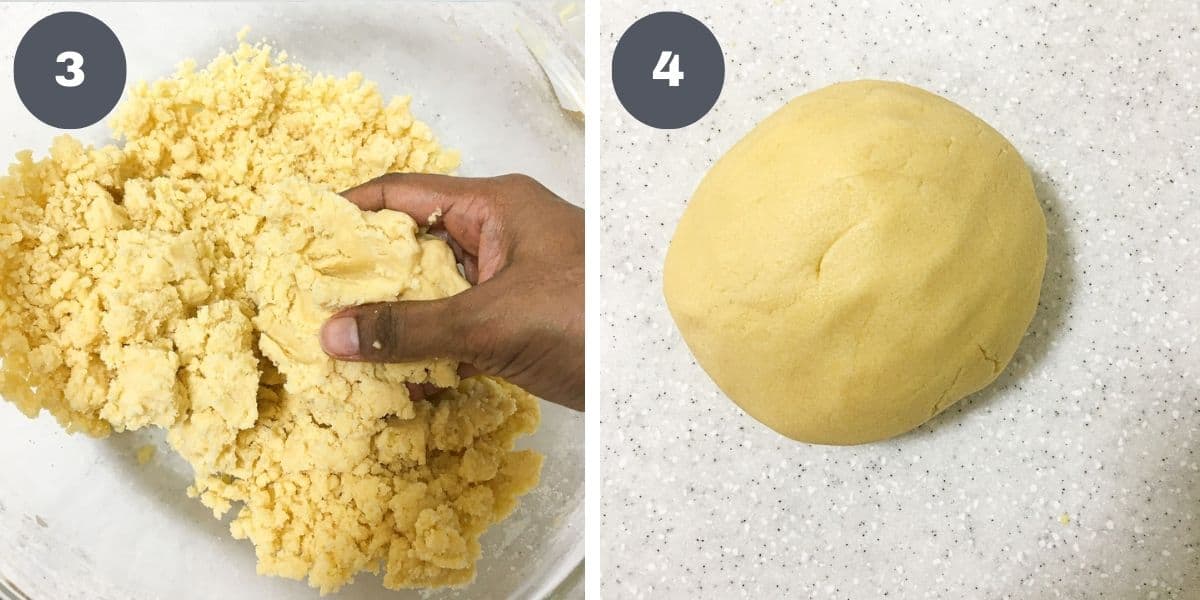
Stir in the sugar and mix until well combined. At this stage, the cookie dough would still be crumbly. Add vanilla extract and mix again (image 3).
Turn the dough onto a clean workspace and press it together to form a ball (image 4). Do not knead the dough. Suffice if you press it together to form a dough ball. Set it aside.
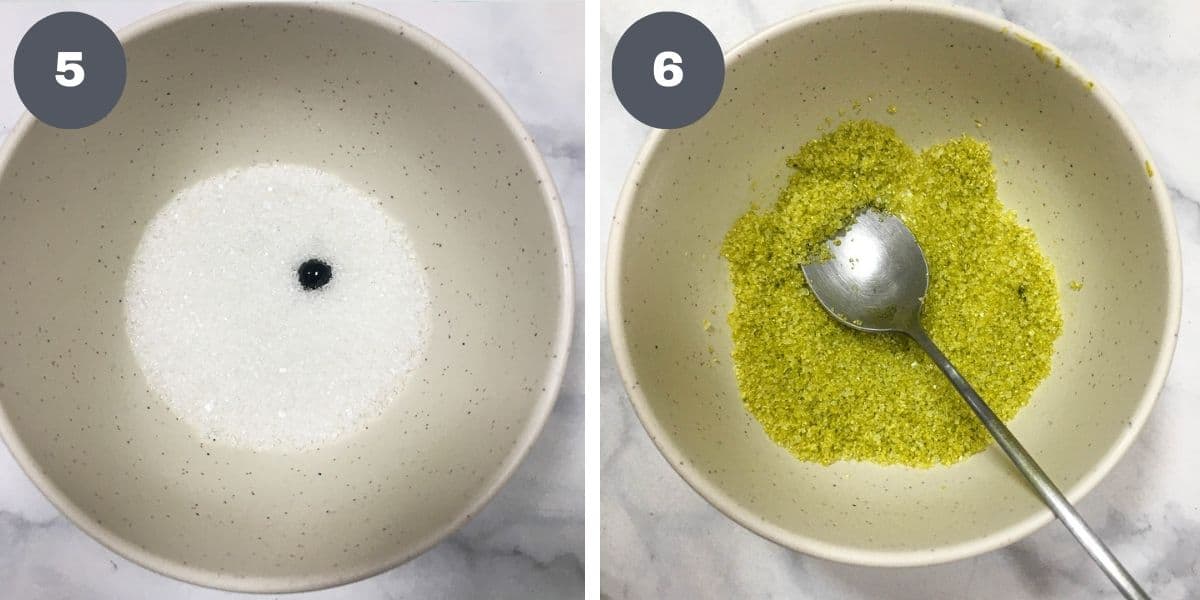
Step 2: Make the colored sanding sugar. Place the course sugar in 2 separate bowls. Add a few drops of food coloring into each (image 5).
Note: Use a gel-based food color so that the sugar does not turn too wet.
Use a spoon to mix the color in. The best way to mix it is by pressing the color down with the back of the spoon (image 6). That way, the colors get distributed more effectively.
Continue mixing until the sugar is all evenly colored. At this stage, if you wish to increase the intensity of the color, repeat the process by adding more color to it.
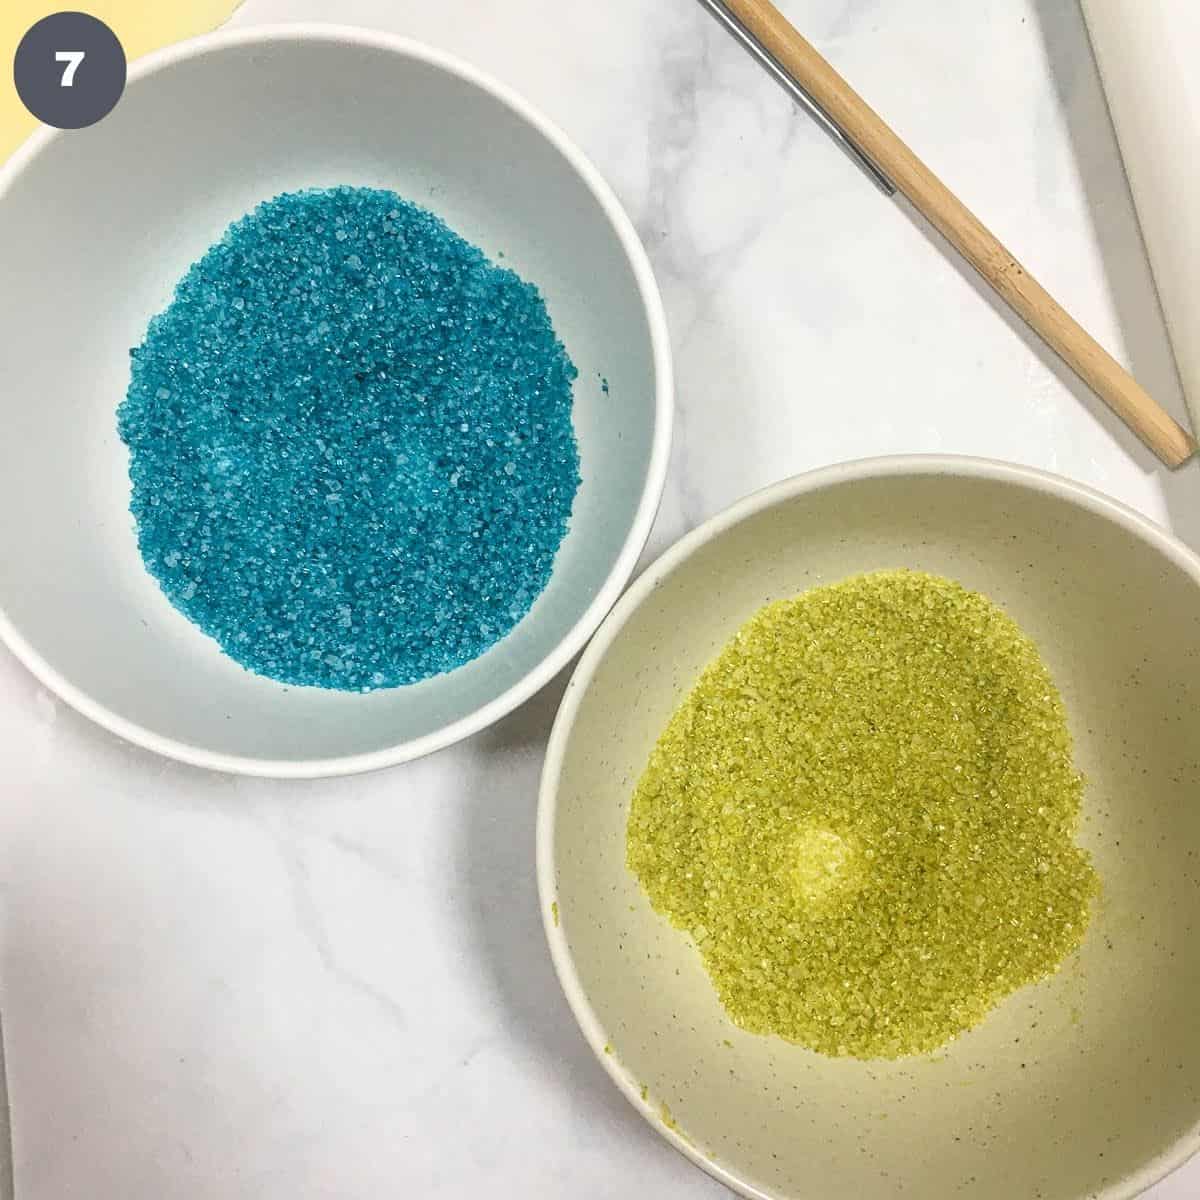
Let these sugar mix dry completely before using (image 7).
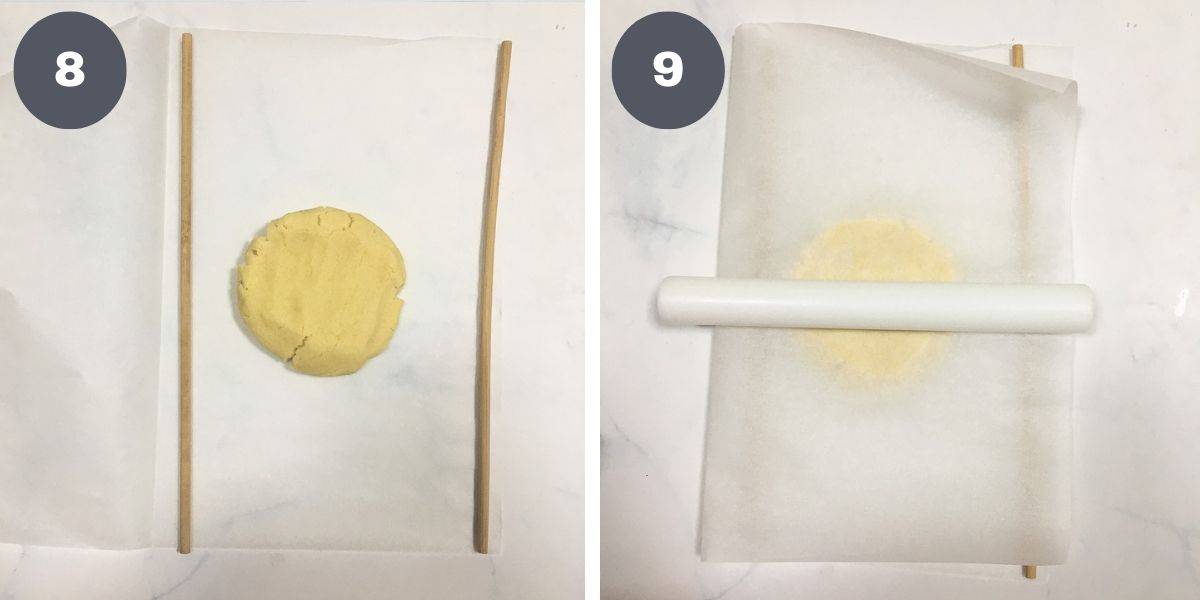
Step 3: Roll and cut the cookies. Divide dough into smaller sections for easy rolling. Place each section of the dough in between 2 parchment sheets on your work surface. To ensure the thickness of my cookie dough is consistent, use 2 dowel rods on either side of the dough and roll on them (images 8 & 9).
Note: You can also use rolling pin guide rings to help produce cookies that are of a consistent thickness.
Carefully peel off the top layer of the parchment paper.
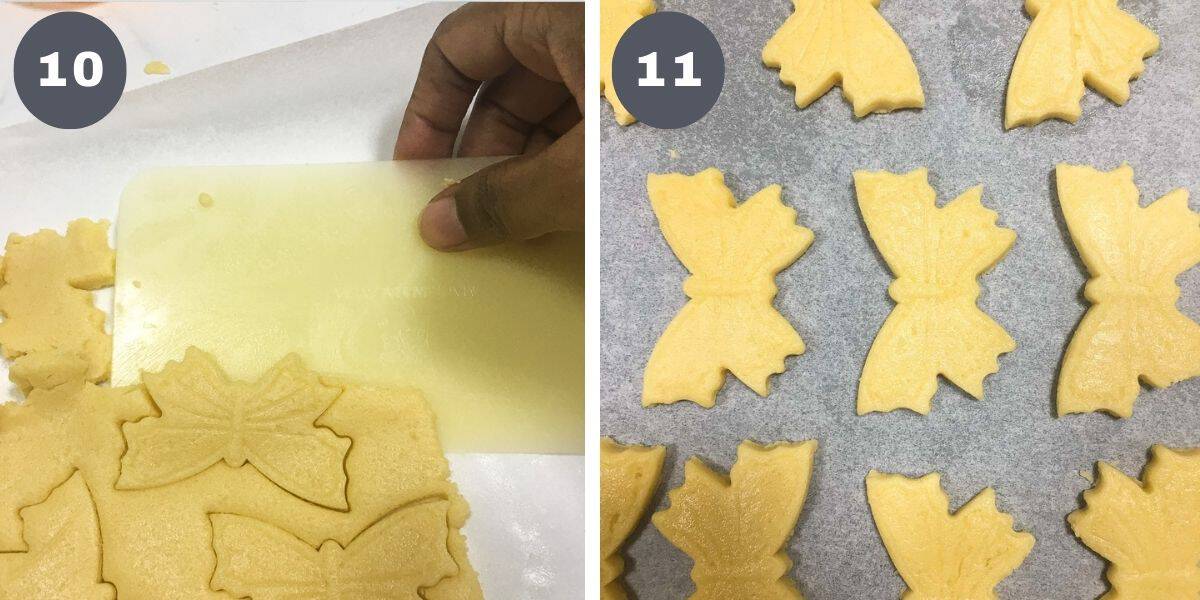
Use a butterfly cookie cutter to cut out the cookies. I cut mine using a butterfly plunger cutter. Since the shortbread dough is rather soft, use a flat spatula or an icing scraper to lift the cut out cookies of the parchment paper (image 10).
Turn the cookie over onto your hands and carefully press any loose crumbs around the cookies to neaten the shape. Place the cookies onto baking sheets or lined baking tray (image 11).
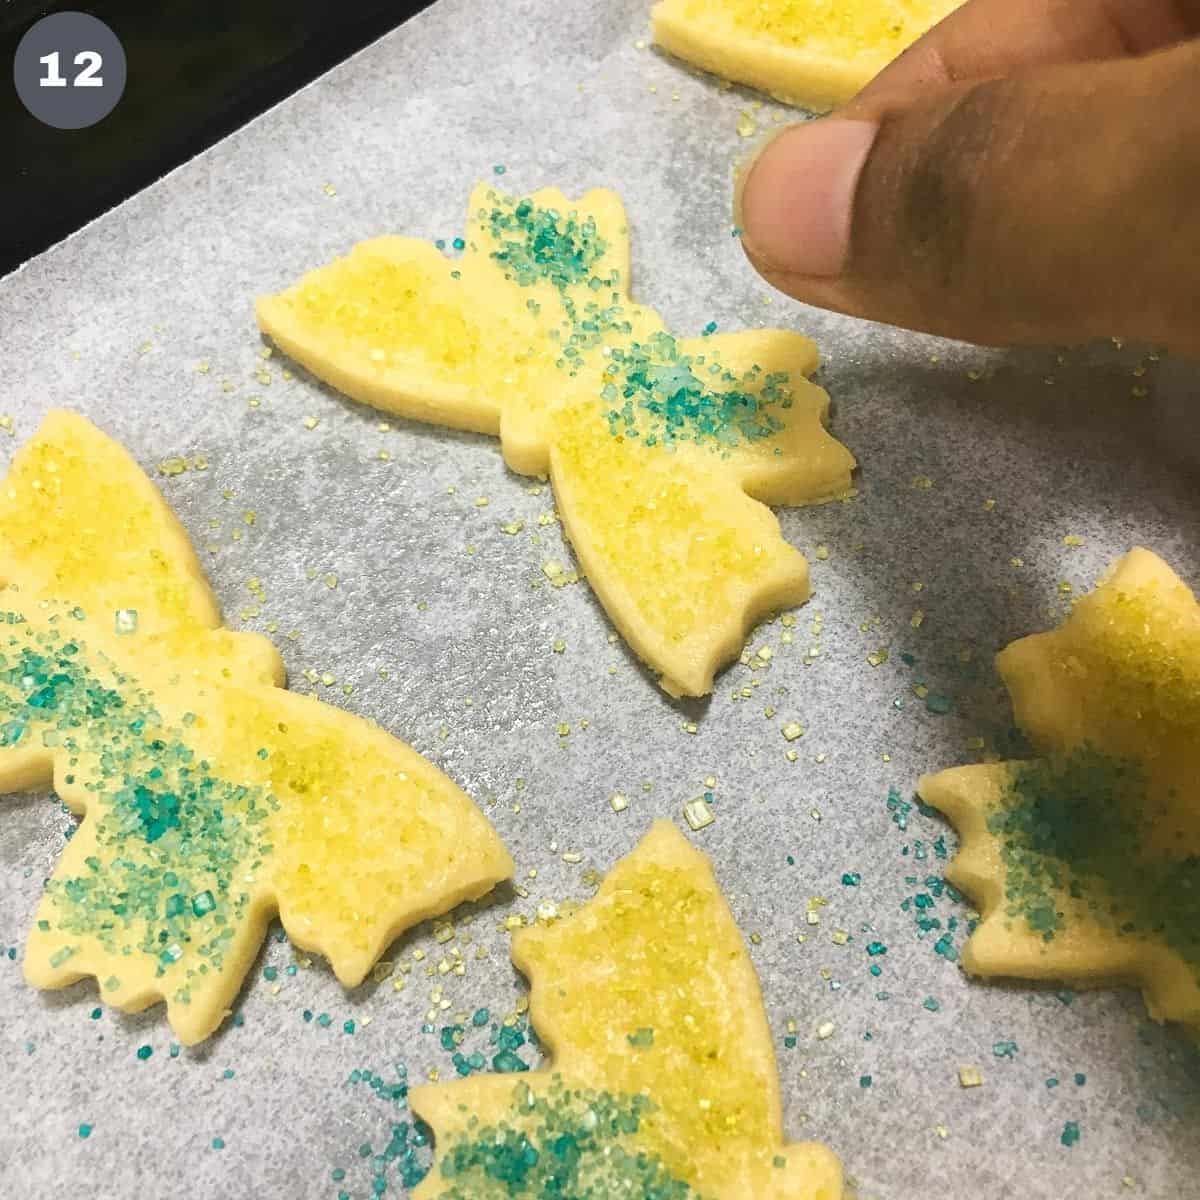
Step 4: Decorate with the sanding sugar. Sprinkle the sanding sugar as you wish. Press it down gently to hold it in place. For these butterfly cookies, I sprinkled the green for the top wings and the turquoise for the bottom section (image 12).
Step 5: Bake the cookies. Place in a pre heated oven at 175 degrees Celsius for 15 minutes until the sides start to turn golden brown.
Once baked, remove the cookies from the oven and let them cool completely to room temperature on a wire rack.
Store the butterfly cookies in an airtight container. This decorated shortbread cookie recipe yields approximately 49 butterfly cookies measuring approximately 6 cm by 4cm each.

💡Expert Tips
- Butter should not be too soft. Ideally, it should still be firm, but soft enough to be poked with your fingers. Never use butter that is too soft that it does not hold shape. You can still make the shortbread cookies with this butter, however, you cookies will be greasy and not be as soft and crumbly as they should.
- To ensure these butter cookies turn out crispy and crumbly, take note to not overwork the dough once it comes together. Suffice if you press it together to form a ball. When you work it for long, the gluten in the flour becomes stretchy, and there is a tendency for your cookies to become hard.
- This cookie dough is slightly crumbly but soft. It does not stick to the finger but does tend to stick a little to the rolling pin as you roll it. For smooth rolling, divide the dough into smaller sections and roll each section between 2 parchment sheets. That way, it does not stick to the rolling pin and a lot easier to work with.
- When lifting the cut butterfly cookies onto baking trays, it is really helpful to use a flat spatula or an icing scraper. These tools help in retaining the shape of the cookies as they are transferred to the baking tray.
💭FAQs
These sugared cookies can be placed close to one another in the baking tray. That is because they do not rise in size or spread during baking. They do puff up a little, but it's almost negligible.
There is also no need to refrigerate the cut out cookies before baking. They are able to retain their shape without the need to be chilled first before baking.
Hence, when placing these butterfly butter cookies in a baking tray for baking, a mere gap of about 1cm to 2 cm is sufficient, for easy handling.
The blue and turquoise sanding sugar I used on my butterfly cookies is homemade. All you need is coarse sugar and gel-based food color. Add a few drops of color at a time and mix thoroughly until the sugar is evenly colored. Add more color if you wish.
It is best to use gel-based colors. Liquid color can leave your sugar wet, and you would need a long time to allow it to dry up and ready to use.
The baking time indicated in my recipe card below is for butterfly shaped cookies measuring approximately 6cm by 4 cm. The thickness is about ½ cm.
If your cookies are larger or thicker than this, the baking time would need to be increased accordingly. And if they are smaller, then the time needs to be reduced as such.
This sugared shortbread cookies recipe yields cookies that last well. I have tried keeping them for 3 weeks, and they were fine. Just remember to store them in an airtight container to retain their crispiness.
❤️More Recipes You Will Love
Do you like this recipe? Please leave a 5-star ⭐⭐⭐⭐⭐rating in the recipe card below and consider a review further down this page. I would love to hear from you. Thank you!
📖Recipe
Butterfly Cookies
For best results, use the metrics measurements. US customary measurements have not been tested and are only meant for guide.
Ingredients
Cookie Dough
- 100 g granulated sugar
- 200 g butter salted
- 300 g all purpose flour
- 1 teaspoon vanilla extract
Colored Sanding Sugar for Decoration
- 140 g coarse sugar
- green and turquoise food color gel based
Instructions
- Preheat oven to 175°Celsius. Line baking trays with parchment paper.
- Start by making the sanding sugar. Divide the coarse sugar equally into 2 bowls. Add a drop of the turquoise food color in one bowl and the green food color in another (see Note 1).
- Mix the sugar with a spoon until the color is all well distributed. Add more color if you wish to have a deeper color. Leave the colored sugar aside to dry.
- In a separate medium sized bowl, add the butter (see Note 2). Sift in the flour and mix both on low speed until it turns crumbly. You can also use a pastry cutter to cut in the butter into the flour or rub it in with the tips of your fingers.
- Stir in the sugar and mix well, followed by the vanilla extract. The mixture would still be crumbly at this stage.
- Turn the dough onto a clean workspace and press it together to form a ball (see Note 3).
- Divide the dough into smaller sections and roll each section between 2 parchment sheets. Use 2 dowel rods on either side of the dough when rolling for consistent thickness (see Notes 4 & 5)
- Peel off the top parchment sheet and cut out the cookie dough with a cookie cutter. Carefully lift the cut cookies, with a flat spatula, neaten the edges and transfer onto the baking tray (see Note 6).
- Sprinkle the colored sanding sugar on top of each cookie and press it in softly with your fingertips.
- Bake the butterfly cookies for approximately 12 to 15 minutes until the sides of the cookies start to turn light gold.
- Remove cookies from oven. Let them rest in the tray for a few minutes before transfering them onto a wire rack to cool completely.
- Store the decorated butterfly cookies in an airtight container.
Notes
- Use a gel-based food color so that the sugar does not turn too wet. If you use liquid based colors, spread the sugar onto a tray and let it dry completely before using.
- The butter must be soft but firm. It should soft enough to poke your finger in but still hold its shape. If too soft, return to refrigerator to firm it up. Too soft butter will cause the cookies to be greasy and hard.
- Take note to not overwork the dough once it comes together. Suffice if you press it together to form a ball. When kneaded for long, the gluten in the flour becomes stretchy, and there is a tendency for your cookies to become hard.
- Rolling between parchment sheets will prevent the dough from sticking to the rolling pin and a lot easier to work with.
- You can also use rolling pin guide rings to help produce cookies that are of a consistent thickness.
- When lifting the cut butterfly cookies onto baking trays, it is really helpful to use a flat spatula or an icing scraper. These tools help in retaining the shape of the cookies as they are transferred to the baking tray.


Leave a Reply