

Books are a great inspiration when it comes to novelty cakes. 3D open book cakes can be designed in many forms. It can be a single closed book, a stack of closed books, or an open book.
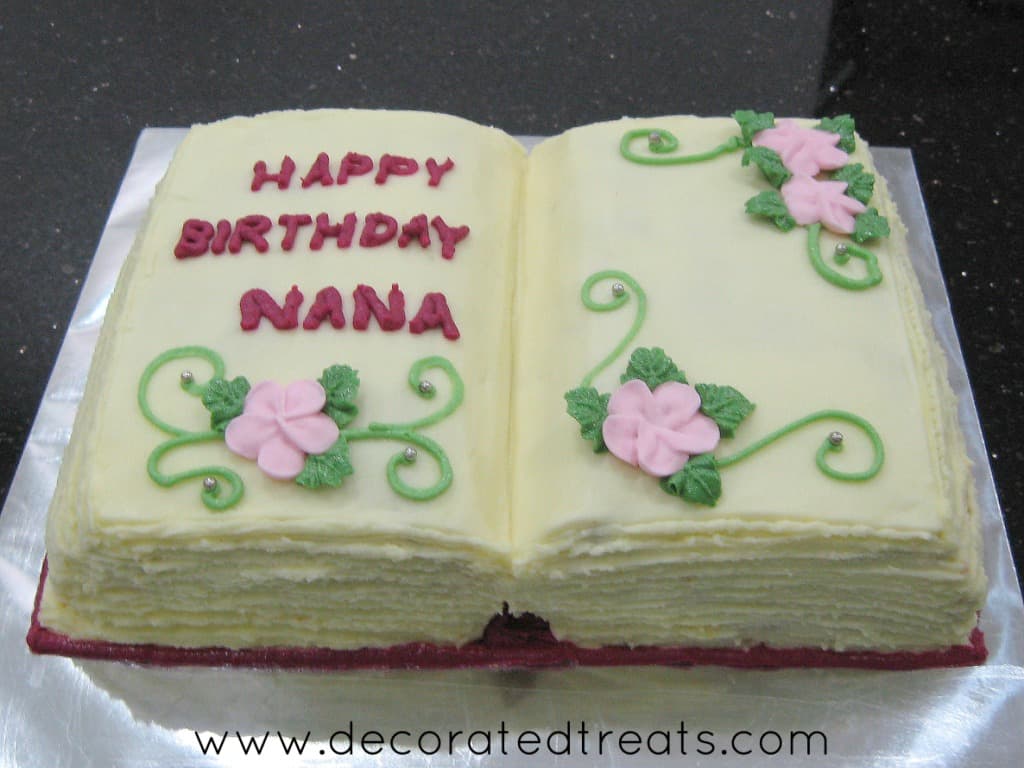
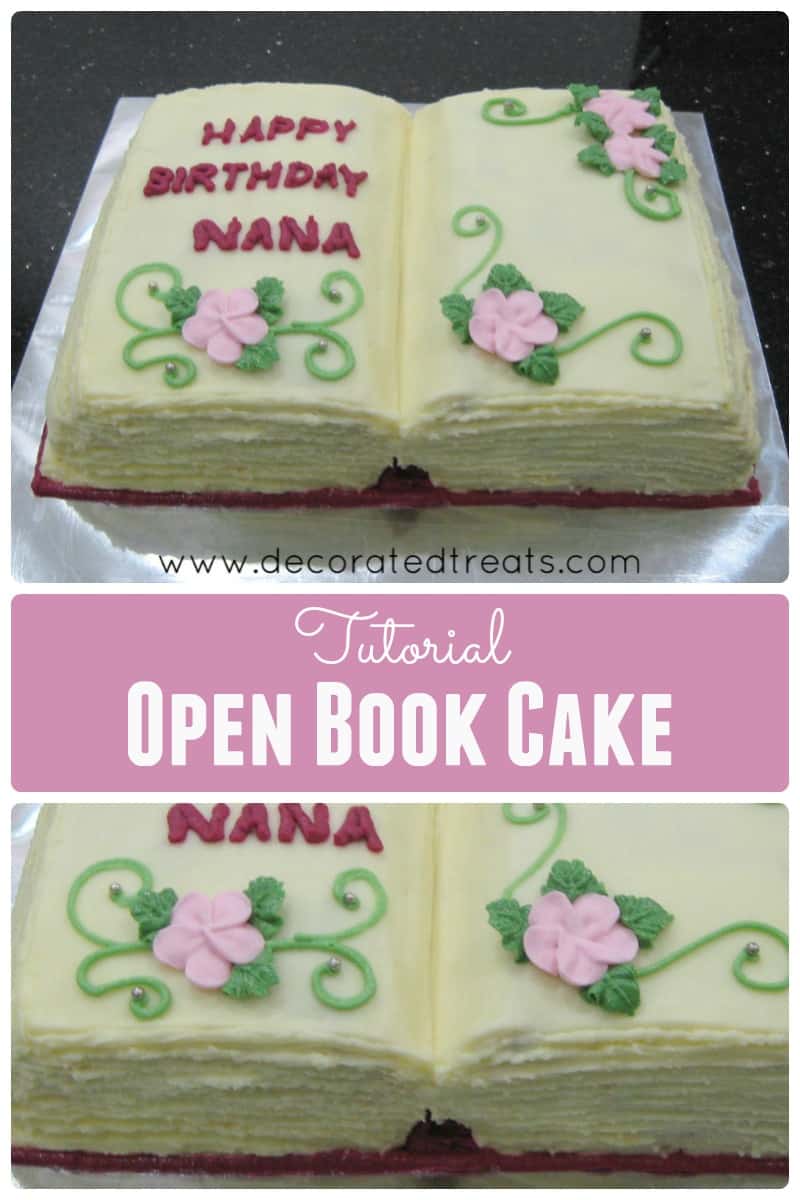
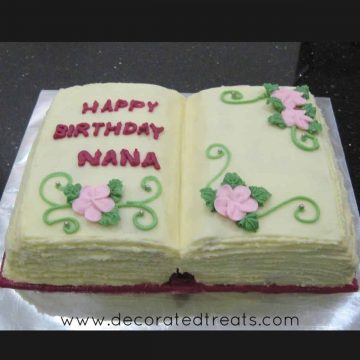
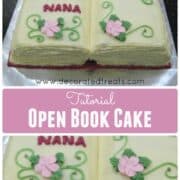
Book cakes may sound difficult to make but in reality, they are fairly easy even though a bit of carving is required on the cake. Here is one such book cake I have made. It’s an open book cake idea, and the decoration was done entirely in butter icing.
Like this buttercream cake? You should also check out this rosette cake, simple buttercream flowers cake, mini heart shaped cakes, car cake design, doll cake and this easy Mother's Day cake with buttercream topiary.
🧾Supplies Required
- One 6 inches by 10 inches rectangle cake - It was a single layer cake baked using my chocolate cake recipe. The book cake would not look nice if it’s too tall, so I made a single layer cake. The height was approximately 2 inches.
- Butter icing – This is stiffer than buttercream making it easier to hold shape and work with. The entire cake was covered with butter icing. I did not tint it, so it was left with a natural ivory hue.
- Buttercream – I used buttercream to pipe the wordings on the cake as well as pipe the leaves and scrolls as part of the decoration on the cake. I also used buttercream to cover the sides of the cake.
- Royal icing – I used royal icing for the pink flowers. These were made in advance. I piped them onto pieces of parchment paper and left them to set and dry before peeling them off to be put on the cake. When using royal icing for flower piping, the consistency has to be stiff so that the petals can hold shape. I prefer to use royal icing compared to buttercream simply because I live in a hot and humid country and buttercream is difficult to handle at such temperatures.
- Wilton round tip 3
and star tip
👩🍳How to Make
Step 1: Decorate the Cake
Once the cake was baked and cooled, the first step is to carve the center of the open book. I placed the cake with the longer side lying horizontally. I measured the length of the cake and using a toothpick, marked a line that runs vertically right down the center. And then, I cut out a triangle wedge in the center making sure the depth of the wedge does not go more than half of the thickness of the cake itself. Then, slice off another tiny triangle piece at the bottom, exactly opposite the top wedge.
Next, I sliced off the sides of the cake slanting outwards to denote the pages on an open book.
Once that is done, I cleaned all the crumbs on and around the cake. I then covered the top with butter icing and smoothed it. Next, was the sides of the book. I used a star nozzle for this. I pressed the nozzle against the cake while piping so that the icing comes out from the nozzle serrated, and that produces the pattern of stacked pages' lines.
Step 2: Decorate the Book Cover and Pages
Next, I did the cover for the book birthday cake. With some dark pink icing (using the round tip), I piped a long line all around the book for the cover. I also piped in the tiny triangle piece cut out earlier.
At this stage, the book was literally ready for me to decorate the open pages.
For the open pages, I wrote the birthday message first. After that, I did the flower deco. I piped the scrolls, place the flowers on the cake, and then piped some green buttercream leaves (the same one I used for the scrolls). For the finishing touches, I added silver dragees at the end of each scroll.
And that was how I decorated this open book cake.
I hope this tutorial was helpful.
❤️More Cake Designs You Will Love


Do you like this tutorial? Please leave a 5-star ⭐⭐⭐⭐⭐rating in the recipe card below and consider a review further down this page. I would love to hear from you. Thank you!
📖Recipe
Open Book Cake
Equipment
- Wilton round tip 3 and star tip
- Disposable piping bags
- Knife (to carve the cake)
For best results, use the metrics measurements. US customary measurements have not been tested and are only meant for guide.
Ingredients
Cake
- 300 g butter
- 300 g granulated sugar
- 275 g self-raising flour
- 25 g cocoa powder
- 5 eggs
- 75 ml milk
- ¼ teaspoon salt
- ⅔ teaspoon baking powder
- ¾ teaspoon vanilla extract
Frosting and Decoration
- 225 g butter
- 560 g icing sugar
- 1 teaspoon vanilla extract
- Pink sugar flowers piped in royal icing
- Royal icing (for the pink flowers)
Instructions
Making the royal icing flowers
- Follow the tutorial in the link provided above for the royal icing flowers. While the tutorial is for buttercream flowers, pipe the same flowers with royal icing (link for the icing is also provided above). The flowers can be made a few days in advance.
Baking the cake
- Preheat oven to 170 degrees Celsius.
- Beat butter and granulated sugar till soft and creamy. Add eggs, one at a time, beating well after each addition.
- In another separate bowl, sift flour, cocoa powder, baking powder and salt 3 times. Fold in the sifted ingredients into the creamed mixture alternately with milk, starting and ending with flour.
- Finally add vanilla extract and combine well.
- Pour the batter into a 6 inches by 10 inches rectangle cake tin. Level the top and bake the cake for 45 to 50 minutes or until a skewer inserted in the center of the cake comes out without any wet batter.
- Remove the cake from the oven and let it cool completely before decorating.
Making the butter icing
- Sieve icing sugar to break lumps.
- In a separate bowl, cream butter till soft. Add icing sugar, a little at a time, beating continuously. Add vanilla and continue beating until butter and icing sugar are well combined.
- The icing should be quite stiff, and it should not be sticking to your finger when lightly pressed.
Carving the book cake
- Start by carving the center of the open book.
- Place the cake with its longer side lying horizontally. Measure the length of the cake and use a toothpick to mark a line that runs vertically right down the center of the cake. And then, cut out a triangle wedge on the top surface of the cake, right in the center. Make sure the depth of the wedge does not go more than half of the thickness of the cake itself. Then, slice off another tiny triangle piece at the bottom, exactly opposite the top wedge.
- Next, slice off the sides of the cake slanting outwards to denote the pages on an open book.
- Once that is done, clean all the crumbs on and around the cake. Cover the top with butter icing and smooth it.
- For the sides of the book (ie the pages), use a star nozzle for this. When piping the butter icing onto the sides of the cake. press the nozzle against the cake so that the icing comes out from the nozzle serrated, and that produces the stacked papers design.
Decorating the open book cover
- Next is the book cover. With some dark pink icing (using the round tip), pipe a long line all around the book for the cover. Also pipe in the tiny triangle piece cut out earlier.
- At this stage, the book is literally ready to decorate it's open pages.
- For the open pages, pipe the birthday message with a round tip. Next, with some green icing, pipe the scrolls and arrange the pink royal icing flowers. Pipe some green butter icing leaves. If the icing is too stiff, soften it by adding some butter. For the finishing touches, add silver dragees at the end of each scroll. And that completes the open book cake.
Anne
Hi, What size start tip? Could you do a demo in a video for me doing the stacked pages so I have a learning disability and don't understand just by reading I have to be shown if you can send to my email. I would greatly appreciate it thank you Anne
Ann
Great idea and your tutorial explains your technique well. Would this work using a 9x13 cake pan?
Priya Maha
Hi Ann,
Yes it would.