

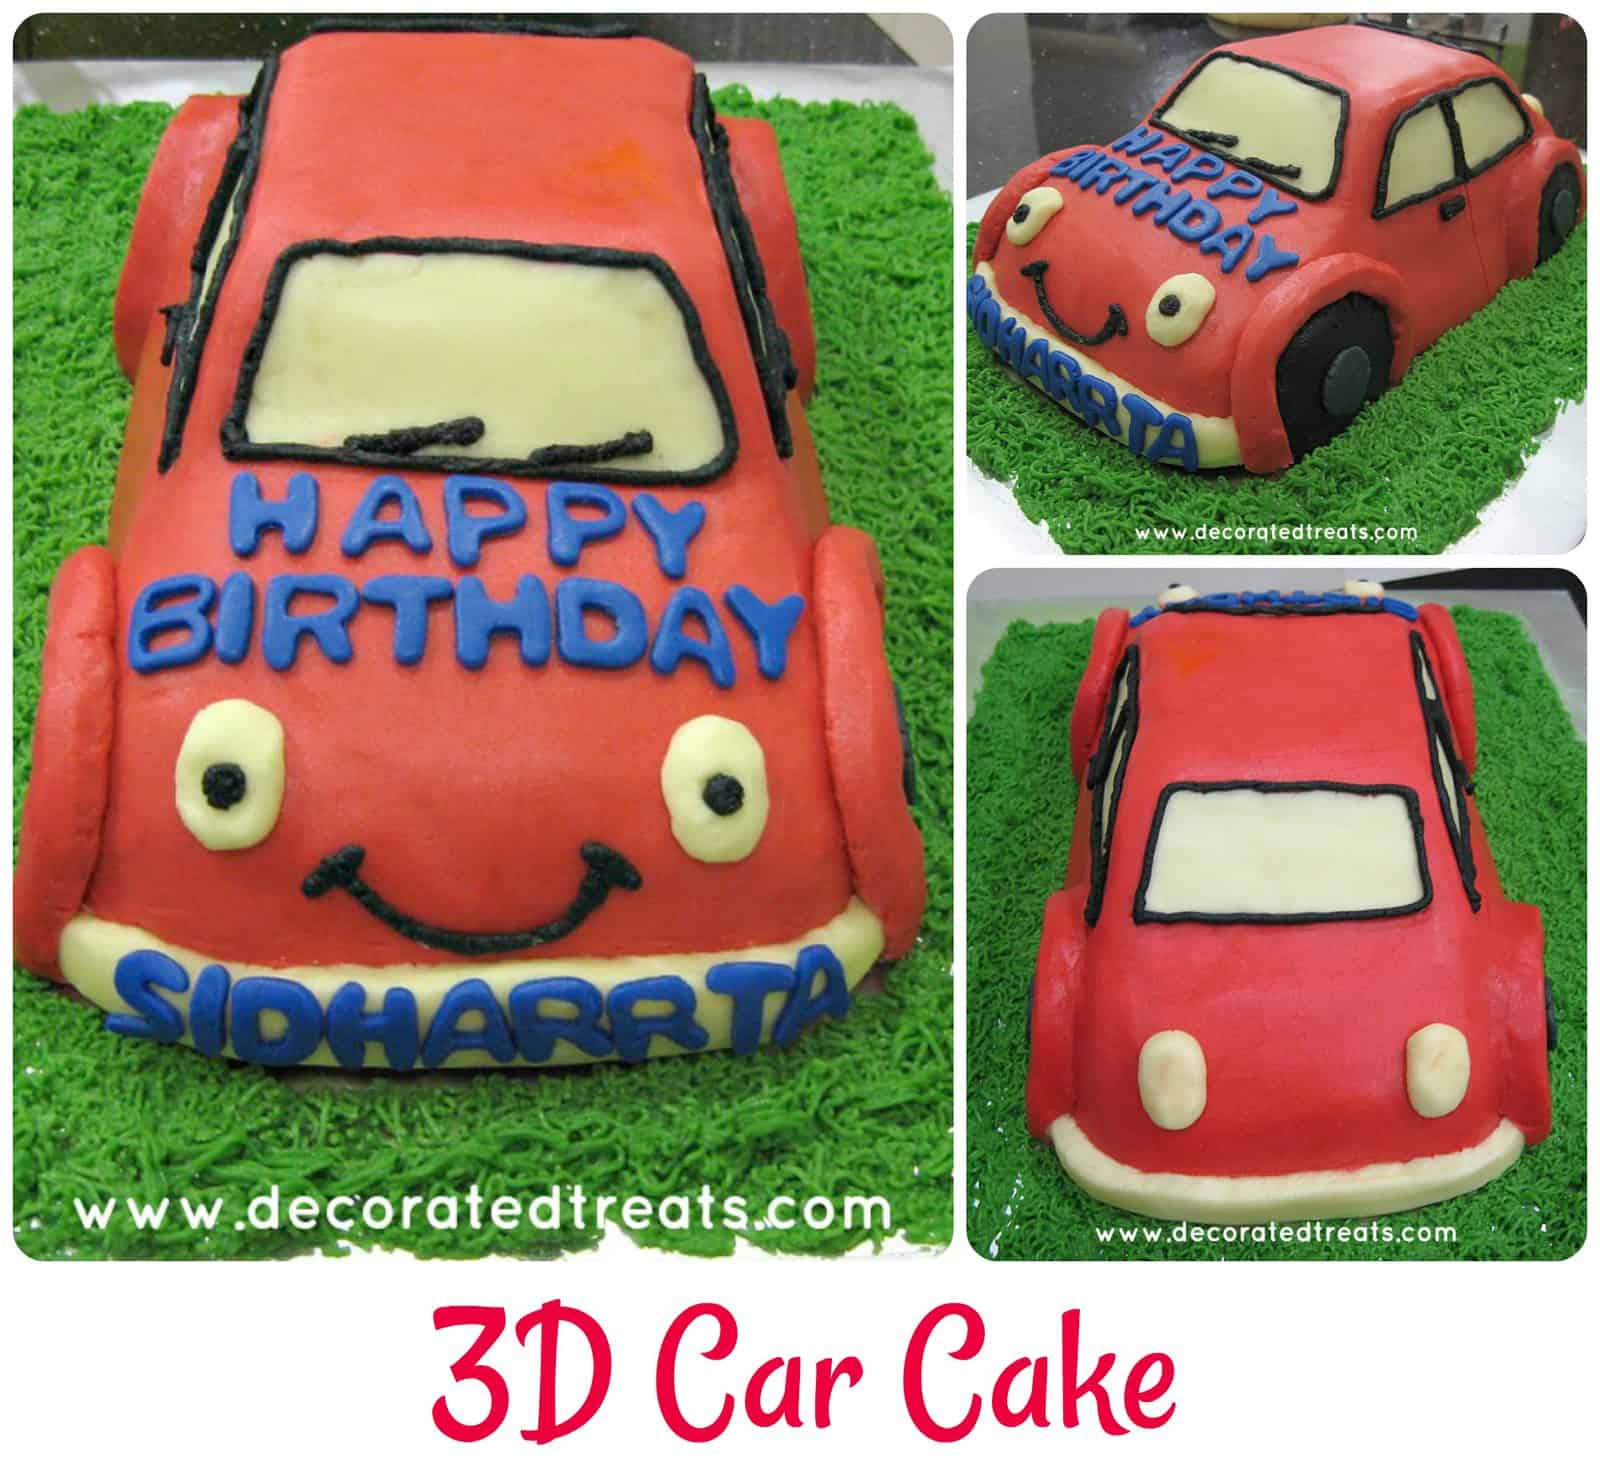
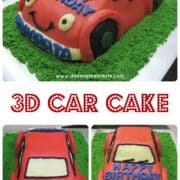
A perfect car cake design for boys. This buttercream, car themed birthday cake is baked in a 3D mold and is super easy and simple to make!
The cake is baked in a 3D car mold from Wilton and is very easy to use. You have to make sure it is well greased and floured. This is so that your cake comes out easily without sticking to the tin. This is particularly important because of the many bends and dents in the shape of the car can pan. These bends and dents make it hard to use a knife or spatula to help in releasing the cake.
In terms of decorating, the car shaped cake can be covered with both buttercream or fondant. I choose butter icing (which is a slightly stiffer version of buttercream) so that made it easier to achieve the smooth icing on the car birthday cake.
If you find smoothing buttercream a challenge, you can always resort to star piping with buttercream. Star piping methods is basically using a star piping tip and piping stars to cover the cake. See this Minnie Mouse cake and this Nissan GTR cake which I have decorated using the star piping method.
And for more vehicle themed cakes, check out this airplane cake, dump truck cake, truck cake and Lightning McQueen cake.
🧾Supplies Required
- Wilton 3D car cake pan
- Car shaped cake baked using butter pound cake recipe – since the cake tin is not the standard round or square shape, I had to recalculate the recipe so that I had enough batter to fill the cake pan. Here is how I estimate cake batter for odd-shaped cake tins. Full recipe is in the recipe card at the bottom of this page.
- Butter icing – this is a stiffer version of buttercream. The consistency is stiff enough to allow me to shape it with my hands! I had this icing tinted in red, dark grey, and black.
- Buttercream in green (for the grass) and some in black for the windscreen outline, the car wipers, car’s eyes, and smiling mouth.
- Fondant
in blue (for the wordings on the cake)
- Wilton tip number 3
- Wilton grass tip number 233
- Food coloring in red, black, blue, white and green.
- Disposable piping bags
- Spatula
- Alphabet cutters
👩🍳How to Make
Step 1: Bake the 3D Car Cake
Since the cake was baked in a shaped pan, there was no need for any sculpting work.
Once the cake was baked, I let it rest in the pan for 5 minutes before turning it out onto a wire rack. The cake should be placed on the wire rack, facing up.
Step 2: Cover the Cake with Butter Icing
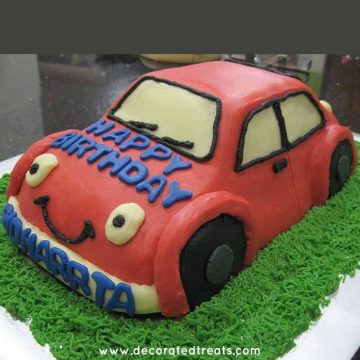
I started off with the body of the car and covered it in red butter icing. I smoothened the butter icing on the body of the cake, leaving out the car windshield, windows, and the wheels.
Step 3: Add the Windshields and Side Windows
Next, I covered the windshields and side windows. I used untinted butter icing for these. The butter icing had a natural ivory hue to it because of the butter. And so I left the color as such.
Step 4: Make the Wheels, Bumper and Lights
For the wheels, I used black butter icing and dark gray icing. To make the grey icing, I added some white and a little bit of black food coloring into the butter icing.
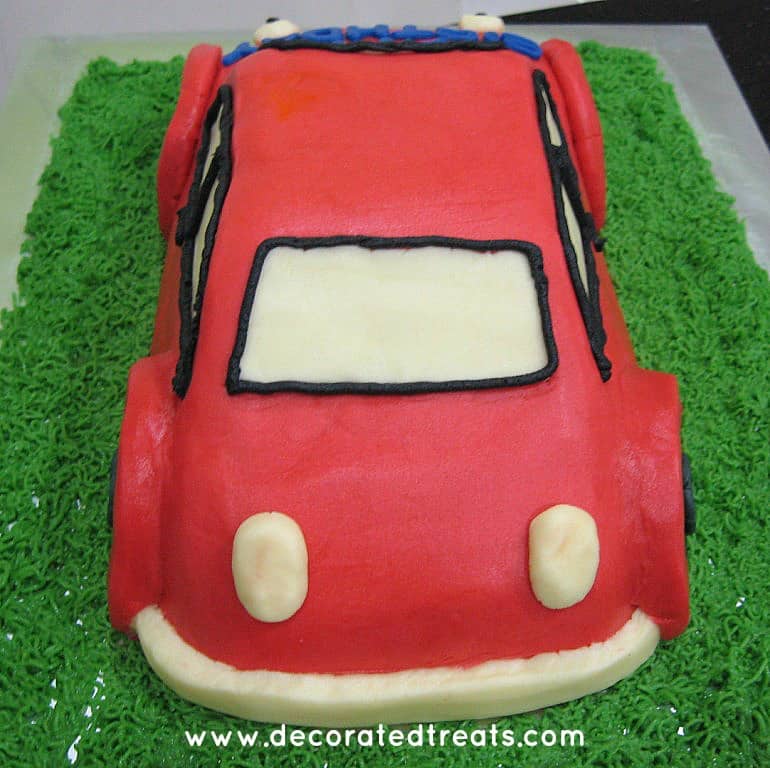
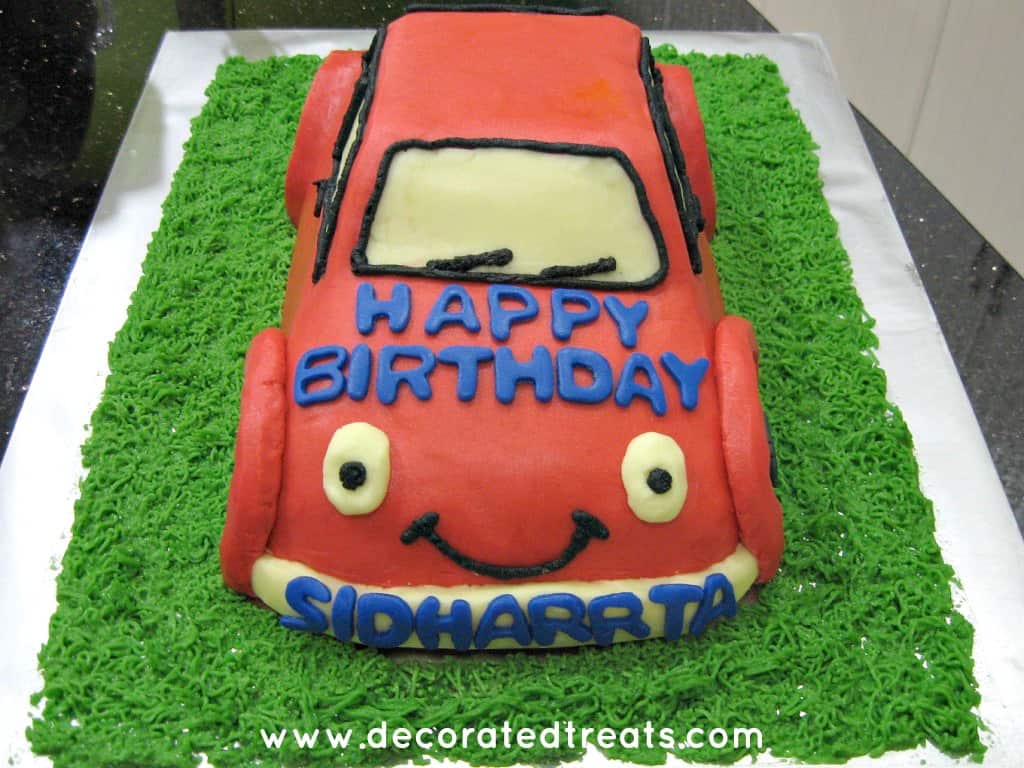
Once the wheels were done, I added the lights, both at the front and back of the car, followed by the bumpers. I transformed the lights at the front of the car into the car’s eyes by piping a tiny dot of black buttercream in the center.
The lights themselves were ivory butter icing shaped into oval balls and flattened. The icing was stiff like I mentioned earlier, so I actually worked on this with my hands, similar to working with fondant. And finally, using black buttercream, I piped a smiling mouth for the car, borders for the windshield and windows, and a set of wipers.
Step 5: Add the Lettering and the Buttercream Grass
To finish decorating the car, I outlined the windows with black buttercream using Wilton tip #3.
As for the wordings, I used blue tinted fondant and used the Wilton alphabet cutters to cut out the ‘happy birthday’ letters. I simply placed the cut letters on the cake and they stuck well to the butter icing without having to have any special glue.
Once the car was done, I piped green colored buttercream icing for the grass all around the cake, on the cake board.
And with that, the cake was done. Overall, this car shaped cake was fairly easy to make, the only thing that took me some time was working with the butter icing as it requires a fair bit of smoothing which I did with my icing spatula.
❤️More Designs You Will Love


Do you like this tutorial? Please leave a 5-star ⭐⭐⭐⭐⭐rating in the recipe card below and consider a review further down this page. I would love to hear from you. Thank you!
📖Recipe
Car Cake
Equipment
- Wilton 3D car cake pan
- Wilton tip number 3 for outline icing on the cake
- Wilton grass tip number 233 for the grass on the cake board.
- Disposable piping bags
- Spatula
- Wilton alphabet cutters
- Food coloring in red, black, blue, green, white
For best results, use the metrics measurements. US customary measurements have not been tested and are only meant for guide.
Ingredients
Cake
- 300 g butter
- 300 g granulated sugar
- 300 g self-raising flour
- 5 eggs
- 75 ml milk
- ¼ teaspoon salt
- ¾ teaspoon baking powder
- ¾ teaspoon vanilla extract
Frosting and Decoration
Instructions
Baking the 3D car cake
- Preheat oven to 170 °Celsius. Grease and flour the car cake mold.
- In a medium sized bowl, beat butter and sugar till soft and creamy for about 2 minutes. Add eggs, one at a time, beating well after each addition.
- In a separate bowl, sift flour, baking powder, and salt. Fold in the sifted ingredients into the creamed mixture alternately with milk, starting and ending with flour.
- Finally, add in vanilla extract and combine well. Pour batter into the well greased and floured car cake mold and bake for 55 to 60 minutes until the top of the cake springs back when lightly pressed. The cake is done when a skewer inserted in the center of the cake comes out without any wet batter.
- Remove the cake from the oven and let it rest in the pan for 5 minutes before turning out onto a wire rack. The cake should be placed on the wire rack, facing up. Cool the cake completely before icing and decorating.
- Since the cake was baked in a shaped pan, there was no need for any sculpting work.
Frosting the car cake
- Start off with the body of the car and cover it in red butter icing. Smooth the butter icing on the body of the cake, leaving out the car windshield, windows, and the wheels.
Decorating the windshields and windows
- Next, cover the windshields and side windows. I used untinted butter icing for these. The butter icing had a natural ivory hue to it because of the butter and so I left the color as such.
Decorating the car wheels, bumpers and lights
- For the wheels, use black butter icing and dark gray (mix some white food color into the black icing) icing.
- Once the wheels are done, add the lights, both at the front and back of the car and bumpers. Transform the lights at the front of the car into the car’s eyes by piping a tiny dot of black buttercream in the center. To shape the lights, simply take some butter icing and shape them into oval balls. Flatten them lightly (the butter icing is stiff so it is possible to shape it by hand) and attached to the car. And finally, using black buttercream, pipe a smiling mouth for the car, borders for the windshield and windows, and a set of wipers.
Finishing touches - the name, 'happy birthday' lettering, buttercream grass
- To finish decorating the car shaped cake, outline the windows with black buttercream using Wilton tip #3.
- As for the wordings, roll out some blue tinted fondant and cut out the letters with the alphabet cutters. Simply place the cut letters on the cake. They will stick to the butter icing without the need for any special fondant glue.
- Once the car is done, pipe some green colored buttercream icing for the grass on the cake board, all around the car.
Lester Lubahn
Just wanted to say thanks! 💌