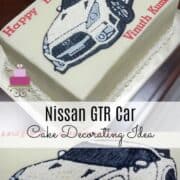
Learn how to make a Nissan GTR car birthday cake with this easy decorating guide. This is a buttercream cake, covered entirely in buttercream and decorated with edible images for the car logo and fondant lettering.
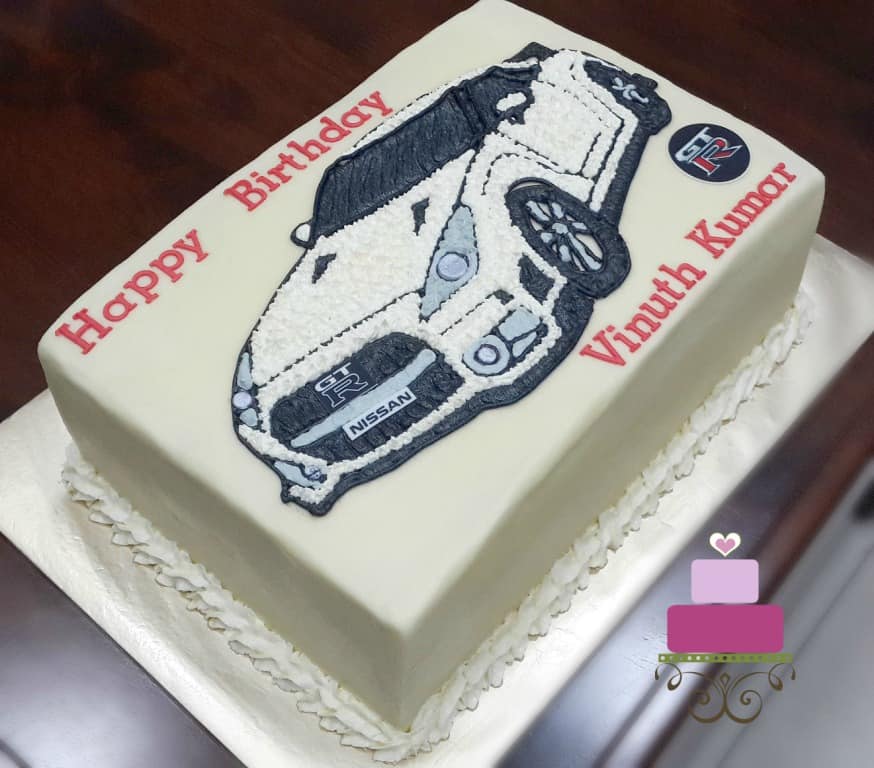
I used star piping method to fill the icing for most parts of the car image on the birthday cake and for other parts, I used a plain round tip to pipe a closed zigzag pattern.
And for the Nissan logo, I opted to use printed edible image. Since butter icing and buttercream had a natural yellow hue to it, in order to achieve totally white buttercream for the car, I added white food coloring to it. And I used the same white buttercream to pipe the birthday cake border.
If you like vehicle themed cakes, check out this truck cake for 2nd birthday, dump truck cake for boys, airplane cake, 3D Lightning McQueen cake and car cake design.
🧾Supplies Required
- Cake – I baked a 6 inches by 10 inches rectangle cake using my butter pound cake recipe. The cake was approximately 4 inches high.
- Butter icing – Butter icing is a stiffer version of buttercream and I used this icing to cover the sides and top of the cake outside the car image.
- Buttercream – I used buttercream to crumb coat the cake as well as to fill it. The buttercream was also used in piping out the car image on the cake.
- Fondant – I used very little fondant on the birthday cake, and that was for the lettering on the cake. I used red Satin Ice fondant. You can also use gum paste to make the lettering.
- Nissan GTR car template – I got this template from the internet. I resized, printed and traced the image onto a parchment paper before using it on the birthday cake. Refer to this tutorial on how to resize templates for cake decorating for more guide.
- GTR logo edible image – I order the image from a local cake decorating supply shop.
- Disposable piping bags and piping tips tip number 3, tip number 16 and tip number 21.
- Food coloring – Americolor white and Americolor black.
- Sugar craft knife and needle tool.
- Tappit letter cutters – for the lettering on the birthday cake.
👩🍳How to Make
Step 1: Prepare the Car Template
For the car template, I downloaded a Nissan GTR car image from the internet, resized it to fit the size of my cake which was 10 inches by 6 inches rectangle and traced the image onto a piece of parchment paper.
Follow this guide on how to resize templates for cake decorating to get the correct size for your cake.
Step 2: Trace the Car Image onto the Birthday Cake
Next was the birthday cake itself. Once the cake was baked and has completed cooled, I leveled the layers, filled and crumb coated it with a thin layer of buttercream.
I then placed the cake on a cake board and traced the car image onto it. Before tracing, I cut the template out following its outer outline and placed it on the cake exactly where I wanted the image to be. The crumb coat icing on the cake helped to hold the image in place and I used my sugar craft knife to trace the pattern onto my cake. I simply cut the image following all its outlines, going from one section to the next. In each section, I marked the largest sections first before going to the smaller details.
By the time I completed the tracing, the template was all cut up and was in pieces. I removed the template off the cake and used my needle tool to enhance the car image outline on the birthday cake.
Step 3: Cover the Cake with Butter Icing
Next was covering the cake with icing. I started with the butter icing on the sides of the cake and all around the traced car image. I smoothed the icing with a spatula well before moving on to the car image.
Step 4: Pipe the Car Image
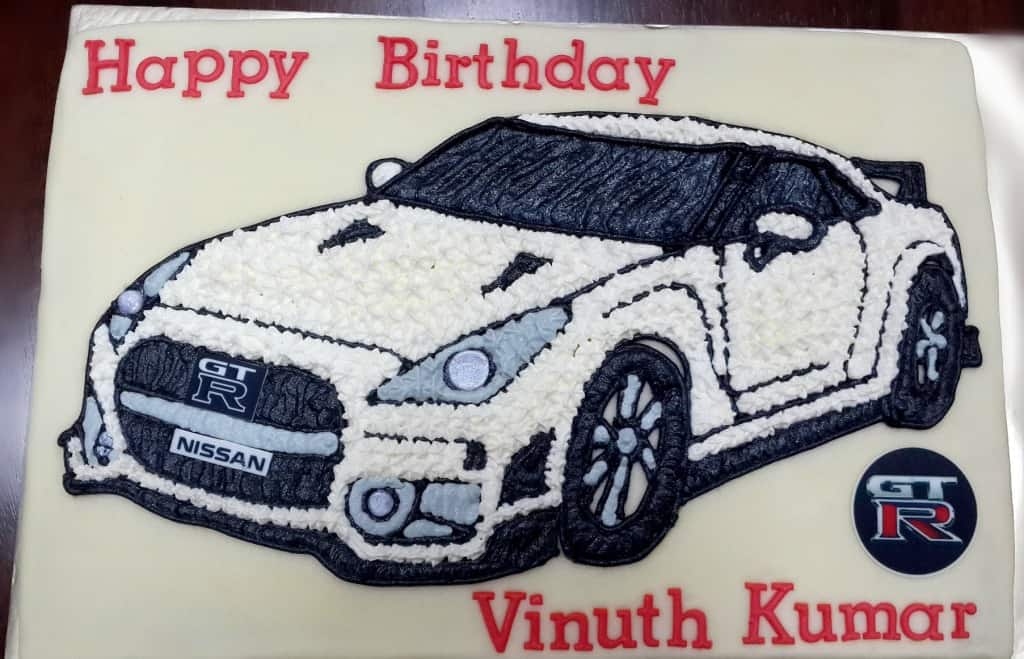
For the car, I used butter cream and filled it using the star piping method. The star piping method is basically using a star shaped piping tip to pipe stars on the pattern, close to one another without any gap until the pattern in all covered with icing. Before piping the stars, I piped the outline of the car in black buttercream using round tip number 3.
And then I filled the car with white stars. And I used similar star piping method to fill the main front lights of the car in grey icing ( a mix of white and black buttercream).
For the rest of the sections which were mostly in black and some parts in grey (the lower front lights), I used a round tip number 3 to fill the sections with icing.
Step 5: Add the GTR logo in edible image
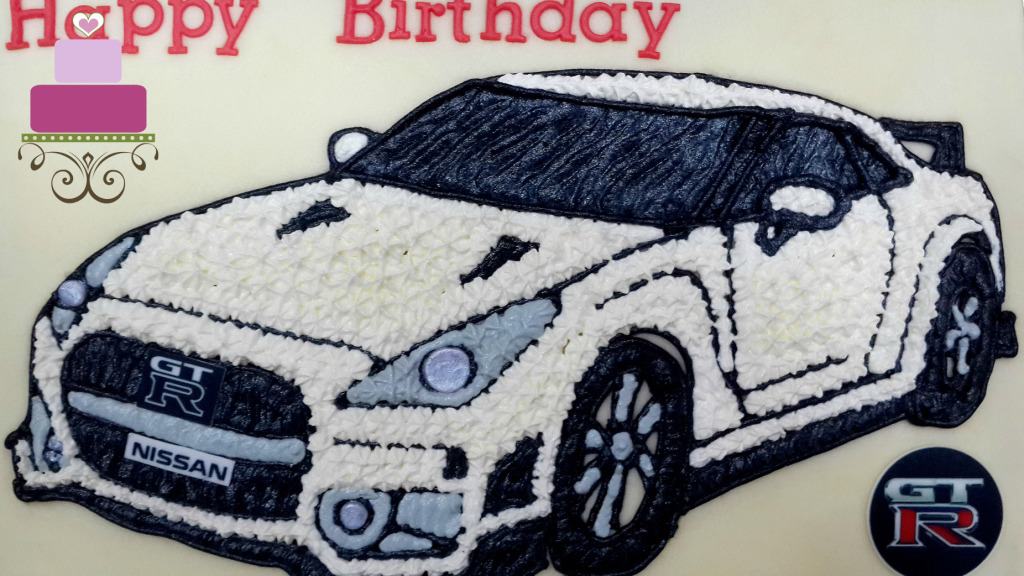
Once the piping work for the car was complete, I went ahead to add the GTR logo and the wordings “NISSAN” on its front grill. These were printed on an edible sheet and I simply cut them out and placed them on the car.
I also had an extra image of the logo “GTR” printed on the edible sheet and placed that piece on the cake, next to the car. Here is my full guide on how to put edible images to cakes.
Step 6: Add the Wordings on the Cake
Next were the wordings on the birthday cake. I used red fondant for the letters and used FMM alphabet cutter to cut out the letters. I arranged the letters carefully on the cake. There was no need for any ‘glue’ to hold these in place on the cake as the butter icing on the cake was able to hold them in place.
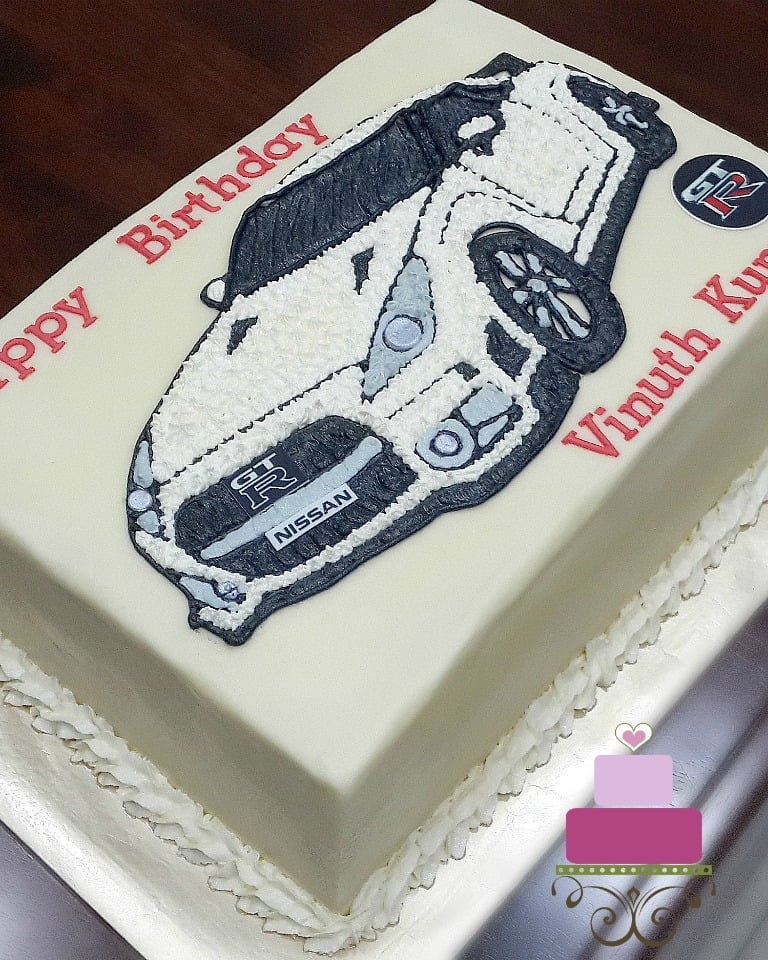
The final step in decorating this car birthday cake was the border. I used the larger star tip and piped out a rope border all around the cake in white buttercream.
And with that, the car birthday cake was complete.




Leave a Reply