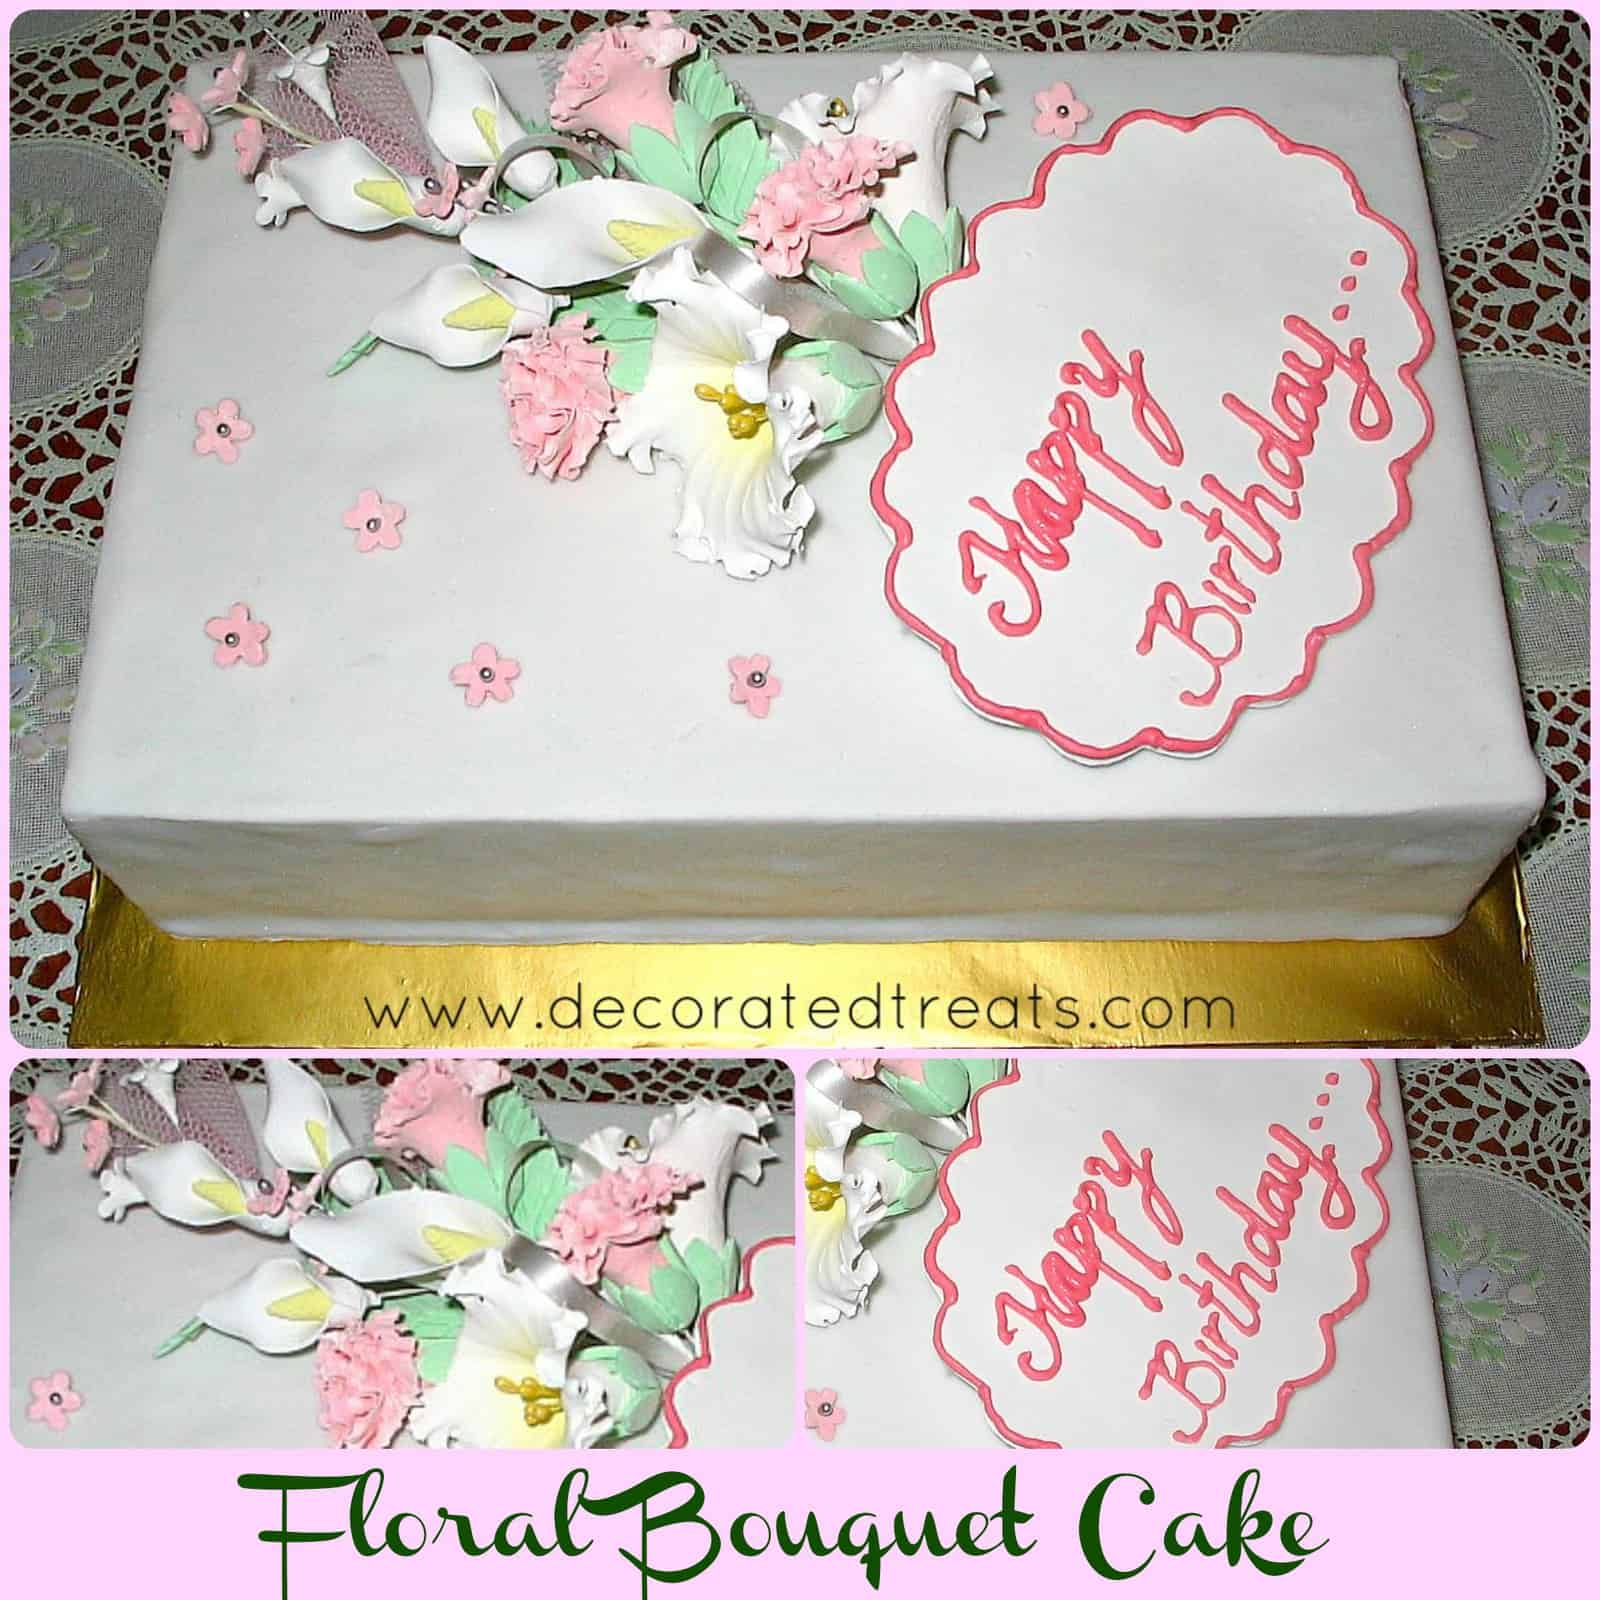
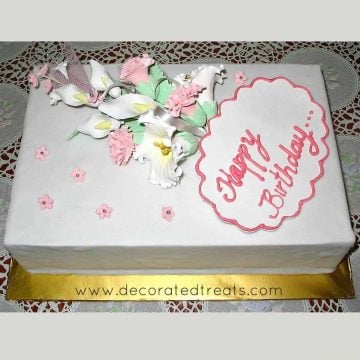
I drew inspiration for this flower bouquet cake design from real flower bouquets. You can make the flowers in advance or use store bought gum paste flowers to make this quick and easy birthday cake.
If you like floral themed cakes, you should also check out this 70th birthday cake with flowers, flower pot cake, simple buttercream flowers cake, elegant birthday cake with molded fondant roses, rosette cake, flower cake with 3D butterflies and this easy Mother's Day cake with buttercream topiary.
🧾Supplies Required
- Cake - One 6 inches by 10 inches rectangle cake. The cake itself was a single layer cake and I used my chocolate cake recipe to bake the cake.
- Buttercream - I used buttercream to crumb coat the cake before covering it with fondant.
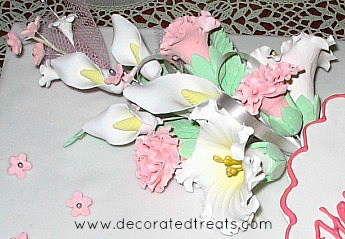
- Gum paste flowers – the flowers were all handmade. I made use of flowers I had in stock to come up with the bouquet. So I had calla lilies, petunias, and carnations as the main flowers and some tiny filler flowers. I made sure the flowers were matching with the cake though. I also had some green gum paste leaves in the bouquet. All the flowers and leaves were wired, which made it easier to group and tie them together into a bouquet. I have also used net and ribbons to fill up spaces in the bouquet and to make it look full. I arranged the flowers such that the larger ones are mainly at the bottom of the bouquet. Towards the top, I used smaller flowers. Overall, the bouquet was made to be in a triangle like shape.
- Royal icing – I used royal icing to pipe the border for the message plaque. I also used it to pipe the wordings on it.
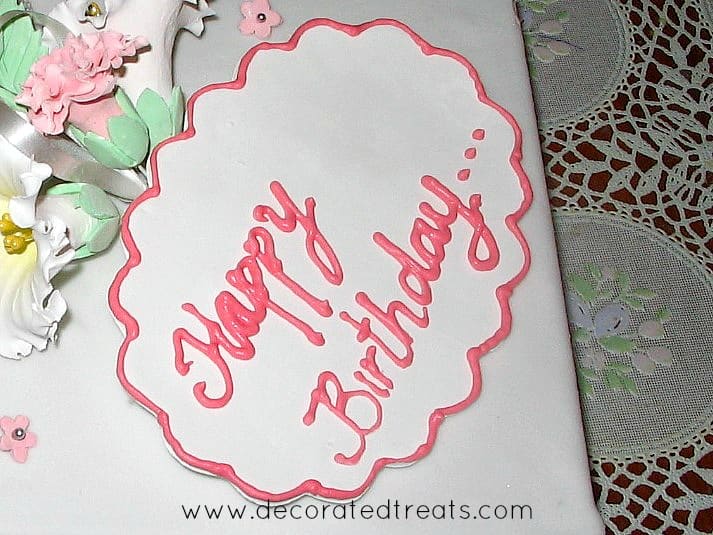
- Fondant in white and pink– I used white fondant to make the message plaque. I cut it out freehand into a scalloped oval shape. In doing this, I made sure the size was just nice for the message and was in proportion to the flower bouquet. The pink fondant, on the other hand, was for the small flowers that were scattered on the cake.
- Flower plunger cutter - for the tiny pink flowers on the cake
- Sugar craft knife - Since the plaque on the cake was cut free hand, I used this knife to do the cutting.
- Silver dragees - I used these as the flower centers for the tiny pink fondant flowers.
- Round piping tip #2 - to pipe the border for the fondant plaque as well as to pipe the 'Happy Birthday' wording on it.
- Satin ribbon, floral net and floral tape to make the gum paste flower bouquet.
- Cake decorating brush - I used a damp brush to attach the pink flowers on the cake
👩🍳How to Make
I had the gum paste flowers and leaves on hand, so all I had to do was make some ribbon loops and net clusters and tie all these together neatly with floral tape. You can buy ready made gum paste flowers or you can make them your own. You can even buy these gum paste flowers readily arranged into bouquet. That way, you need not make the bouquet yourself and that will save you a bit of time too.
As for the cake itself, once it was baked and cooled, I covered it with a thin layer of buttercream and then covered with fondant.
Next was the birthday message plaque. I cut it out from rolled out fondant and piped the birthday message on it using pink royal icing and Wilton piping tip #3. Using the same colored royal icing and icing tip, I also piped a border for the fondant plaque.
I also used some pink fondant to cut out tiny flowers to be placed randomly on the cake. I then left them aside to set.
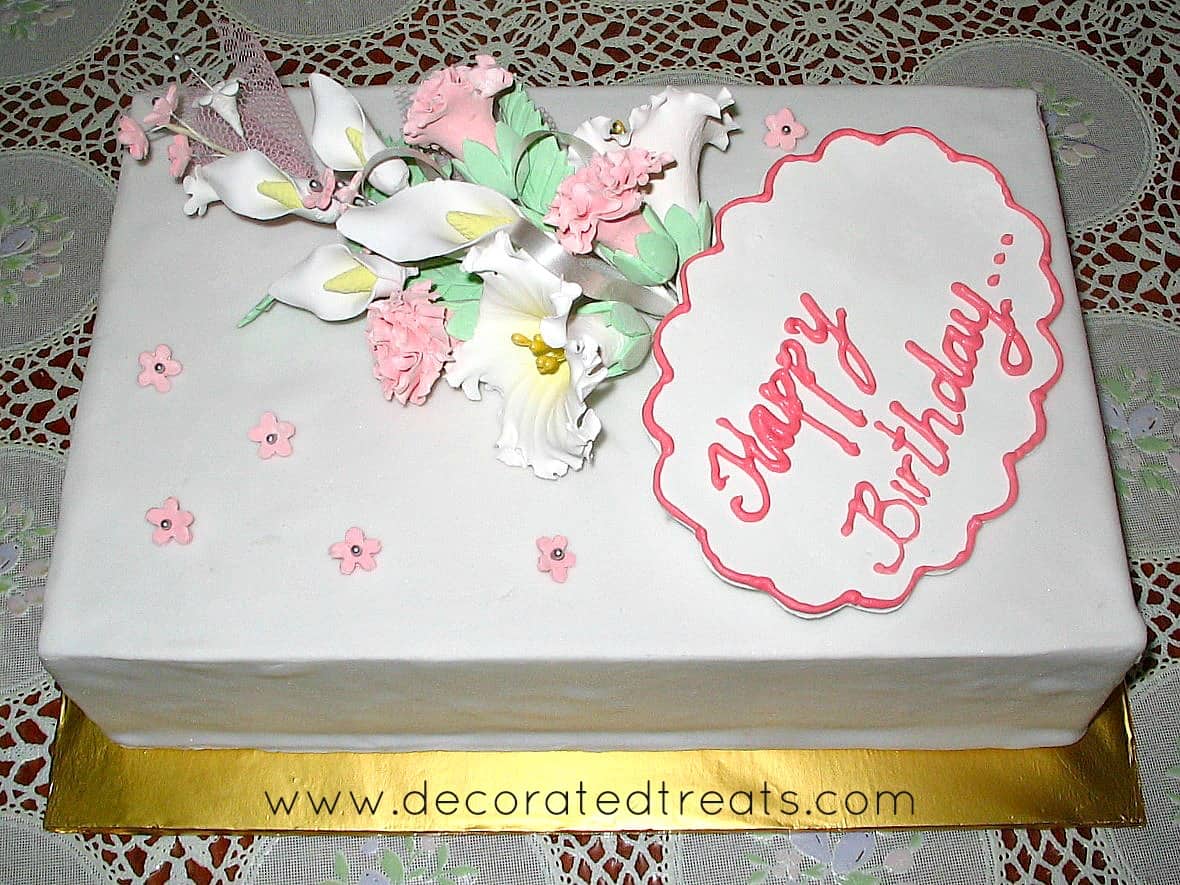
Finally, I placed the gum paste flower bouquet on the cake and laid the message plaque at the bottom end of the bouquet. I also attached the tiny pink flowers randomly on the cake, making sure they are well spaced out.
These were attached to the cake using royal icing (since I had royal icing, I used it to attach the flowers onto the fondant covered cake. You can also use water or shortening to stick the flowers).
And that was it. The cake was ready.
❤️More Designs You Will Love
Do you like this tutorial? Please leave a 5-star ⭐⭐⭐⭐⭐rating in the recipe card below and consider a review further down this page. I would love to hear from you. Thank you!
📖Recipe
Flower Bouquet Cake
Equipment
- Flower plunger cutter
- Sugar craft knife
- Silver dragees
- Round piping tip #2
- Satin ribbon, floral net and floral tape
- Cake decorating brush
For best results, use the metrics measurements. US customary measurements have not been tested and are only meant for guide.
Ingredients
Cake
- 300 g butter
- 300 g granulated sugar
- 275 g self-raising flour
- 25 g cocoa powder
- 5 eggs
- 75 ml milk
- ¼ teaspoon salt
- ½ teaspoon baking powder
- ¾ teaspoon vanilla extract
Frosting and Decoration:
- Buttercream
- Gum paste flowers
- Royal icing
- Fondant in white and pink
Instructions
Baking the cake
- Preheat oven to 170 °Celsius.
- Beat butter and sugar till soft and creamy for about 2 minutes. Add eggs, one at a time, beating well after each addition.
- In a separate bowl, sift flour, cocoa powder, baking powder, and salt. Fold in the sifted ingredients into the creamed mixture alternately with milk, starting and ending with flour.
- Finally, add in vanilla extract and combine well. Pour batter into a greased and floured cake pan measuring 6 inches by 10 inches and bake for 50 to 55 minutes until the top of the cake springs back when lightly pressed. The cake is done when a skewer inserted in the center of the cake comes out without any wet batter.
- Remove the cake from oven and let it cool completely before icing and decorating.
The gum paste flower bouquet
- Arrange the gum paste flowers into a bouquet, making sure the size is matching to the size of the cake. Use the net and ribbon to fill the gaps in the bouquet. Tie all these together neatly with floral tape.
- You can buy ready made gum paste flowers or you can make them your own. You can even buy these gum paste flowers readily arranged into bouquet. Set the bouquet aside.
The birthday lettering plaque
- Roll some white fondant. Cut out the scalloped pattern with the sugar craft knife. You can also use a plaque cutter if you have one.
- Tint some royal icing in pink and pipe the birthday message onto it with round tip #3. Using the same colored royal icing and icing tip, pipe a border for the fondant plaque. Set it aside to dry.
Assembling the cake
- Once the cake is completely cooled, level the top. Cover it with a thin layer of buttercream and then cover with white fondant.
- Set the flower bouquet on the fondant covered cake.
The pink flowers
- Roll some pink fondant and cut out the tiny pink flowers with a flower plunger cutter. Attach a silver dragee in the center of each flower with fondant glue. And then attach the flowers onto the fondant covered cake in random order (with a damp brush, fondant glue or royal icing).
- Finally, lay the message plaque at the bottom end of the bouquet. Secure it in place with some royal icing. You can also leave it without any glue or royal icing (especially if you do not plan to transport the cake to a different location).




Leave a Reply