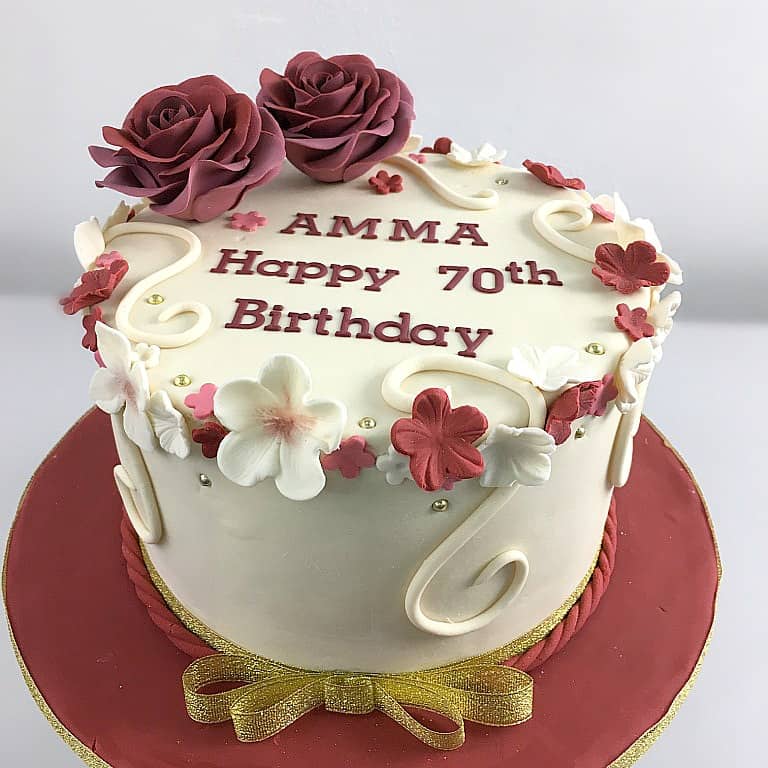
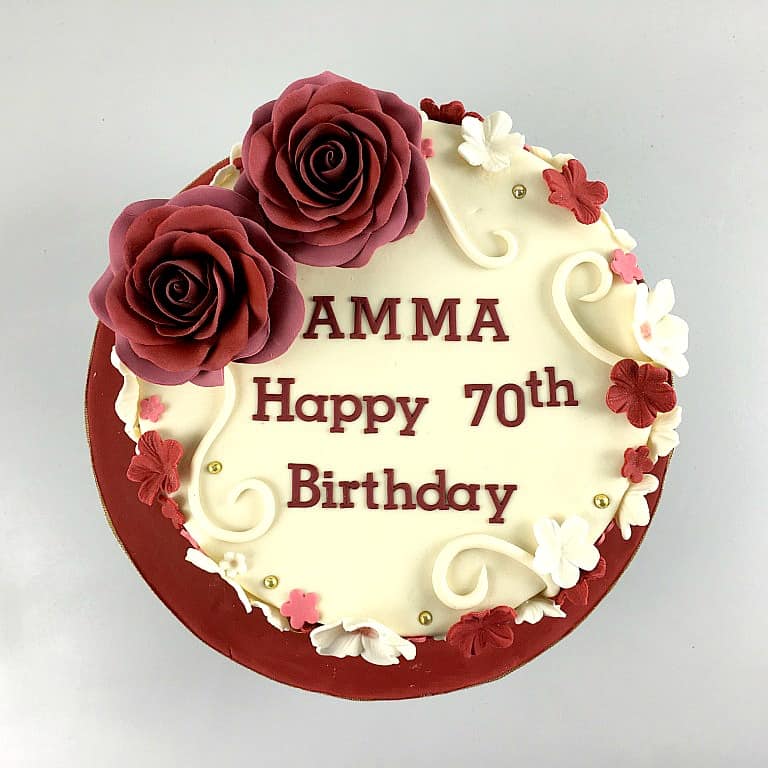
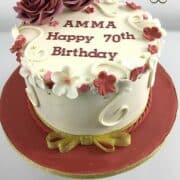
This 70th birthday cake design makes an elegant cake design for a woman. With flowers as the main theme, this single tier fondant birthday cake with handmade gum paste roses and simple fondant flowers makes a truly pretty 70th birthday cake.
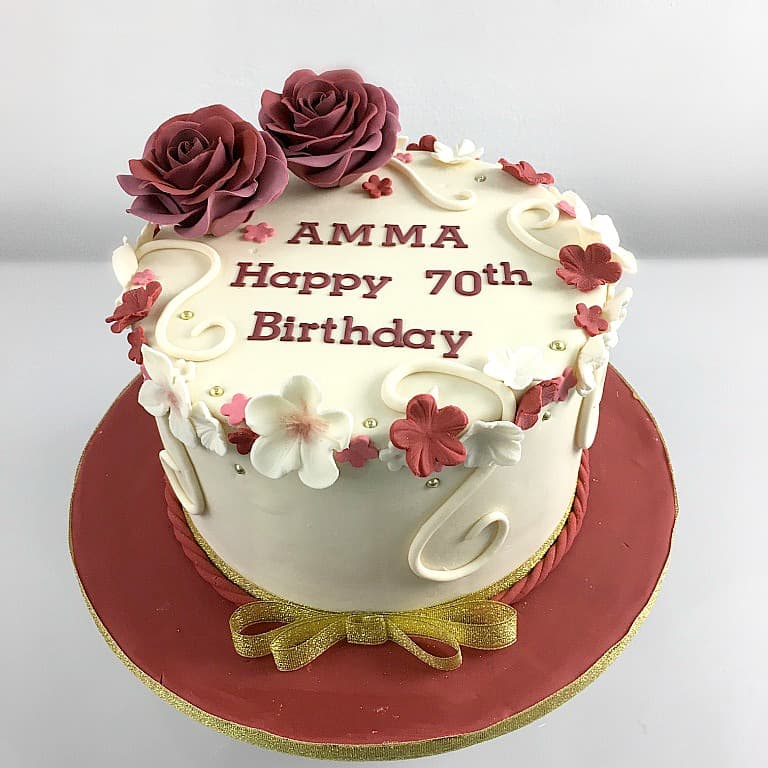
The overall color theme of this 70th birthday cake design is ivory and maroon.
The cake itself is a vanilla chocolate marble pound cake, filled with buttercream. It is covered in ivory colored fondant and decorated with handmade sugar flowers. The lettering on the cake are cut out with block letter cutters in maroon gum paste.
The flowers on the cake, especially the gum paste roses were made 2 days in advance. That will allow them sufficient time to set. The other sugar flowers on the cake were made with fondant, and these can be made in advance too if you wish, but making them on the day the cake is being decorated would work too.
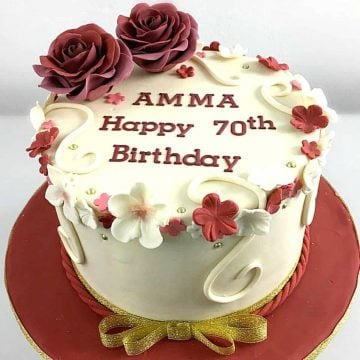
For a matching theme color, you can cover the cake board in maroon fondant and the cake border can be further decorated with gold ribbon (not edible) and fondant rope border.
All in all, this 70th birthday cake design is fairly easy to put together. Get the full list of supplies, ingredients and decorating tutorial below.
If you like floral themed cakes, you should also check out this flower pot cake, flower bouquet cake, flower cake with edible royal icing butterflies, simple buttercream flowers cake and this buttercream rosette cake.
🧾Supplies Required
- Cake – this was a 7 inches round cake and measured 4 inches high. I baked the cake using my marble cake recipe.
- Buttercream – I used buttercream to fill the cake as well as to crumb coat it.
- Fondant – The entire cake was covered in Satin Ice Ivory. The cake board was covered in maroon (a mix of red and black fondant). I used the same color for the small blossoms on the cake as well as the cake border.
- Gum Paste– I used gum paste to make the roses on the cake as well as for the lettering on the cake. To achieve the deep shade of maroon, I tinted my white gum paste with a combination of Americolor Maroon and Americolor Electric Purple .
- Floral wire – I used 18 gauge wire for the roses.
- Lollipop sticks – these were used to insert the wire on the gum paste roses before putting the roses on the cake.
- Gold dragees – these were purchased from a local cake decorating supplies shop.
- Fondant extruder – I used this tool to pipe out the rope border for the cake.
- 5 petal flower plunger cutter
- Simple blossom cutter with veiner
- Hydrangeas petal cutter and veining mold
- FMM Sugarcraft Tappit Block Letters and Numbers cutter
- Gold ribbon
- Fondant glue and shortening
👩🍳How to Make
Step 1: Make the Gum Paste Roses
I used white gum paste and tinted it with a combination of maroon and electric purple food colors. I wanted the rose petals darker on the inside towards the center and slighter lighter on the outer petals.
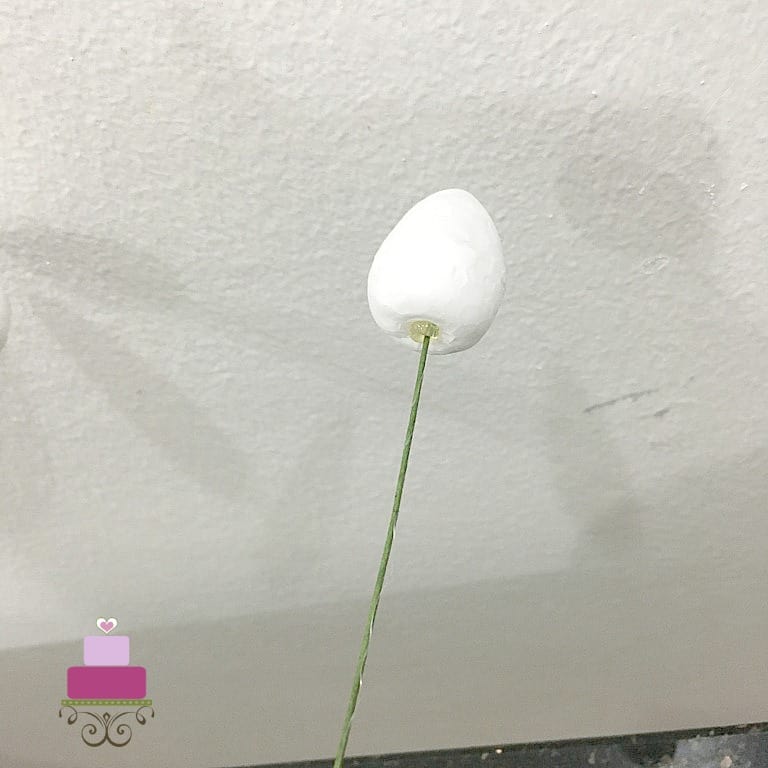
And I used a Styrofoam ball as the core in making these roses. Click here for my full tutorial on how to make gum paste roses. The tutorial does not use Styrofoam balls, so if you plan on using them for your roses, you would need to attach them to your floral wire as shown. I prefer to apply hot glue to my wire before inserting it into the Styrofoam balls. This way, the foam balls remain totally secured to the wire.
Step 2: Bake the Cake and Cover with Fondant
Next was the cake itself. I baked the cake in 2 separate tins, and once baked and completely cooled down, I levelled and sandwiched them with buttercream. And then I gave the cake a crumb coat before covering it with fondant.
After that, I covered the cake board. For the cake board, I used Satin Ice Red and added a little black to it. I started with very little black and kept adding it little by little until I got the right maroon hue.
Step 3: Attach the Lettering on the 70th Birthday Cake
The next step was getting the lettering done for the cake. I used FMM Tappit letter and number cutters to cut out the birthday message in gum paste. I used the same color as roses.
After the lettering, I prepared the rest of the flowers for the cake. I made them with fondant and used a combination of Ivory and 2 shades of Maroon for these. I had a total of 4 different types on the cake.
The first two largest ones were the hydrangeas and simple blossom. Click here to see how to make the hydrangeas and here for the simple blossom flowers. The other 2 types of flowers on the cake were slightly smaller ones. Both of these were cut using my 5 petal plunger cutters. Of these two, I veined the larger ones using the same veining mold as my simple blossoms. And left the smaller ones plain.
Step 4: Assemble the Cake
Once I had all the decoration pieces ready, I assembled the 70th birthday cake. I started with the roses, followed by the lettering on the cake and then the swirls.
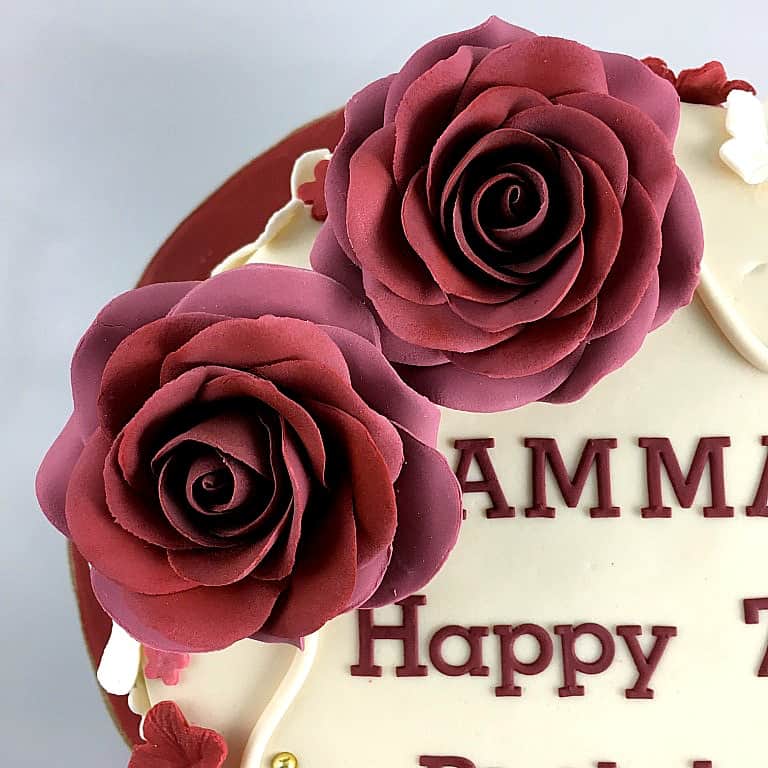
I rolled and shaped the swirls by hand and attached them to the cake with shortening.
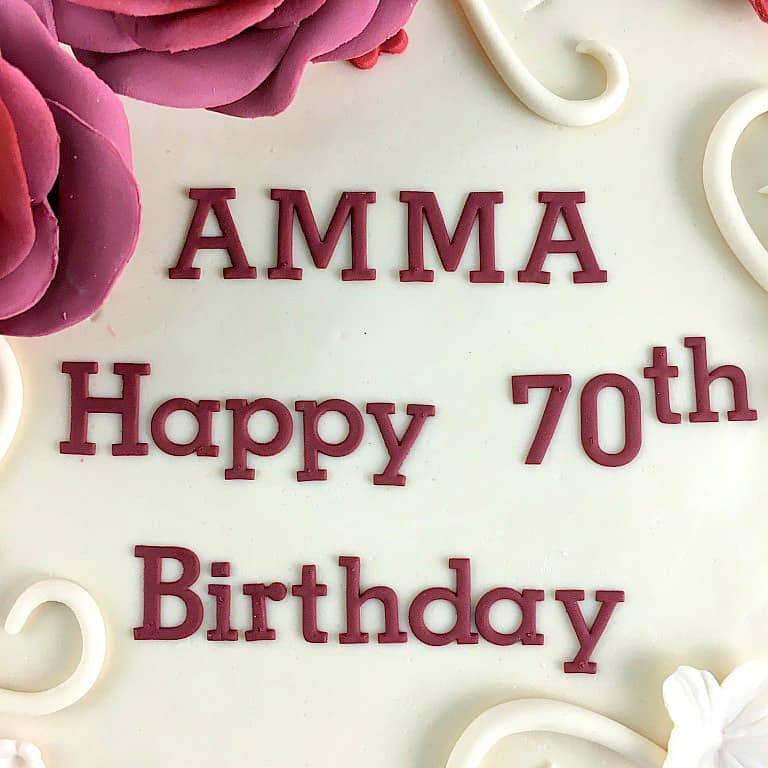
Once all the swirls were done, I put on the flowers. I used glue for the flowers to make sure they are totally secured to the cake. This was because some of them were placed on the cake edges and had I used shortening, there is no guarantee that the flowers will stay in place where transporting the cake.
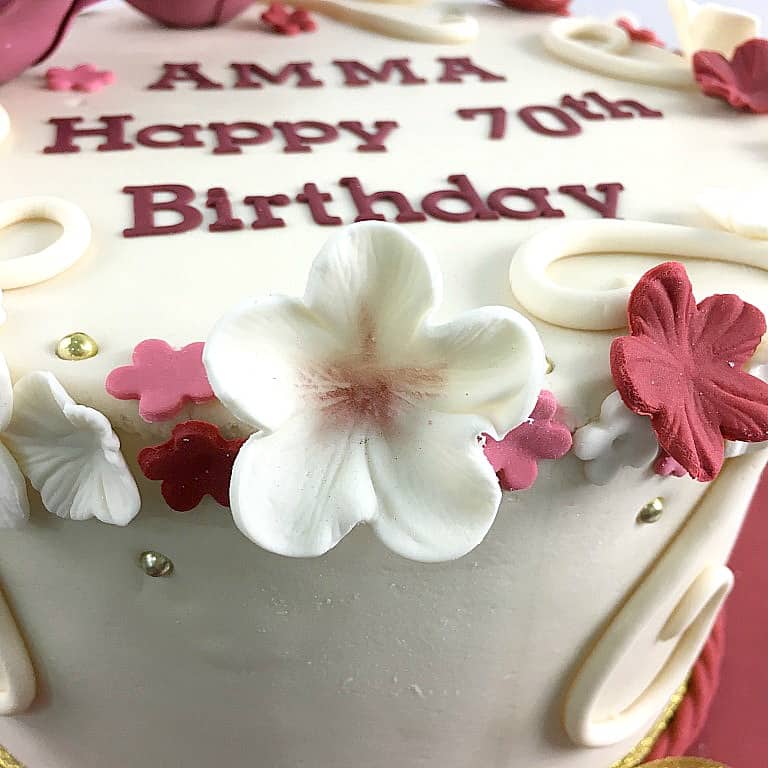

After the flowers, I attached the gold ribbon and added the red rope border around it. I attached these with glue.
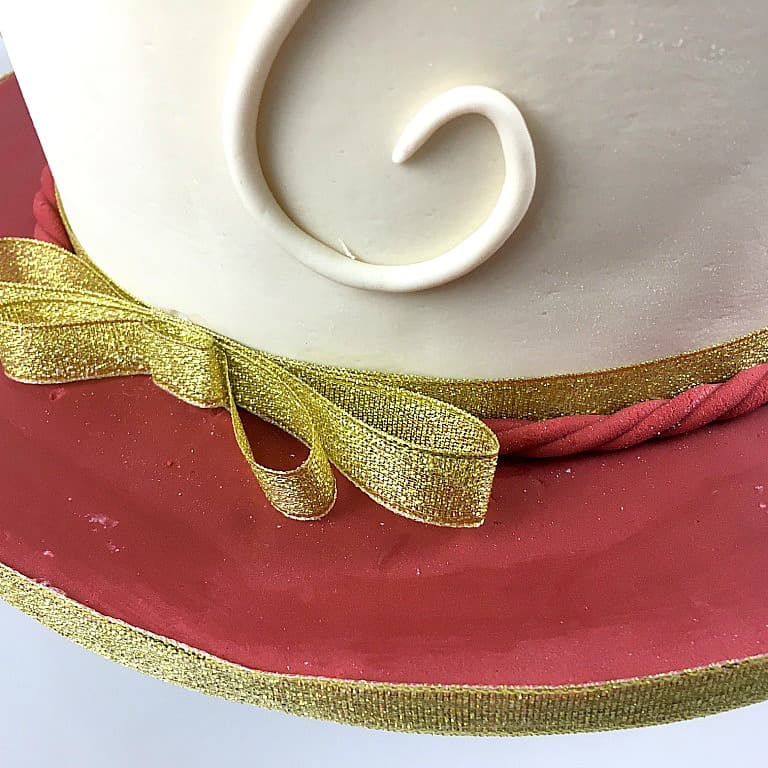
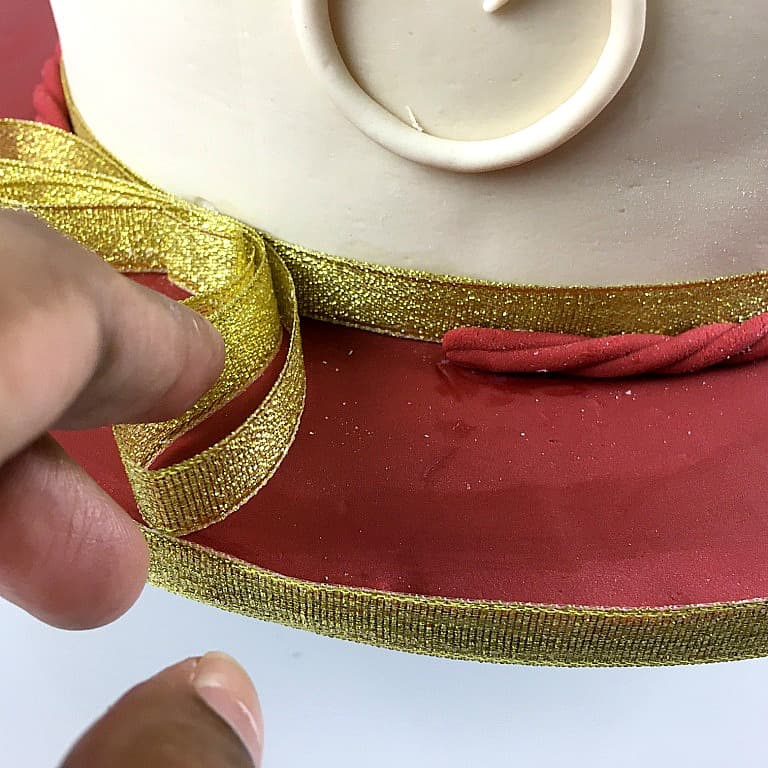
And finally, I added the gold dragees randomly on the cake edges. I did not use any glue to put these on the cake, I merely pressed them into the fondant to hold them in place.
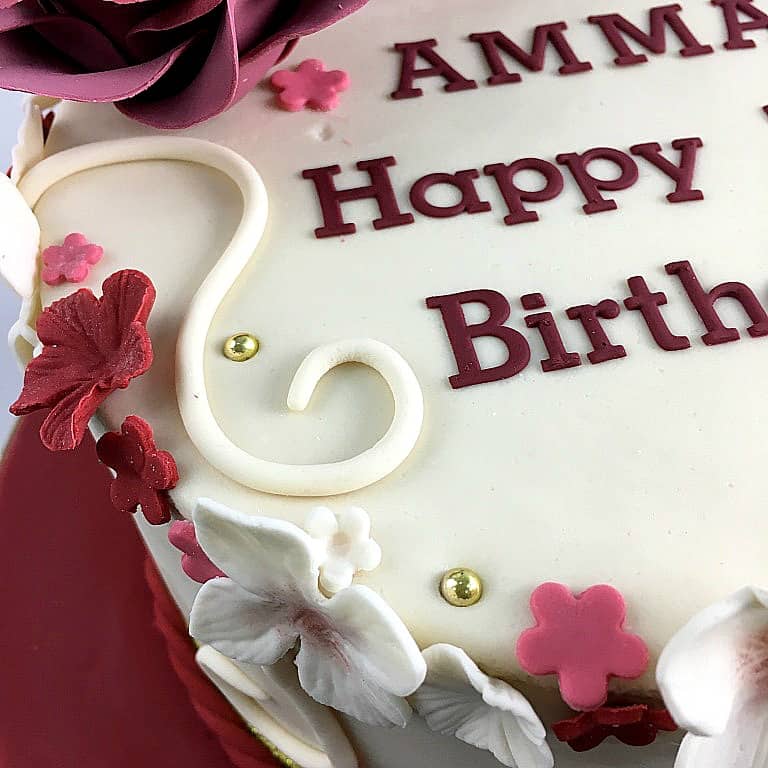
And that’s it. An elegant 70th birthday cake idea for a charming lady.
❤️More Cake Designs You Will Love
Do you like this tutorial? Please leave a 5-star ⭐⭐⭐⭐⭐rating in the recipe card below and consider a review further down this page. I would love to hear from you. Thank you!
📖Recipe
70th Birthday Cake with Flowers
Equipment
- Floral wire
- Lollipop sticks
- Gold dragees
- Fondant extruder
- 5 petal flower plunger cutter
- Simple blossom cutter with veiner
- Hydrangeas petal cutter and veining mold
- FMM Sugarcraft Tappit Block Letters and Numbers cutter
- Gold ribbon
- Shortening
For best results, use the metrics measurements. US customary measurements have not been tested and are only meant for guide.
Ingredients
Cake
- 360 g self raising flour
- 360 g granulated sugar
- 360 g butter
- 6 eggs
- 100 ml milk
- 15 g cocoa powder
- 1 teaspoon vanilla extract
- ¼ teaspoon salt
- ¾ teaspoon baking powder
Frosting
- Buttercream
- Fondant
- Gum Paste
Instructions
Baking the cake
- Preheat oven to 170 °Celsius. Grease and line two 7-inches round cake tins.
- Mix cocoa powder with ¼ of the milk and leave aside.
- In a separate bowl, beat butter and sugar till soft and creamy.
- Add eggs, one at a time, beating well after each addition.
- In another separate bowl, sift flour, baking powder and salt. Fold in the sifted ingredients into the creamed mixture alternately with milk, starting and ending with flour.
- Finally add in vanilla extract and combine well.
- Transfer ⅓ of the batter into a separate bowl and add the milk-cocoa mixture to it. Mix well.
- Scoop the plain batter and chocolate batter alternately into 2 equal sized, well greased and floured cake tins.
- Bake the cakes for approximately 45 to 50 minutes until the top of the cake springs back when lightly pressed. The cakes are done when a skewer inserted in the center of the cake comes out without any wet batter.
- Remove cakes from oven and let them cool completely before frosting and decorating.
Preparing the cake for decoration
- Once the cakes are baked and have cooled down, level the tops.
- Make the buttercream and fill the cake layers.
- Cover the top and sides with a thin coat of buttercream.
- Covering the cake and cake board with fondant
- Roll the ivory fondant to about ⅛th of an inch thickness.
- Cover the cake with the fondant and smooth the sides.
- Next, roll some maroon fondant and cover the cake board.
The roses
- Tint white gum paste with maroon and electric purple food colors to make the rose petals
- Attach a wire to a styrofoam ball to make the core for the roses. Apply hot glue to the wire before inserting into the styrofoam to secure it to the ball.
Lettering on the 70th birthday cake
- Use FMM Tappit letter and number cutters to cut out the birthday message in gum paste. Use the same color that was used to make the roses.
- After the lettering, prepare the rest of the flowers for the cake. Make with fondant and use a combination of Ivory and 2 shades of Maroon for these. I had a total of 4 different types of flowers on the cake.
- The first two largest ones are the hydrangeas and simple blossoms. Click here to see how to make the hydrangeas and here for the simple blossom flowers. The other 2 types of flowers on the cake are slightly smaller ones. Both these flowers are cut using the 5 petal plunger cutters. Of these two, vein the larger ones using the same veining mold as the simple blossom flowers. And leave the smaller ones plain.
Assembling the cake
- Once all the flowers are ready, you can assemble the 70th birthday cake. Start with the roses, followed by the lettering on the cake and then the swirls.
- To make the swirls, roll and shape them by hand and attach them to the cake with shortening.
- Once all the swirls are done, put on the flowers. Use glue for the flowers to make sure they are totally secured to the cake.
- After the flowers, attach the gold ribbon and add the red rope border around it. Attach these with glue.
- And finally, add the gold dragees randomly on the cake edges. There is no need to use any glue to put these on the cake, simply press them into the fondant to hold them in place.




Leave a Reply