

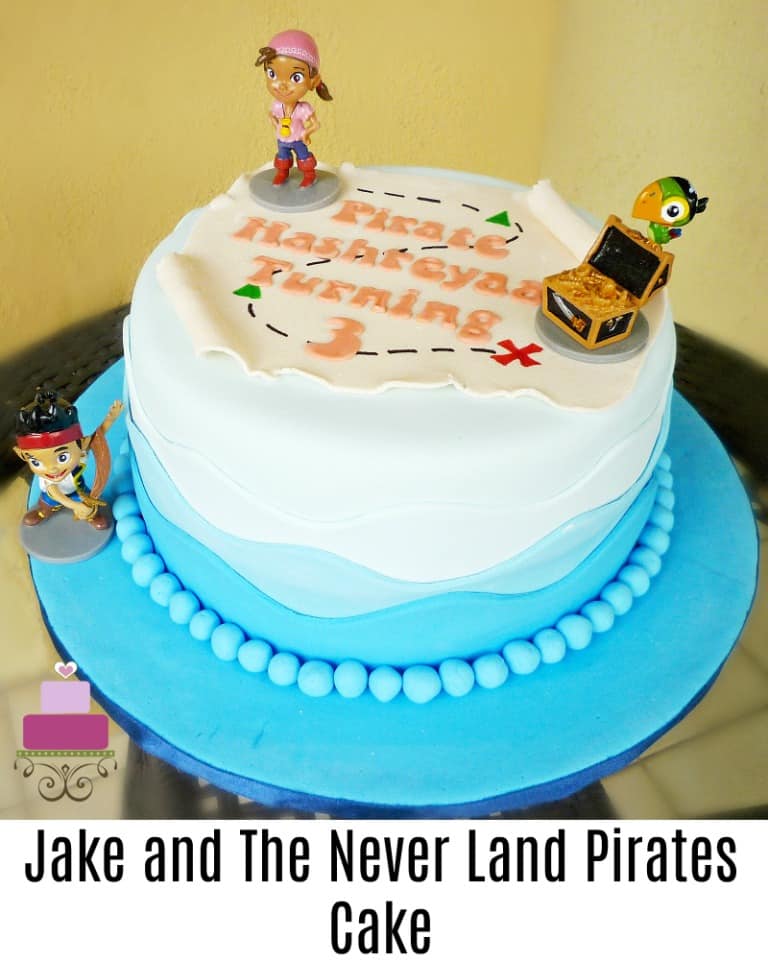
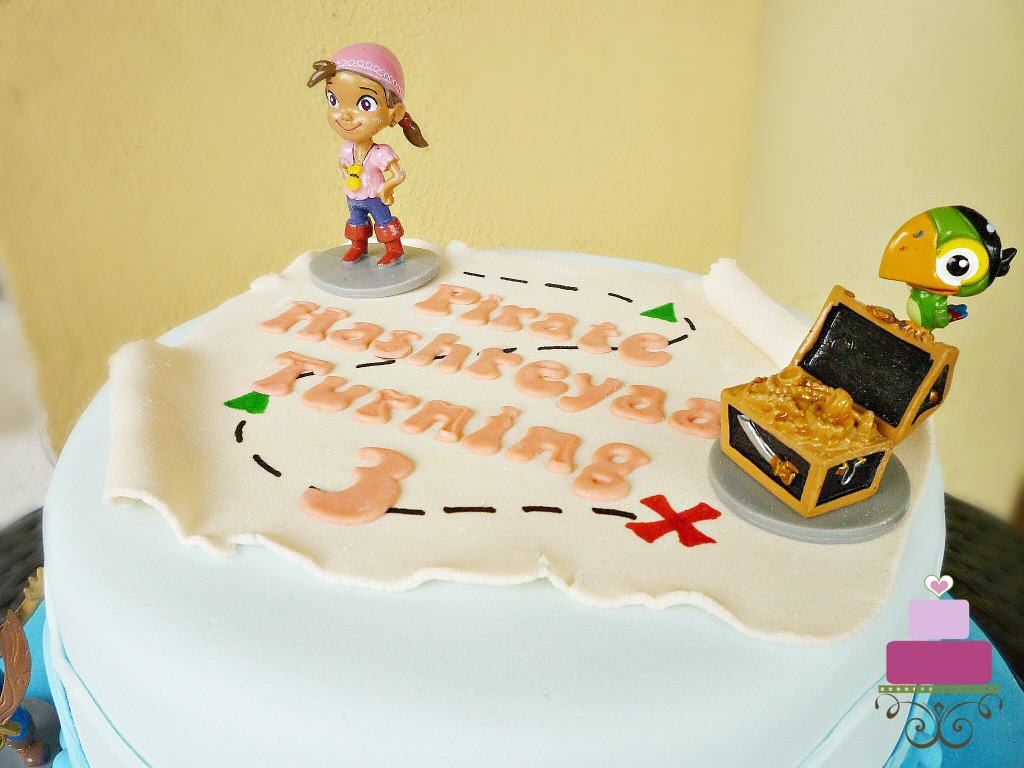
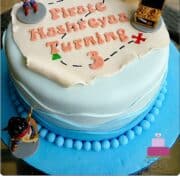
Learn how to make this Jake and the Never Land Pirates cake with this easy idea. Topped with toy toppers, the cake is very easy to put together and perfect for anyone looking to make a pirate themed birthday cake.
If you like this cake, you should also check out my other cake tutorials like this puppy dog cake, princess castle cake, Smurfs birthday cake and this lion birthday cake.
🧾Supplies Required
- Cake – This was a 7 inches round cake measuring approximately 4 inches high. I used my butter pound cake recipe to bake the cake in 2 layers.
- Buttercream – I used buttercream to fill the cake layers as well as to crumb coat it.
- Fondant – The entire cake was covered in fondant. I used Satin Ice in white and ivory You can also make your own fondant with this homemade fondant recipe or marshmallows fondant recipe.
- Jake and the Never Land Pirates cake toppers – this was a set of 3 toppers – Jake, Izzy, Scully (the parrot) on a treasure chest.
- Pizza cutting wheel – This was my general cutting tool for this project.
- Wilton Royal Blue food coloring gel – I used this color for the ombre waves design on the sides of the cake.
- Wilton Orange food coloring gel – I used this color for the wordings on the cake.
- Edible food markers in black, red and green – these edible food markers were used to make draw the treasure map on this Jake and the Never Land cake.
- Shortening – This was the glue agent for this project.
- Clikstix Alphabet Cutters in Groovy font – these were used to cut out the birthday message on the cake. I used the alphabet cutters in both small and capital letters as well as the number cutters.
- Wooden dowel rods (or cake decorating brush) – this is to help is forming the curves on the treasure map so any other tool that can help you to achieve this can be used for this purpose.
👩🍳How to Make
Step 1: Prepare the cake toppers
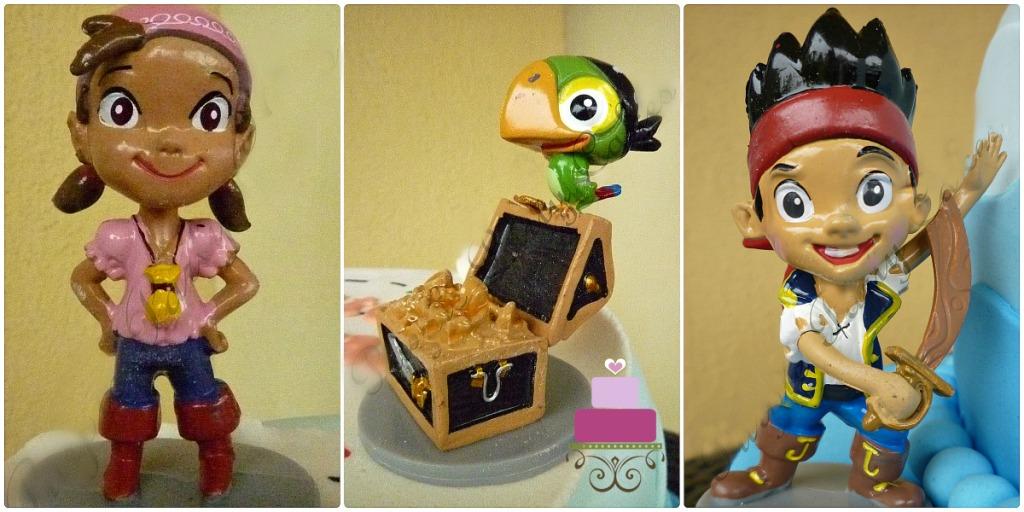
I got the toy toppers to be delivered to me a few days in advance of starting my cake decorating work. That way, when I started the decorating, I was able to estimate how I want to position them on the cake and how their size would impact the rest of the deco on the cake.
Not knowing the actual size can be difficult and in worst cases, result in the toppers not being able to fit on the cake with the rest of the deco on.
Step 2: Prepare the Cake
To start with, once the cake was baked and has cooled down, I leveled the layers and sandwiched them with a thin layer of buttercream. And then I crumb coated the entire cake with again, a thin layer of buttercream.
Step 3: Make the First Layer of Sea Waves
Next, I covered the cake with white fondant that has been tinted with a very light hue of blue. This is the lightest hue of blue on the cake. Using the same color, I rolled a long strip with a width of about 2 inches. I cut one long end of the strip straight and the other end in curved waves.
And then I applied some shortening to the sides of my cake and attached the strip all around, closer to the top edge of the cake. I smoothed the joints to make them less obvious.
Step 4: Make the Second Layer of Sea Waves
Next, I mixed another batch of blue fondant, this time, I made it slightly darker than the first batch. Again, I rolled a long strip with a width of about 2 inches. And again, I cut one long end of it straight and the other end in curved waves. This went on to the sides of the cake just like the earlier step.
But this time, it was slightly below the earlier strip. And in attaching the strip to my cake, I made sure the tall ends and short ends of the curves were alternating with the top strip, meaning if the lighter blue fondant wave was high, I made sure the darker wave below it was on the shorter end, vice versa.
Step 5: Make the Third Layer of Sea Waves
Once that was done, I went on with the 3rd row of the waves. Again, I made sure the shade of blue for this row was darker than the second row. That way, I had a nice blue ombre hue on the sides of the cake. Similar to the 2nd row, I rolled the fondant into a long strip. But this time, the width was reduced further to about 1.5 inches.
One long end was cut into a straight line while the other end in curved waves. And I attached this strip onto the sides of the cake in the exact same way as I did for the 1st and 2nd rows of waves, making sure the waves were in alternating order.
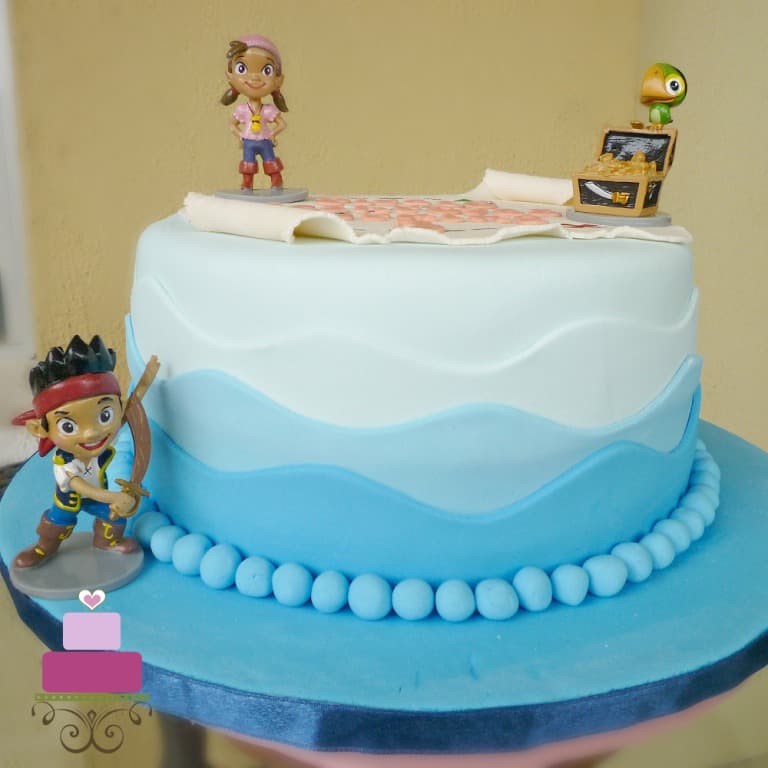
Step 6: Make the Cake Border
Next, using the same shade of blue, I covered the cake board and formed tiny balls (by hand) for the cake border. I attached these balls all around the base of the cake with shortening.
Step 7: Make the Treasure Map
After that, I went on to make the edible treasure map on the Jake and the Never Land Pirates cake. For this, I used Satin Ice in Ivory. I rolled it thin in a size that was large enough to fit the top of a 7 inches round cake. And on purpose, I tore the sides off with hand. I wanted the map to look like worn-out paper. Tearing by hand helped in making the map look just like that.
After the tearing, I lifted the map and placed it on the cake. I then used a thin wooden dowel to roll 2 ends of the treasure map. You can even use a straw or your cake decorating brush to do this.
And then I drew the map with my edible food markers. I started with the green triangles and the red cross and joined these together in a dotted line that was drawn using a black food marker.
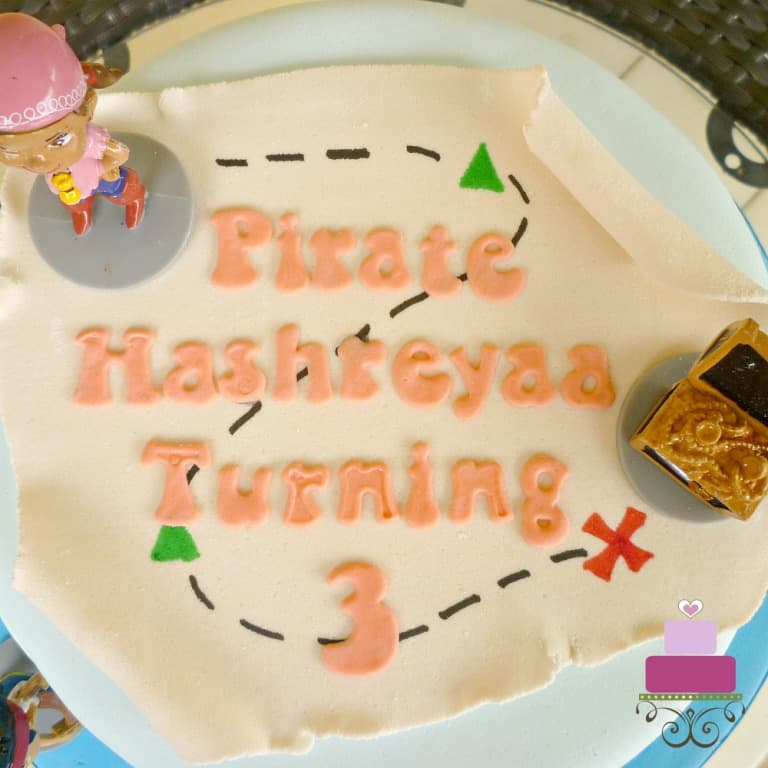
Step 8: The Cake Lettering
Next, I cut out the wordings for the cake in orange. I attached them to the map with shortening. And finally, I added the toy toppers. Izzy and the Scully went on the cake while Jake was placed on the cake board.
And with that, the Jake and the Never Land cake was complete. Hope you enjoyed this idea.
Happy Decorating 🙂


Leave a Reply