

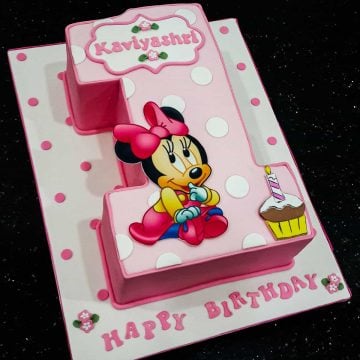
Here is a Minnie Mouse 1st birthday cake I made for a sweet little girl for her first birthday. The number one shape of the cake is cut out of a larger cake and decorated with fondant and Minnie Mouse edible image. This is a very easy cake to put together and simple too.
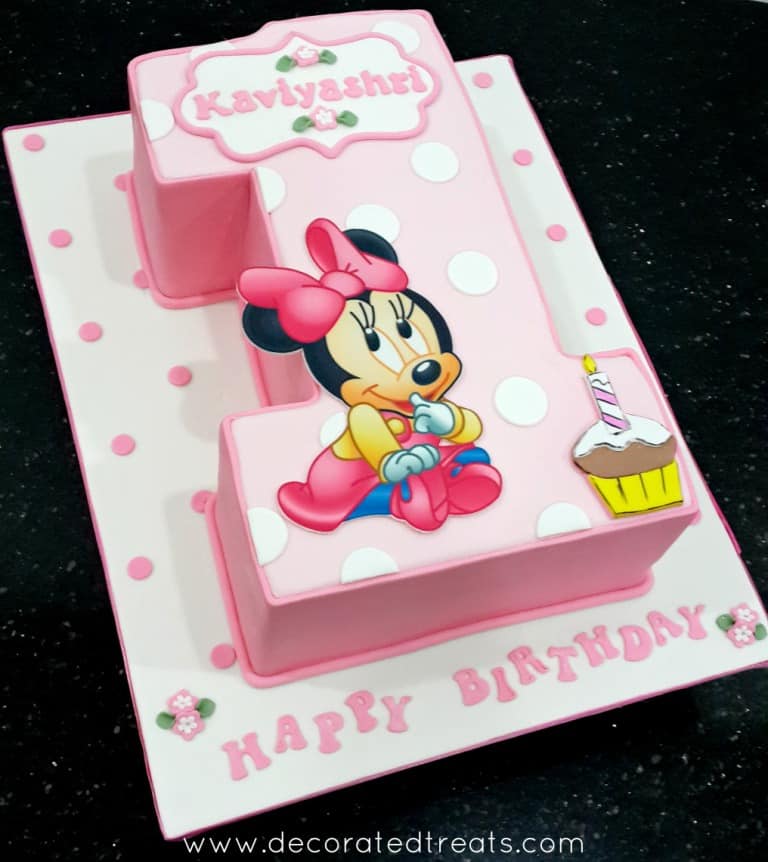
I decorated this cake based on a picture provided by the girl’s mother. And she wanted the cake to look exactly as in the image she provided. Since the design was not mine (I merely recreated it with some slight tweaking), I did an internet search to see if I can find the original designer. And to my surprise, I found many variations of this design (similar to another Minnie Mouse cake I made previously based on a customer request), so again I am not quite sure who is the original designer.
If you like this cake, you should also check out this Mickey Mouse Clubhouse cake, Minnie Mouse cake design, two tier Minnie Mouse cake, purple Minnie Mouse cake and Minnie Mouse buttercream cake.
🧾Supplies Required
- Cake – I used butter pound cake recipe for the cake. I baked 4 rectangle cakes measuring 10 inches by 6 inches each.
- Number “1” template – To carve the number one out of the rectangle cakes.
- Buttercream – I filled the cake with buttercream and crumb coated with buttercream.
- Fondant
– The whole cake was covered in fondant. I used Satin Ice in 3 main colors, i.e., white, light pink, and dark pink. The other color I used was green and it was only for the tiny leaves on the cake.
- Edible image – Minnie Mouse’s image on the cake was an edible image print. I downloaded it from the internet and ordered the print from a local supplier.
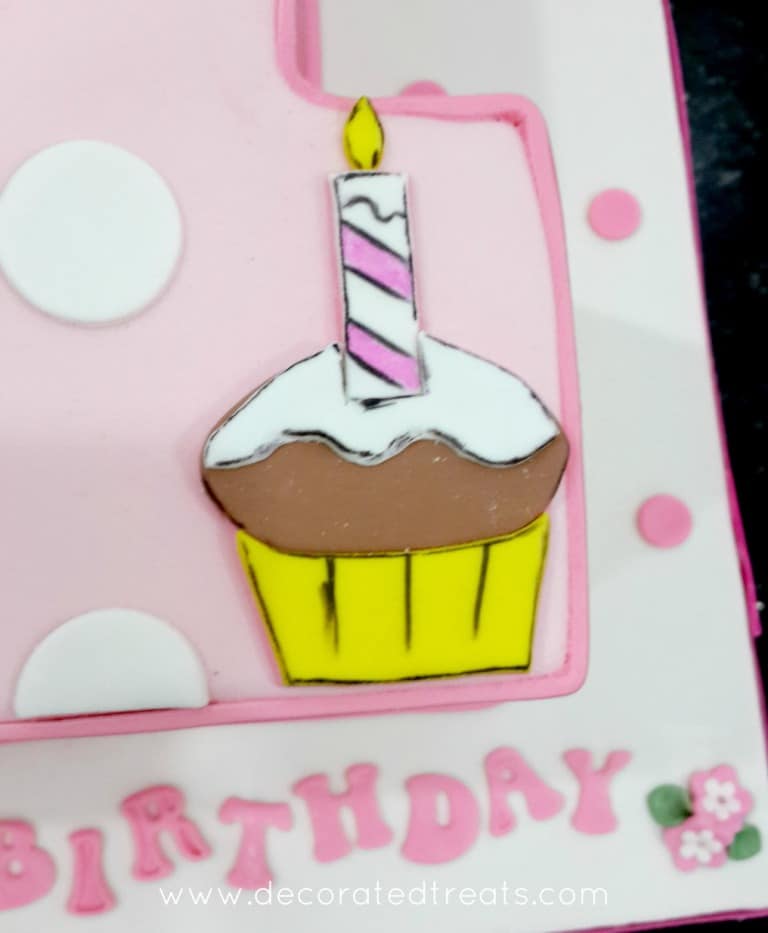
- Fondant cupcake image – I cut out the cupcake in fondant. I then hand-painted it to match the cupcake in the image provided to me.
- Black edible ink pen - to draw the outlines on the edible image.
- Shortening – I used shortening to attach all my fondant cut-outs on the cake including the cake borders.
- Sugar Paste Extruder– I used the tool fitted with a circular disc to pipe out the border for the cake edges. I also used the same for the fondant plaque frame with the birthday girl's name.
- Clikstix Groovy Letter Cutter - I used Clikstix alphabet cutters for the ‘Happy birthday’ phrase. I also used it for the girl’s name.
- Flower Plunger Cutter, Round Plunger Cutters and Oval Plunger Cutters- The flower cutters were used for the tiny flowers at both ends of the “happy birthday’ message as well as the girl’s name. As for the round cutters, I used them in 2 sizes. One for the white polka dots on the cake. The other, a slightly larger one for the large pink dots on the cake board. The oval cutters were used for the tiny green leaves placed near the flowers.
- Plaque cutter - For the birthday girl's name.
- Sugar craft knife
👩🍳How to Make
Step 1: Bake the Cake
I used a total of 4 layers of cakes measuring 10 inches by 6 inches each. Once baked and completely cooled, I leveled each layer and stacked them in sets of 2 to make 2 cakes, each measuring 10 inches by 6 inches.
Step 2: Prepare the Number 1 Template
Since I did not have a number '1' shaped cake tin, I made my own cake template. I drew the number '1' on a piece of A3 paper. And I used it to carve the cake out of the two rectangle cakes.
Step 3: Carve the Cake and Cover with Fondant
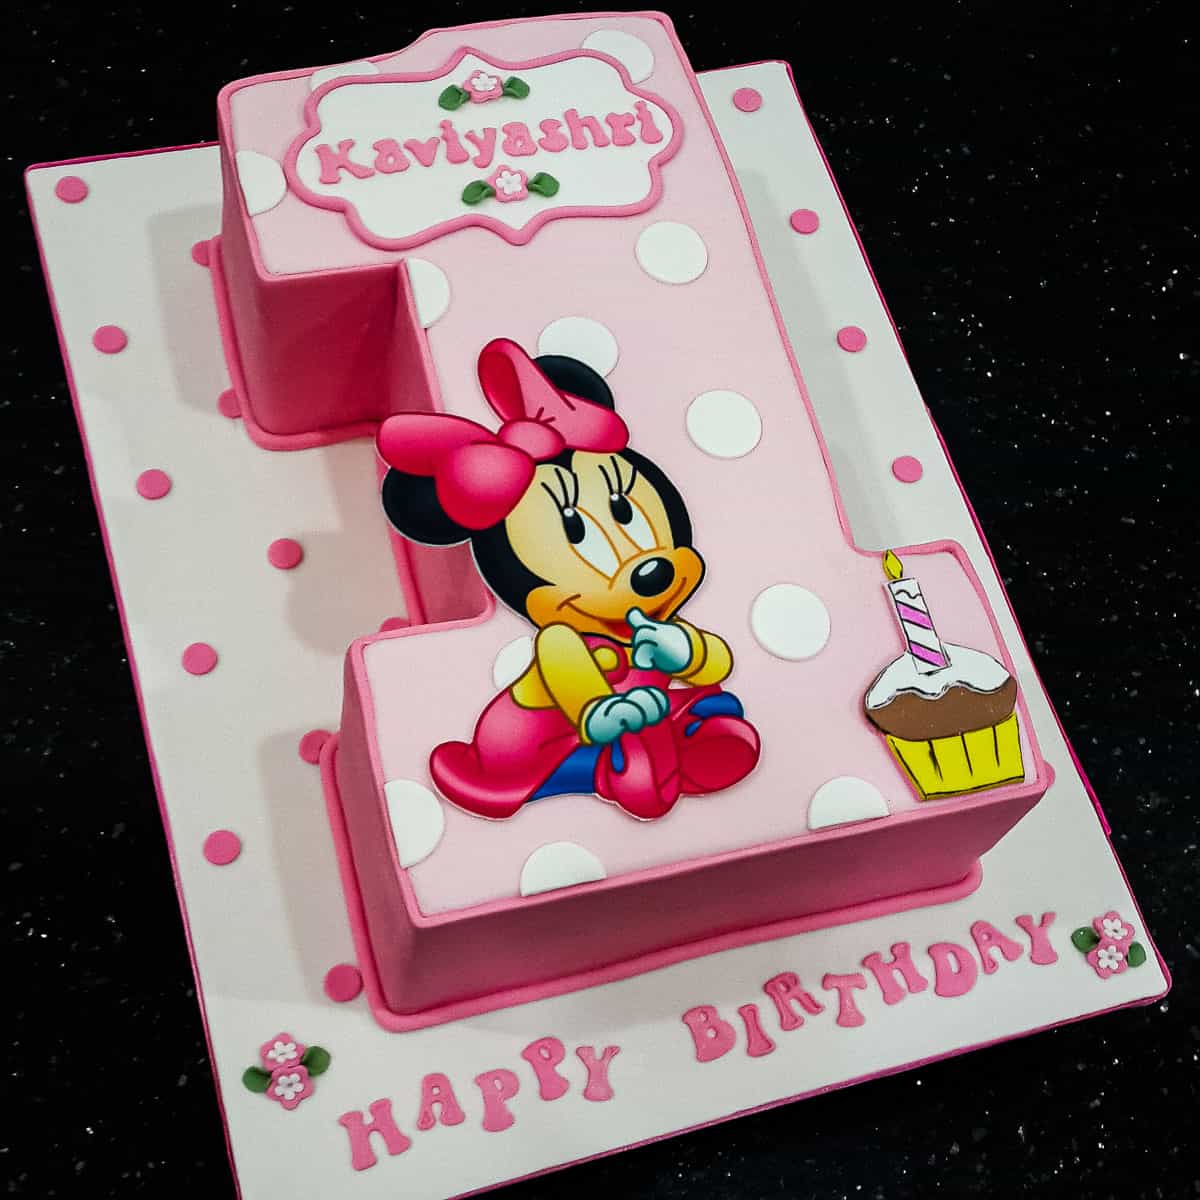
To optimize the cake, I split the template into 2. The long vertical part of the number ‘1’ formed the first part. And the horizontal base of the number ‘1’ was the second. Each part was carved out of each of the 2 stacked cakes.
After that, I joined both the parts of number 1 with buttercream and crumb coated the entire number 1 cake and did the fondant covering. I covered the sides with a darker shade of pink and the top with a lighter shade. For the cake border, I piped out a long thin roll of dark pink fondant using my extruder tool. I attached it all around the base of the cake with glue.
Step 4: Minnie Mouse and the Cupcake Images
Next to go on the cake were Minnie Mouse and the cupcake images. The Minnie image was printed on an edible image sheet. I attached it to thinly rolled fondant and placed it on the cake.
The cupcake was cut out of white fondant and painted with food coloring. The outline was drawn with black edible ink marker.

Step 5: Make the Name Plaque and Cake Lettering
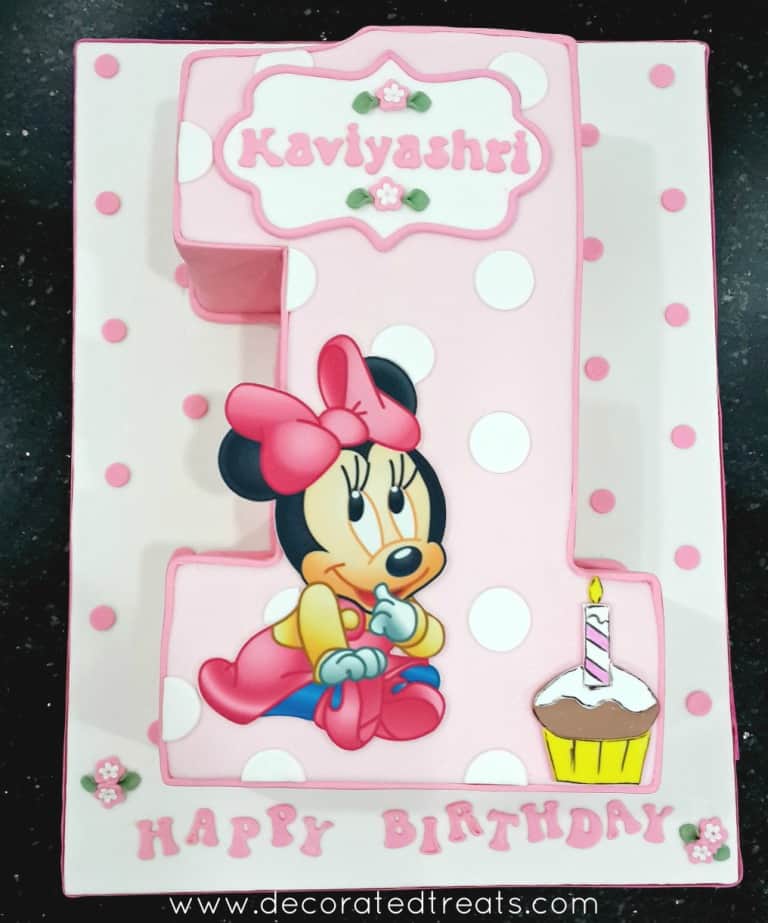
The name plaque with the girl’s name went on next. I used a plaque cutter to cut it out in white fondant and added the birthday girl's name on it. The name was cut out of the Clixstix cutters. For guide on how to get your lettering perfectly centered, follow my tutorial on how to align letters on cakes.
I also added the “happy birthday’ wordings on the cake board.
Step 6: Attach the Polka Dots
The polka dots were the next step. If you notice carefully, I arranged them in a pattern. This is to make sure I space them out consistently. Where they fall on Minnie Mouse or the cupcake or even the name plaque, I cut the dots off so that they fit on the cake naturally.
And the final touch up for the cake were the tiny flowers and the matching green leaves. I used a small oval cutter to cut out the leaves. I then pinched one end of the cutouts to form the leaves.
❤️More Tutorials You Will Love


Do you like this tutorial? Please leave a 5-star ⭐⭐⭐⭐⭐rating in the recipe card below and consider a review further down this page. I would love to hear from you. Thank you!
📖Recipe
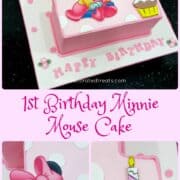
Minnie Mouse 1st Birthday Cake
Equipment
- Sugar Paste Extruder
- Clikstix Groovy Letter Cutter
- Flower Plunger Cutter, Round Plunger Cutters and Oval Plunger Cutters
- Number 1 template
- Cupcake Template
- Edible black food marker
- Sugarcraft knife
- Plaque cutter
For best results, use the metrics measurements. US customary measurements have not been tested and are only meant for guide.
Ingredients
Cake
- 960 g butter
- 960 g castor sugar
- 960 g self-raising flour
- 16 eggs
- 240 ml milk
- ⅔ teaspoon salt
- 2 teaspoon baking powder
- 2 ½ teaspoon vanilla essence
Frosting and Decoration
- Buttercream
- Fondant
- Minnie Mouse edible image
- Shortening
Instructions
Baking the cake
- Preheat oven to 170 °Celsius.
- Beat butter and sugar till soft and creamy for about 2 minutes. Add eggs, one at a time, beating well after each addition.
- In a separate bowl, sift flour, baking powder, and salt. Fold in the sifted ingredients into the creamed mixture alternately with milk, starting and ending with flour.
- Finally, add in vanilla essence and combine well. Pour batter into two greased and floured cake pans and bake for 45 to 50 minutes until the top of the cake springs back when lightly pressed. The cakes are done when a skewer inserted in the center of the cake comes out without any wet batter.
- Remove cakes from oven and let them cool completely before icing and decorating.
The number 1 template
- Draw the number '1' on a piece of A3 paper. This will be the template used to cut the cake into number '1' shape.
Carving the cake
- To optimize the cake, split the template into 2 and carve the cake in 2 sections. The long vertical part of the number ‘1’ to form the first part. And the horizontal base of the number ‘1’ is to form the second part.
- Carve the cake with the template as a guide. After that, join the piece together with buttercream and give the entire cake a smooth buttercream crumb coat.
- Next, roll some pink fondant and cut out the full number '1' as per the paper template. Gently roll the cut fondant into a rolling pin and unroll it onto the cake top.
- After that, roll some darker pink fondant. Roll it into a long strip, enough to covered the entire sides of the cake. Make sure the width of the strip is as tall as the cake. Gently roll the strip onto your rolling pin and unroll it onto the sides of the cake. Trim off excess fondant at the top and bottom.
- For the cake border, pipe out a long thin roll of dark pink fondant using the extruder tool. Attach it all around the base of the cake with shortening.
Minnie Mouse and the cupcake images
- The Minnie Mouse image is printed on an edible paper. Cut the image following its outline and attach it onto a thinly rolled piece of white fondant. Cut the fondant out and let it firm up before attaching it to the cake top. You can use shortening to help the image stick to the cake.
- For the cupcake, draw it on a piece of paper. Use the paper as a template to cut out the outline of the cupcake on white fondant. Use food colors to paint the cupcake and the candle and draw the black outline with an edible food marker. Cut the cupcake out of the fondant and attach it to the cake with shortening.
The name plaque
- Cut the fondant plaque with a plaque cutter. Also cut out the birthday girl's name and attach to the plaque. Cut out the “happy birthday’ wordings and place them on the cake board. Stick these with shortening.
The polka dots and flowers
- Cut out white polka dots with a round cutter and attach them to the cake. For consistent spacing, arrange them in a pattern. Similarly, cut pink polka dots in fondant and attach them to the cake board.
- Complete the cake decoration with the tiny flowers and the matching green leaves. Use a small oval cutter to cut out the leaves. And then pinch one end of the cutouts to form the leaves. Attach these to the cake with shortening.
Leave a Reply