• Skip to primary navigation
  • Skip to main content
  • Skip to primary sidebar

Decorated Treats

  • Home
  • Recipes
    • Cake Recipes
    • Cookies Recipes
    • Brownies & Bars
    • Bread & Pastry Recipes
    • Sweets & Candies Recipes
    • Jellies, Mousses and Puddings
    • Frosting and Icing Recipes
  • Designs & Tutorials
  • Tips & Techniques
    • Preparing Cakes for Decoration
    • Fondant Decorating
    • Piping Techniques for Cake Decorating
    • Gum Paste Flowers - How to Make
    • Decorating with Chocolate
    • Other Techniques
  • Submit Your Cake Photos
menu icon
go to homepage
  • Fall Treats
  • Recipes
  • Tutorials
  • Techniques
  • About Me
    • Facebook
    • Instagram
    • Pinterest
    • YouTube
  • search icon
    Homepage link
    • Fall Treats
    • Recipes
    • Tutorials
    • Techniques
    • About Me
    • Facebook
    • Instagram
    • Pinterest
    • YouTube
  • ×
    Decorated Treats » Recipes » Designs & Tutorials

    Tools Birthday Cake - A Decorating Tutorial

    Published: Aug 28, 2020 · Modified: Aug 5, 2022 by Priya Maha

    Jump to Recipe
    A square birthday cake with fondant hammer, screwdriver, bolts, nuts and ladder.

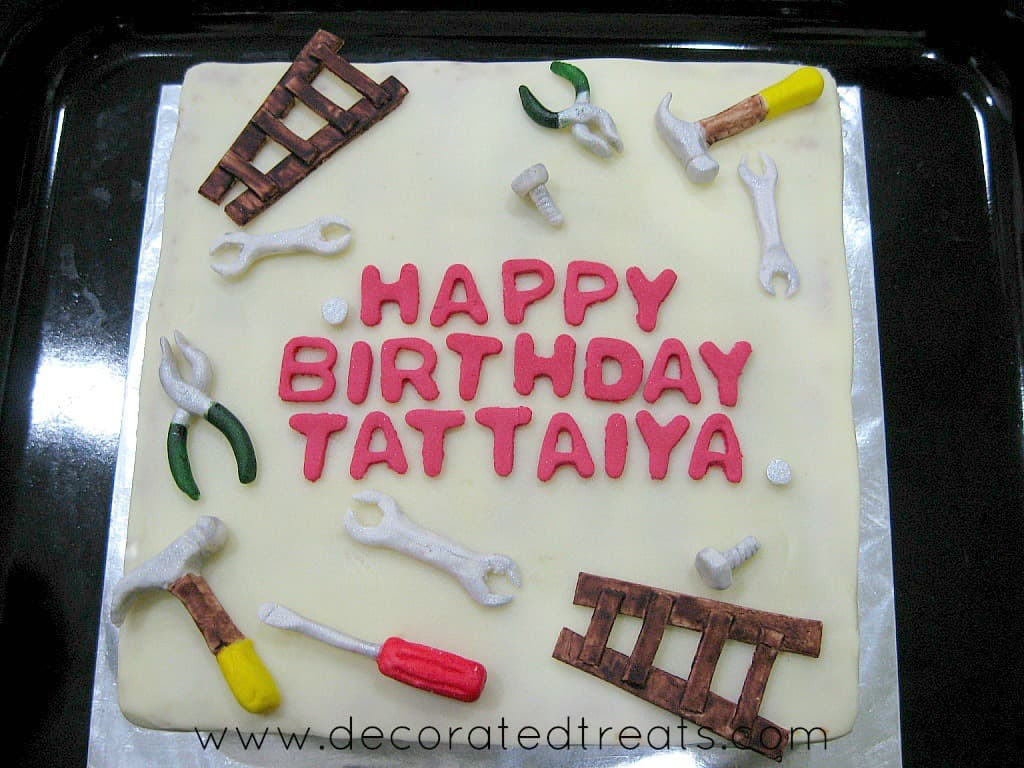
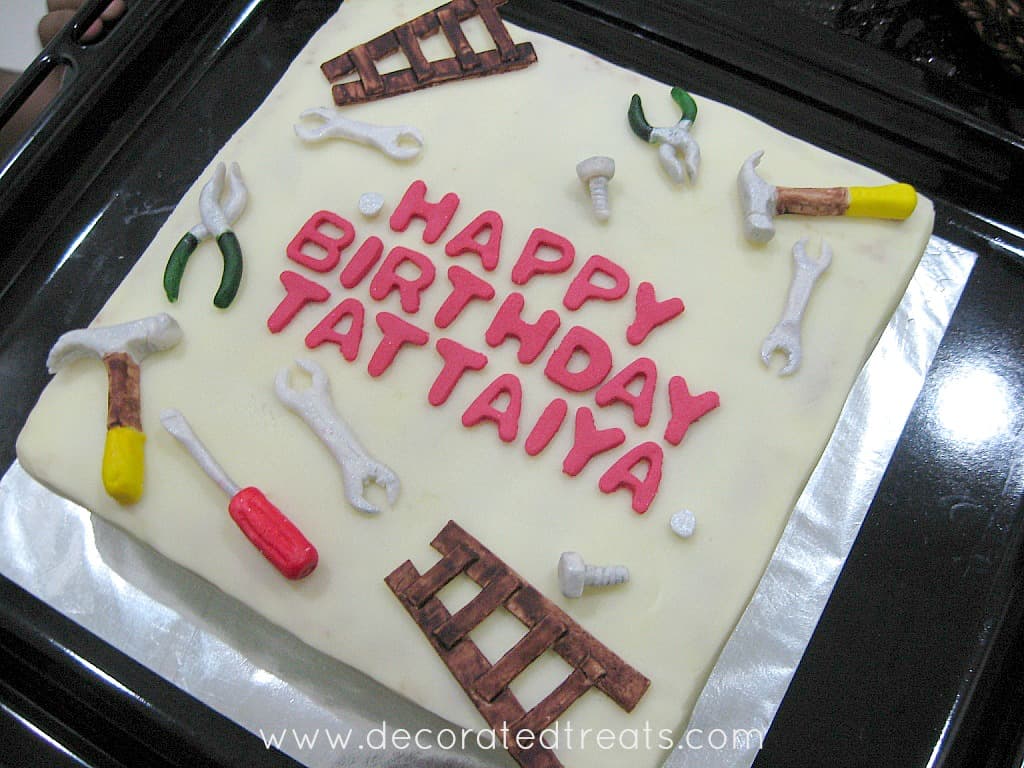
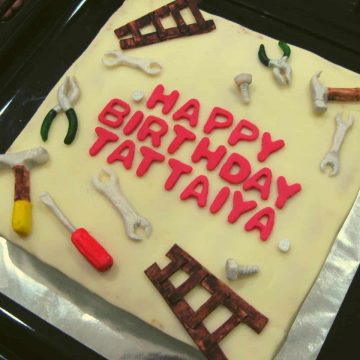
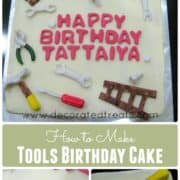
    This tools birthday cake is an easy idea for cake with tools. With handmade fondant hammers, pliers, nuts and bolts, spanner and ladder, this cake makes a perfect idea for boys and men!

    I made this tools birthday cake for my dad’s birthday. This was made a few years back (and I cannot recall which year, and so don’t recall which birthday it was for him!) and the idea of making a tools cake came from one of these favorite activities which is carpentry.

    Poster for a tools birthday cake. A square birthday cake with fondant hammer, screwdriver, bolts, nuts and ladder.

    Tools Birthday Cake Decorating Idea

    My dad loves carpentry for heis always up to making something at home, and in fact, he literally made most of the furniture we had at home on his own. His had his own workspace at the back of the house and he owned all sorts of carpentry tools! So on his birthday, I decided that a tools birthday cake would be suitable for him!!

    A square birthday cake with fondant hammer, screwdriver, bolts, nuts and ladder.
    Cake with tools - a tools birthday cake idea for men and boys

    How to Make Tools Birthday cake:

    Tools to make the birthday cake:

    • One 8 inch square cake – I baked this cake using my butter pound cake recipe. The cake itself was a single layer one.
    • Buttercream & butter icing – I used buttercream to crumb coat the cake and used butter icing to cover the whole cake. I did not tint the icing, hence the natural ivory hue to it. In case you are wondering what the difference between buttercream and butter icing is, the only difference is in the consistency of the icing. Butter icing is much more to stiffer than buttercream and I prefer to work with it to cover cakes. 
    • Fondant – I used fondant to create all the tool toppers on the cake. Each and every tool on the cake were handmade and edible and I made them using my homemade fondant.
    • Wilton Alphabet cutter – I used these cutters for the birthday message. The messages read “Happy Birthday Tataiyya”. "Tataiyya" simply means granddad and I used it instead of Dad because the cake was like more from my kids to their grandfather rather than from me to my father!
    • Wilton Food coloring in yellow, red, brown, and moss green.
    • Edible silver dust – I mixed this with some lemon extract to be painted on the ‘steel’ parts of the tools.

    Making the fondant tools

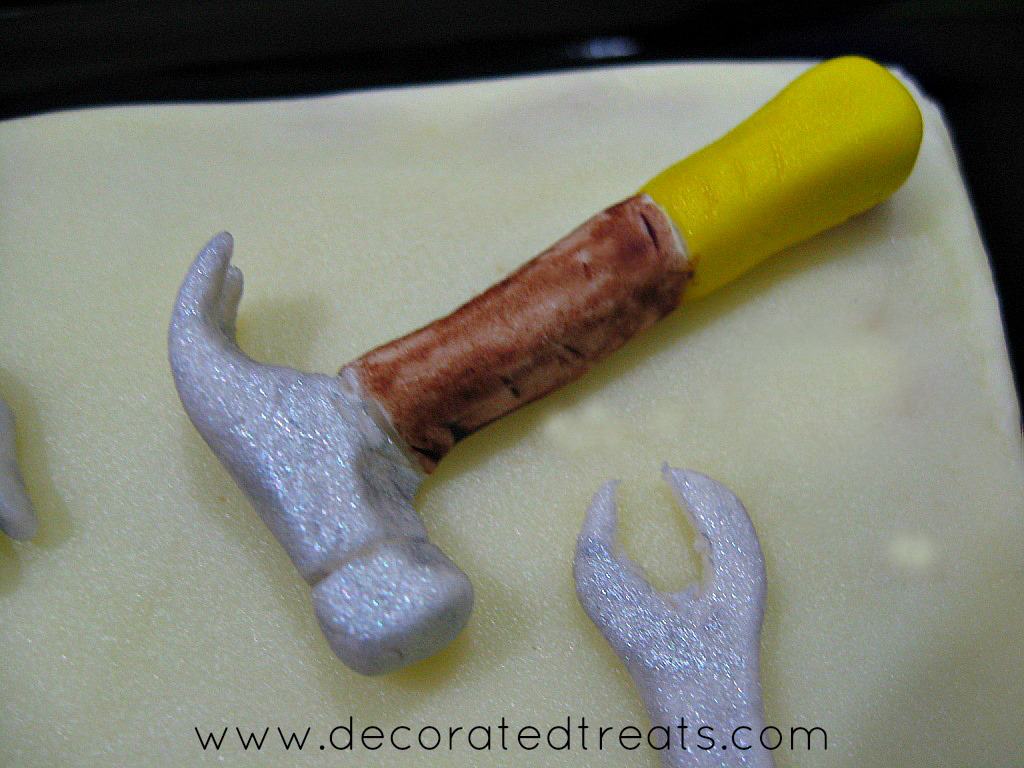
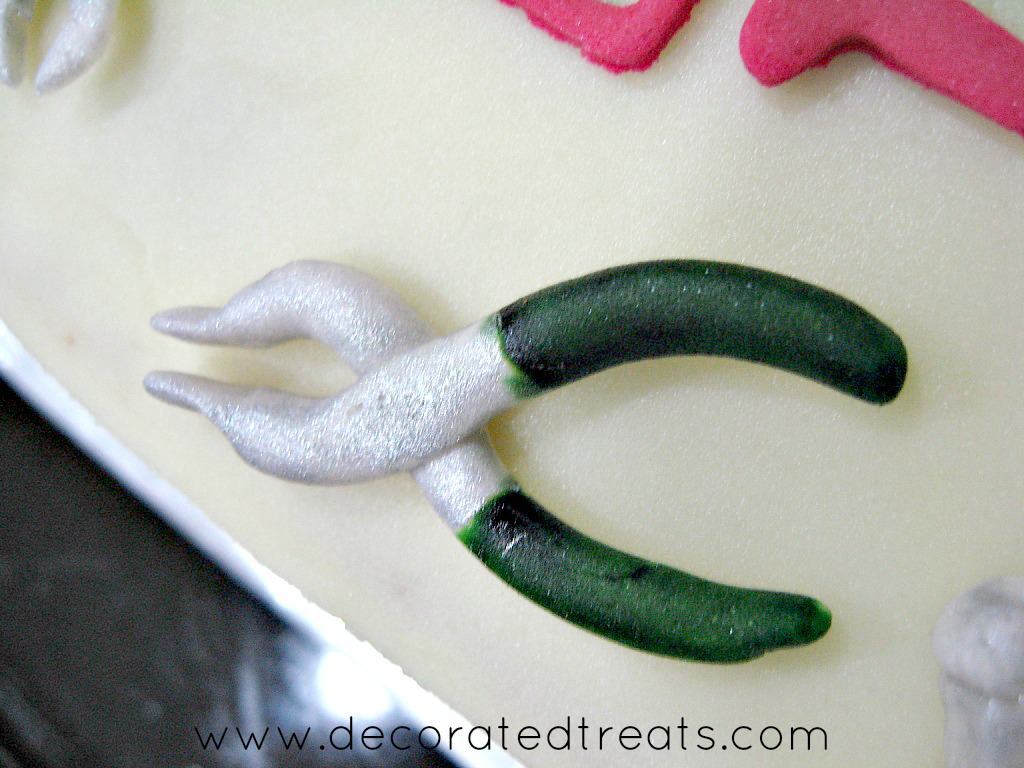
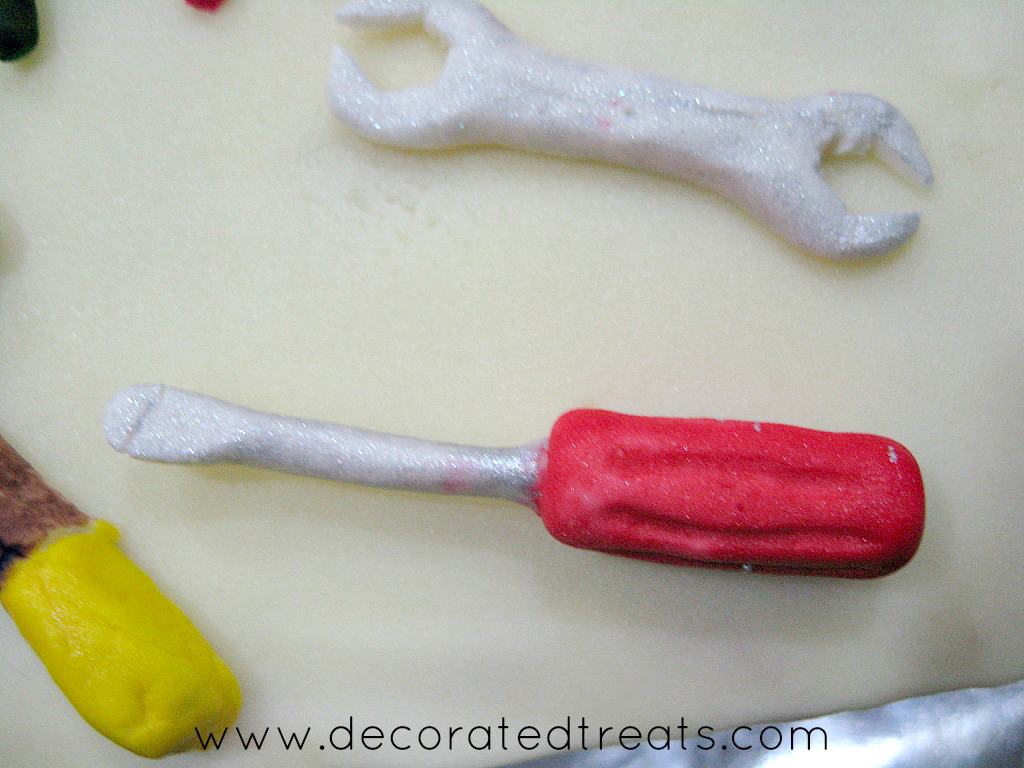
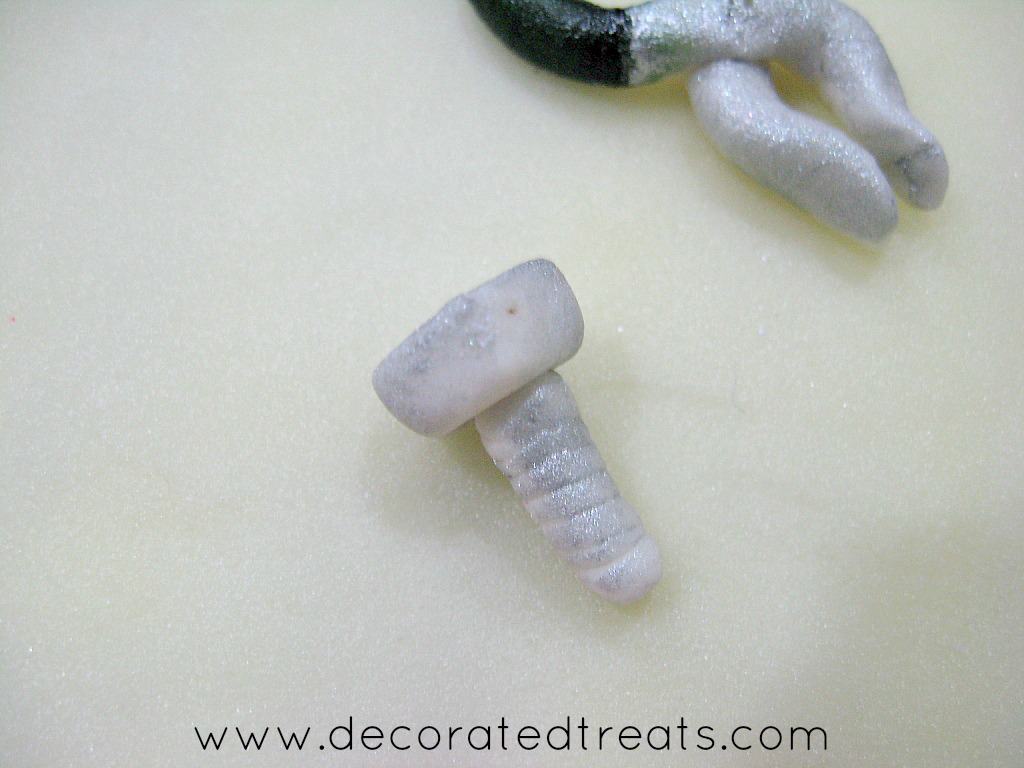
    • I started off by making the carpentry tools a few days in advance. All the tools were made of fondant. I chose to make them all in white fondant and paint them later once they were set.
    • There are closer images of all the tools on the cake, but if you can see them on the cake, I made ladders, screwdrivers, hammers, pliers, nuts and bolts and spanners. I hand molded these and then painted them.
    Fondant hammer in yellow, brown and silver on a cake

    Fondant hammer

    Fondant pliers in silver and green, on a cake

    Fondant Pliers

    Fondant screwdriver in red and silver on a cake

    Screwdriver made of fondant

    A screw made of fondant painted in edible silver paint

    Bolt made of fondant

    Baking and frosting the birthday cake

    • Once the tools were ready, assembling the birthday cake was quite straight forward.
    • I baked the cake in a square cake pan, like a sheet cake. I did not layer it any further and used it as a single layer cake. As soon as it was baked and has cooled down, I leveled the top and covered it with a thin layer of crumb coat.
    • After that, I covered the entire birthday cake with butter icing. Butter icing is the stiffer version of buttercream and is alot easier to manage in hot and humid weather.
    • I used a spatula to smooth the butter icing on the top and sides of the cake.

    Fondant alphabets for the cake

    • Next, I cut out the wordings for the tools birthday cake using alphabet cutters in pink fondant. I arranged them on the cake in such a way that they are centered on the cake. Since the cake was covered in butter icing, attaching the fondant alphabets to the cake was easy. There was no need for any fondant glue or a brush of shortening to secure the alphabet letters on the cake.
    • Once the letters were all in place, I added the fondant tools. Before placing them on the cake, I roughly planned their position so that each tool is well spaced out on the cake.

    Attaching the fondant cake decorations

    Again, attaching the fondant tools to the birthday cake was easy. There was no need for any special glue to hold them in place. I simply pressed them gently into the butter icing on the cake and that helped to secure them to the cake.

    A square birthday cake with fondant hammer, screwdriver, bolts, nuts and ladder.

    Tools birthday cake with handmade fondant carpentry tools

    And that was pretty much how I made the tools birthday cake.

    My father had a big smile on his face when my children and I presented the birthday cake to him.


    Like this tools birthday cake idea? Here are my other posts you might want to check out:

    • Gold Lace Square Wedding Cake - Decorating Tutorial
    • Tools Cake Idea for Men
    • Tenkai Knights Cake - A Decorating Tutorial
    • Birthday Cupcakes
    • Diwali Rangoli Cake Decorating Tutorial

    Recipe (Printable)

    Here is the full printable version of the tools birthday cake recipe and decorating guide.

    📖Recipe

    A square birthday cake with fondant hammer, screwdriver, bolts, nuts and ladder.

    Tools Birthday Cake

    This tools birthday cake is an easy idea for cake with tools. With handmade fondant tools, this cake make perfect tool cake idea for boys and men!
    5 from 1 vote
    Print Pin Rate
    Course: Dessert
    Cuisine: American
    Prep Time: 30 minutes minutes
    Cook Time: 45 minutes minutes
    Decorating time: 2 hours hours
    Total Time: 3 hours hours 15 minutes minutes
    Yield: 1 Eight inches square cake
    Author: Priya Maha
    Prevent your screen from going dark

    Equipment

    • Wilton Alphabet cutter
    • Wilton Food coloring in yellow, red, brown, and moss green.
    • Edible silver dust
    • Lemon extract
    Metric - US Customary

    For best results, use the metrics measurements. US customary measurements have not been tested and are only meant for guide.

    Ingredients

    • 300 g butter
    • 300 g castor sugar
    • 300 g self-raising flour
    • 5 eggs
    • 75 ml milk
    • ¼ teaspoon salt
    • ¾ teaspoon baking powder
    • 1 teaspoon vanilla essence
    • Butter Icing
    Metric - US Customary

    Instructions

    Making the fondant tools

    • Make the tools in advance to allow them time to set and harden.
    • Shape each tool by hand in white fondant and then paint them.
    • Set them aside for the paint to set before using on the cake.

    Baking the cake

    • Preheat oven to 170 °Celsius.
    • Beat butter and sugar till soft and creamy for about 2 minutes. Add eggs, one at a time, beating well after each addition.
    • In a separate bowl, sift flour, baking powder, and salt. Fold in the sifted ingredients into the creamed mixture alternately with milk, starting and ending with flour.
    • Finally, add in vanilla essence and combine well. Pour batter into a well greased and floured 8-inch square cake pan and bake for 45 to 50 minutes until the top of the cake springs back when lightly pressed.
    • The cake is done when a skewer inserted in the center of the cake comes out without any wet batter.
    • Remove the cake from oven and let it cool completely before icing and decorating.
    • After that, cover the entire birthday cake with butter icing. Butter icing is the stiffer version of buttercream and is a lot easier to manage in hot and humid weather. You can also use buttercream if you wish.
    • Use a spatula to smooth the butter icing on the top and sides of the cake. Set the cake aside while you make the fondant alphabets.

    Making the edible alphabets

    • Roll some pink fondant thin.
    • Cut the alphabets out with the alphabet cutters.
    • Arrange them on the cake in such a way that they are centered on the cake. There is no need for any fondant glue to secure the alphabet letters on the cake. The butter from the icing is sufficient to hold them securely in place.

    Attaching the fondant tools to the cake

    • Once the letters are all in place, add the fondant tools. Before placing them on the cake, plan their position so that each tool is well spaced out on the cake.
    • To attach the tools, press them gently into the butter icing on the cake and that will help to secure them to the cake.

    Nutrition

    Calories: 4768.5kcal | Carbohydrates: 524.2g | Protein: 68.5g | Fat: 271.7g | Saturated Fat: 163.1g | Polyunsaturated Fat: 15.7g | Monounsaturated Fat: 72.1g | Trans Fat: 9.9g | Cholesterol: 1470.9mg | Sodium: 3395.4mg | Potassium: 787.2mg | Fiber: 7.2g | Sugar: 305.6g | Vitamin A: 8812.5IU | Calcium: 505mg | Iron: 7.1mg
    Tried this recipe?Mention @decorated_treats or tag #decoratedtreats!

    Hope you enjoyed this tutorial 🙂

    More Designs and Tutorials

    • Four heart sugar cookies decorated with pink and baby pink fondant and powdered sugar.
      Heart Sugar Cookies with Fondant - How to Make
    • A set of 3 heart shaped cookies decorated with red hearts and bow
      Heart Cookies for Valentines Day
    • 5 cupcakes decorated with red star toppers and Christmas themed sprinkles
      Easy Christmas Cupcakes (Recipe + Tutorial)
    • A round rosette cake in white, pink, burgundy and green.
      How to Make a Rosette Cake - Buttercream Cake Recipe

    Reader Interactions

    Leave a Reply Cancel reply

    Your email address will not be published. Required fields are marked *

    Recipe Rating


    This site uses Akismet to reduce spam. Learn how your comment data is processed.

    Primary Sidebar

    Hi there!

    I'm Priya, and I'm so excited that you dropped by 🙂 Welcome to DECORATED TREATS, a place where I share all my cake decorating ideas & true and tried recipes for all things sweet.

    More about me →


    Fall Treats

    • 4 Lotus Biscoff pudding cups with a spoon on the side and 2 cookies.
      Biscoff Pudding Cups (simply the BEST!)
    • A glass of rose milk with rose petal flakes on top.
      Rose Milk (How to Make)
    • 3 cups of mascarpone chocolate mousse with white chocolate topping.
      Mascarpone Chocolate Mousse (Simply the BEST!)
    • Three cups of apple mousse.
      Apple Mousse (Quick & Easy Dessert)
    • A stack of 4 ube brownies.
      Ube Brownies (Fudgy Purple Yam Brownie Recipe)
    • A stack of 3 Lotus Biscoff blondies.
      Biscoff Blondies (Perfectly Chewy & Fudgy)

    Currently Trending:

    • 3 dessert bowls of pink jelly with gold flake decoration.
      Agar Agar Jelly Recipe (How to Make)
    • A slice of cake covered in glaze icing
      Glaze Icing for Cakes (How to Make)
    • A glass bowl filled with vanilla ice cream scoops
      Churned Ice Cream - With & Without Ice Cream Maker
    • 2 glasses of milk tea with jelly boba.
      How to Make Lychee Jelly for Bubble Tea
    • Round mango konnyaku jelly dessert on a grey plate.
      Konnyaku Jelly - Easy 3 Ingredients Recipe
    • Light fruit cake cut into slices on a green plate.
      Moist Light Fruit Cake (the Best Ever)!

    As featured on:

    Footer

    ^ back to top

    SUBSCRIBE TO DECORATED TREATS

    Sign up for latest recipes and tutorials!


    Thank you for joining!

    Keep watch for my latest updates in your email.

    .

    About

    • Privacy Policy & Disclaimer
    • Conversion Chart

    Resources

    • Submit your Cakes
    • Testimonials
    • Contact Me

    Decorated Treats is a participant in the Amazon Services LLC Associates Program, an affiliate advertising program designed to provide a means for sites to earn advertising fees by advertising and linking to Amazon.com. Decorated Treats also contains other affiliate links, which if you purchase from may earn me a small commission. The full disclosure policy can be found here.

    Copyright © 2023 Decorated Treats