

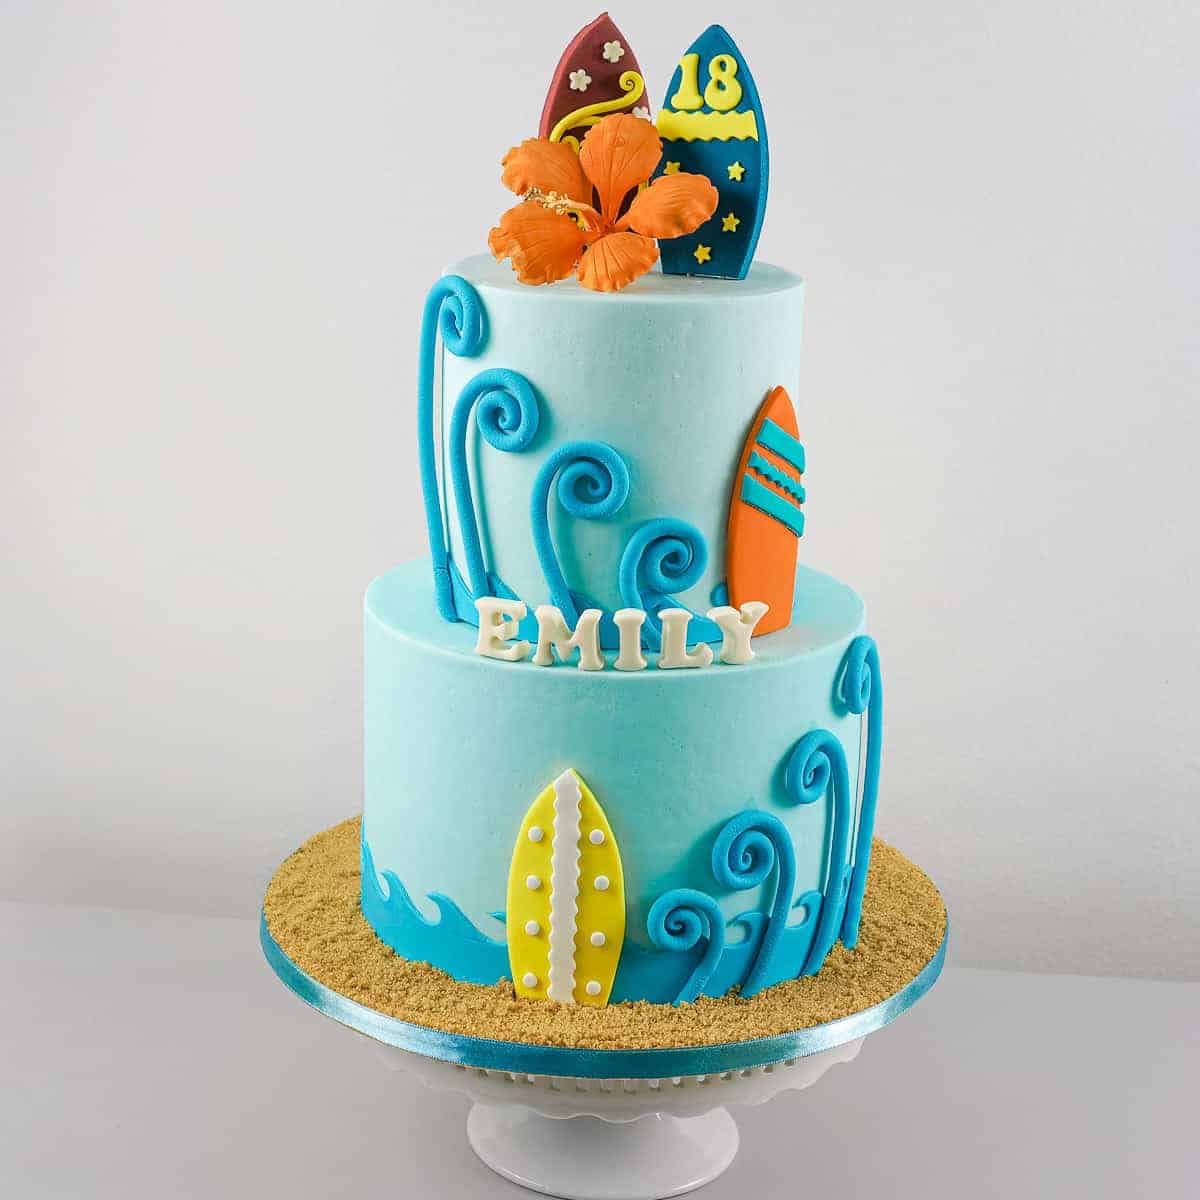
Learn how to make this beach birthday cake with my easy tutorial. Decorated with handmade fondant surf boards and gum paste hibiscus, this cake makes a perfect choice for a beach themed party.
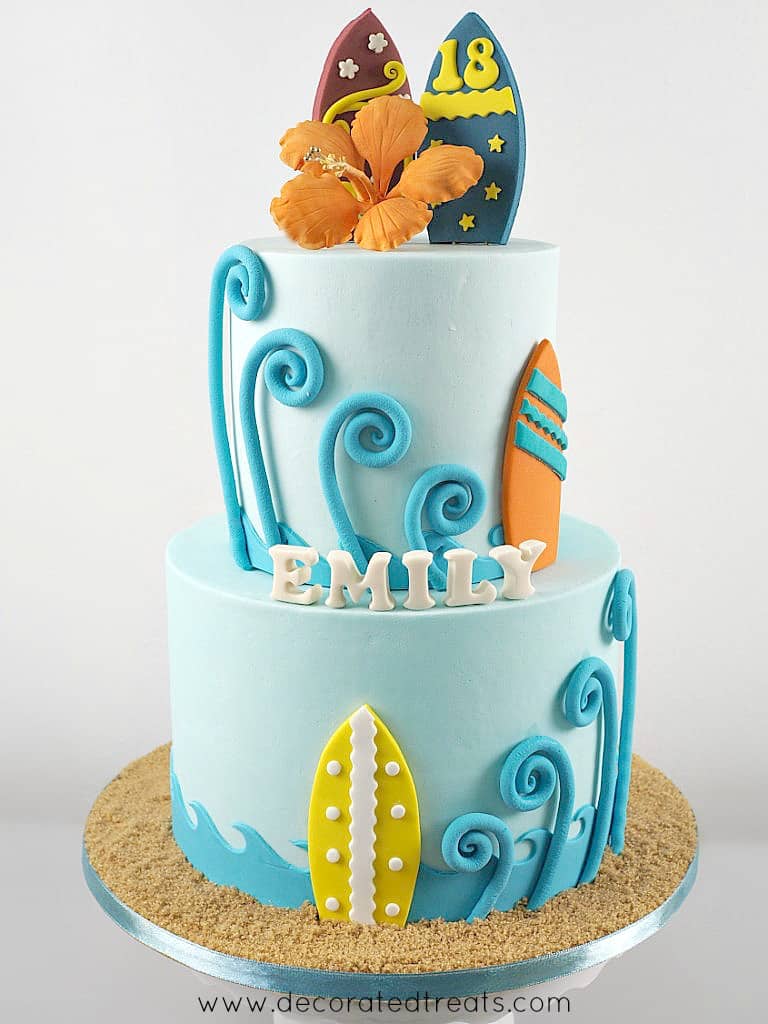
This beach birthday cake was a really fun one to make. I designed it to suit the liking of an 18 years old teenager with fun and bright colors, surf boards and sandy beach effect.
The cake was not really that difficult or complicated to make. Some of the elements on the cake were made in advance so that really helped in speeding up the time spent on assembling the cake.
If you like this cake, you should also check out this baby blue 21st birthday cake, Nissan GTR birthday cake, guitar birthday cake, pink 21st birthday cake and this tropical sea cake.
🧾Supplies Required
- Cake - This was a two-tier cake measuring 6 inches and 9 inches in diameter. The bottom tier is baked using my butter pound cake recipe. The top tier is my chocolate cake recipe. Each tier was 6 inches high and if you intend to make the cake in the same height as mine, you would need to multiply my recipes by 1.5 times for the 6 inches round and 9 inches round cake pans.
- Buttercream - I used buttercream to crumb coat the cake as well as to fill the cake layers. I used vanilla variation to fill the bottom tier and chocolate buttercream for the top tier.
- Fondant - I used Satin Ice Baby Blue to cover the entire cake and white for the 3d letters on the cake.
- Sea waves cutter - this was used to make the cake borders on the first and second tiers.
- Gum paste hibiscus - This was handmade in white and dusted in orange petal dust.
- Fondant surfboards - I made 2 as the cake topper and 2 more attached to the side of the cake.
- 3D upright standing alphabets - These were made of fondant and used to put up the birthday girl's name.
- Brown sugar - The sand on the cake board was actually brown sugar.
- Shortening and fondant glue - these were the glues for this project.
- Cling wrap to wrap the hibiscus floral wire.
👩🍳How to Make
Step 1: Prepare the Cakes
Once the cakes were baked and cooled, I leveled, filled and crumb coated them separately. And then I covered each with baby blue Satin Ice fondant and stacked them up. Read this tutorial on how to make tiered cakes for guide on making tiered cakes.
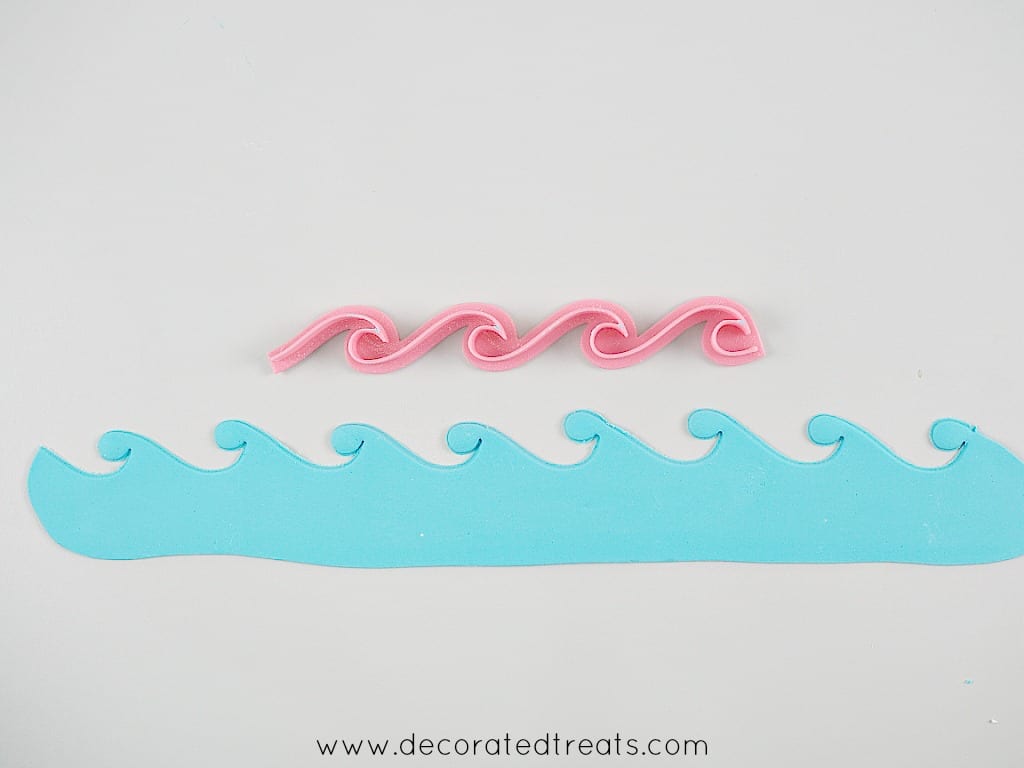
Step 2: Make the Fondant Waves Cake Border
The waves are cut in fondant with a single waves cutter, but used in 2 different ways to make 2 different waves design.
Here is for the top tier:
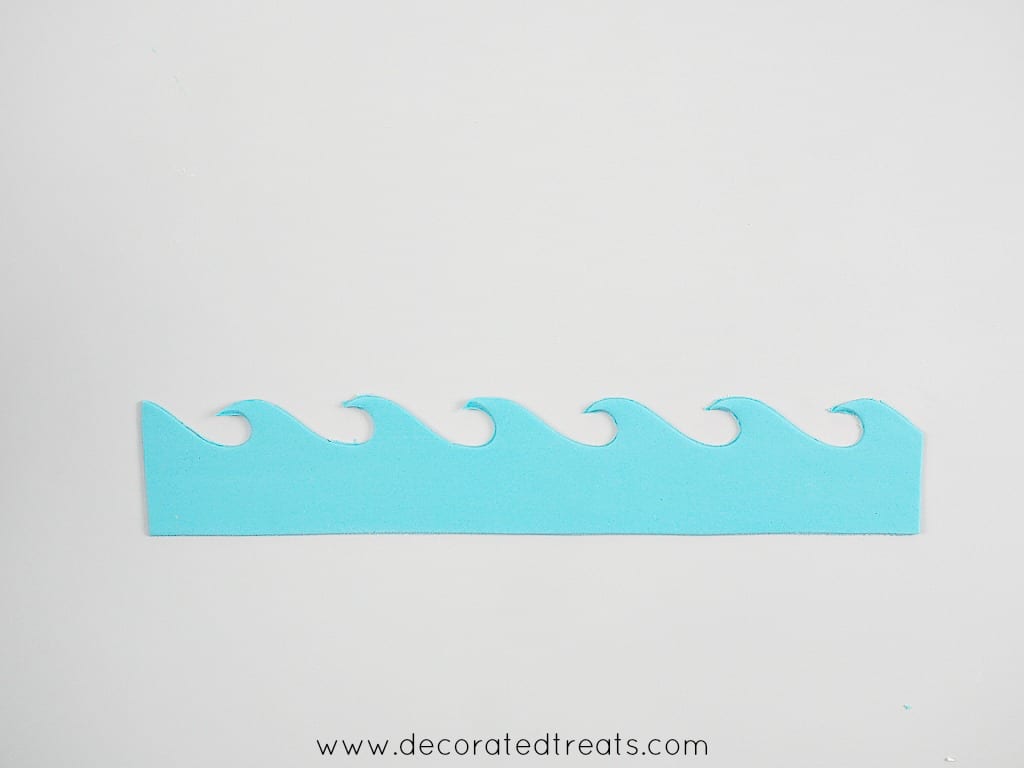
I rolled the blue fondant into a thin strip.
And then I pressed the pattern into the fondant and removed the top part of the strip to make rounded sea waves. I used a ruler to cut off the bottom of the strip to an even layer.
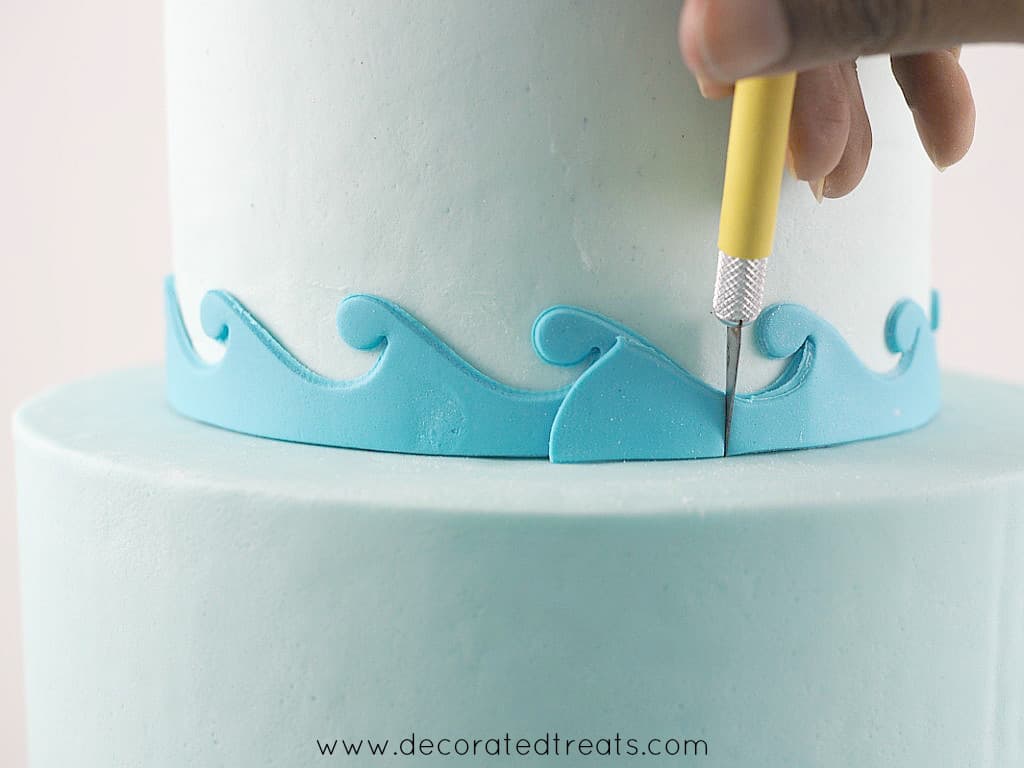
I then applied shortening to the back of the fondant strip and attached to the cake. I overlapped the joints and cut with a knife.

Here is how the waves looked like after trimming off the excess fondant.
For the bottom tier, I rolled another strip of fondant and cut it with the same waves cutter, but this time I turned the top over to the bottom.

And I attached it to the bottom tier in the same way as the top tier.
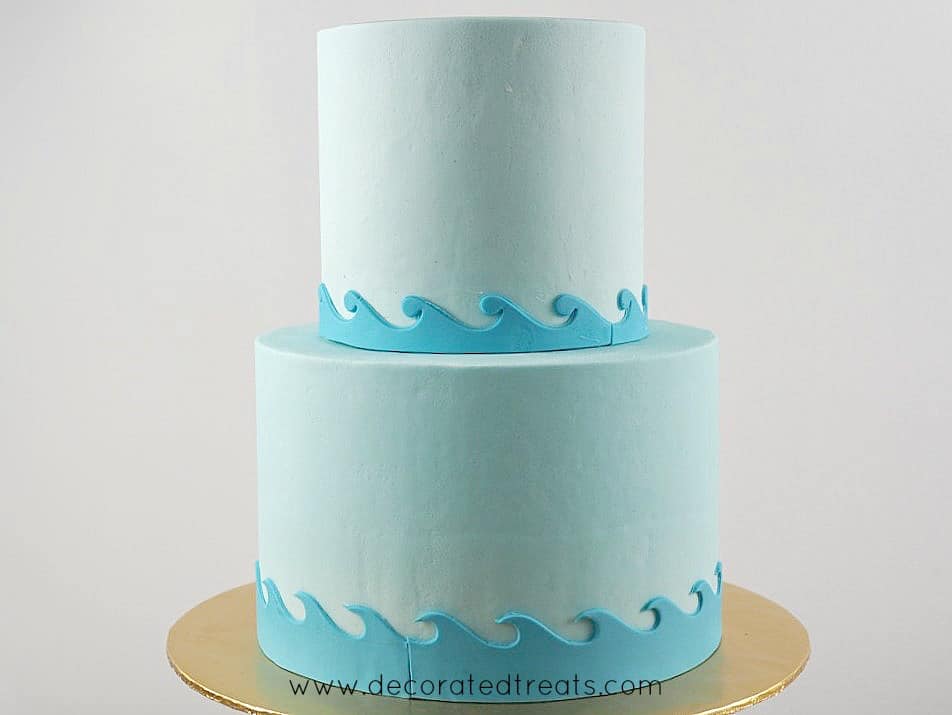
Here is how the cake looked like with the sea waves borders.
Step 3: Make and Add the Surfboards on the Sides of the Cake
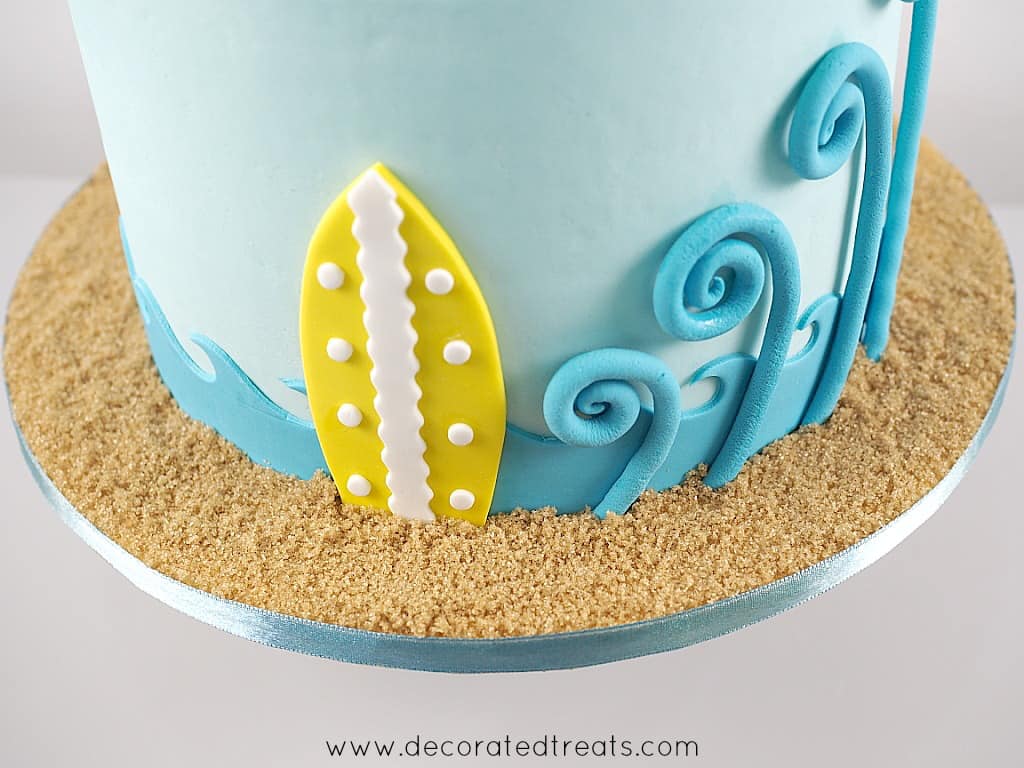
To make the surf boards, I drew the template in a piece of paper and used it to cut out 2 surfboards - 1 in orange and 1 in yellow.
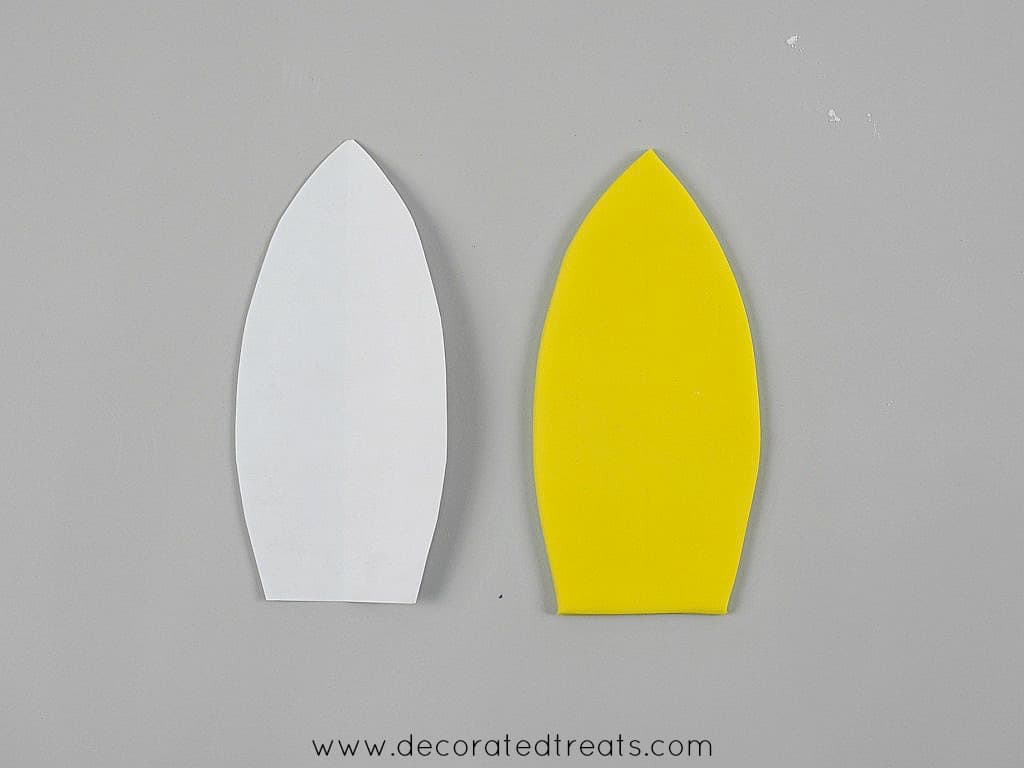
I used a paper template to cut out the shape in fondant.
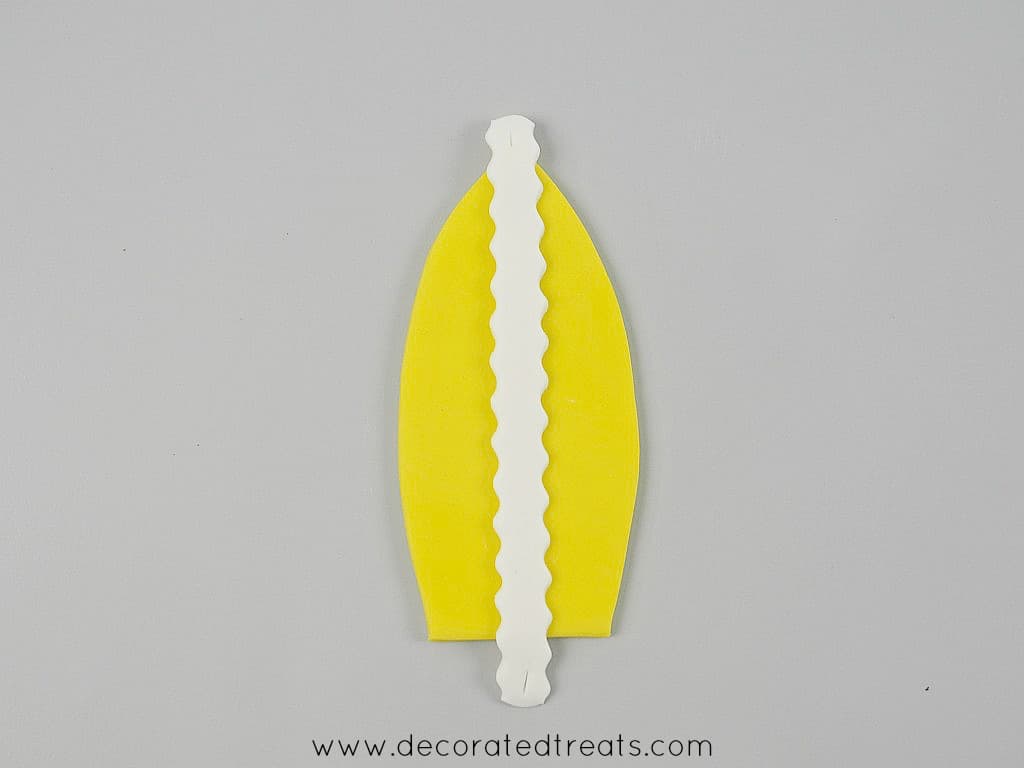
And then I attached a scalloped strip of white fondant (cut with a pizza cutter) with shortening and trimmed off the excess at the top and bottom.
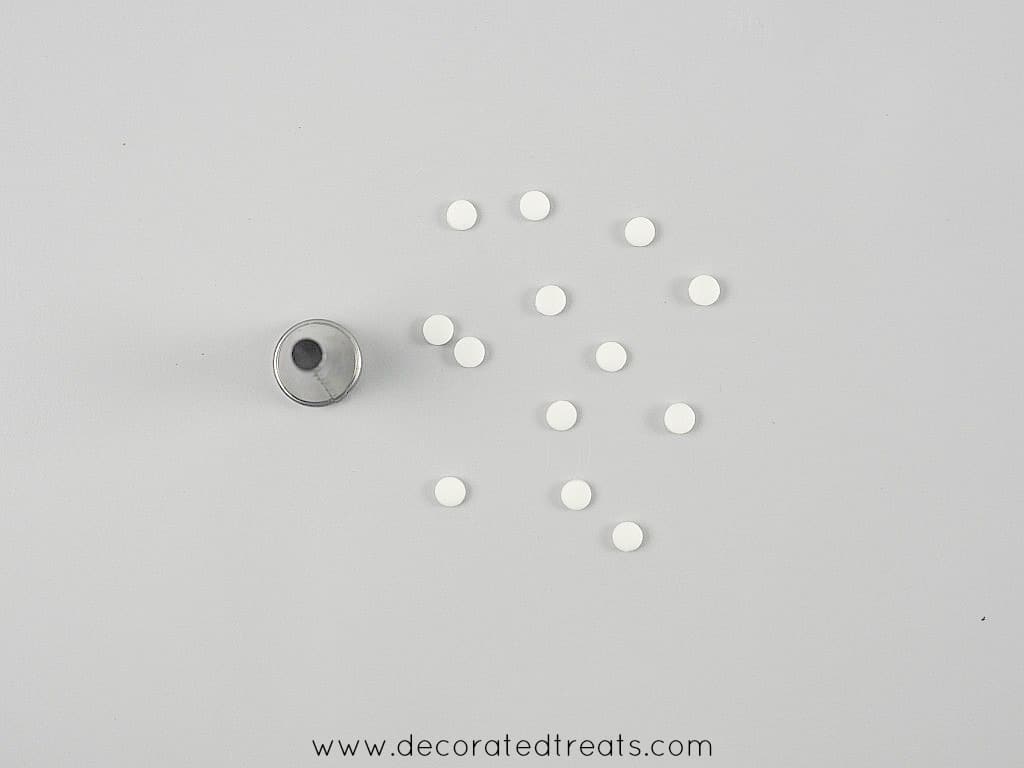
Next, I cut out small polka dots with a round piping tip.
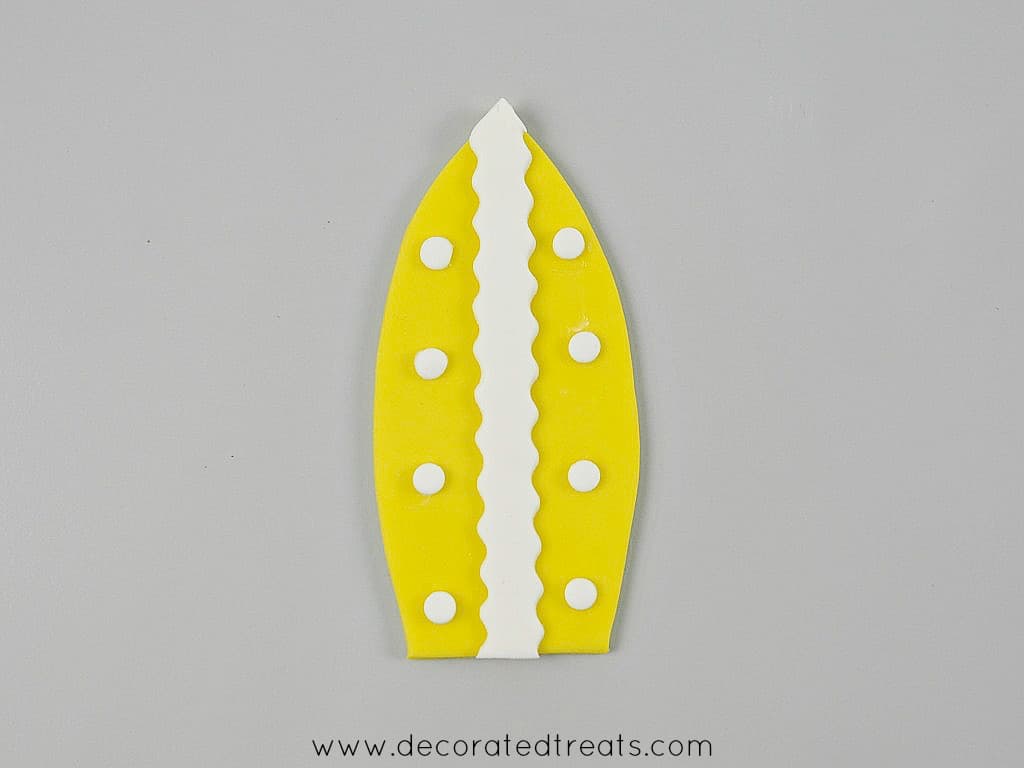
And I attached them to the surfboard.
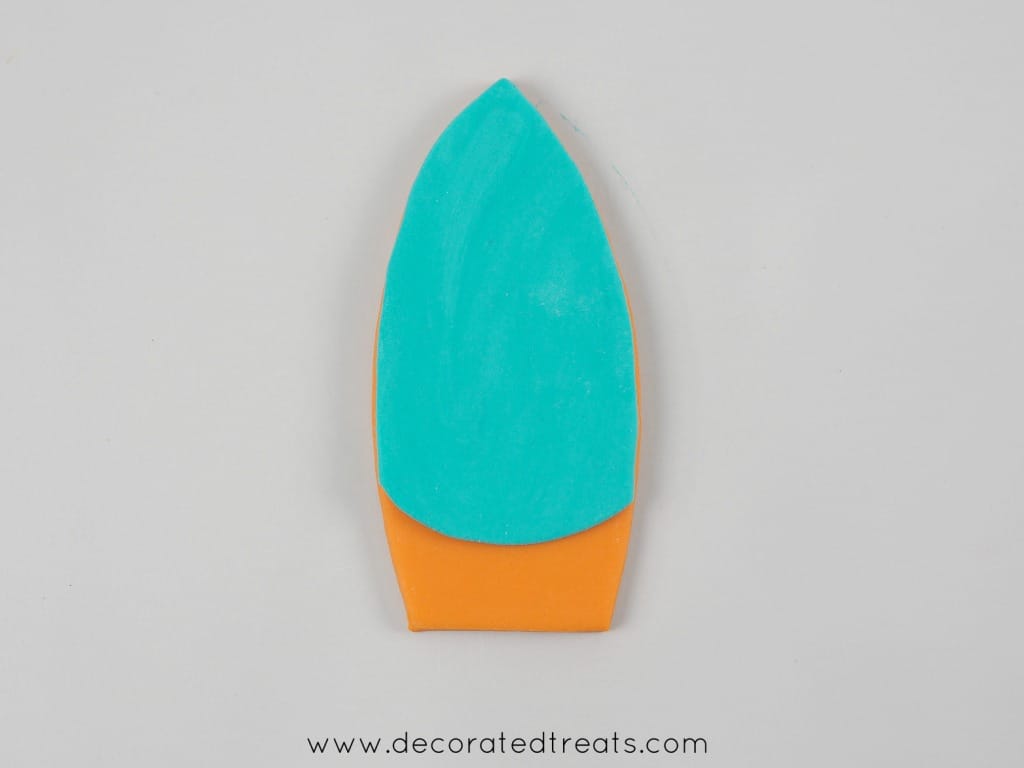
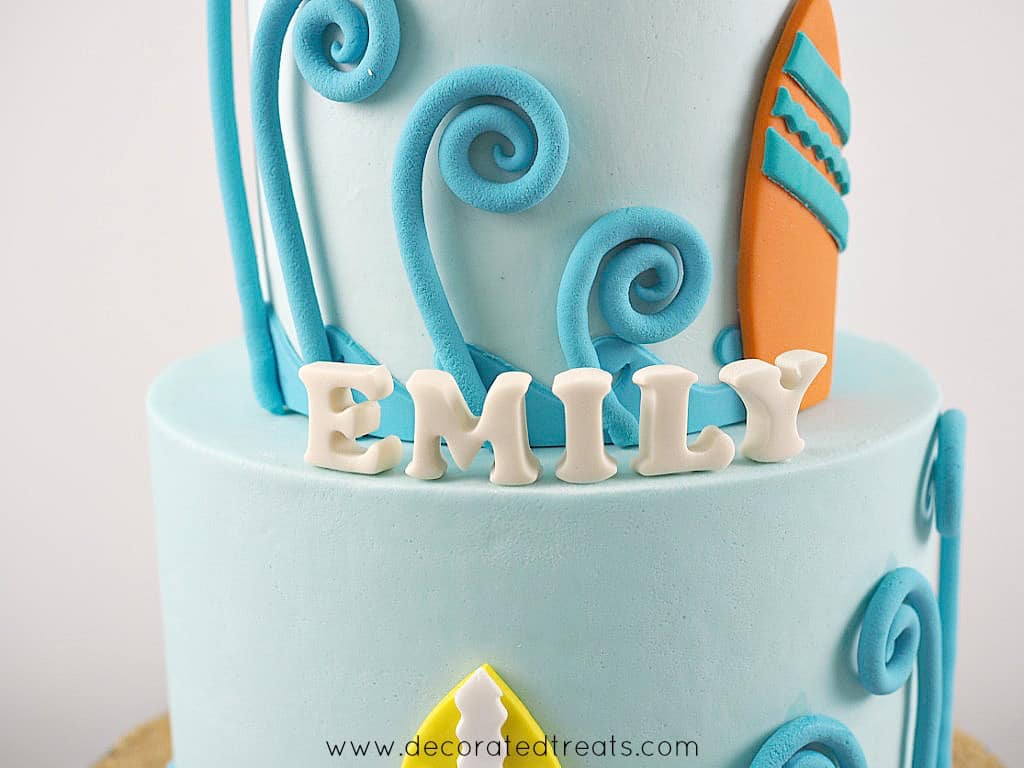
For this design, I cut fondant in orange and another one in turquoise and attached them together.
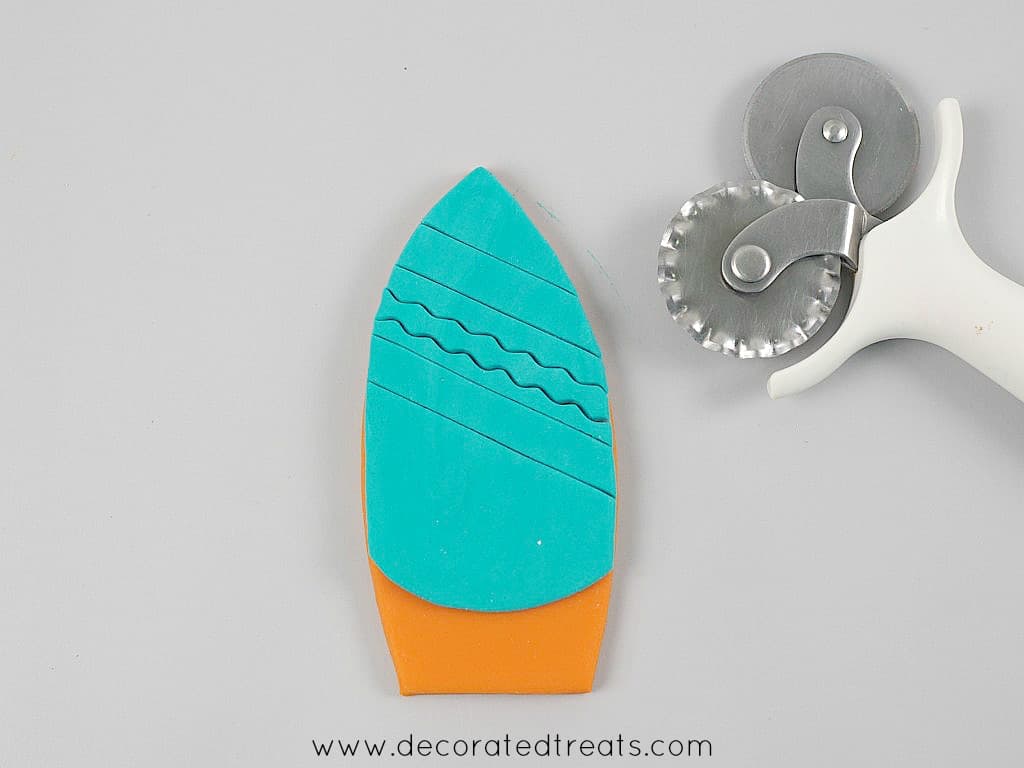
Using my pizza cutter, I cut out a few lines as shown, but I made sure I only cut the turquoise piece and not the orange underneath.
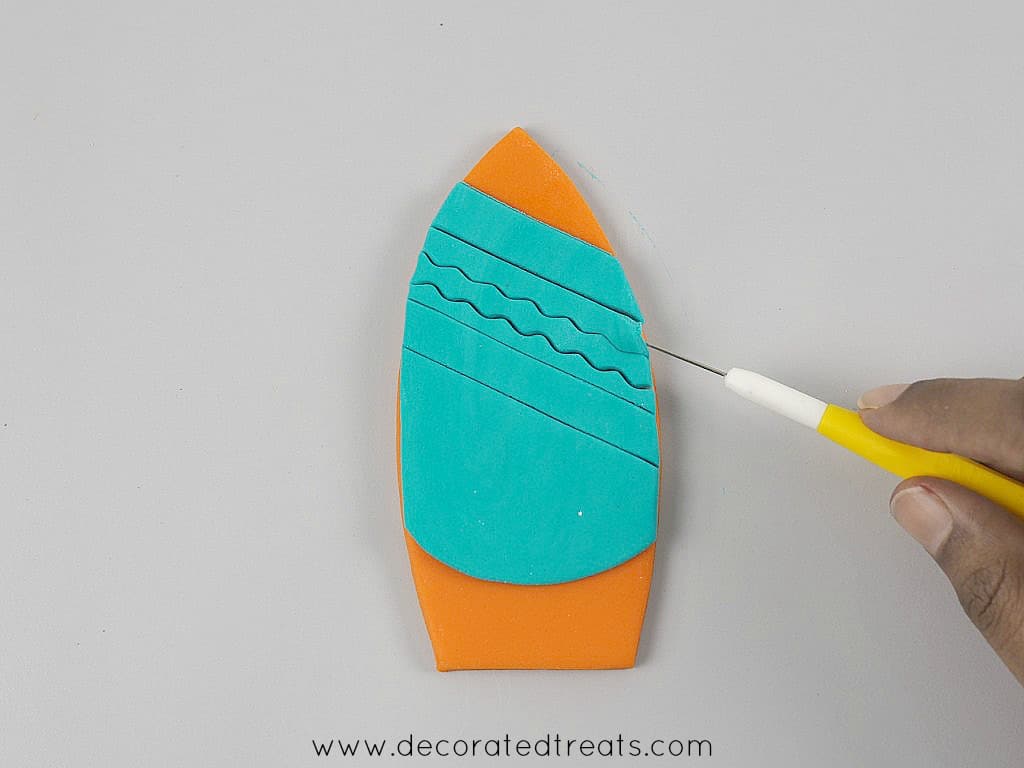
And then I removed some of those cut lines.
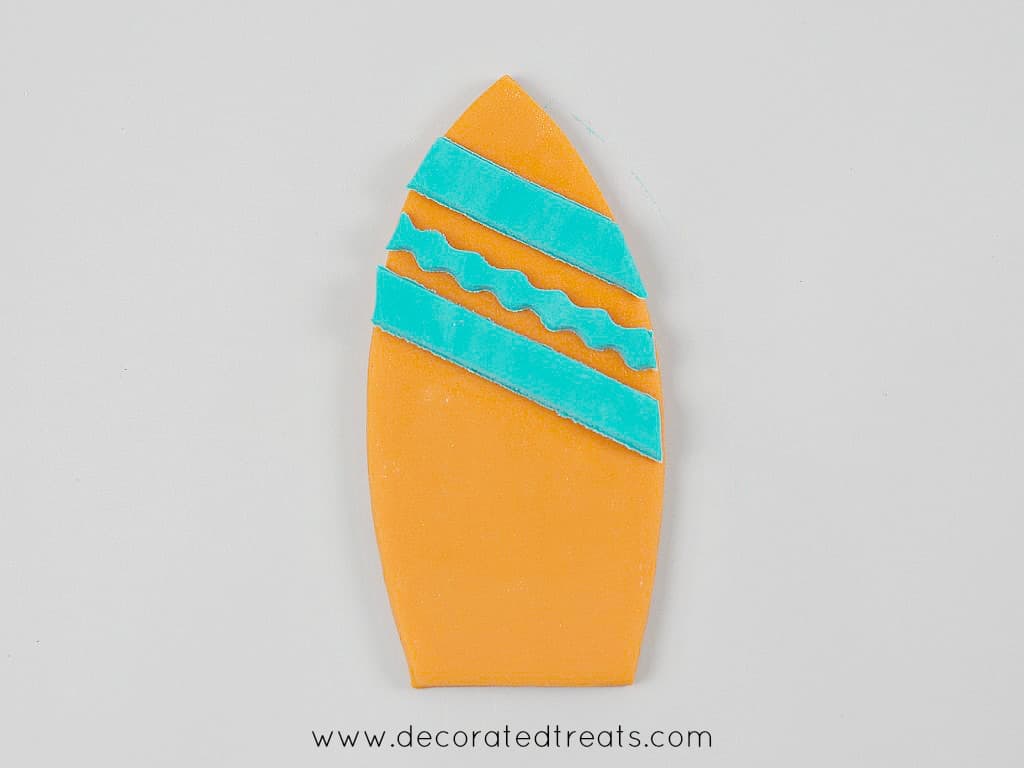
The completed surfboard.
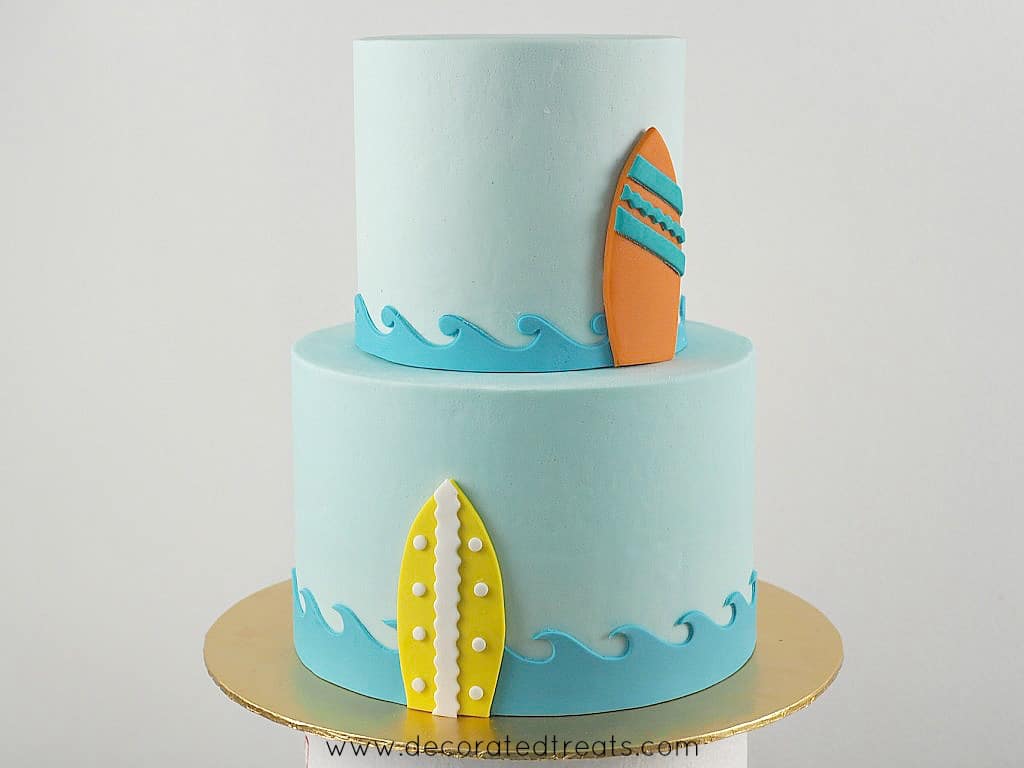
I used shortening to hold both the surfboards in place on the cake.
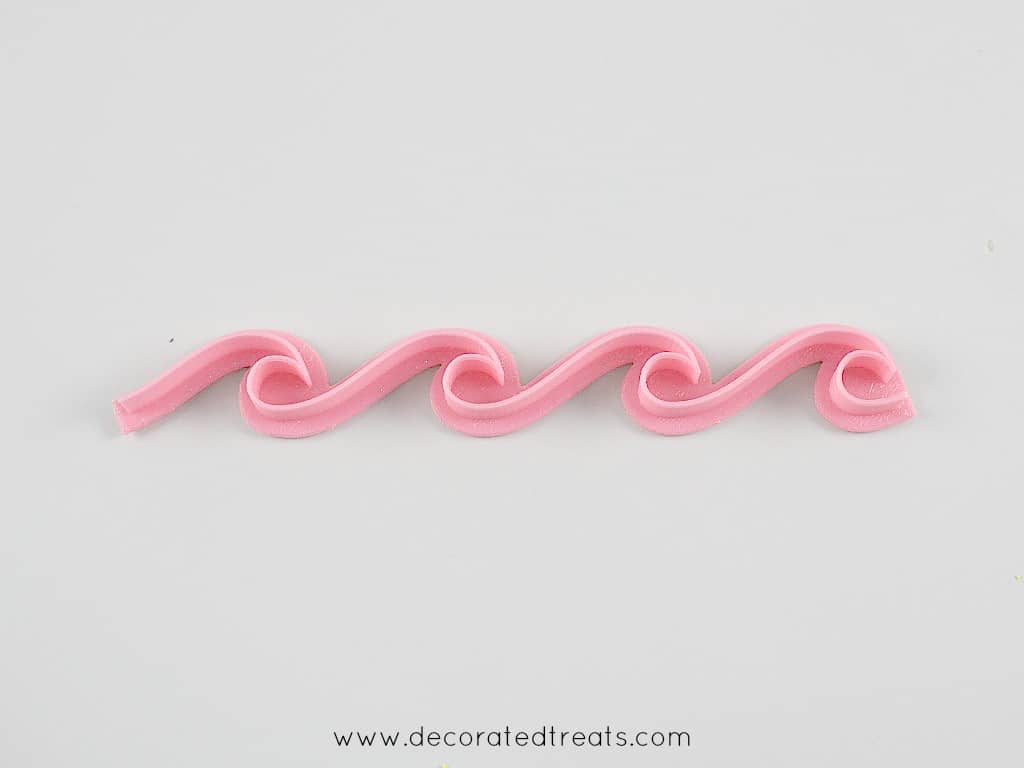
Step 4: Make the Swirled Fondant Waves
To make the swirls, I used blue fondant and the fondant extruder tool.
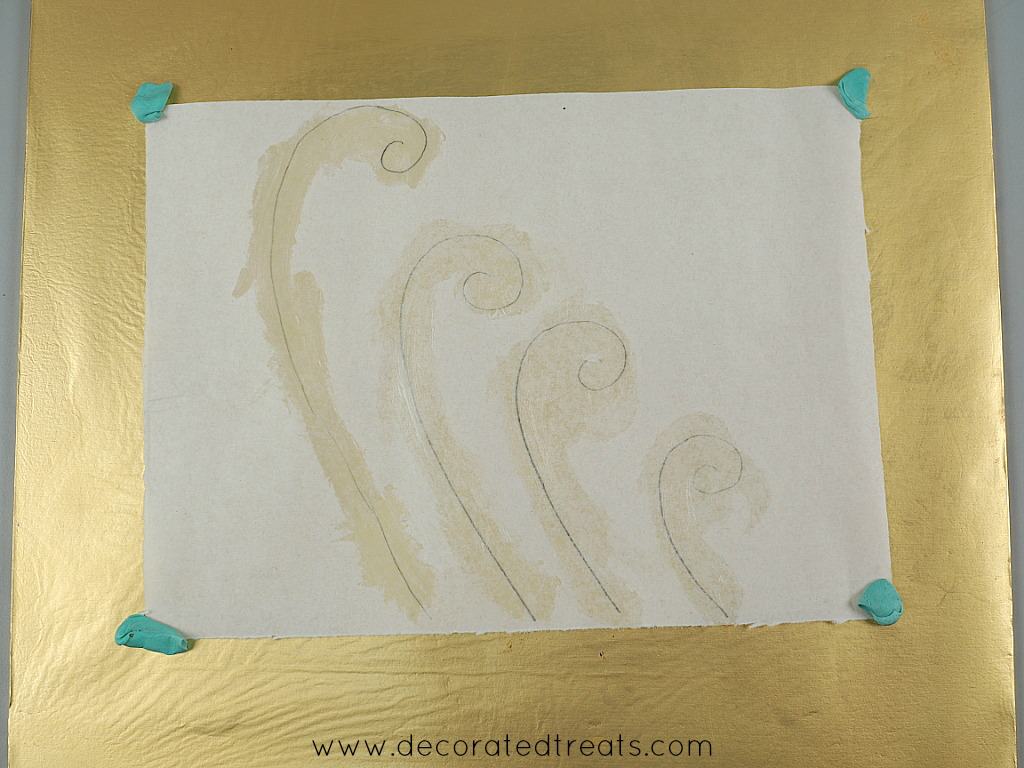
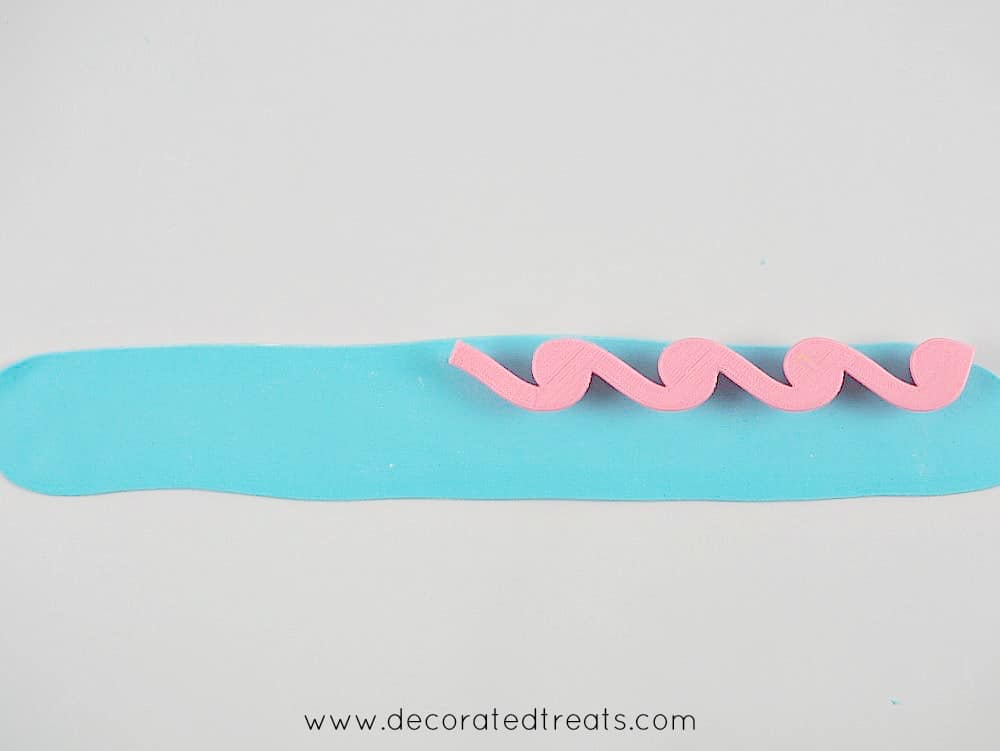
I drew the patterns on a water and applied shortening to it so that the fondant would stay in place.
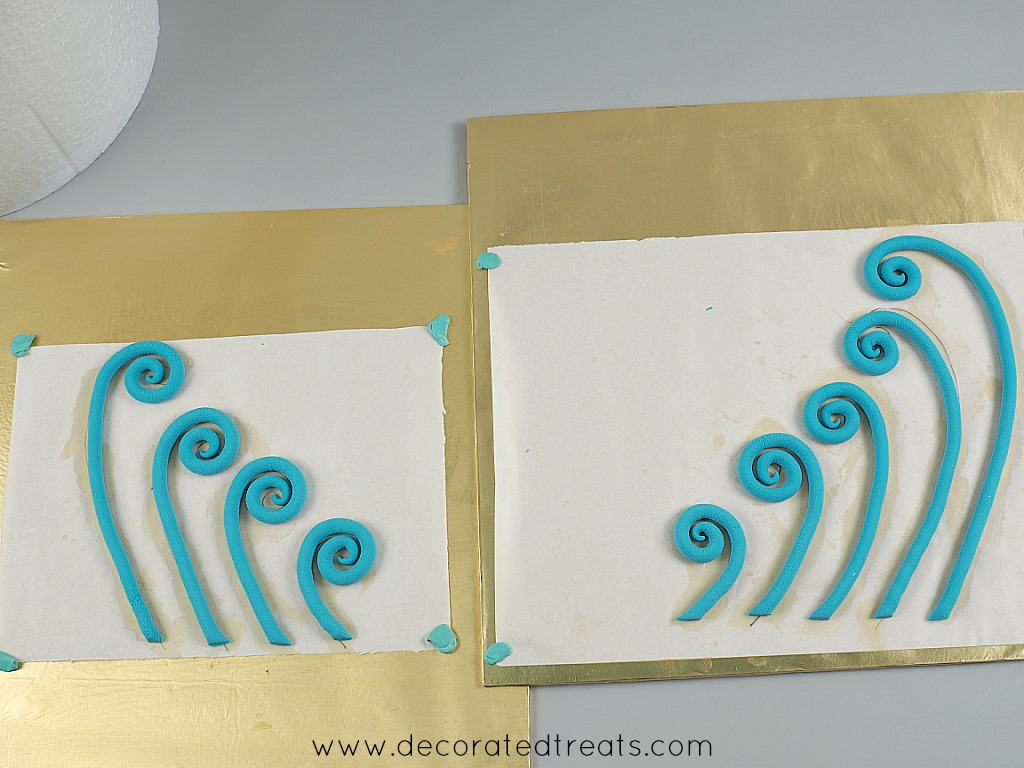
Using my extruder tool, I piped out long strips of fondant and attached them to the template.
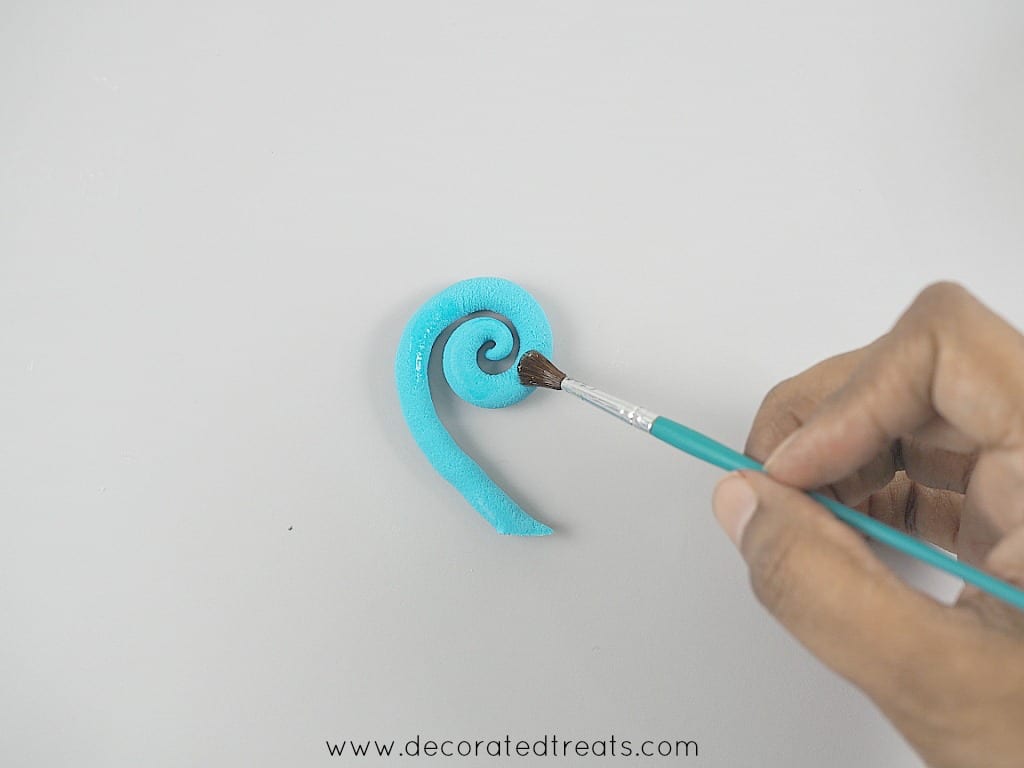
I set the fondant to set and them attached them to the cake with some fondant glue.
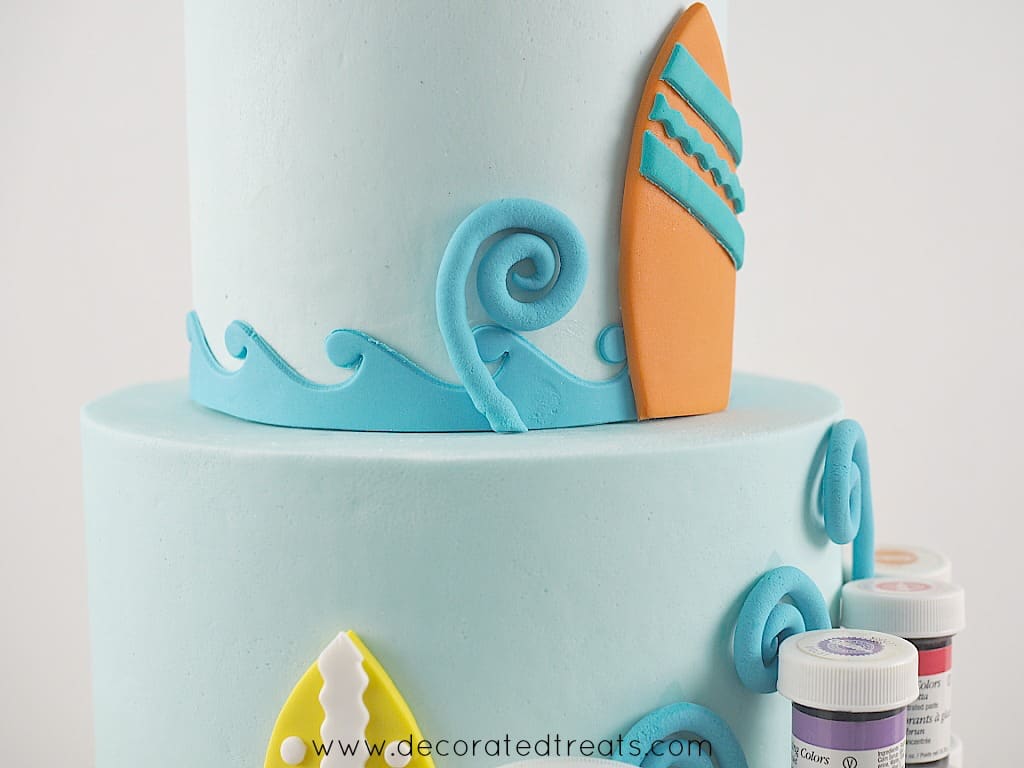
To hold the waves in place while the glue dries, I used my food coloring bottles to support.
Step 5: Decorate the Cake Board
Next was the cake board. I attached a light blue satin ribbon around my cake board. And then I topped it with brown sugar 'sand'.
Step 6: Add the Birthday Girl's Name
Next to go on the cake was the birthday girl's name. To make the letters, I used white fondant and kneaded some CMC into it. And then I rolled the fondant thick and used my letter cutters to cut the alphabets out. Here is my full guide on how to make 3D fondant letters for cakes.
I let the letters set completely in a horizontal position before putting them on the cake with fondant glue.
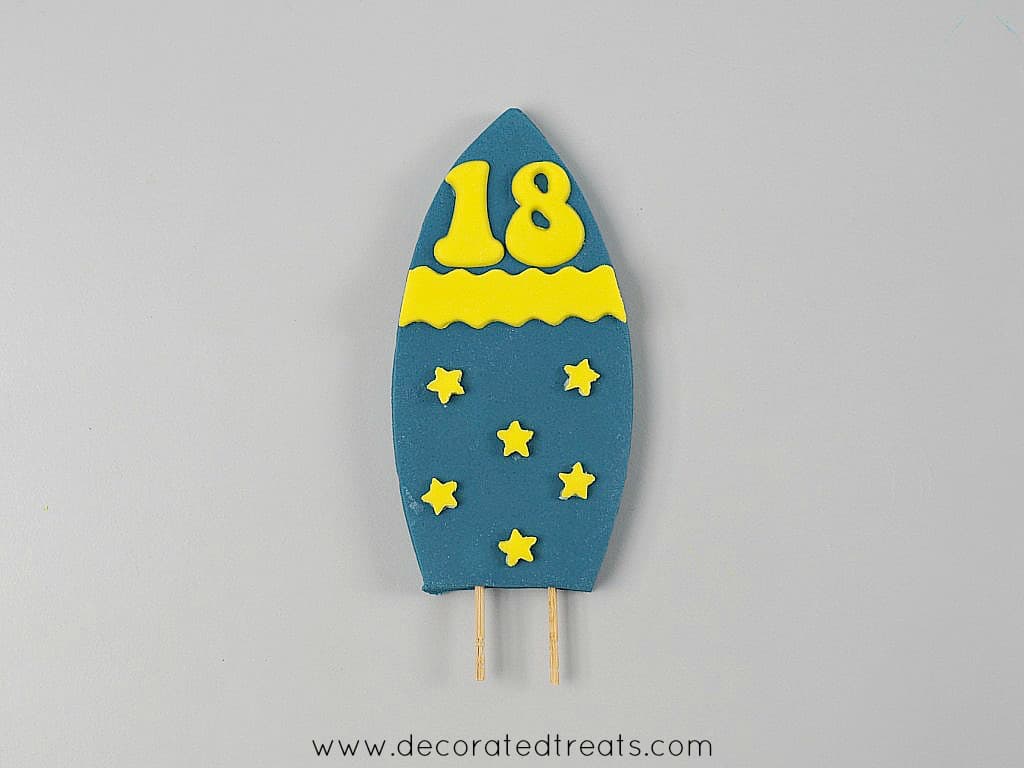
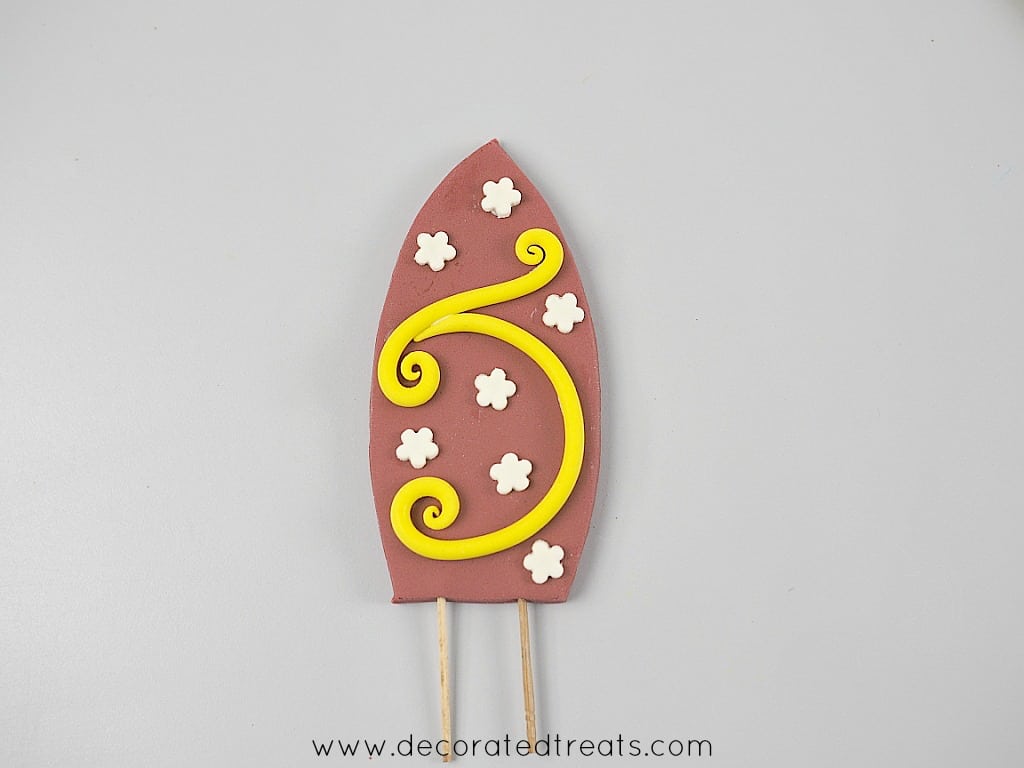
Step 7: Make and Attach the Fondant Surfboard Toppers
To make the toppers, I used a paper template, similar to the 2 boards on the side of the cake. For these toppers, I attached 2 toothpicks to the bottom of each to help support them on the cake.

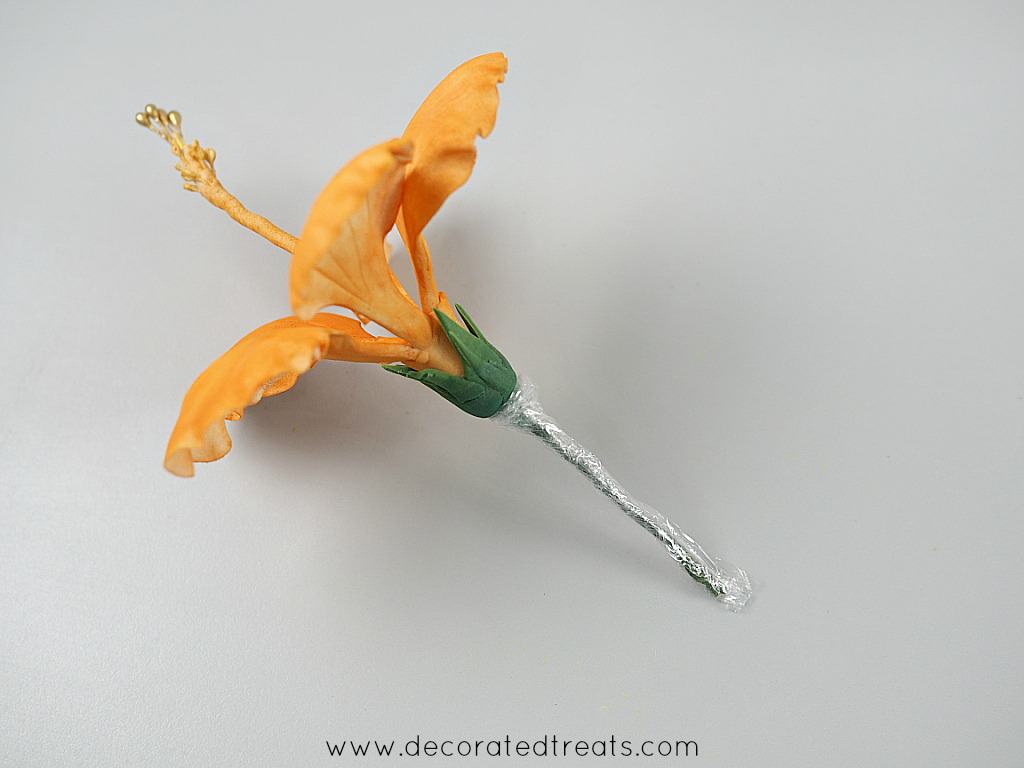
Step 8: Make and Attach the Gum Paste Hibiscus
I made the hibiscus in advance with this gum paste hibiscus tutorial. And then I dusted the petals with orange petal dust (here is my tutorial on how to color gum paste flowers). Before inserting the flower into the cake, I wrapped the wire with cling plastic so that the wire does not come into contact with the cake (read my guide on how to attach flowers to cakes for full details).
And that's my beach birthday cake. Hope you enjoyed this tutorial.
Happy Decorating 🙂


Leave a Reply